bear_69cuda
Commander
- Joined
- Oct 10, 2008
- Messages
- 2,109
Re: 1999 Bayliner Project
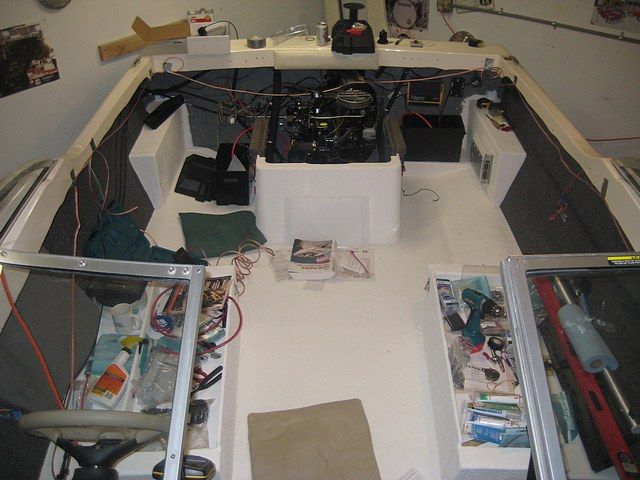
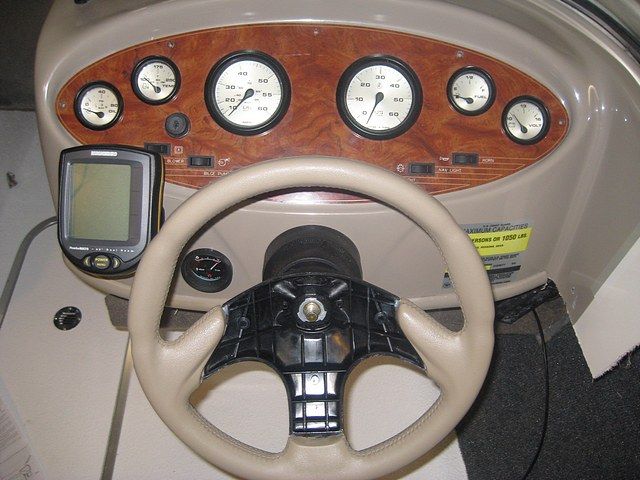
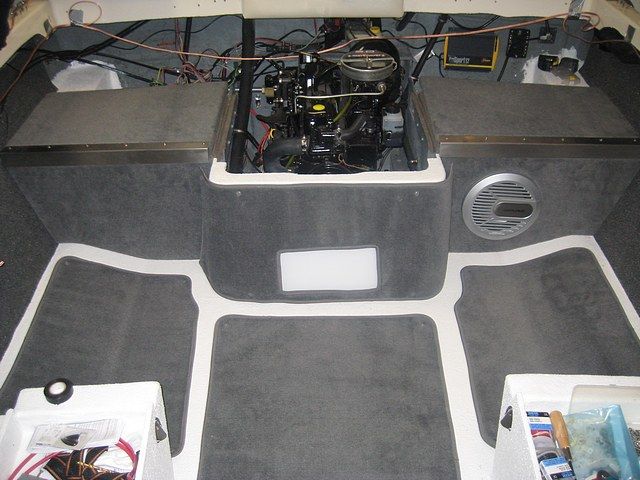
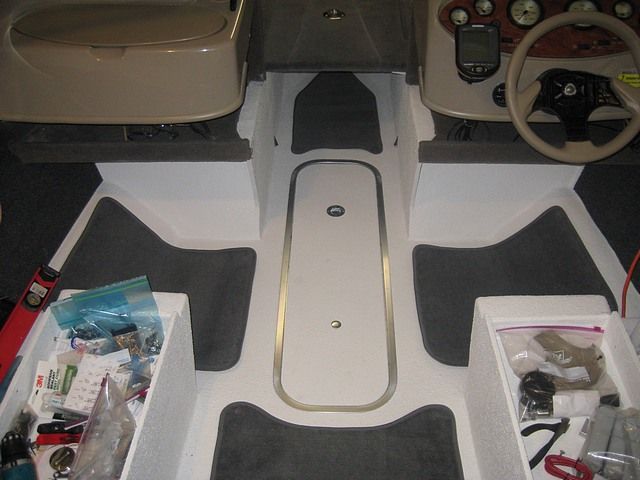
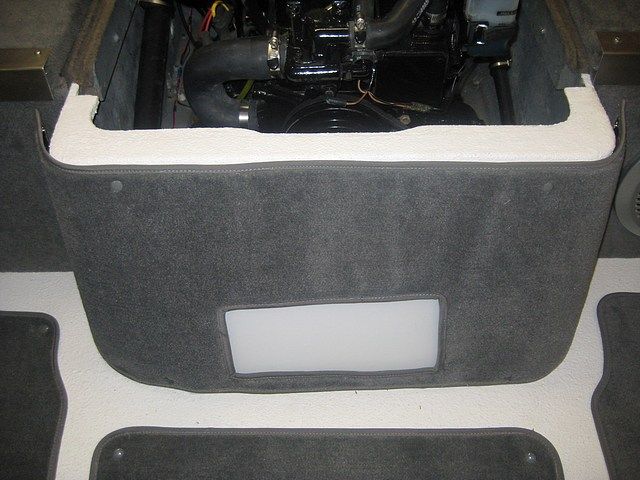
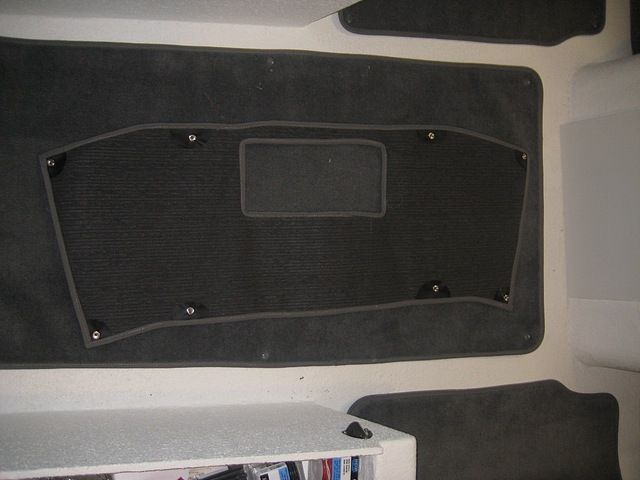
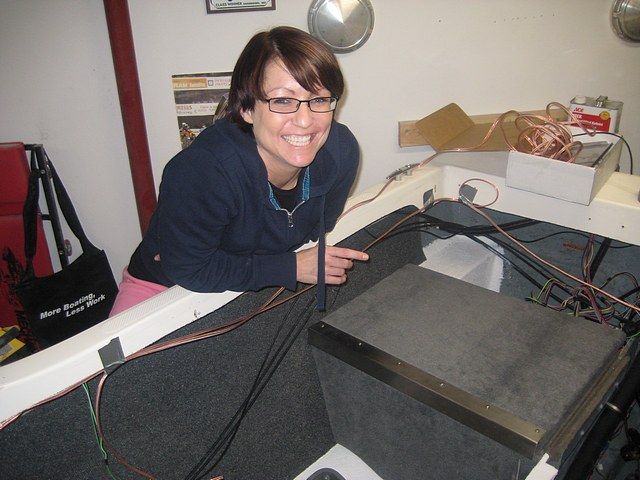
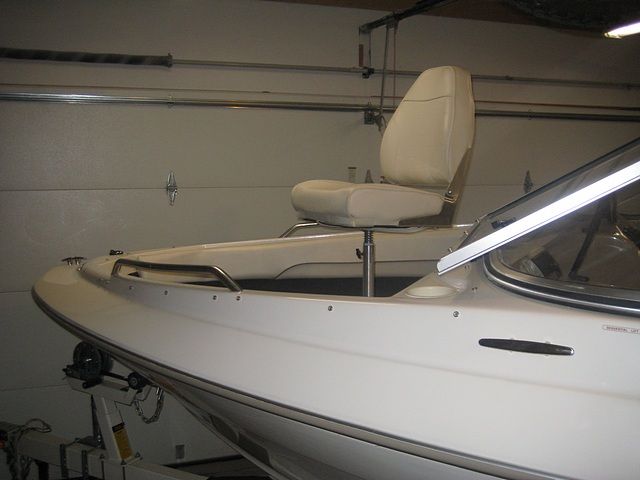
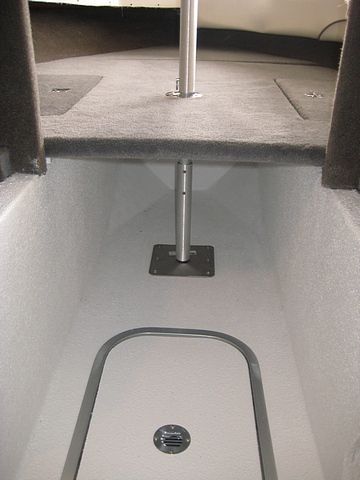
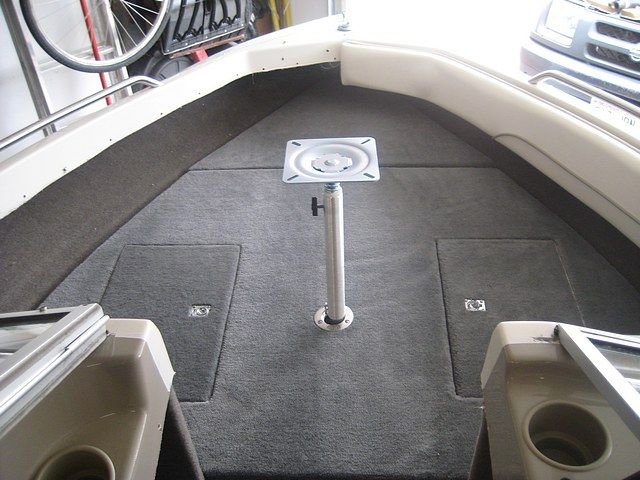
A few more pics.
Installed seat,

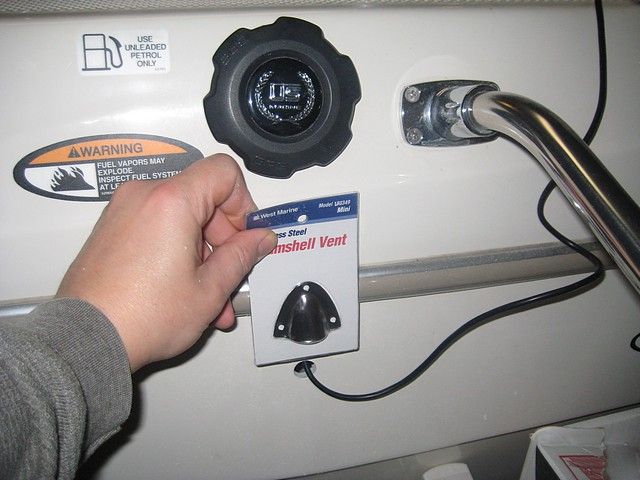
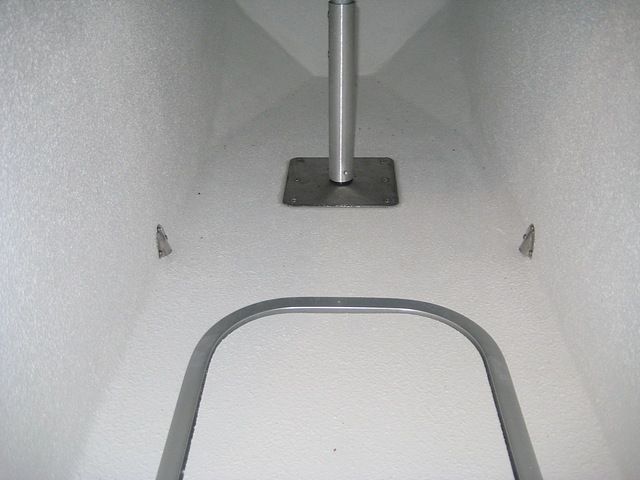
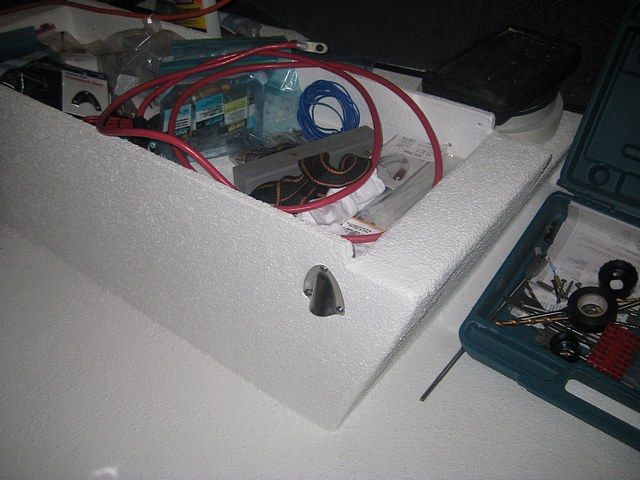
Clam shell vents I used to cover lame holes Bayliner used for drains... Very crude workmanship... This at least looks clean and marine...
A few more pics.
Installed seat,
Clam shell vents I used to cover lame holes Bayliner used for drains... Very crude workmanship... This at least looks clean and marine...
Last edited:
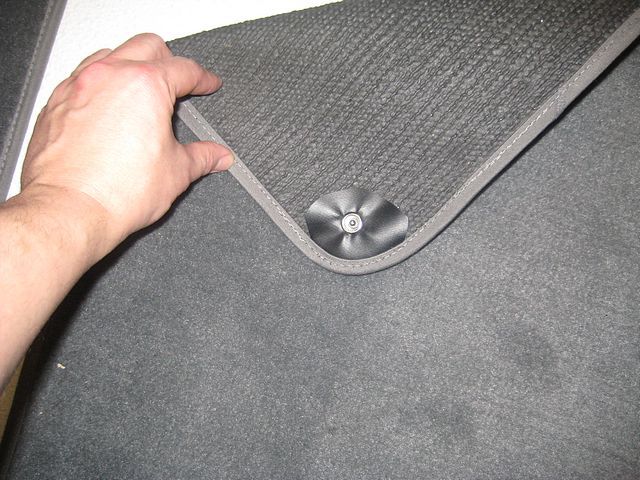
 ). Those flanges are a really good idea; They almost look like deck lights how they are positioned.