I
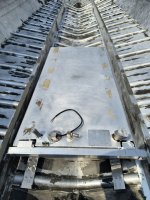
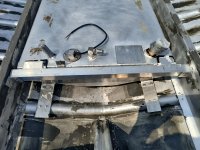
strongly urge you to move those t-nuts to between the backing plate and the main deck piece so that they're securely sandwiched into place between the pieces.
I had the ones in my Kingfisher set up the same way as you do now, and when I went to actually install the chair bolts, the t-nuts got pushed out and fell down inside below the deck! Trust me, ya don't want
that to happen!


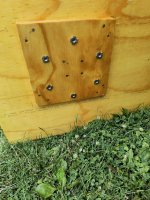
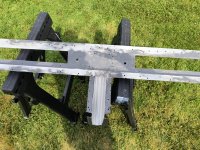
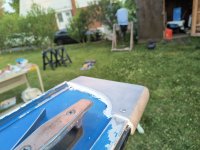
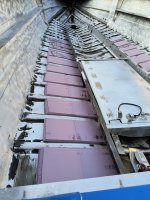
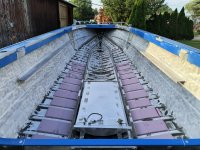
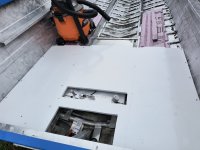
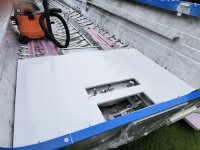
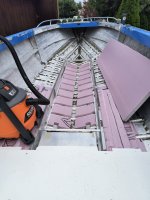
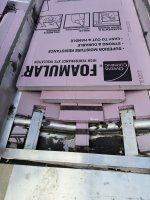
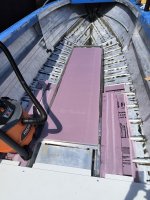
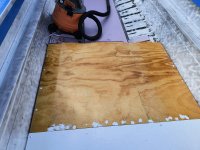
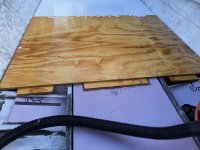
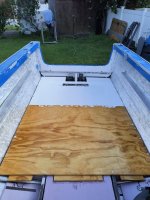
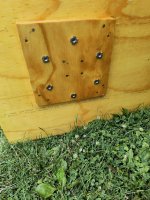
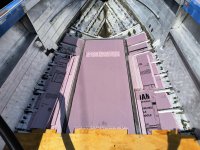
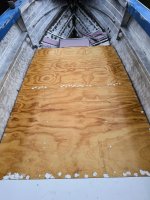
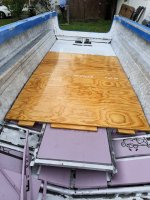
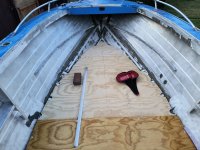
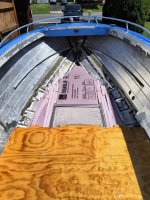
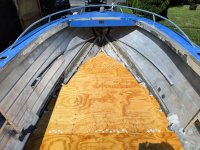
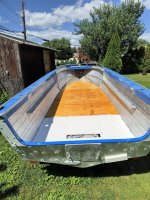
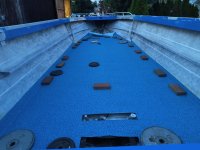
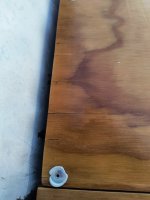
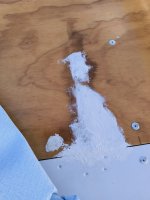
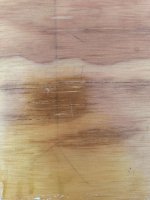
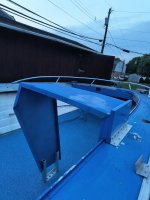
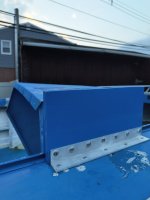
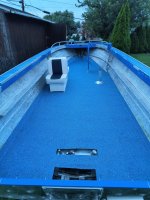
Floor piece shown is already installed so I just checked the threading on the t-nuts, and they gripped the bolts perfectly. I will note to be delicate when I am threading these bolts though. Thanks for the heads up.
Here's how I did it that seemed to work great. Note I am not an expert or a pro just sharing how I got it done for someone maybe reading this in the next bunch of years. Without me reading a bunch of good threads like this I would have never known how to even attempt this project.
1. Redrilled the holes that were thick full of dried Spar varnish. I'm using 5/16-20 bolts - 316 stainless. I also drilled a small 3/8 opening from behind for space to countersink the center of the t nut.
2. Pushed a bolt through a hole (snug fit) and then threaded a t nut on the bolt after it was pushed through.
3. Pulled back on the bolt as hard as i could to set the spikes into the back of the board.
4. Whacked the t nut a bunch of times with a rubber mallet from behind to really seat it. I made sure I wasn't hitting on any of my bolt threads and only on the t nut. Try not to whack the sealed finish with the hammer.
5. A few more rubber mallet whacks after it's already seated for fun/good measure. I was leaning/bracing the deck board against my left knee from behind and swinging the rubber hammer with my right. OSHA approved.
6. Remove the bolt by unscrewing / unthreading.
7. Repeat for each bolt.
Note- I had one that didn't want to unscrew after it seated so I knocked it back out and used a different t nut.
Pic reposted
