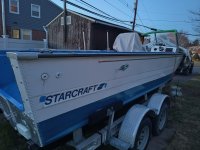
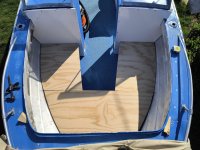
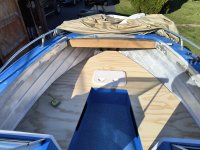
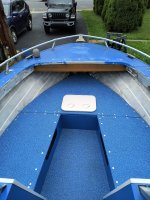
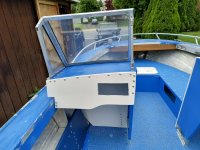
1976 22' SUS O/B "Hydration Break"

DWbaseball

Petty Officer 2nd Class
Joined
Aug 25, 2020
Messages
124
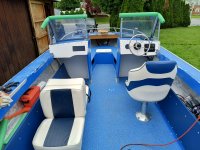
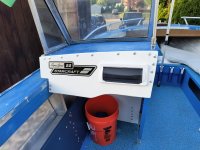
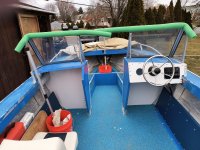
A few progress pics to share. Both windshield sections are now installed so my old Starcraft has a pretty face again. I never had a center piece for the windshield from the PO and i am ok with that because there is no way it would line up nice. Spent a lot of time doing windshield restore and the results are not great in terms of being clear but are definitely a lot better than before with paint overspray, etc.
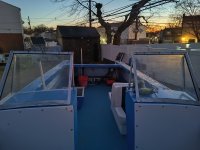
IMG_20240205_175805023.jpg

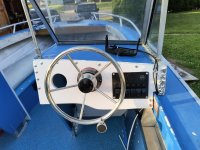
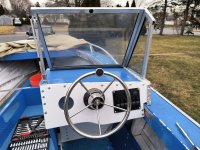
Next set of pics show the steering wheel that I installed along with the steering cable. Now both gas and steering are ready for my outboard installation. IMG_20240210_104442090.jpg
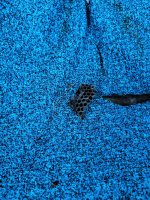
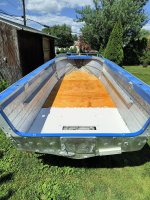
I also now have both side boards installed. I'll admit I made my biggest mistake so far - when drilling my first holes for the sideboard I slipped up with the drill and broke thru my new vinyl floor in three spots. I used a 2x6 as a block but was tired and not paying close enough attention. Decided I needed to cover them with 5200 to protect the floor even though it messes up the good look. Will try to hide with some blue something in the future. Last note is that I officially joined the pool noodle club after too long dreaming about it lol.
IMG_20240211_162528317.jpg

Critical list:
Wiring + Fishfinder, Bow seat tops, Gas and battery tie downs, Outboard installation, Passenger seat screwed in.
Additional list:
Passenger dashboard, Radio, Rod Holders. Cushions.

Replacing the wood under and across the bow cover still TBD but might give it a shot if I think I have enough time before spring.
 

SHSU

Lieutenant Junior+Starmada Splash Of The Year 2019
Joined
Mar 8, 2017
Messages
1,722
Great progress!!

We all have made mistakes and mess-ups on our boats. I have a couple knife points/razors through my vinyl too. It just adds to the character of the boat.

SHSU
 

DWbaseball

Petty Officer 2nd Class
Joined
Aug 25, 2020
Messages
124
Thanks for following along and the kind words. Mistakes are just all part of the story! Overall I'm happy with the way everything is going together and I'm proud that I haven't had too many disasters or injuries along the way.
 

DWbaseball

Petty Officer 2nd Class
Joined
Aug 25, 2020
Messages
124
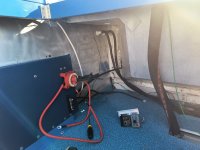
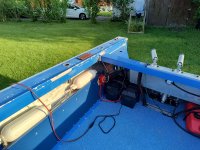
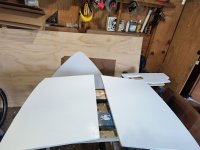
Starting Wiring. Im pretty confident with this since I took an electronics class back in high school and I do wiring for my Lionel trains. I ended up using loops of zip ties, zip tied to the to factory gunnel bolts, to hold the wire runs.
IMG_20240219_145654741.jpg

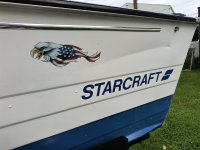
Decals came in the mail!
IMG_20240221_180731594.jpg

Also have 4 rod holders installed now, going for two more.
 

SHSU

Lieutenant Junior+Starmada Splash Of The Year 2019
Joined
Mar 8, 2017
Messages
1,722
Suggest putting your busbar and switch as high as you can. Don't want to short out with all the water that might get splashed around.

SHSU
 

DWbaseball

Petty Officer 2nd Class
Joined
Aug 25, 2020
Messages
124
Suggest putting your busbar and switch as high as you can. Don't want to short out with all the water that might get splashed around.

SHSU

Thanks for the tip. I moved this to the top of the side board. Rookie mistake on my part for sure and I really appreciate the veteran advice.
 

DWbaseball

Petty Officer 2nd Class
Joined
Aug 25, 2020
Messages
124
A few pics to share from a nice spring days work. Lots to do still but getting closer to a spring splash.

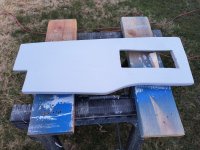
First focus was the passenger dashboard, I had cut one before with holes for a glovebox and radio but due to my console mod it didn't fit anymore due to the gunnel cutout I have going on. I was mostly able to just trace the old one and with a little trimming and sanding this came out smooth. Was even warm enough for me to get a coat of primer on it. (Skipping the old timers formula)IMG_20240303_180617831.jpg

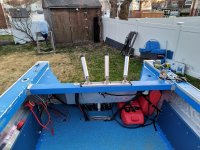
Next ill show off the rod holders installedIMG_20240303_174322596_HDR.jpg
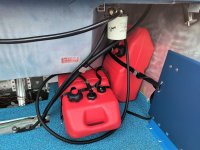
And here showing fully complete gas setup with the tie downs in. IMG_20240303_174337624.jpg

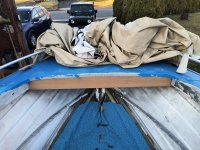
I also re-inspected the framing under the bow cap and decided I can last a few years as is. In the future I'd like to do something real nice on top of my bow cap for my anchor. Maybe a permanent anchor roller and hawspipe if it will clear the winch post, or at least some anchor storage chocks. Found this little surprise along the way looks pretty old not sure how it survived the power washing i did..IMG_20240303_173018753.jpg


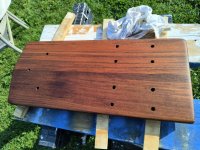
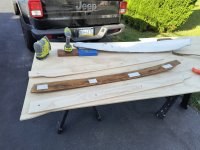
Best find of the day was when I removed the old ratty vinyl from my bow cross piece. I really like the look of this piece of wood and now I definitely plan to keep this piece of wood original. Here is a pic after a little bit of sanding.
IMG_20240303_173026731.jpg

Can someone help with advice on what kind of wood this is and give me advice on how I can finish it for a natural look but keep it protected the elements? I was not too impressed with helman Spar varnish.
Teak, Mahogany, Oak?

Last question. I have been planning on leaving my transom bare aluminum unfinished like this old pic shows. Any concerns with this? Do I need to put on some type of finish and if so why?
IMG_20230730_150700083.jpg

Thanks
-DW
 

Moserkr

Chief Officer + Starmada Splash Of The Year 2021
Joined
Nov 23, 2020
Messages
869
Looking great DW! Its snowing here so im jealous of the green grass haha.

I believe the wood is mahogany. I wish I had used just oil on mine. Or old timers formula which is basically just oil. Yours in great shape so definitely clean it up and show it off! I used helmsmans spar on mine and its nice, but not sure how long it will last. Being able to oil it as needed would have been better.

As for the transom, nothing wrong with leaving it bare. Most guys use sharkhide on the AL to keep if from oxidizing. Keeps it shiny, not dull.
 

DWbaseball

Petty Officer 2nd Class
Joined
Aug 25, 2020
Messages
124
Hello,
A few updates to share on my Supersport. Feel like I am getting close but still lots of work to do. This is definitely the year!

First thing I'll show off these cannon rod holders that were a gift from my uncle. They mounted up really nice on the splashwell top. Going to troll up some nice Chesapeake stripers back here.IMG_20240313_184513334_HDR.jpg

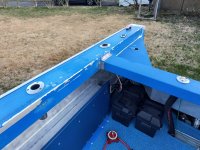
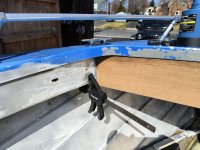
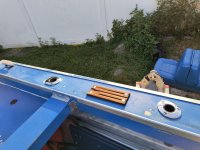
Starting and planning some work on my bow. First thing I discovered is that the rivets in this picture were never connected from the factory. They riveted through the gunnel piece only and didn't grip into the bracket that was mounted to the wooden board. So rivets holding nothing and with the steel mandrels too. Must have been the much discussed Starcraft Friday afternoon shift. I drilled out all of these on both sides and riveted new. IMG_20240316_141522869.jpg

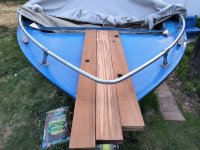
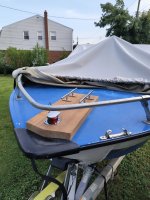
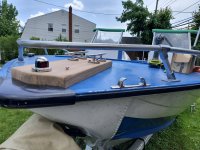
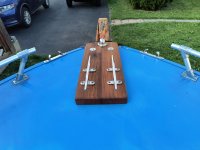
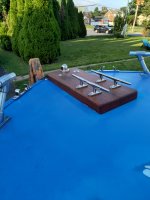
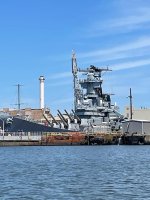
Next I have some teak wood to show off that I scored which are salvage deck boards from the Battleship New Jersey. It's docked as a museum on the Delaware River near me and they are dry docking in Philly Navy Yard for a few months of maintenance right now. Pretty hype about adding this type of history to the boat and it's good wood too. Planning an anchor roller mount with a chain lock, hawse pipe, and a bollard cleat with this. IMG_20240318_184531717.jpg
Does anyone have a bow anchor setup that is similar? I am interested in how you keep /store the anchor line underneath the bow cap.


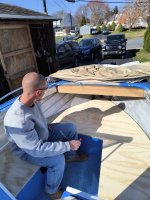
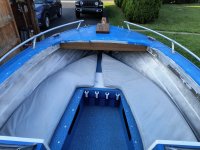
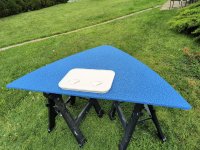
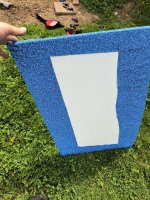
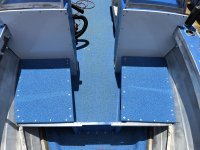
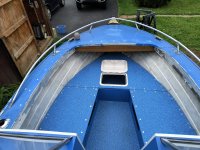
Lastly my cousin who is a better carpenter than me came over to help build the bow seat tops. This was tough as nothing is square on these but I think they turned out pretty well. Going to be a little gap on the one side of the bow triangle but not bad. Planning to wrap these in nautolex so I left a little bit of a gap. Going to paint them with the Rustoleum plus hardener first. Last pic shows the storage hatch.
IMG_20240324_162152906.jpgIMG_20240324_162435101.jpgIMG_20240324_164737510.jpg

Bilge pump and stern light wiring is done but untested. Still need to figure out bow lights and Garmin wiring. My critical list is wiring, seats in, and bow done. Then I can get the Merc rigging going and with some seat cushions I'll be on the water!
 

SHSU

Lieutenant Junior+Starmada Splash Of The Year 2019
Joined
Mar 8, 2017
Messages
1,722
I wanted to do something similar with an anchor roller, but realized I didn't have the space to store it up front like I would have wanted. I just use a milk crate type container to hold the rope and anchor. Makes it easy to remove and such since I have different anchors depending on fishing/pleasure boating we are doing.

SHSU
 

ShoestringMariner

Lieutenant Commander
Joined
Apr 18, 2015
Messages
1,593
Looks great! I wish I thought of raising my helms like you did. Love be the blue nautolex, it’s what I’ve used as well
 

DWbaseball

Petty Officer 2nd Class
Joined
Aug 25, 2020
Messages
124
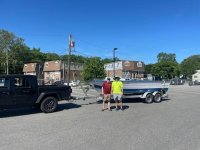
Happy Memorial Day everyone. Its a great Starcraft weekend in PA. The boat is on the hitch today and can anyone guess where she is going tomorrow?
 

DWbaseball

Petty Officer 2nd Class
Joined
Aug 25, 2020
Messages
124
Update pics to share.
Electrical test passed for bow light, stern light, fish finder, and bilge pumps. Got a second battery and my one from three years ago seems to still be going thanks to my occasional trickle charger. IMG_20240526_185657840_HDR.jpg
IMG_20240526_185601751.jpg

Sanded up the original teak step pads with some teak oil.
IMG_20240526_185620255.jpg
This teak on the bow is salvage from the Battleship New Jersey.
IMG_20240523_182752898.jpgIMG_20240525_133813054_HDR.jpgIMG_20240525_171811374.jpgIMG_20240526_185431379.jpgIMG_20240526_185440891_HDR.jpg

Power washed up the original bow cushions IMG_20240526_185450683.jpg

This decal didn't go on perfect due to a wrinkle on the contact paper the way it was sent to me but I salvaged it pretty well. IMG_20240526_185611680.jpg

Overall I am at a place where I still need to work on fit and finishes and to polish up a few of the rough edges but functionally we are ready to get some the water for some days this summer.
 

DWbaseball

Petty Officer 2nd Class
Joined
Aug 25, 2020
Messages
124
Starcraft on the Water!

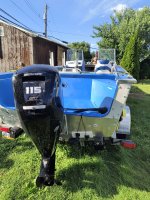
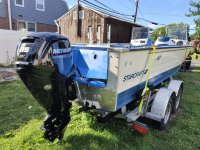
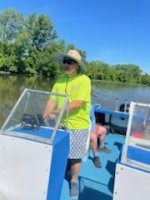
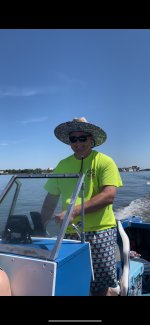
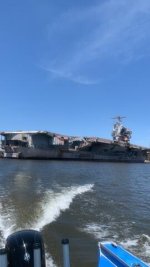
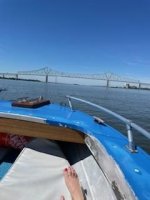
The boat is ready to go for the summer with my new Mercury 115 command thrust on the back. I took her out on the Delaware River three times over the past two weekends and overall things are running great! IMG_20240609_180005003.jpgIMG_20240609_175942690.jpg
28889.jpeg28914.jpeg28904.jpeg28905.jpeg
28919.jpeg
28908.jpeg
28892.jpeg

Still going to keep working on boat projects as she doesn't have all the comforts and finishes yet but that's ok.
Next up on the wife's list is the coaming pads for the bow seating. Here I am using one of the originals that I kept for a template.

IMG_20240609_180343919.jpg
 

Attachments

  • 28900.jpeg
    28900.jpeg
    22 KB · Views: 5

Moserkr

Chief Officer + Starmada Splash Of The Year 2021
Joined
Nov 23, 2020
Messages
869
Awesome!!! Congratulations on the successful splash!! Love the new motor on the back, especially that it's a CT.
 

SHSU

Lieutenant Junior+Starmada Splash Of The Year 2019
Joined
Mar 8, 2017
Messages
1,722
Congrats!!!! Nothing like a splash after all the hard work.

SHSU
 
Top