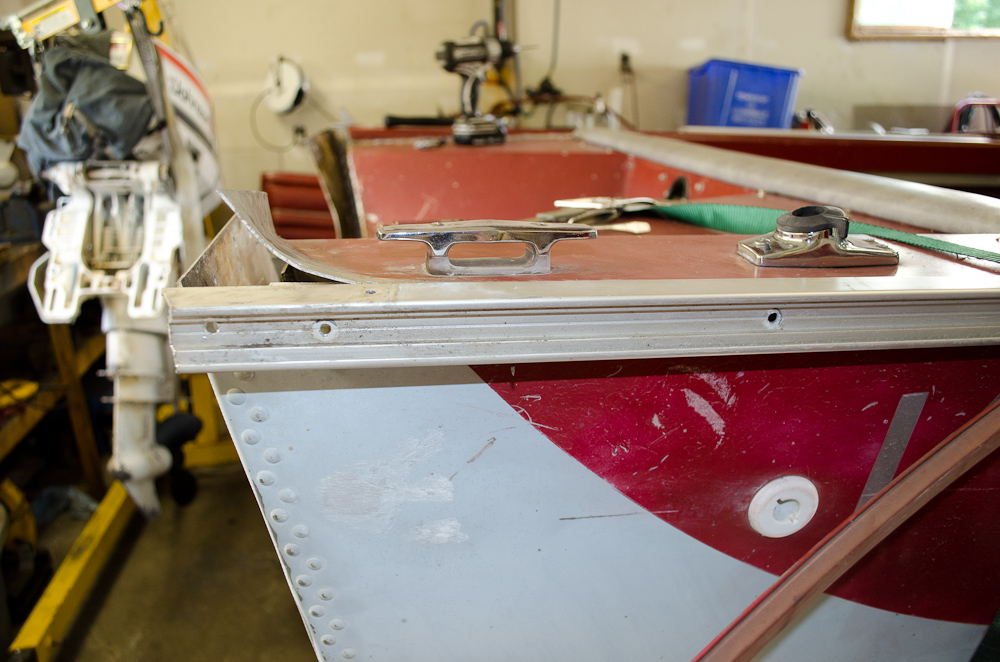
Re: Tore the transom ...how to repair? (pics)
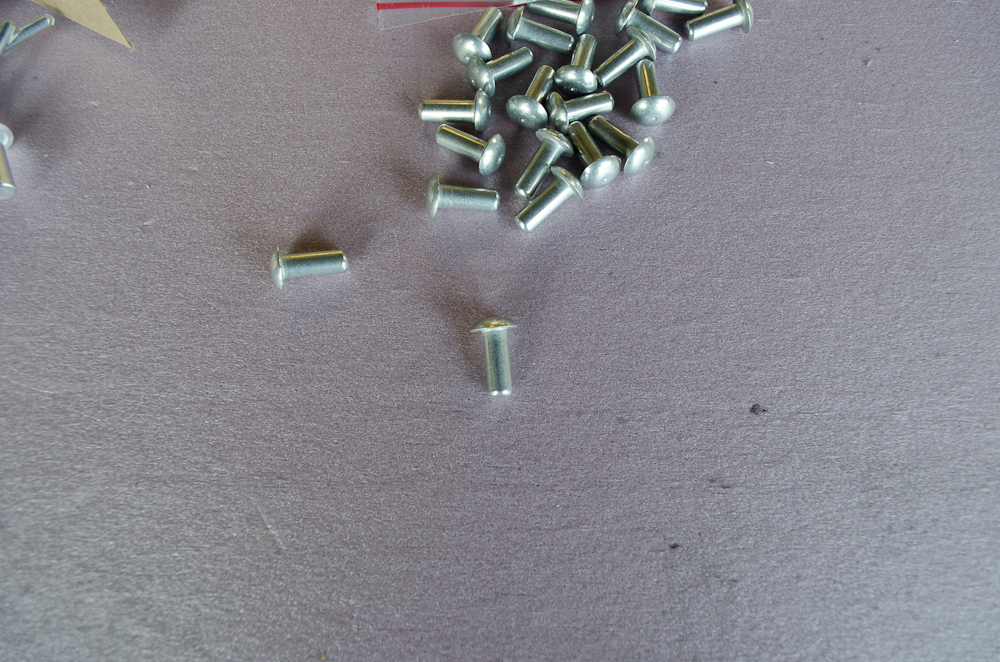
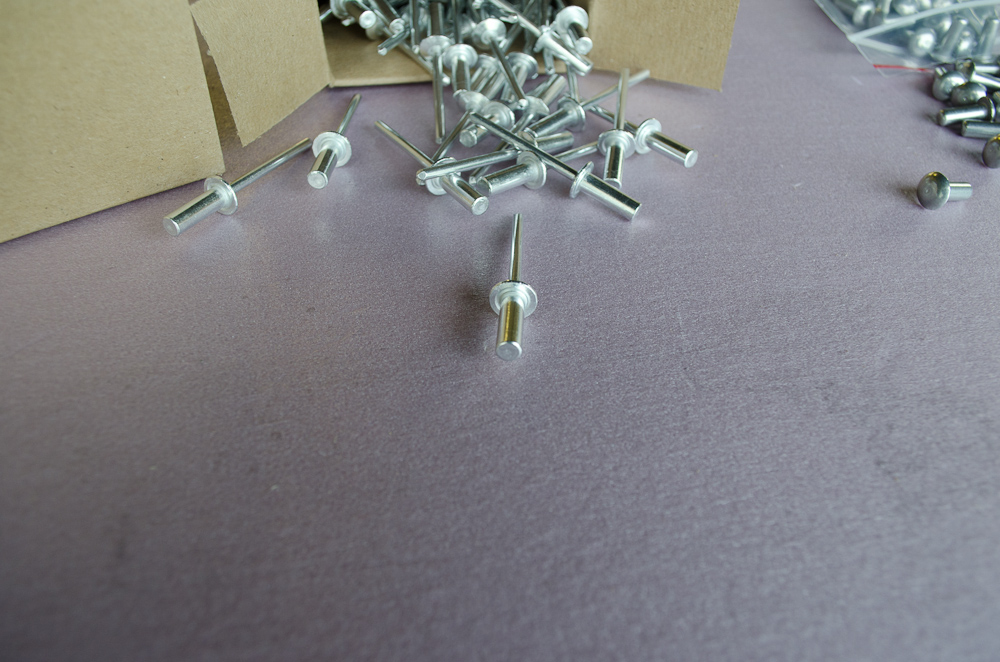
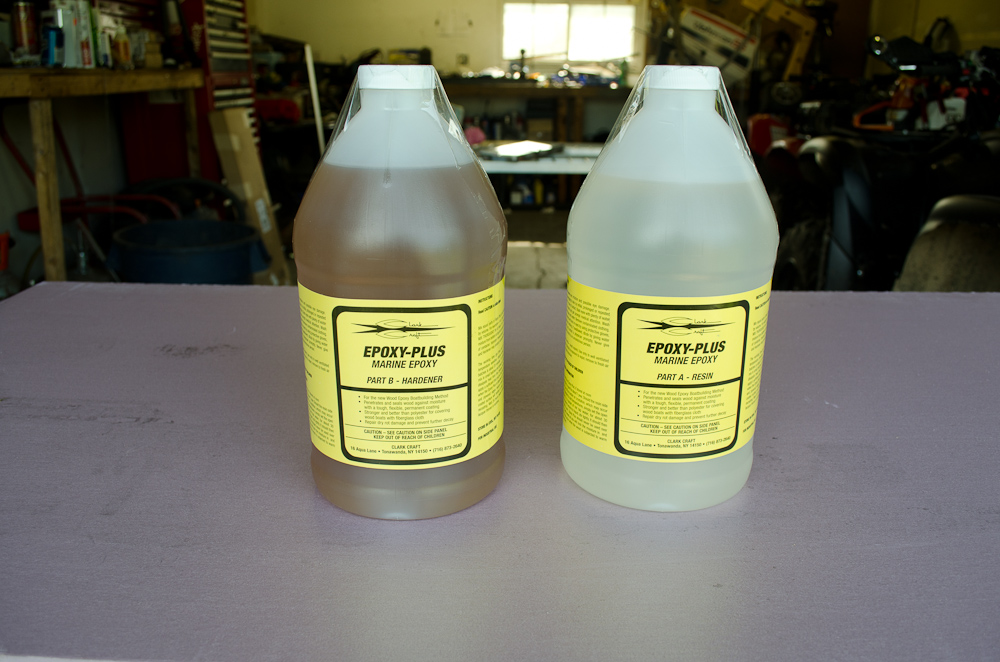
By the way, here's the epoxy I will be putting on the new rivets:

Large Panel Bonding Adhesive
Maxim™ Large Panel Bonding Adhesive is a one-to-one epoxy adhesive used for bonding various surfaces. It is used for replacing door skins, roofs, quarter panels, truck bedsides, utility vehicle sides and other non-structural panels. Maxim™ Large Panel Bonding Adhesive has excellent adhesion to SMC, cold-rolled steel, aluminum and e-coats. Maxim™ is backed by a lifetime warranty by Evercoat.
Work Time: 90-110 min
Clamp Time: 6 hours
Full Cure: 24 Hrs @ 21*C
Evercoat
DESCRIPTION: Maxim™ Large Panel Bonding Adhesive is a one-to-one epoxy adhesive used for bonding
various surfaces. It is used for replacing door skins, roofs, quarter panels, truck bedsides, utility
vehicle sides and other non-structural panels. Maxim™ Large Panel Bonding Adhesive has
excellent adhesion to SMC, cold rolled steel, aluminum and e-coats. Maxim™ Large Panel
Bonding Adhesive meets GM 6448G specifications and is backed with a full-life time warranty
by Evercoat.
FEATURES & Packaged in a Universal Cartridge: applied with a standard caulking gun
BENEFITS: 1:1 mix ratio
Contains glass beads for control of bond line thickness
Corrosion resistant properties: eliminates application of epoxy or self-etch primers
Excellent working times
Superior sag resistance
Easy to brush and spread
Cure time can be accelerated with heat
PREPARATION: Remove damaged panel. Grind surface area of the frame to remove old adhesive, rust and
other contaminants. Straighten damaged area. On quarters and roofs, grind the new panel to
bare steel. On doorskins, scuff the panel to remove the gloss.
Dry fit the panel to check for proper alignment.
Clean the mating surface areas of the frame and new panel.
APPLICATION: Equalize the cartridge to remove any air. Gun out a bead of adhesive the length of the static mix
tip to check for proper mix. Apply a bead of Maxim™ Large Panel Bonding Adhesive to the
frame and new panel. Brush the adhesive to a thin coat to cover all exposed bare metal. Apply
a 1/4” to 1/2” bead of the adhesive to the frame or new panel. Align the new panel to the frame.
Slide the panel to reposition. Clamp or screw the new panel to the frame. Do not remove the
clamps or screws for 6 hours. Remove all excess adhesive from the seams. Store used
cartridges with the tip down.
TECHNICAL
SPECIFICATIONS:
Appearance Gray/Black
VOC None
Odor Amine / mercapton
Working Time 90-110 minutes
Clamp Time 6 hours
Full Cure
Paint Time
24 hours @ 70? F (21?C)
8 hours @ 70? F (21?C)
Contents and Caution
Additional Information
MSDS available upon request


")