


So, am I right in saying that you used the PVC to push the straight wood into the curved position? I really have no idea why the factory would have been curved like that.
I too have been having a really hard time trying to cut all my wood to the same correct height. A lot of it was luck and finding the one stringer that was right then popping a chalk line. My method is WAY to convoluted and bizarre for me to tell you. You would be better to find someone elses thread that makes sense. Please post it when you find it though. I would like to read it.
 ), I'll be sure to post a picture tutorial in my thread.
Looking good there mike !!! John
ps just to give you a boost , I just spent the last 8 days camping and used mine every day !!! man what FUN !! lol ok I guess it was rubbing it IN !! LOL john
Where's the video man!Hey now, you can't go teasing me like that! If I find an easy way to find a flat floor, I'll be sure to post it here.
One thing that comes to mind though, I could probably get where it needs to be by running a chalk line from where the front of the stringer tapers off to a point, to a line chalked across the transom where the floor goes across....I think that's probably going to be the easiest way to get it done.
If that does turn out to be the best way to do it ( seems like it now that I've thought of it!
But whatever gets it done... The reason I left the rim of glass where my deck used to be is for this very reason. I just used a 1/2" block of wood and added 1/8"(thickness of deck with glass) to make a mark on the hull at the front of the stringer and at the transom. Then I pulled a chalk line and that gave me my height. Its the perpendicular pieces that are too crazy to explain.And I'll bet you forgot to take pictures again too!
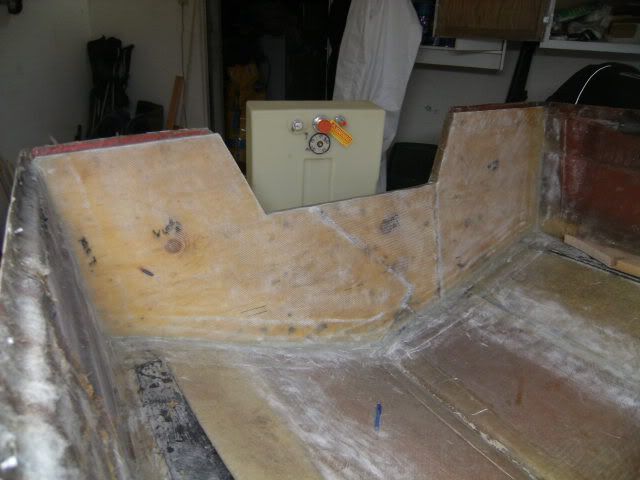
How's the paint holding up to the loading and unloading? I'm just glad that I'm at this point in the project! It's so awesome getting here. If I can just get the stringers ready for the floor, I might just get a floor in this boat before fall! That would completely make my year! I get the floor in, and get the cap reinstalled? MAJOR milestone.
Question for you though, when you fit your cap back on, did you have issues getting it back on? Whenever I fit my cap back on, those flimsy sides are just a real pain in the arse to get under the cap. I may have to either devise some plan to pull them in with a belt or enlist a few friends to push in on the sides to get the cap on...
Scribing them....easy! making them so you will have a level floor...not so easy!.

.....Of course, I have to make sure I don't cut the ply wrong if I do get it...measure 8 times, measure again, and then cut after measuring one more time...better measure that again...
won't be long now.Hey now, you can't go teasing me like that! If I find an easy way to find a flat floor, I'll be sure to post it here.
One thing that comes to mind though, I could probably get where it needs to be by running a chalk line from where the front of the stringer tapers off to a point, to a line chalked across the transom where the floor goes across....I think that's probably going to be the easiest way to get it done.
If that does turn out to be the best way to do it ( seems like it now that I've thought of it!
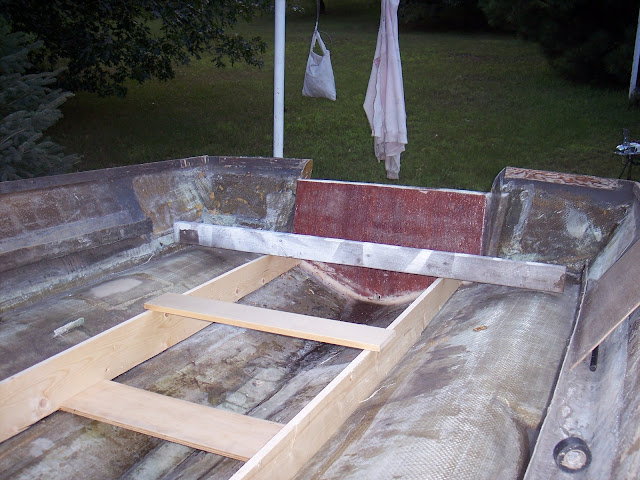
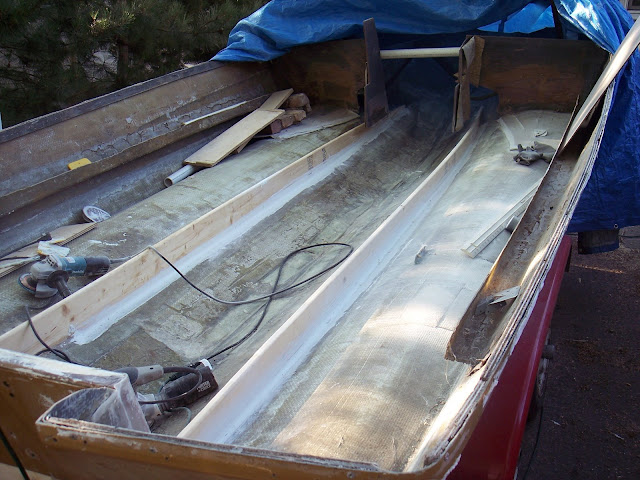
Well, so much for me doing a tutorial. HOWEVER, I will detail the process I used. All in all, I was quite happy with the end result. What I did was made sure the stringers were set well into the boat and braced properly. Then I simply took a chalk line and hooked the front of the stringer where I wanted the floor, and then to the back where I had marked a line where I wanted the floor. SNAP! Chalk line! I did the other side, and then compared the two. Almost spot on on each side, and some of the marks I had made previously with a different method were crossed by the chalk line, so I was confident enough to make the cut.
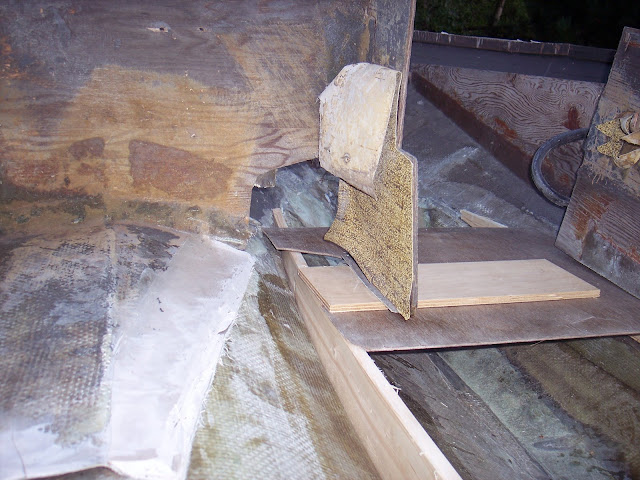
What I did to cut them was to take my router and set a 1/4 inch shaping bit 3/4ths the way through the wood. Then I screwed the wood to my table, and put my spare 12ft piece of wood 2 1/2 inches ( verified by placing the router at various spots along the line ) away from my cut line and screwed that down as a guide for the router. Zipped my first cut, then set the depth to cut through....did a nice job of giving my a nice straight line, and then I routed a 1/4 inch rounded edge on the top so I can glass it with a nice radius.
So, in summary, I made a rig to suspend my stringers from my hull above where they were going to be placed, and then scribed the shape of the hull onto them. Cut, dry fit and then chalk lined from front to back to find my height and cut with a router, then rounded the edges for glassing. Easier done than said when it was all finished. I freaked a bit because I couldn't envision what I was going to to, but as usual, a good day of thinking it through gave me a solution that worked well.
Godd job!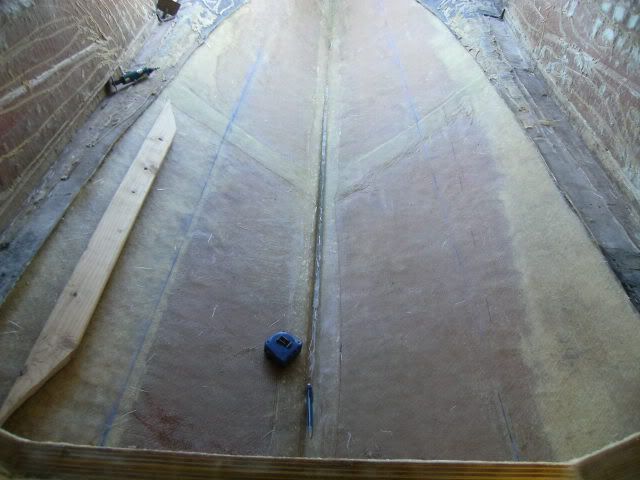
Heh, well fortunately for me, I didn't have to find my stringer position. I'm going to try to do the tutorial part for the center stringer. Well, I gotta go eat something and get my rear end out there and start glassing before it gets too hot!


