My tri-hull transom replacement w/ pics

Status
Not open for further replies.

AQ171C270SP

Cadet
Joined
Aug 4, 2010
Messages
27
Re: My tri-hull transom replacement w/ pics

What a job you have done.I have been reading of your rebuild for a while now.Your knack for perfection is awesome.looking forward to see it rigged.Your family must be proud.my hat is off to you.
 

drewpster

Commander
Joined
Oct 17, 2006
Messages
2,059
Re: My tri-hull transom replacement w/ pics

Thanks for the compliments. Its true the family is really excited. My wife has really gotten in to it. Interesting how that happens after all the itchy work is finished?:rolleyes:
But really, she has been very supportive. I have had many late nights getting it to this point. With a four year old little girl to look after, and both of us with full time jobs, she has really kicked in the support. I wonder if she will be as accommodating when I'm gone fishing......hmmm? It will be easy as long as they can come along. Really looking forward to it.
 

dude11

Petty Officer 1st Class
Joined
May 2, 2010
Messages
211
Re: My tri-hull transom replacement w/ pics

Thanks for the compliments. Its true the family is really excited. My wife has really gotten in to it. Interesting how that happens after all the itchy work is finished?:rolleyes:
Yeah mine too--After ripping out of the monkey suite and coming in completely soaked w/sweat headed for the shower--she'll say--"My goodness,look at you!!" Did that sound like -really getten into it????:rolleyes:QUOTE]
 

drewpster

Commander
Joined
Oct 17, 2006
Messages
2,059
Re: My tri-hull transom replacement w/ pics

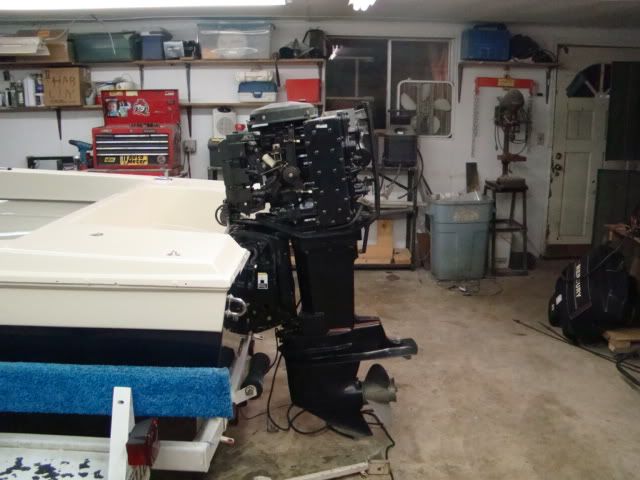
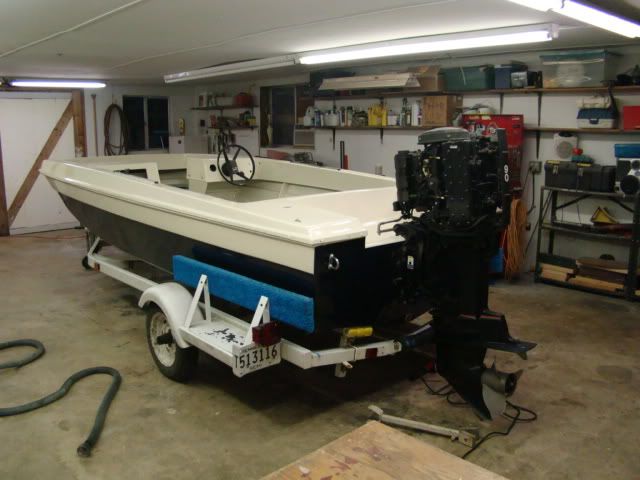
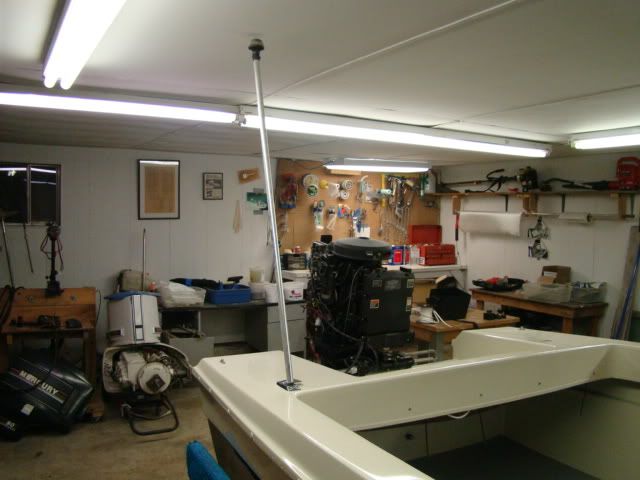
I have accomplished a few things in the past couple of weeks. I managed to get the engine mounted, however it will have to come back off when I paint it. I am loving the power tilt. It works great and I am looking forward to wiring a remote tilt switch in the aft coaming panel. For some reason I think that it is cool to be able to tilt it for trolling and when I load it on the trailer.
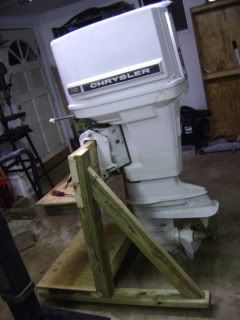
Before circa 1977
DSC00698.jpg


After modern machine
DSC06909.jpg


The hot rodder in me loves the way 20 horse power over stock looks on the back of my boat. This boat was quick with 70 hp, I am looking forward to seeing what 90hp will do. Me likee :)

DSC06908.jpg


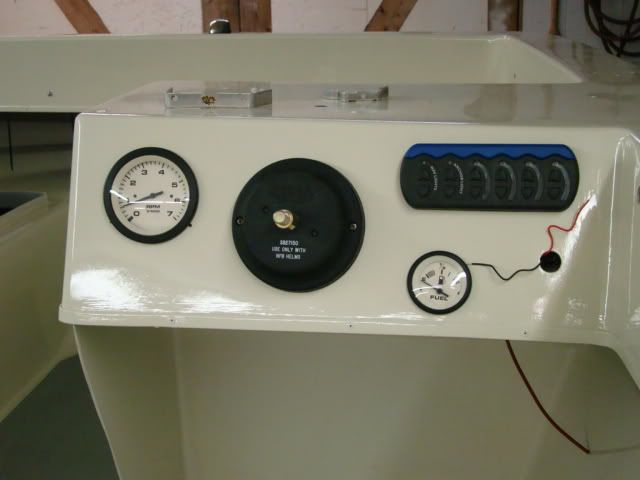
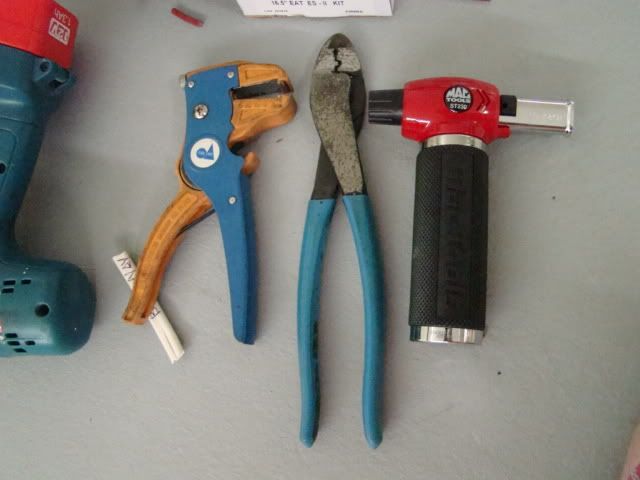
The steering cable was a comedy of errors. I purchased a Teflex NFB kit that came with a new NFB helm and the cable. First time I ordered the wrong length 14 foot cable. It was two feet too long. I sent the cable back and they promptly sent me one back. New in the box 14 feet long! Again, wrong length. I contacted them again and after some apologies from the bonehead who sent it, I got another new cable. This time it fit neatly under the gunnel and was perfect length.
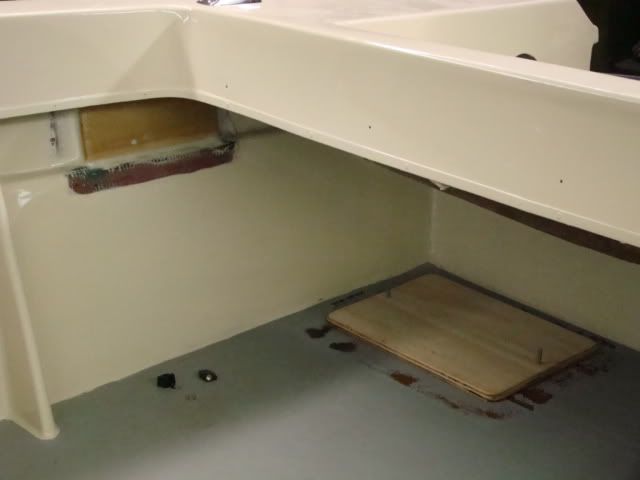
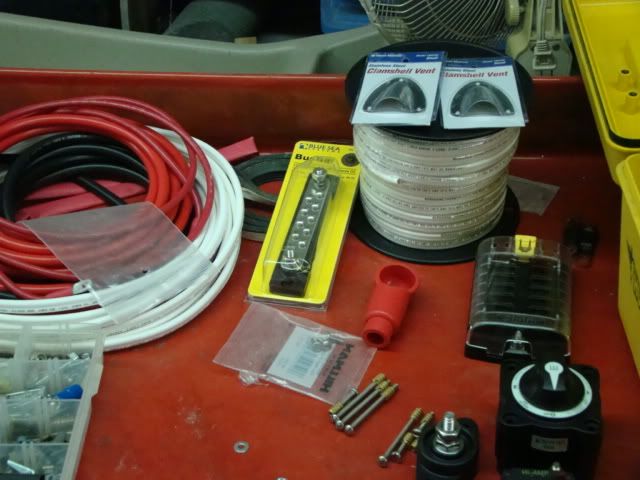
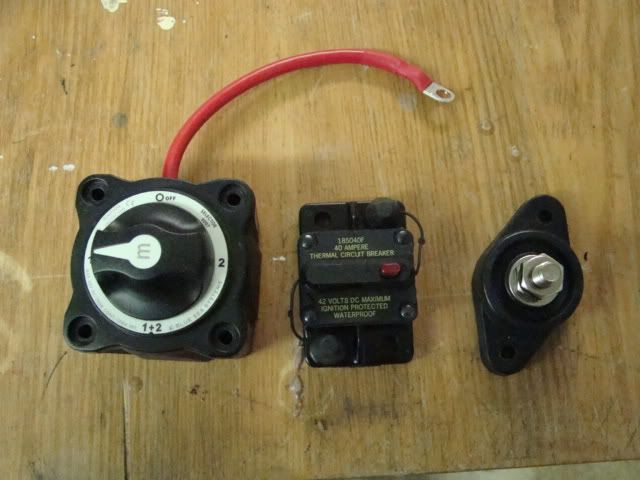
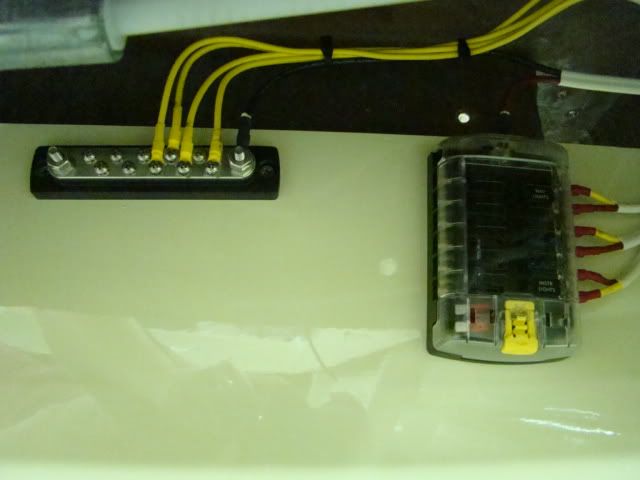
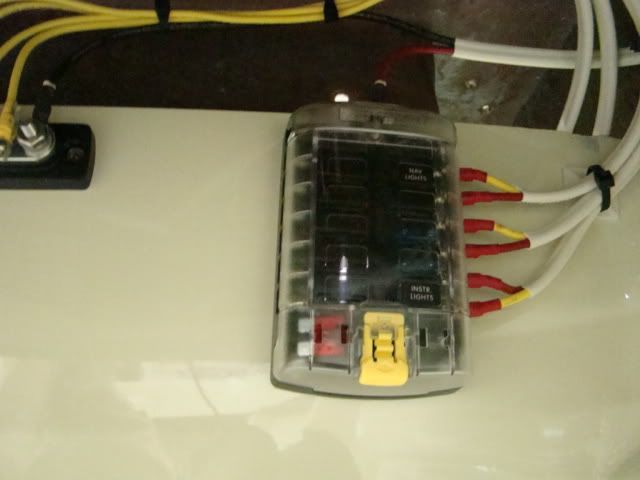
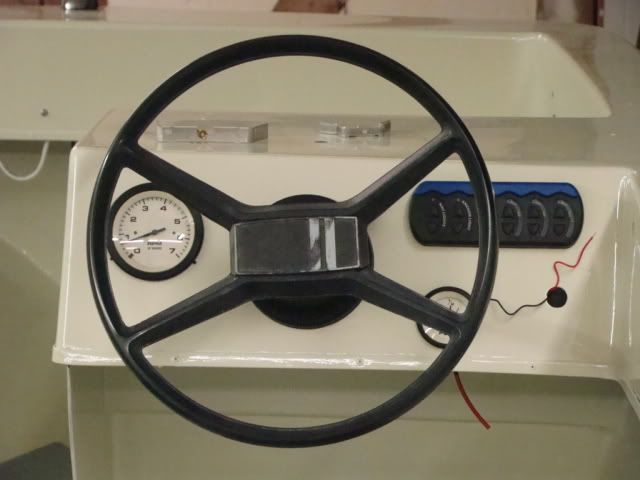
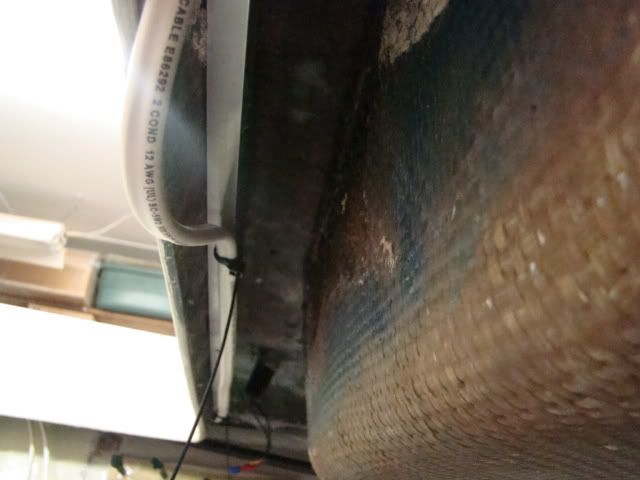
After some planning I finally came up with the mounts for my battery, a battery switch, main power breaker to feed the boat fuse panel going under the dash, a troller breaker and a main ground buss. I want everything to mount neatly hidden just under the gunnel. When I am done, all you will see is two neat cables and the battery box. I hate messy wiring.

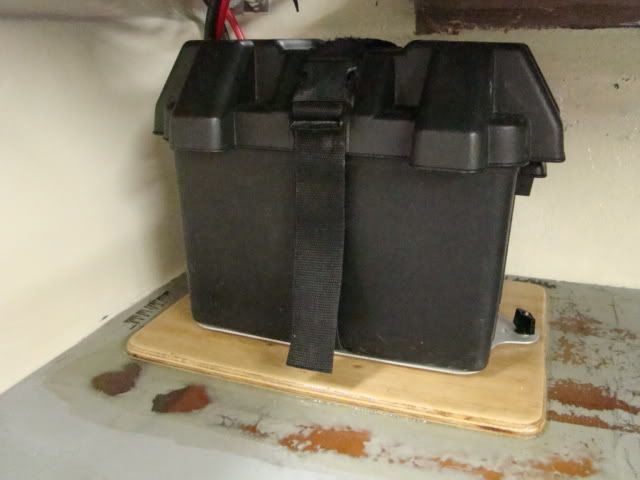
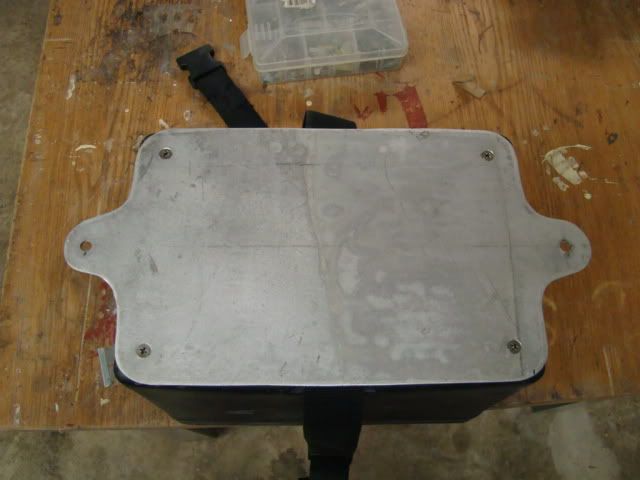
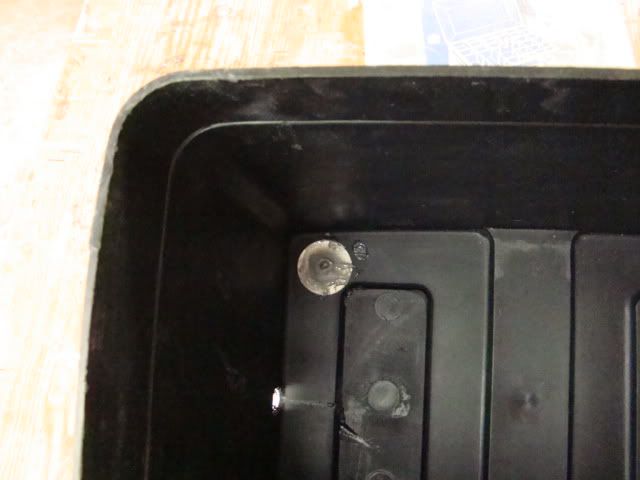
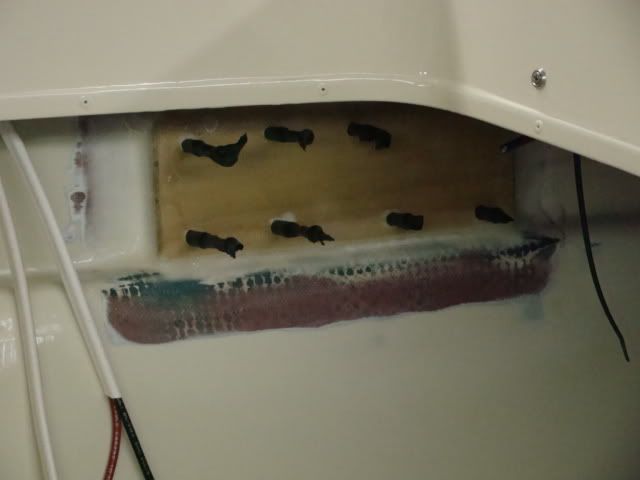
The battery mount still needs glass and gelcoat. A black battery box will sit in place here held down by the two studs and removable knobs. A very tidy setup.

DSC06910.jpg


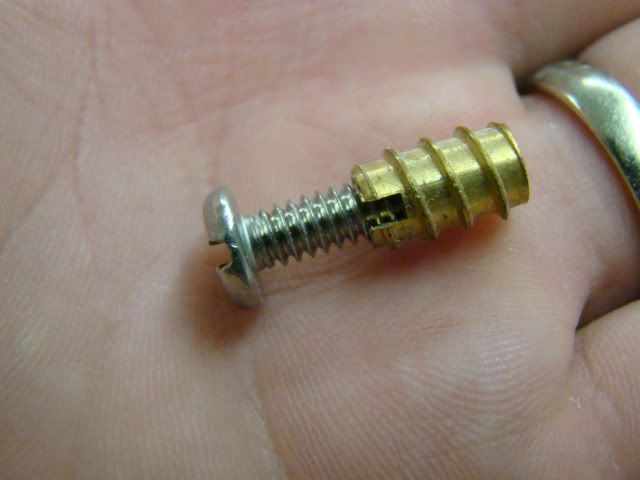
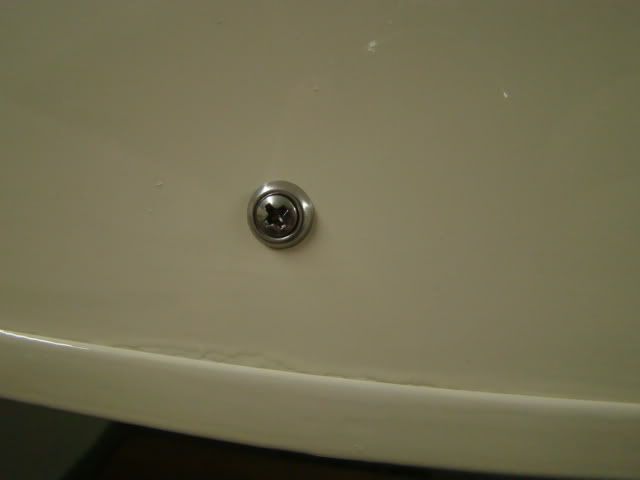
I use the K.I.S.S. method. The mount is a simple piece of ply routed over for fiberglass and two stainless 1/4-20 studs. I cleaned up the spot where it is mounted and bonded it to the deck with a thick coat of epoxy. I cleaned up the epoxy from around the edges and I will use poly resin and surfboard cloth to glass it over followed by gelcoat. The switch plate is done the same way except it will get glassed with epoxy and I will repair the paint in that area.

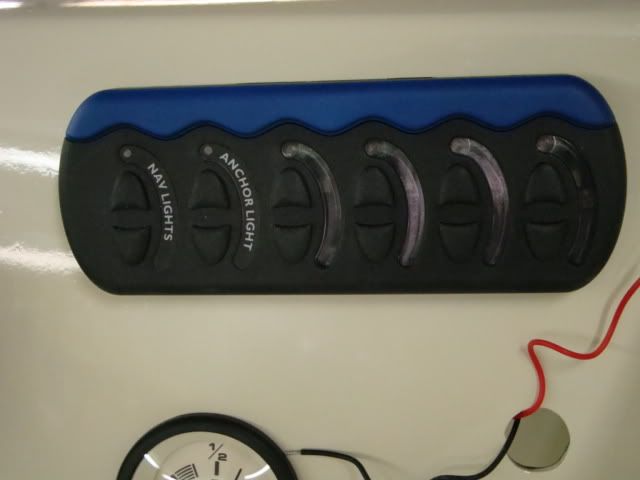
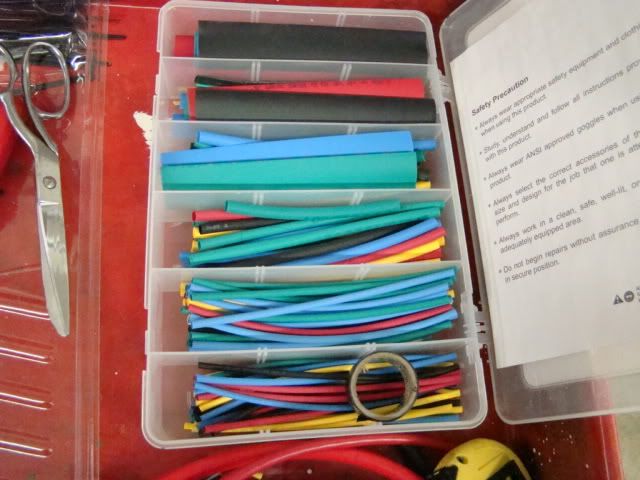
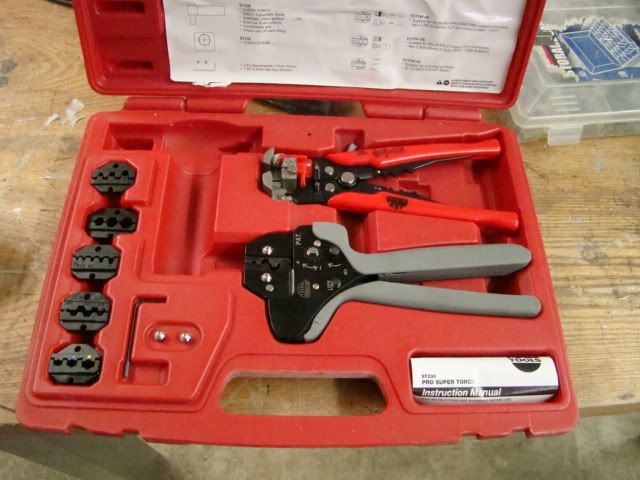
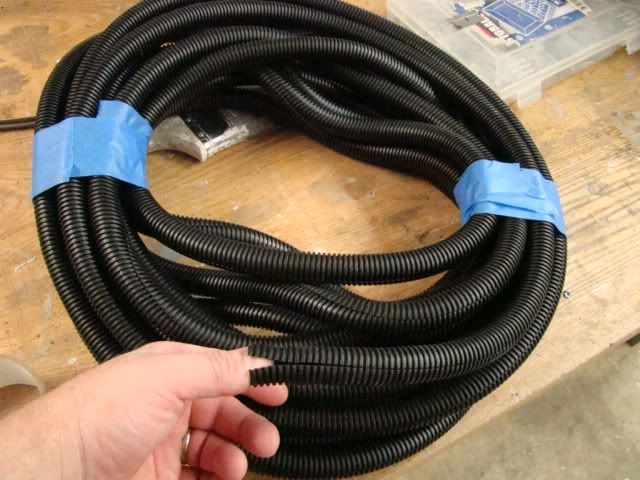
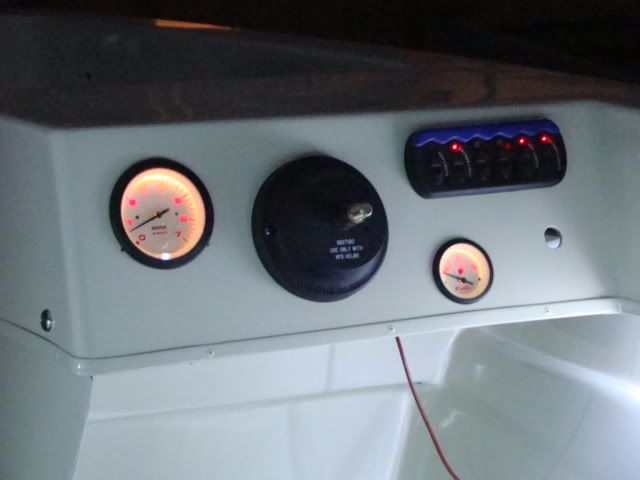
I have most of the wiring. All marine tinned wire and top quality components. I still need a switch panel for the dash and some lighting and I am ready to string wire.

DSC06911.jpg
 

drewpster

Commander
Joined
Oct 17, 2006
Messages
2,059
Re: My tri-hull transom replacement w/ pics

Oh by the way! I have seats! They are perfect size and I like the colors. I had them in place for a picture, but I pulled them out to do the mounts. I did not want to move them around too much and mess them up. I'll get some shots and go over the mounts ASAP.

DSC06913.jpg


DSC06912.jpg


I am really loving this part. I am buying all the do-dads every week. And I am so stoked to get the wiring done. I have a fetish for lighting and I am thinking LED is the way to go. Don?t worry, I don?t want a floating Christmas tree, but it is going to be cool. I really wish I could afford a surface mount underwater LED for fishing at night but they are just way to crazy priced.
 

ezmobee

Supreme Mariner
Joined
Mar 26, 2007
Messages
23,767
Re: My tri-hull transom replacement w/ pics

Looking good. I put those exact seats in my Jupiter. They held up very well.
 

tallcanadian

Captain
Joined
Sep 7, 2006
Messages
3,245
Re: My tri-hull transom replacement w/ pics

Looking good Drew, but it can't look anything else. Can't wait to see the finished product.
 

BobsGlasstream

Commander
Joined
Sep 11, 2009
Messages
2,128
Re: My tri-hull transom replacement w/ pics

wooooooo,
Nice shinny new do-dads.
drewpster,
Like always, it sounds like you have a good plan and the work is of the highest quality. I looking for ward to seeing that thing all fitted out and floating on the water.
Bob
 
Joined
Aug 17, 2009
Messages
941
Re: My tri-hull transom replacement w/ pics

Drew,

I just re-checked out your resto. Very very nice job. Your tri-hull looks amazing! You are going to hate to get that baby wet. :)
 

drewpster

Commander
Joined
Oct 17, 2006
Messages
2,059
Re: My tri-hull transom replacement w/ pics

Im sure it seems I have stopped production. Its been awhile since I have posted anything on the tri-hull. But not true mon-frare. I have been working on wiring and making good progress given the time I have to get things done. I always want to do more, but I am married. (nuff said)

I finally settled on a battery mount I can live with. It is simple and will work well. I used a piece of sealed ply glassed to the deck with a couple of studs.

DSC07024.jpg


Next I cut a piece of aluminum and bolted it to the bottom of my battery box.

DSC06988.jpg


It is held in place on the mounting plate with a couple of thumb screws. The deck will get gelcoated over and i am thinking of having the alumminum plate powder coated to hold off any corrosion problems. I dabbed some epoxy to the inside nuts to keep them from backing off.

DSC06990.jpg


Next I positioned a mount just under the gunnel for a main battery switch, a main power supply breaker and a main ground stud. There I have easy access to them and they are partially hidden.

DSC06994.jpg


The mount for them is also a simple sealed hardwood block that will get painted.

DSC06993.jpg
 

drewpster

Commander
Joined
Oct 17, 2006
Messages
2,059
Re: My tri-hull transom replacement w/ pics

The cool thing about my switch mount is the way the switches get mounted to the block. I used some brass screw inserts. I am sure you have seen these.

DSC06992.jpg


Its not my first choice. Studs would have been difficult. The area where these switches go is very tight. Studs would not have allowed them to be pulled off. This is what I came up with. Wood screws or t-nuts would not have been secure enough for me. I like T-nuts and i have used them often. But I just did not have any at the time I installed the mount. The black things in the picture are the bolts I will use. I have them in place with black tape wrapped around them so when it gets painted, paint wont get in to the inserts.

The main breaker I am installing will power the fuse panel and all the accessories on the boat. I mounted a ground buss under the dash as well that gets fed from the stud back at the battery.

DSC07010.jpg


I prefer to use buss bars and studs rather than feeding directly off the battery terminals. It makes for a cleaner installation and allows for single connections on the battery itself.
The fuse panel is a quality unit. Its small and allows for twelve circuits. I wont be starting with that many branches but I like to allow for easy expansion later. It is simply through bolted to under the dash and is completely hidden and dry.

DSC07012.jpg


Most of all the components are BEP marine and Blue Sea systems products. I have used them in the past. They cost a little more, but they are quality parts. All the wire is marine tinned duplex cable. I have used regular copper primary wire in the past and it has always turned out to be a mistake.

I really like the switch panel I am using. It is a Generation2 from BEP marine. All of the switches are sealed under a rubber cover and there is a cool LED board for back lighting and "ON" indicators. It is also small and allows for six circuits.
DSC06996.jpg


With the gauges and switch panel in place the dash is finallly starting to come together.

DSC06995.jpg
 

drewpster

Commander
Joined
Oct 17, 2006
Messages
2,059
Re: My tri-hull transom replacement w/ pics

The bow and stern lights will be the next to get fired up. The stern light is the original I installed many years ago. It works well, its stowable and tall to stay out of your eyes. The bow light is another consideration. I wanted to go with LED for because it is small and very bright. The orignal light was great but it was very large and beat up. I stubbed my bare toes in it too many times while fishing off the foredeck. This one will stay out of the way.

DSC07019.jpg

[
DSC07026.jpg


I wanted to show you the way I was securing all the wiring under the gunwales. I have been using these nifty plastic retainers and zip ties in areas where they can be screwed to wood backing under the cap. The are backed with pressure tape, but I dont trust the tape alone. I used screws in the holes to mount them.
DSC07001.jpg

I have also been using glue lined heat shrink on all the connections. I know from experience that this step is necessary. I cant tell you how many connections I have repaired on the job because of corrosion. Regular vinyl heat shrink may look pretty, but you need the glue liner to do any real good. Heat shrink type connectors are available, but too pricey in my book.
These are the ones that look pretty and have glue in them as well.

DSC07006.jpg


Having the right tools are a must also. These are the elecrical tools I use. All pro-grade from Mac tools.

DSC07009.jpg


DSC07005.jpg
 

drewpster

Commander
Joined
Oct 17, 2006
Messages
2,059
Re: My tri-hull transom replacement w/ pics

I was able to get some split loom I'll use to cover the engine harness. i have had trouble in the past with rubbed wires. One caused the engine to go kaput.

DSC07020.jpg


Here is shot of the dash with the wheel in place. See why I wanted small components. No room for a cheaper switch panel.

DSC07018.jpg


This will give you an idea how small my bow light is. Its not as fancy as the original, but it suits my needs. I was surprised how bright it is.

DSC06998.jpg


I used 1/2 inch aluminum angle to secure everything under the cap. I have wire going all the way around and mountings were limilted. I drilled holes in the angle every 6-8 inches and used zip ties. (yes, I will cut those tails off) I then secured it to the underside using screws and finishing washers. Gotta have the pretty on the outside.

DSC07013.jpg


DSC07016.jpg


I am happy with how it is going. I considered detailing how I go about making connections and how I the diagram will work, but I thought it might get nixed and sent to the electrical forum. If there is anyone who shows an interest, I would be glad to detail it out over there. In all good progress. I need to get my engine harness squared away next and wire a few more do-dads and I will be ready to get the engine running. (which also needs paint)
 

BobsGlasstream

Commander
Joined
Sep 11, 2009
Messages
2,128
Re: My tri-hull transom replacement w/ pics

Hey drewpster,
It looks like everything was well thought out and planned. I really like the equipment you are using should make a nice neat little package.
Very nice.
Bob
 

drewpster

Commander
Joined
Oct 17, 2006
Messages
2,059
Re: My tri-hull transom replacement w/ pics

Ordered my lighting today. All LED strips to go under the cap. I plan to use white light as courtesy lighting and I bought some blue ones just because i think they are cool. Come-on mail man!
 

drewpster

Commander
Joined
Oct 17, 2006
Messages
2,059
Re: My tri-hull transom replacement w/ pics

Well my lights got here. They come in a plastic strip. I got the 10" lengths so I could plan out exactely where to put them. I always hated not having enough light. I had a couple of dim courtesy lights before and they basically sucked. These blow those away!

DSC07168.jpg


I also like how bright that little bow light is. The is the one mile model of this bow light and it really works well. Its hard to tell in the picture, but its lighting up the whole shop.

DSC07167.jpg


All the dash wiring is done except the ignition switch and the engine harness. I knew all this lighting was going to be allot of trouble, so I held off on the engine harness until last.

DSC07165.jpg


I'm going to put a couple of strips in the bow end to cover the bow seating area. I also am going to add a few blue colored ones on another switch just for looks.

DSC07162.jpg


They come in a strip and getting them mouted was a bit of a challenge. But the aluminum angle I mounted to the underside of the gunnel gave me something to tie them to. So far I am happy with them.

DSC07159.jpg


I would really like to have some under water lighting for night fishing. Those things are so expensive! Even the cheaper surface mount underwater lights are over one hundred dollars. If they ever come down to a reasonable level, or I get extreamly rich, I will get a set.
 

parrisw

Ensign
Joined
Jun 8, 2009
Messages
985
Re: My tri-hull transom replacement w/ pics

Wow!! That boat is really looking great. Nice work.
 

drewpster

Commander
Joined
Oct 17, 2006
Messages
2,059
Re: My tri-hull transom replacement w/ pics

Thanks ya'll. Well I'm off to the powdercoaters this afternoon with my windshield parts. I do not have any pics of the dissassembly but basically I had to drill out all the revits and take the whole thing apart. Now the challenge is going to be getting it back together after powdercoating. I hope to have pictures of all of that when the time comes.
 

parrisw

Ensign
Joined
Jun 8, 2009
Messages
985
Re: My tri-hull transom replacement w/ pics

Thanks ya'll. Well I'm off to the powdercoaters this afternoon with my windshield parts. I do not have any pics of the dissassembly but basically I had to drill out all the revits and take the whole thing apart. Now the challenge is going to be getting it back together after powdercoating. I hope to have pictures of all of that when the time comes.

Cool, powdercoating is awesome stuff.
 
Status
Not open for further replies.
Top