My tri-hull transom replacement w/ pics

Status
Not open for further replies.

redfury

Commander
Joined
Jul 16, 2006
Messages
2,655
Re: My tri-hull transom replacement w/ pics

Meh, a few high speed runs on the lake will smooth all that right out ;)
 

drewpster

Commander
Joined
Oct 17, 2006
Messages
2,059
Re: My tri-hull transom replacement w/ pics

My roller bunks are on the way. Should be here Tuesday. I got the type that can be mounted on top of your existing bunks or mounted by themselves to replace the boards. I will give them a closer look and post some pictures when they get here. I am also going to replace my old black rubber keel rollers with the non-marring yellow ones. YEAH fathers day! I like the idea of being able to crank the boat up more easily. Most of the time when I was loading it before the bow would not stay tight to the bow stop. I would have to roll forward and bump the brakes to get the boat up tight. I also hope the rollers will help save the bottom paint. I am sure those old bunk boards would rub it away over time. We'll see.
 

Chuck Gibson

Petty Officer 2nd Class
Joined
Apr 13, 2005
Messages
123
Re: My tri-hull transom replacement w/ pics

Hello Drewpster,
It looks awesome!

In your thread you stated that you used filler when filling holes. What type of filler did you use after you finished the glass work?

Could you please explain the "fairing" step and what material you prefer to use?

Thank you much for helping us Rooks!
Chuck
 

drewpster

Commander
Joined
Oct 17, 2006
Messages
2,059
Re: My tri-hull transom replacement w/ pics

Sorry I missed your question Chuck.
For filling smaller areas, say up to about a foot in diameter, I prefer Interlux Watertite filler for above and below the water line. It is a high quality epoxy base filler that sands and feather edges very well. For larger areas I make my own filler paste out of resin and thickeners.

Fairing is done after the structural part of whatever type of repair or build you may be doing is done. To make an area fair means to finish a surface to its final shape and texture before the final finish is applied. Filler is used over the rough surface of the fiberglass to give you a sandable surface that can be sanded away and blended in to the surrounding area. Fillers are softer than fiberglass and therefore easier to sand level and smooth before painting. Ideally, on a hole for example, the fiberglass layer you covered the hole with will be slightly below flush. You would then overfill the area slightly with filler and sand it back flush and smooth.
When my boat was built originally the inside of the exposed parts of the hull were not smooth. The factory left the rough welt of the fiberglass cloth exposed and simply gelcoated over it. I wanted a smooth surface. So I basically buttered fairing compound (filler) over the surface and sanded it all back smooth and flat. This covered the weave of the fiberglass cloth and gave me a smooth paintable surface. I used epoxy based filler to do this because epoxy bonds much better than polyester. It is also far more flexible and will not fracture like poly will. So I can get away with using it as a coating alone. The thickeners I used not only make the resin thick so it wont run, it also makes it much easier to sand and helps keep the structure of the resin from breaking up over time. Once covered with paint, I am confident it will be there for the extended life of the boat. To make my fairing compound I used a mix of epoxy resin and a ready made powder thickener made by US Composites that is used for fairing work.
 

drewpster

Commander
Joined
Oct 17, 2006
Messages
2,059
Re: My tri-hull transom replacement w/ pics

My roller bunks got here. Did I mention my great wife? And she did not even make me write that.

Here is the kind I bought. You have probably seen them before if you have ever searched for "roller bunks" The seem solid and good quality.

DSC06468.jpg
\

You can see in the picture that I removed one of the old bunk boards to show how they mount. You also have the option of mounting them on top of the bunk boards. I prefer to remove the old wooden bunk boards completely.

DSC06471.jpg


After getting the rollers mounted I removed the leftover mounts that supported the old boards.

DSC06469.jpg


I also plan to replace my old rubber keel rollers with the non-marring type. Those will have to wait for now.
 

drewpster

Commander
Joined
Oct 17, 2006
Messages
2,059
Re: My tri-hull transom replacement w/ pics

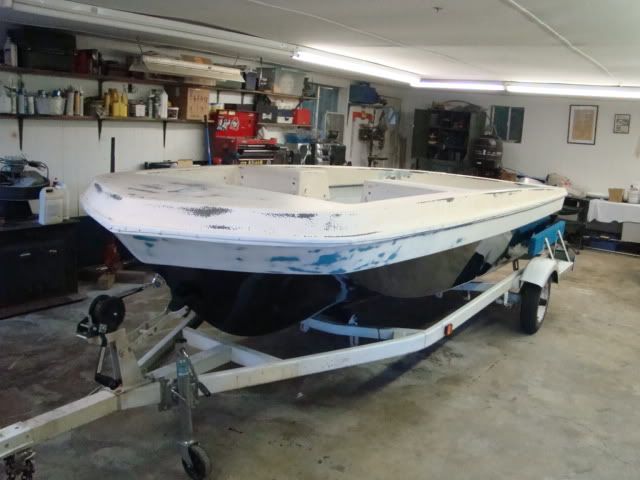
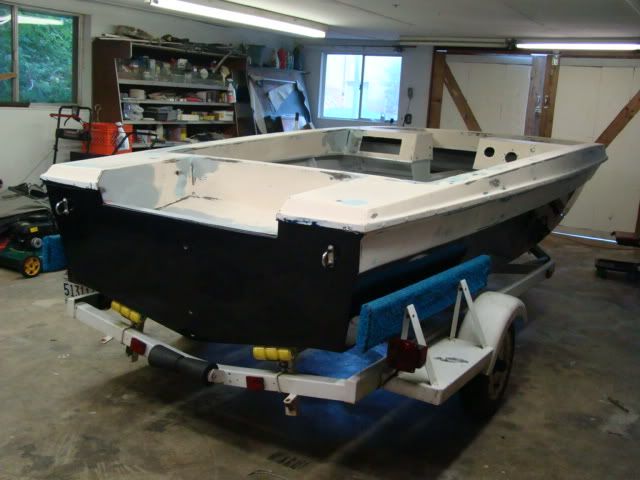
If I never have to flip another boat it will be too soon. After getting the blue part of the hull painted I needed to flip the boat back over in order to start the paint on the top. After having worked to get that blue all purdy' the sphincter factor went off the scale. I don?t have any pictures of the process because it all happened at night. I am lucky enough to have a gantry that helped with the work. It carried the weight easily. But it still took a couple of hours of rigging and working slowly to get it back over safely without damage. (by myself BTW):eek:
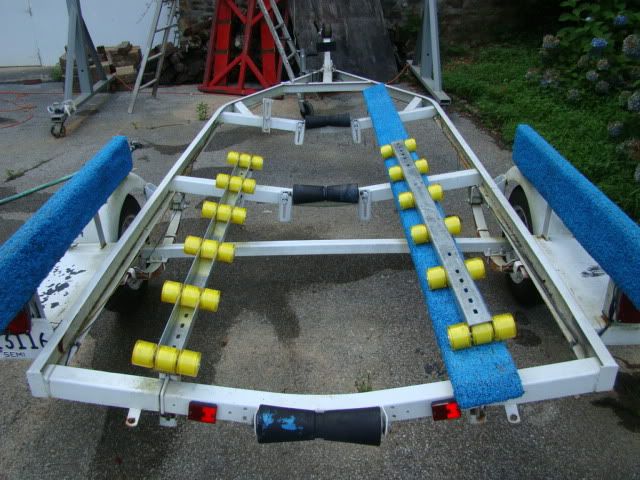
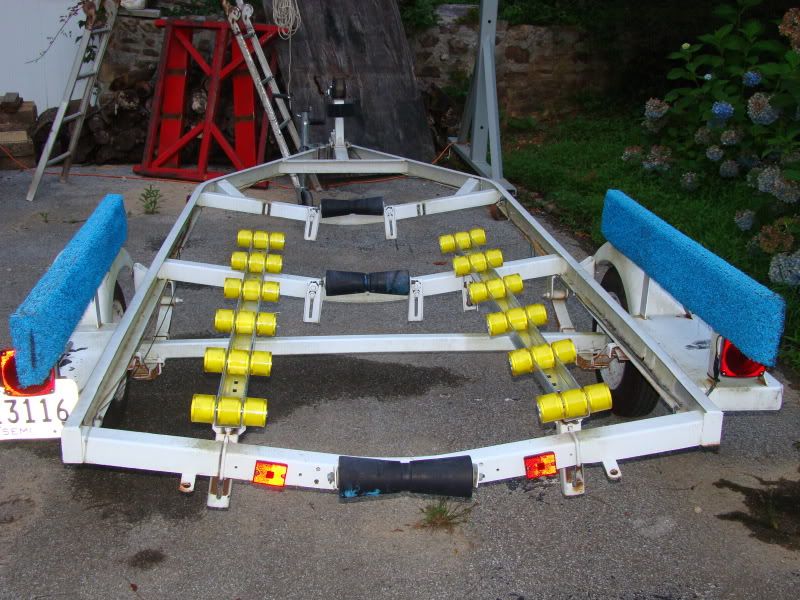
I put the boat back on the trailer at this point. All the exposed areas of the hull that the trailer obstructs are now painted. I will be able to finish the paint work on the trailer without it being in the way. The bottom paint has about ten days of cure, so the new rollers provide the best way to prevent damage to the bottom paint. Stands, blocks or even my fancy dollies will scratch it with me climbing in and out of the boat.

DSC06478.jpg


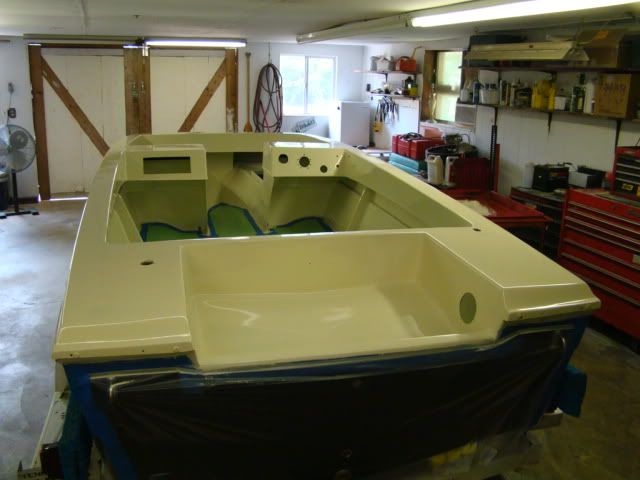
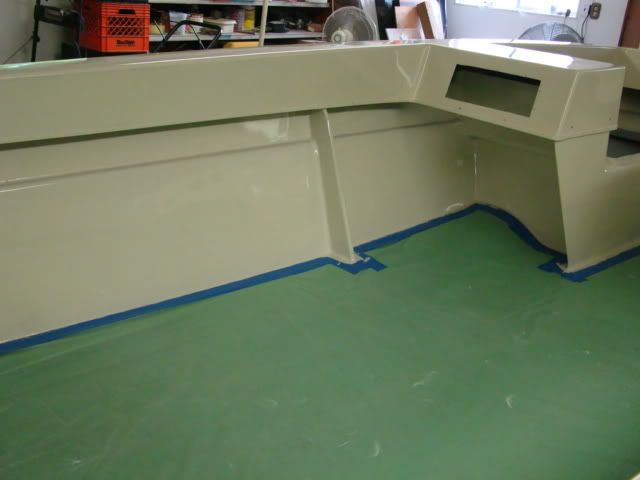
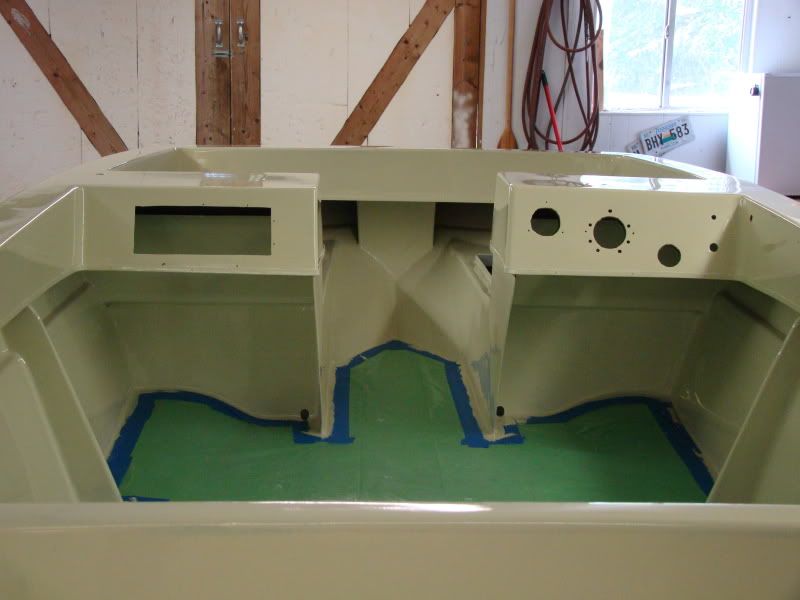
The gunnel cap and the splashtray still need primer. After sanding it smooth, I will be ready for the final coats on it and the inside of the hull.

DSC06480.jpg


I coated the deck previously with pigmented gelcoat. It has several months of cure on it. Even though it is unwaxed it should be to a point where a good cleaning and sanding should allow for a final waxed coat to make it as purdy' as the rest of the finishes. I am so stoked about starting the rigging.
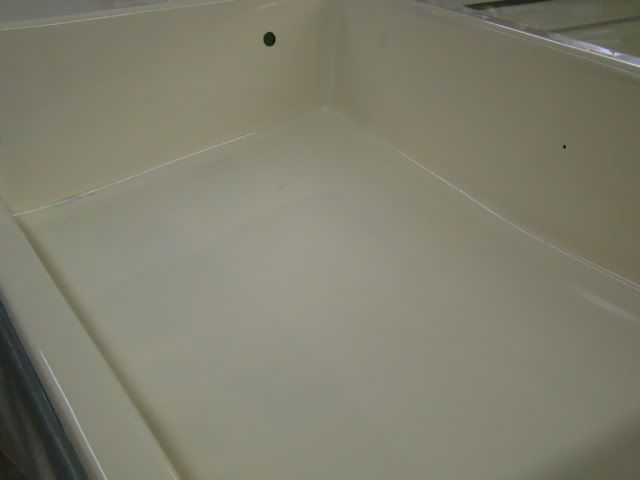
I have a plan for everything except the placement of the gas tank and the batteries under the splashtray. The ideal way to do it would be to place the tank in the middle and the batteries (2) to either side to balance the weight. But I do not want to drain the deck through the sides of the hull. I prefer to drain it from the middle. The tank will block the drain.....hmm. what to do? Any suggestions?
 

redfury

Commander
Joined
Jul 16, 2006
Messages
2,655
Re: My tri-hull transom replacement w/ pics

I don't understand what you mean by "drain from the sides of the boat, I'd prefer to do it from the middle"
 

drewpster

Commander
Joined
Oct 17, 2006
Messages
2,059
Re: My tri-hull transom replacement w/ pics

Originally the plug for this boat was in a small sump aft under the splash tray in the middle of the transom. (deck drain) If I put the gas tank back in the middle, it will block access to the drain. I had the idea of possibly putting two drains to either side of the transom in the lower corners out the side of the hull. (like the scuppers on some center console boats I seen) Originally the tank was mounted on the port side under the splash tray. And a single battery was mounted starboard. I have a transom mounted trolling motor that I have to accommodate. So I need a deep cycle. I am concerned about list if I mount the deep cycle and the starting battery in the same spot.
Now I'm confused.
 

ezmobee

Supreme Mariner
Joined
Mar 26, 2007
Messages
23,767
Re: My tri-hull transom replacement w/ pics

That's a real nice trailer set up.
 

redfury

Commander
Joined
Jul 16, 2006
Messages
2,655
Re: My tri-hull transom replacement w/ pics

Originally the plug for this boat was in a small sump aft under the splash tray in the middle of the transom. (deck drain) If I put the gas tank back in the middle, it will block access to the drain. I had the idea of possibly putting two drains to either side of the transom in the lower corners out the side of the hull. (like the scuppers on some center console boats I seen) Originally the tank was mounted on the port side under the splash tray. And a single battery was mounted starboard. I have a transom mounted trolling motor that I have to accommodate. So I need a deep cycle. I am concerned about list if I mount the deep cycle and the starting battery in the same spot.
Now I'm confused.

Both batteries will offset the drivers fat butt if you have them on the port side of the boat....take into account how you will be operating the boat the most to decide where the weight needs to be. Fuel is lighter than water, and water is about 16lbs/gallon, so figure that part out too.

Can't you fit the drain plug from the outside of the boat? Upgrade to a garboard style screw in?
 

drewpster

Commander
Joined
Oct 17, 2006
Messages
2,059
Re: My tri-hull transom replacement w/ pics

I guess I am going to go with the original placement of the start battery and the fuel tank. I need to figure out what to do with the trolling battery. I have enough room to possibly put the trolling battery on the port side in front of the tank. We'll see.
My next challenge is to come up with a tool to flare those brass drain tubes in place. I know thru-hulls would work, but I want to try the brass ones. I have three so when I screw those up I will go get thru-hulls or maybe garboards. indecisive much?
 

tallcanadian

Captain
Joined
Sep 7, 2006
Messages
3,245
Re: My tri-hull transom replacement w/ pics

I don't know how I missed this last page, but anyway, it looks awesome back on the trailer. Another step closer. Nice job on the trailer too. She's gonna be one sweet ride.
 

drewpster

Commander
Joined
Oct 17, 2006
Messages
2,059
Re: My tri-hull transom replacement w/ pics

Thanks canadian, I dont know how I missed the boat cam. Great idea! Im at work right now but i am checking out that cam asap.

The trailer still needs keel rollers and I am going to do something with the guide-ons. Yet another choice unmade.
I intend to repaint it. We use rust stop industrial paints on some of our equipment here. i may give it a try on the trailer. I am about to go nuts to get the rest of the paint on. I am looking forward to the real fun part...yes..rigging. All the purdy lights and motor and stuff, makes me feel funny. Well any way back to work......:rolleyes:
 

tallcanadian

Captain
Joined
Sep 7, 2006
Messages
3,245
Re: My tri-hull transom replacement w/ pics

Thanks canadian, I dont know how I missed the boat cam. Great idea! Im at work right now but i am checking out that cam asap.

The trailer still needs keel rollers and I am going to do something with the guide-ons. Yet another choice unmade.
I intend to repaint it. We use rust stop industrial paints on some of our equipment here. i may give it a try on the trailer. I am about to go nuts to get the rest of the paint on. I am looking forward to the real fun part...yes..rigging. All the purdy lights and motor and stuff, makes me feel funny. Well any way back to work......:rolleyes:

Not much to see in that cam right now. But keep on checking in. I'm on vacation for 2 weeks and am hoping to get some work done this week.
 

drewpster

Commander
Joined
Oct 17, 2006
Messages
2,059
Re: My tri-hull transom replacement w/ pics

I worked my hind end off the past couple of days and got the first coat of paint on the topside and inside the hull. (literally, according to my wife, I no longer have an ***) I am still sore two days later but the thing looks great. It will need another coat so I have ordered one more quart of paint. I guess I underestimated the amount of surface area. My wife is off with the camera so pics will be coming later. I was just so stoked with the way it looks, I had to post something.
 

redfury

Commander
Joined
Jul 16, 2006
Messages
2,655
Re: My tri-hull transom replacement w/ pics

Nice to have jumped another hurdle, isn't it? I'm hoping the weather holds up and I can finally finish all my below deck glassing sun/mon.
 

BobsGlasstream

Commander
Joined
Sep 11, 2009
Messages
2,128
Re: My tri-hull transom replacement w/ pics

Hey drewpster,
Looks like good things are happing around your place.
The trailer and boat looks great together.
Looking forward to the new pic's.
Take care
Bob
 

drewpster

Commander
Joined
Oct 17, 2006
Messages
2,059
Re: My tri-hull transom replacement w/ pics

My wife got back with the camera so here we go.

Under my dirty florescent lights the color looks yellow but it is cream. We rolled it outside just to make sure.:mad: It looks great but it will need another coat.

DSC06499.jpg


This shot of the splash well shows how well this stuff lays down. It really smoothed out despite my painting skills.

DSC06501.jpg


I am really happy with the way the hull sides came out. I put a ton of prep in to covering all that weave in the roving the factory left. It is all smooth now!

DSC06502.jpg


The dash boxes and the bow area came out great too. I killed my knees taping and painting this area. There is nowhere to go. I had to roll it, tip it and back out on my knees as I went. Wow I'm getting old. Still recovering from that part of the job.

DSC06508.jpg


Its not perfect just yet. There are some areas where the color bled a little. And I have a couple of sags where I got tired. But It has no major problems.

DSC06507.jpg
 

Woodonglass

Supreme Mariner
Joined
Dec 29, 2009
Messages
25,924
Re: My tri-hull transom replacement w/ pics

Hey Drew,

For a Roll and Tip Job that is AWESOME!!! I can only hope mine comes out even close to that. The Oklahoma HEAT wave has put a damper on my boat restore but I am really stompin at the bit to get started. Congrats on your progress. It looks GREAT!!!!!

:D
 
Status
Not open for further replies.
Top