hull extension in progress with pics

Status
Not open for further replies.

oops!

Supreme Mariner
Joined
Oct 18, 2007
Messages
12,932
Re: hull extension in progress with picks

Re: hull extension in progress with picks

my girl just came home from two weeks with her sister...so im spending sunday with her....then shes taking the store for three straight days...so ill be on the boat all day 16 hrs a day for three straight... ill have the strings in. motor section in and the deck glassed in...

the appiontment has been made at the painters then at the machanics for the motor install.....deadlines have been set ! :D
 

redfury

Commander
Joined
Jul 16, 2006
Messages
2,655
Re: hull extension in progress with picks

Re: hull extension in progress with picks

Always nice when you can get a nice block of time to keep the project going. AT the rate you've gone, I can see a lot of progress happening in that time.

I was back on my boat yesterday after work. Just looking again. That lung infection took a lot out of me, so I'm not going to jump on the boat with any quickness yet. Just keep the mental plan formulating and work on other projects until the situation improves.

Speaking of, I found out why my lawn tractor suddenly dropped a cylinder last year...
 

Attachments

  • where did this come from.JPG
    where did this come from.JPG
    62.2 KB · Views: 0

oops!

Supreme Mariner
Joined
Oct 18, 2007
Messages
12,932
Re: hull extension in progress with picks

Re: hull extension in progress with picks

fury.... im sorry to hear that ......get well sooon.....boat and beer season is coming up soon !:D...we wanna open up a beer at the same time on the lake...july 4 if we can....a syncronus beer and cheers to our porjects ! each on our own lakes in our finished projects.....


and wtf....?????.... is that a carb set screw?

bummer !
 

redfury

Commander
Joined
Jul 16, 2006
Messages
2,655
Re: hull extension in progress with picks

Re: hull extension in progress with picks

To be honest, I have no idea where that screw came from. I had the carb off earlier in the year, but I don't remember losing any screws! If you can see in the picture, it got beat up pretty good, but the valve and the valve seat are still in perfect condition, so I got lucky. I got lucky too that the head of the screw was on the inside and the valve doesn't have enough lift on the cam to let it through all the way!

So, dodged a bullet there. Had the head back on and drove the thing around the yard once without issue other than the carb needing a true rebuild kit thrown in it.

Back to the boat though, on craigslist here locally, there's a guy selling a ROLL of fiberglass Mat....big enough to need a forklift for. 4 feet wide and a mile long the ad says...actually, he has 2 of them! I was thinking of buying it, but I don't have a place to store it, and what the heck do you offer for something like that?! I think I'll just see if he's willing to part with a hundred feet of it. Only problem is that he's in Eagan, which is a real solid drive from Isanti. ( maybe Erikgreen needs some glass too and we can work something out ;) )
 

oops!

Supreme Mariner
Joined
Oct 18, 2007
Messages
12,932
Re: hull extension in progress with picks

Re: hull extension in progress with picks

find out what kind of fabric.....that will be a super deal.....if its matt offer 1/4th of its value.....

if biax...offer 300 per roll...he will be happy to get rid of it...it on craigs cause he cant use it and wants to dump it....

sell the rest on e.....

you can make a bundle...!
 

oops!

Supreme Mariner
Joined
Oct 18, 2007
Messages
12,932
Re: hull extension in progress with picks

Re: hull extension in progress with picks

btw......

my girl gave me a few hours on the boat this after noon... up date comin tonight....!
 

oops!

Supreme Mariner
Joined
Oct 18, 2007
Messages
12,932
Re: hull extension in progress with picks

Re: hull extension in progress with picks

you may have noticed the thread called "dont gob pl and glass"

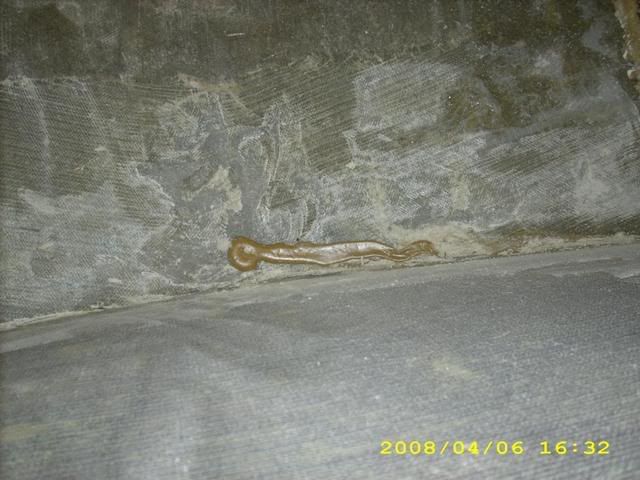
this is a pic of the little nasty.....it had actuallly grown.....it also was soft on top ...hardly cured in 48 hours after the leak had occured.....but it was origonally applied over two weeks ago.

picgroup24003.jpg


that shot was from on top of the transom looking directly down at the bilge...
the depression in the large circular area is where i lightly pushed my finger into it to see if it had cured.

it hasn't happend anywhere else in the boat....so im hoping it was just a bad tube......

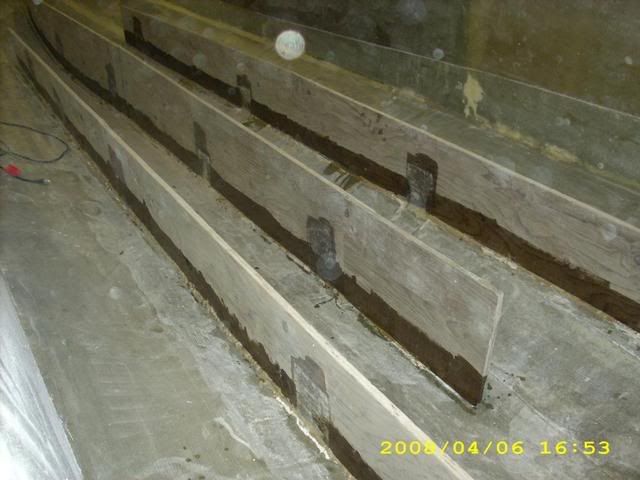
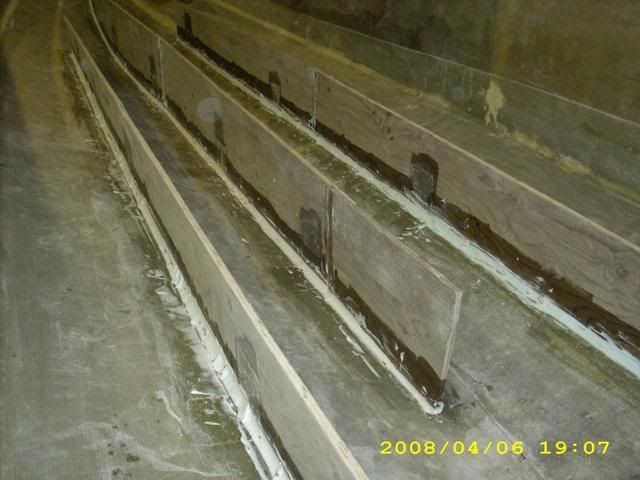
my girl gave me a few hours on the boat today...was really happy about that because i wanted to apply peanut butter to the base of the stringers.....i also wanted it cured before i cut and glassed them in totally, so this bought me 24 hours in cure time

i had allready bedded them with pl....but after that little konnundrum...i wanted more.....

the re-bedding of the stringers would serve two purposes
1. to bed the strings
2. to stop a sharp curve in the glass when i glass in the strings....

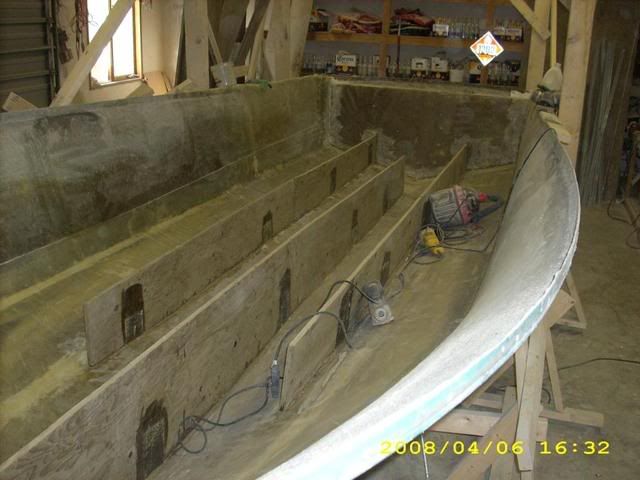
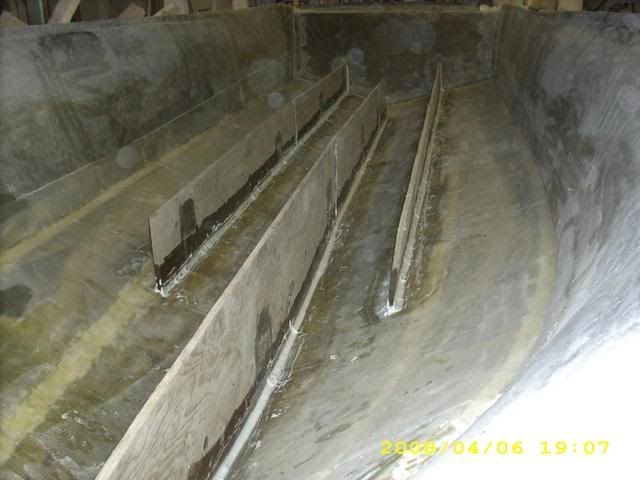
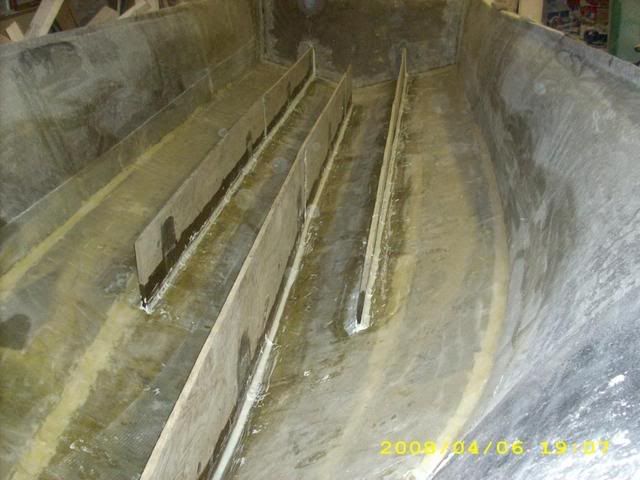
so i took off the braces holding the strings up right.....ruff and scuffed the glass...vaccumed and swept and then acetoned.....(some of this was done the other night)

picgroup24002.jpg


the next job was to give the stringers a coat of resin where the peanut butter might come in contact with the strings. this step may have been in vain as the strings will be sealed any how.....but for 50 cents worth of resin and twenty minits...why not?

picgroup24004.jpg


all of the time ive been mixing oops super dooper peanut butter.....it takes a long time...thirty minits.....and even then the mix might not be right.....ive noticed some differences in the color of the mix where the resin and catylest did not totally mix....and even some dryer spots in the butter.....i was using a paint mixing stick....and it really took a lot of time and pressure to mix it...after the caytelist was added it was a panic to mix it in and then spread before it kicked......so i decided i need a new tool for the job.

i thought about a drill.....but the only tool was a drywall mixer...too big...

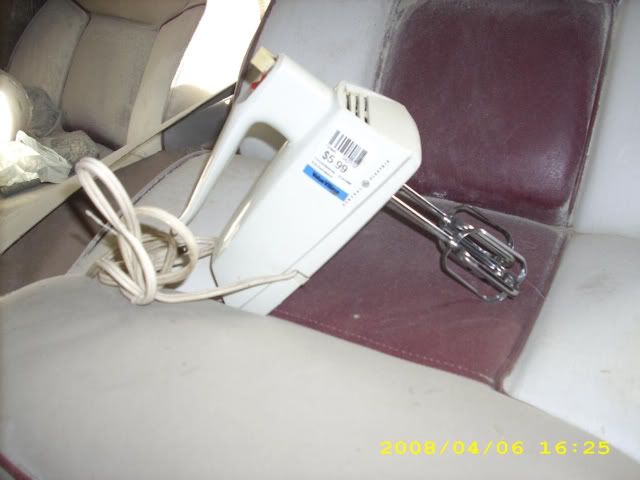
then it hit me...i needed to mix the batch...off to the local "value village" for some more long sleeved grinding clothes and my choice of tool.

picgroup24001.jpg


worked like a charm !
 

oops!

Supreme Mariner
Joined
Oct 18, 2007
Messages
12,932
Re: hull extension in progress with picks

Re: hull extension in progress with picks

the peanut butter came out light and fluffy....a real joy to spread...like icing on a cake !

one small problem is the glass strands i added tended to collect around the shafts of the mixing blades...but there was enough in the mix so it wasn't too bad.

picgroup24005.jpg


i used a one inch plastic putty knife...i pushed my finger into the middle of the blade...that gave me a u shaped trough...and perfect angle for the glass to come

picgroup24006.jpg


it was a little messy....but a quick grind tommorow...and im ready for the next step.

picgroup24007.jpg


tommorow.....cut the main strings to sole height..(deck...floor)
grind out the over spill peanut butter...and glass them in !

i hope to have that done by mid afternoon......then ill start working on the engine mounting area and the inner stringers.

cheers
oops
 
Last edited:

jameskb2

Petty Officer 2nd Class
Joined
Jul 26, 2007
Messages
191
Re: hull extension in progress with picks

Re: hull extension in progress with picks

Looking good Oops!

Hey, I should have mentioned this earlier. An excellent way to create a nice fillet is to round a square nosed tool. I learned this spreading roofing cement into corners of flashing. For that, we use a shim shingle (like you use to set doors or cabinets) and cut the trailing edges round like a tongue depressor.

You can do it with a putty knife too, if you have a good sharp pair of snips. We use the shim shingles because they are long, flexible yet strong, and disposable.

So there, a little contribution, sorry it's late.
 

i386

Captain
Joined
Aug 24, 2004
Messages
3,548
Re: hull extension in progress with picks

Re: hull extension in progress with picks

I haven't tried this myself, but I have read that you can put your peanut butter in a ziplock bag. Then cut a small corner off the bag and you can squeeze out a bead of it. Then to shape it, use the back side of a plastic spoon. I believe that's a popular technique over at the glen-l forums.
 

Robj

Lieutenant
Joined
Mar 22, 2007
Messages
1,441
Re: hull extension in progress with picks

Re: hull extension in progress with picks

I like your mixing tool. One thing that I did was kick the resin first, mix it real well and then add the other stuff. This way ensures that the resin is kicked and you will not get any soft spots. Lookin Great!!

Have a great day,

Rob.
 

oops!

Supreme Mariner
Joined
Oct 18, 2007
Messages
12,932
Re: hull extension in progress with picks

Re: hull extension in progress with picks

386....tee hee good ider :D...kinda like a chefs cake decorating thingy.

rob.....dont understand....you kicked the resin then added the cabosil and glass ballons?......
 

oops!

Supreme Mariner
Joined
Oct 18, 2007
Messages
12,932
Re: hull extension in progress with picks

Re: hull extension in progress with picks

by the way....this is the start of my three glorious days off......all on the boat !....yee ha!
 

Robj

Lieutenant
Joined
Mar 22, 2007
Messages
1,441
Re: hull extension in progress with picks

Re: hull extension in progress with picks

386....tee hee good ider :D...kinda like a chefs cake decorating thingy.

rob.....dont understand....you kicked the resin then added the cabosil and glass ballons?......


Yep. This way you do not have to worry about hardener not being mixed in with the resin. Far easier to mix the resin and catalyst before you add the other stuff.

Have a great day,

Rob.
 

Robj

Lieutenant
Joined
Mar 22, 2007
Messages
1,441
Re: hull extension in progress with picks

Re: hull extension in progress with picks

by the way....this is the start of my three glorious days off......all on the boat !....yee ha!

Marry that woman!!!! Sounds like she is a Keeper!!

Have a great day,

Rob.
 

redfury

Commander
Joined
Jul 16, 2006
Messages
2,655
Re: hull extension in progress with picks

Re: hull extension in progress with picks

find out what kind of fabric.....that will be a super deal.....if its matt offer 1/4th of its value.....

if biax...offer 300 per roll...he will be happy to get rid of it...it on craigs cause he cant use it and wants to dump it....

sell the rest on e.....

you can make a bundle...!

http://minneapolis.craigslist.org/mat/627947664.html

Without calling him, it looks like a medium density Mat by the way the one picture shows it torn. I'd sure like to turn that into a cash machine, but like I said, I have no way to store it without it getting ruined in the elements. I sure wish I did though. I'd park that sucker on a good solid pipe and frame so I could just pull off and cut what I need.
 

jcsercsa

Captain
Joined
May 21, 2007
Messages
3,401
Re: hull extension in progress with picks

Re: hull extension in progress with picks

HAy buddie get her done... 3 days man you could just about bet her to the paint shop this weekend ??? and i agree marrie her !!! lol John
 

oops!

Supreme Mariner
Joined
Oct 18, 2007
Messages
12,932
Re: hull extension in progress with picks

Re: hull extension in progress with picks

crazy crazy day/night on the boat yesterday.......

it all started soooooo simple.......

cut the main stringers to height and glass them in..............

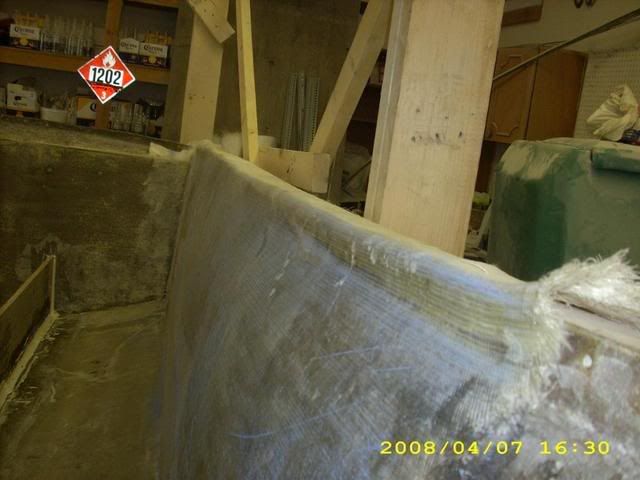
when i walked into the shop i was ready for action...there was some small cleanup of overhang glass i wanted to cut off......this is overhang from the extension section layups....

picgroup25002.jpg


after i cut it....you can clearly see the layers and thickness if the sides in the new extension section.......

picgroup25012.jpg


the keel section is at least twice as thick

picgroup25009.jpg


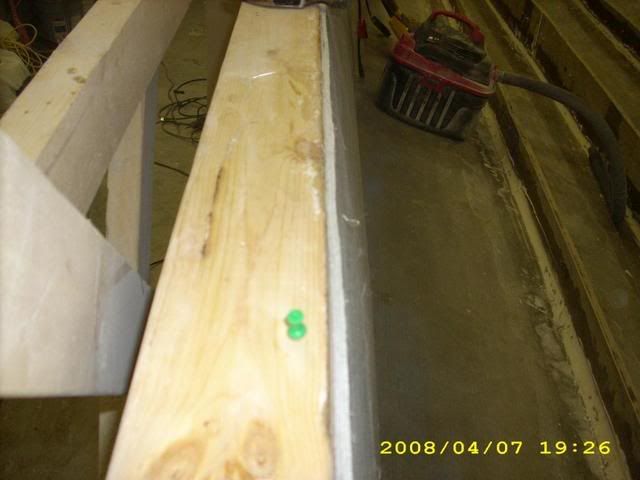
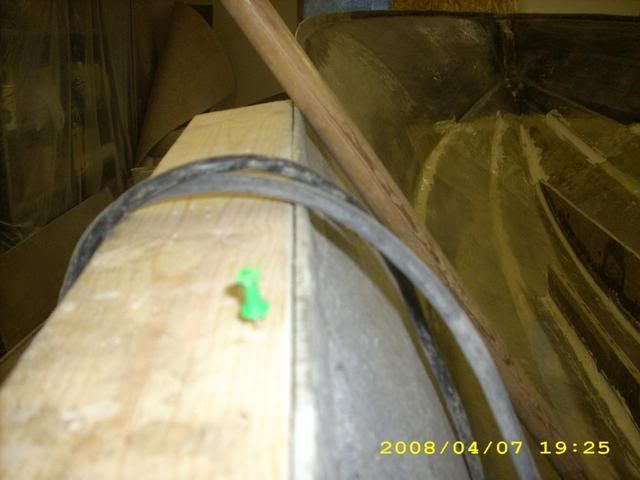
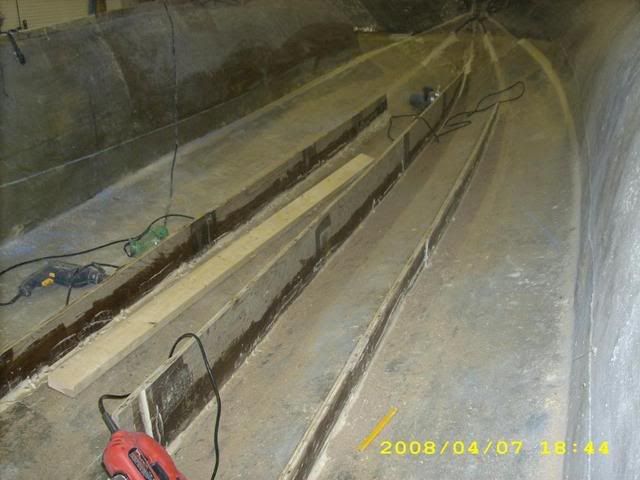
the next thing was to measure rear deck height...stern to bow...mark it and run a stringline, then make the cut......

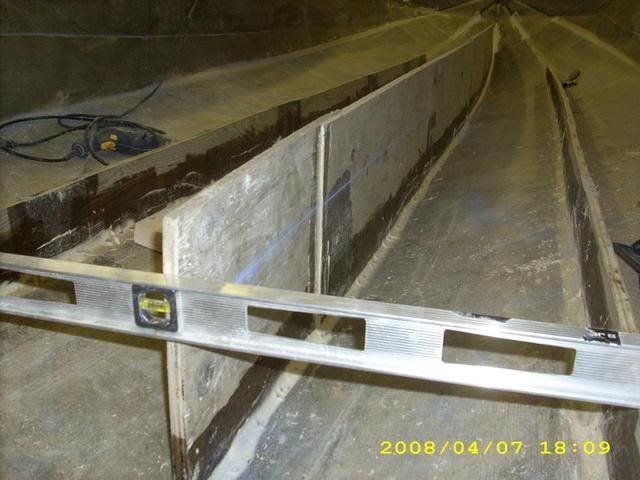
the next was to cut the main stringer. i placed a level across the two outer stringers and made a mark and ran the chalk line

picgroup25005.jpg


the cut was made with a circ saw.......i used a jig saw to cut the knees

picgroup25018.jpg


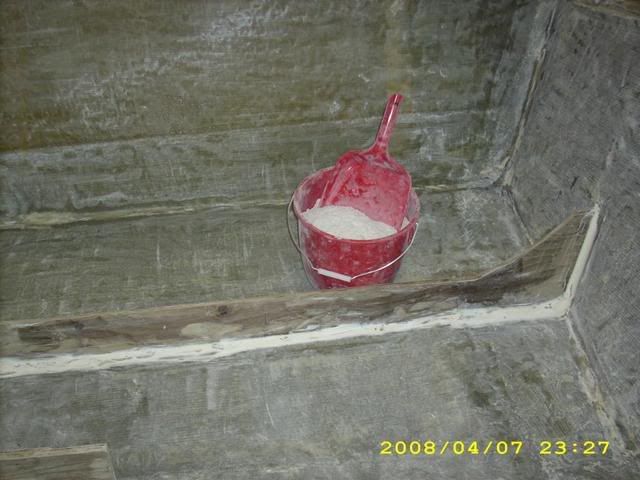
see that pretty red pail?....see all that white stuff in it?.....%@$#@%$#!.....

well get to that in a second

then the cut was made

picgroup25006.jpg
 

oops!

Supreme Mariner
Joined
Oct 18, 2007
Messages
12,932
Re: hull extension in progress with picks

Re: hull extension in progress with picks

i was feeling pretty good with the progress at that point......

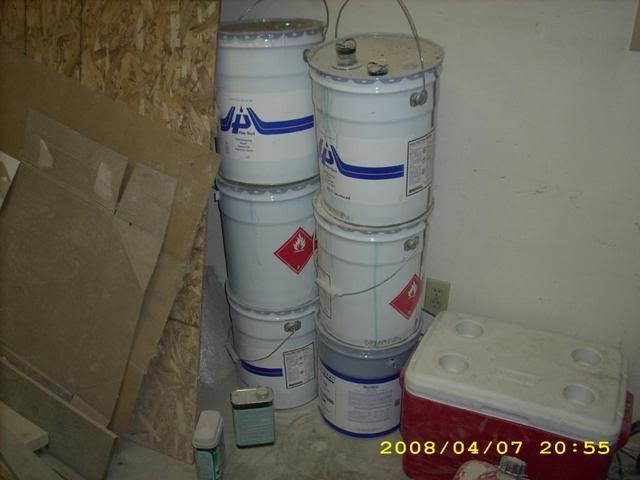
on another thread erikg made a joke that i used a truck load of resin.....

so i told him i would get a shot of the cans.....

picgroup25015.jpg


thats six empty cans of unwaxed.....got one on the go...one full one in the box of my truck....and a can of waxed finishing resin waiting to be used....

waiting to be used.....waiting to be used......somthing bugged me about that thought......then it hit me :eek:

i needed to ues the unwaxed as a top coat...and im just about there...that means i have to glass the whole hull again...that means .....ruff and scuff :(

the hull is over 400 squair feet. every inch needed to be ground off...then sweeped then vaccumed....so much for glassing in the stringers....just ruff and scuff is now a 4 hour job.....with vaccuming another hour.....

im getting so sick of scuffing that hull....but...in i went....did the side and the transom first.

picgroup25014.jpg


that took me 2 hours and only half the boat was done.....

remember this little red bucket?

picgroup25018.jpg


......filled two of em !
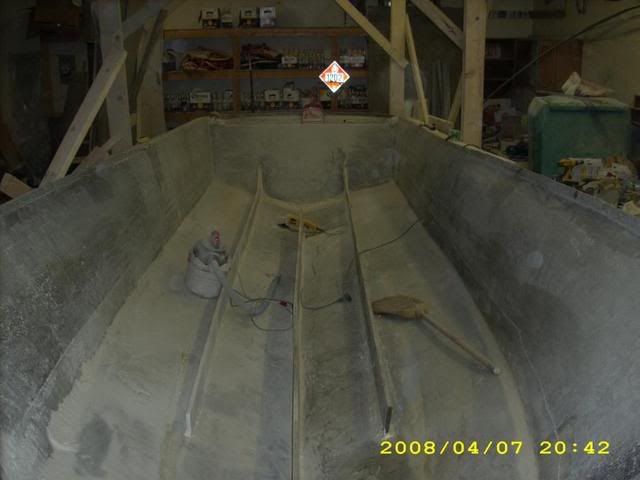
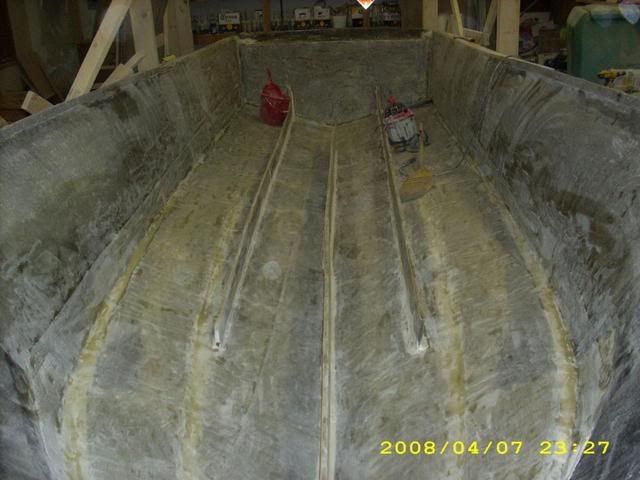
but finally it was done..scuffed swept vaccumed.

picgroup25017.jpg


i really hope that is the last time i will ever rough and scuff the inside of that hull.
 

i386

Captain
Joined
Aug 24, 2004
Messages
3,548
Re: hull extension in progress with picks

Re: hull extension in progress with picks

When I start thinking grinding and sanding my 14' boat sucks. I will remind myself of what I saw in this thread.:eek:
 
Status
Not open for further replies.
Top