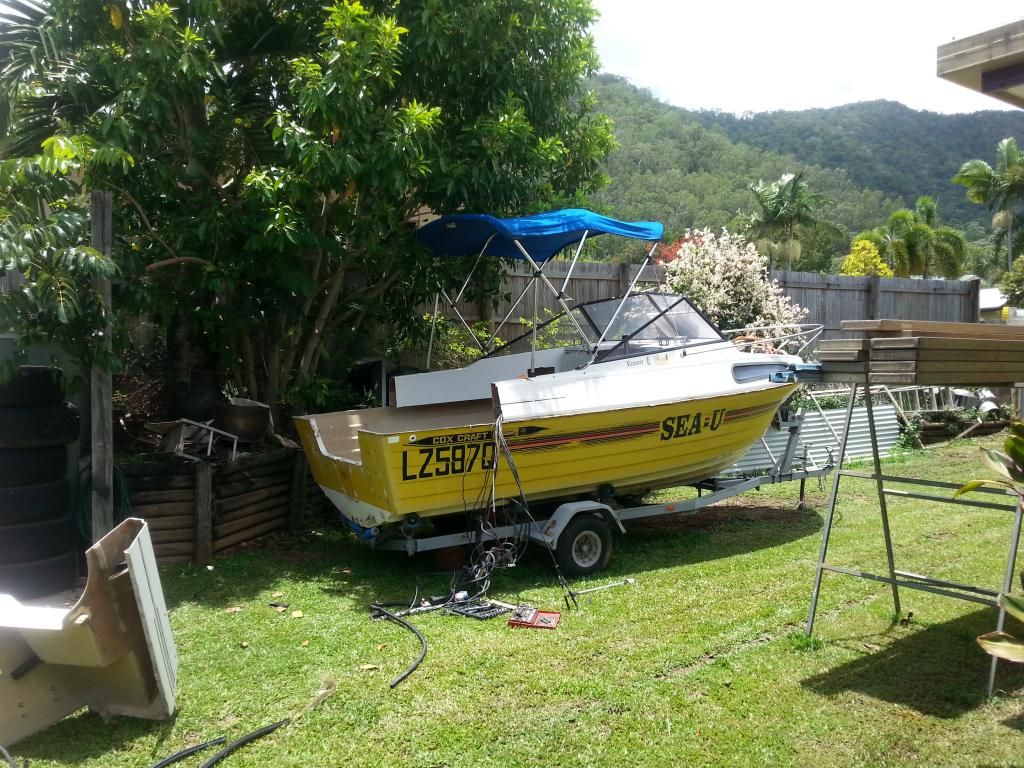
Cox Craft 85 Gutted and Rebuild.........ing

mitt64

Recruit
Joined
Nov 24, 2011
Messages
5
Happy New Year Barra
Yeah i'm down in the Whitsundays
I dont Know about cyclones but it looks like it going to be a very wet week up here :(
 

Barramundi NQ

Petty Officer 1st Class
Joined
Jul 3, 2014
Messages
342
Happy New Year Barra
Yeah i'm down in the Whitsundays
I dont Know about cyclones but it looks like it going to be a very wet week up here :(

Thanks mitt, I worked in Proserpine High School last year. Spent time in the Bunnings at Cannonvale too!

We're still waiting for rain....need the monsoon trough to come down from PNG before we get serious rain though...

Cheers from Cairns
 

Barramundi NQ

Petty Officer 1st Class
Joined
Jul 3, 2014
Messages
342
Now you're getting somewhere! Maybe you'll be one of the lucky ones, like me, and the fiberglass itch wont bother you too much. As for bothering the neighbours, can you grind while most of them are at work?

Most of my neighbours are at home for the holidays. Here in aus the majority take or made to take time off from Xmas eve thru to the first monday in January. Most rty to get 10 days holiday in with kids and family. Both my neighbours are at home until next Monday.....I'm a contractor and Im working in 12hrs from now.....I'll figure out a way....:D:D
 

Barramundi NQ

Petty Officer 1st Class
Joined
Jul 3, 2014
Messages
342
I have question for the technically minded, including "dumb ole okies"!

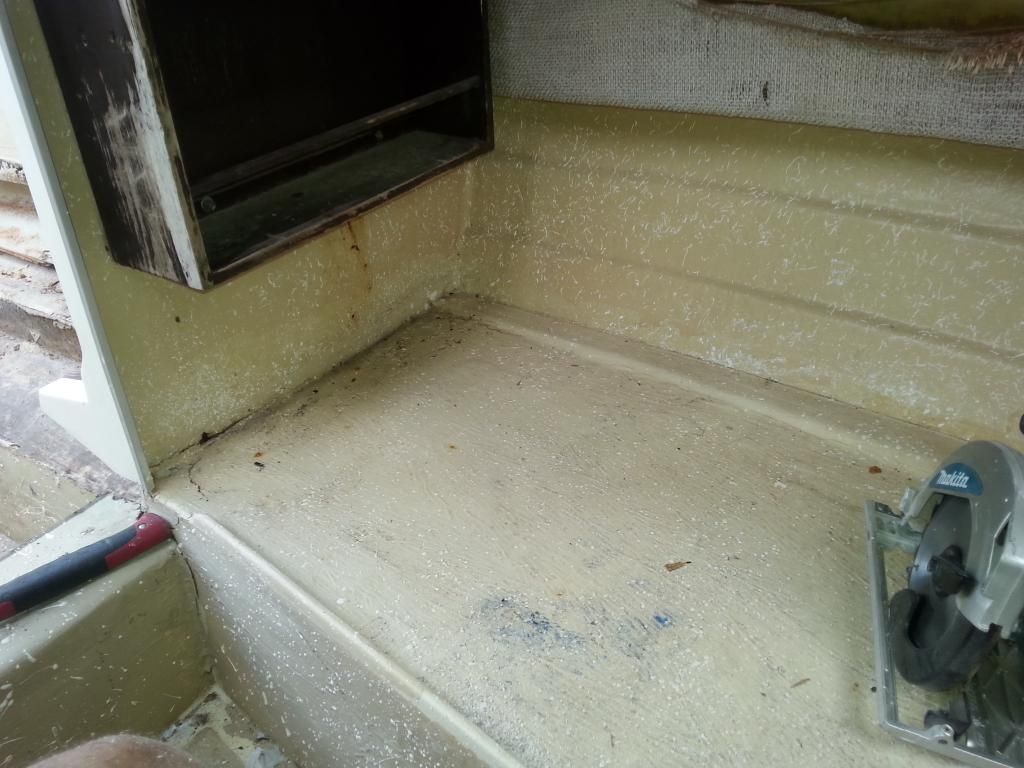
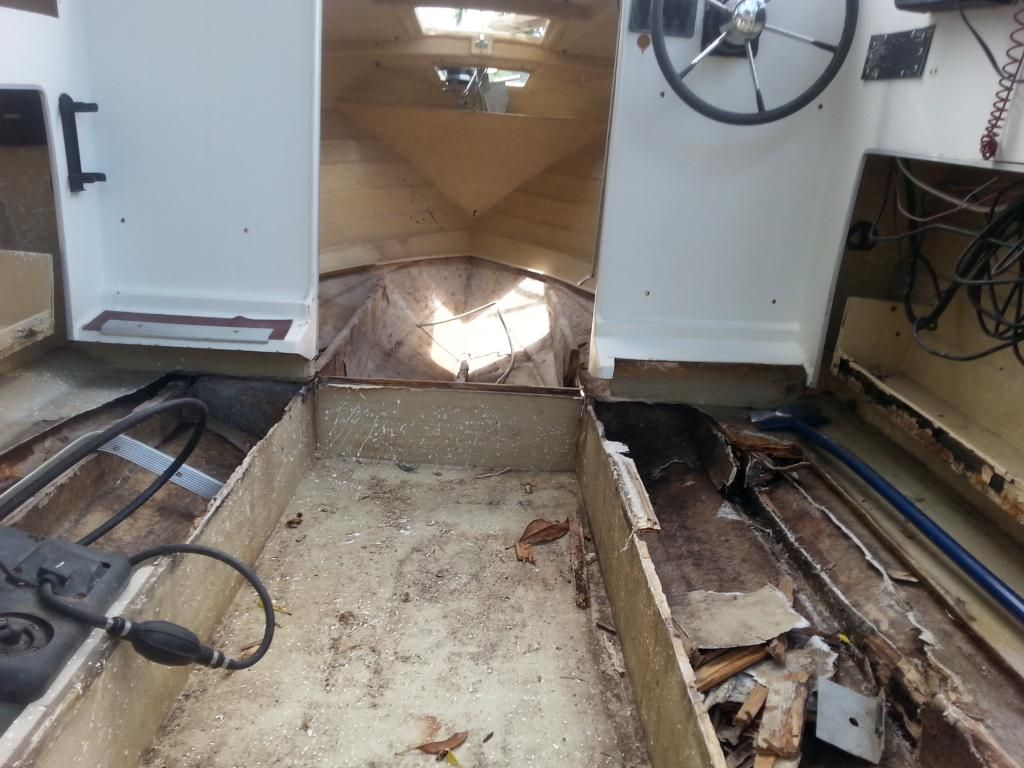
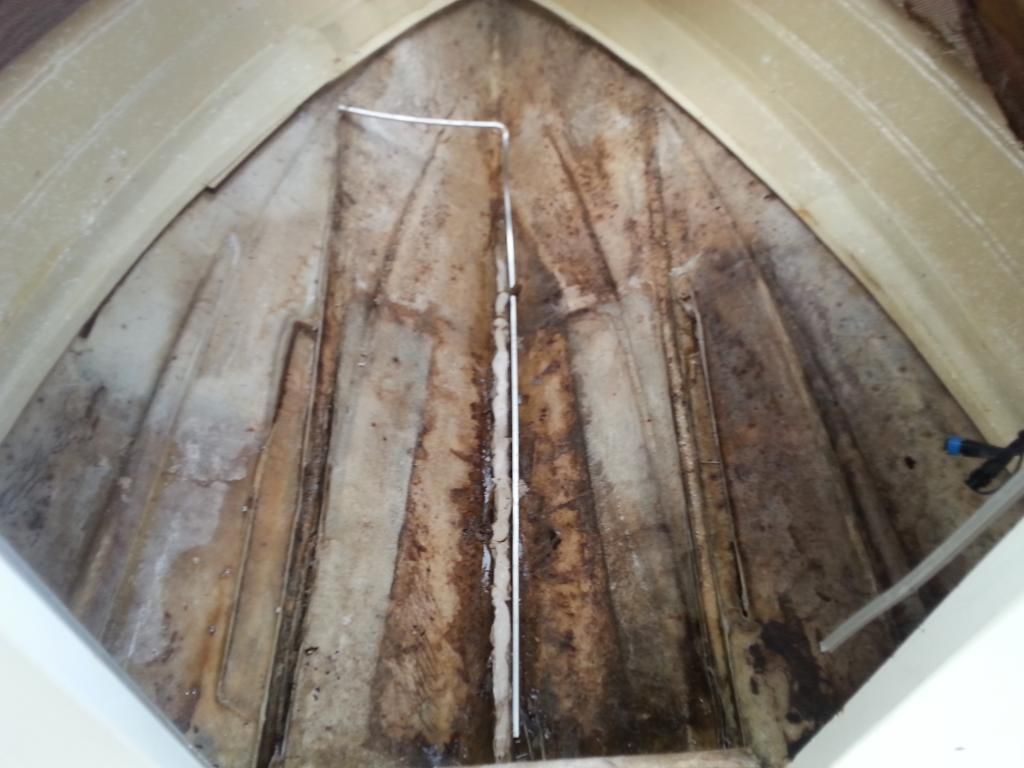
This the view from inside the cabin right at the bow. The wooden shelf unit is gone, however the shelf is attached in the picture to the bulkhead. Here's my question; as the plywood that forms the bulkhead is rotten only near the floor, do I just keep cutting up in level type cuts until I reach sound plywood for later joining?
Let me know your thoughts please before I start a good demolition day tomorrow.
Cheers from Oz
 

Barramundi NQ

Petty Officer 1st Class
Joined
Jul 3, 2014
Messages
342
Been raining nearly the whole time for the last 2 days. Wet season appears to have begun!

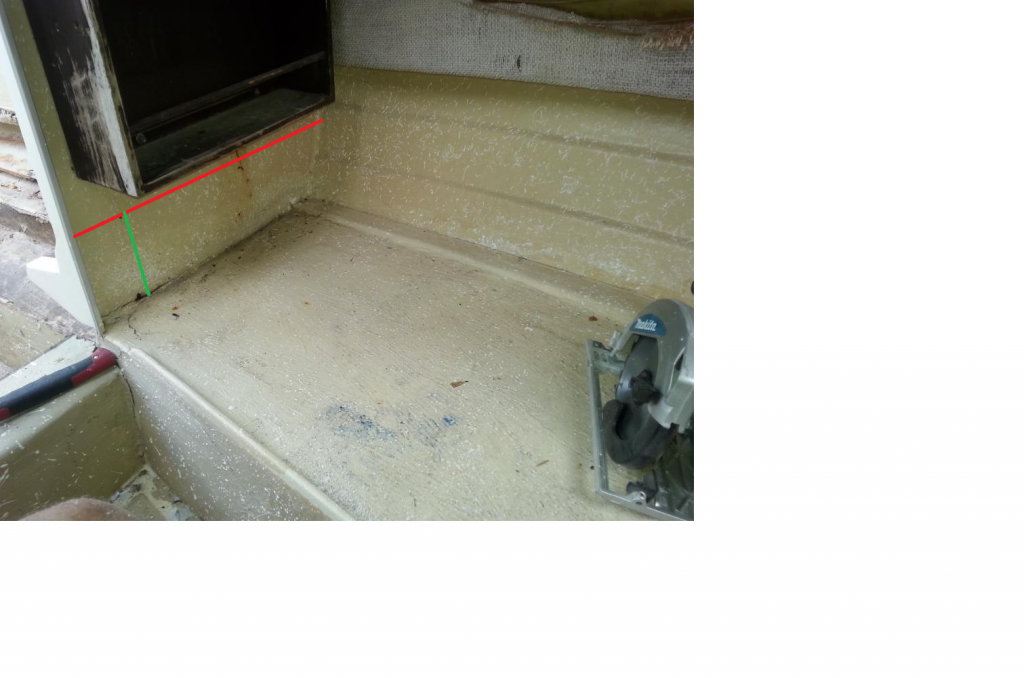
Woody, I'm thinking of a horizontal cut parallel with the floor (level) starting at 4 inches above the cabin bunk floor, I'm thinking that I will need to support the bulkhead again as both sides will support the dash areas, starboard and port. As I'm 6'1" I can't stretch out on the bunk. So by cutting this out so my feet can poke through is the plan. I will have to add a support of some kind at the cabin door opening back down to the floor.
How do you draw lines on the photo? I'm a dumb ozzie!
 

Barramundi NQ

Petty Officer 1st Class
Joined
Jul 3, 2014
Messages
342
So I learned how to place some lines on a photo.


woody, the red line is the cut line to cut out the rotten ply. There is a Foot rest of sorts on the other side of the bulkhead. That will need to go if the cut is completely through. The drivers side footrest is already cut by PO to fit a tackle box. So it already isn't the same left to right.

Does this help?
 

Woodonglass

Supreme Mariner
Joined
Dec 29, 2009
Messages
25,928
Ok, Now this Old Dumb Okie "SEE's" whatcha talkin about!!!!!:D I'd just cut it where I wanted it to be and then after I had it cut out, determine the state of the wood in the rest of the surrounding area and make a decision on how to proceed once I could see what was in there.;)
 

Barramundi NQ

Petty Officer 1st Class
Joined
Jul 3, 2014
Messages
342
Ok, Now this Old Dumb Okie "SEE's" whatcha talkin about!!!!!:D I'd just cut it where I wanted it to be and then after I had it cut out, determine the state of the wood in the rest of the surrounding area and make a decision on how to proceed once I could see what was in there.;)

Thanks woody, I know that the process of asking pretty much forms my decision as I write. Just don't want to make a huge mistake. The green line is where i would put a support of some kind to hold up the dash. Even now I reckon I'll be returning the bulkhead structure back to original, we'll see. Rain rain rain...
 

Barramundi NQ

Petty Officer 1st Class
Joined
Jul 3, 2014
Messages
342
I'd like to paint my outboard during this wet period. Is there a link on this forum to follow someones painting and decal removal and replacement?
 

nurseman

Lieutenant Junior Grade
Joined
Jun 2, 2013
Messages
1,045
Not sure about a link, but Wood did a super nice repaint of his in the flamingo thread. Not sure what page, but it is towards the end. Saginawbayboater was working on his, don't think he is done yet. I'm sure there are more, you might try using the search bar to find them.
 

Barramundi NQ

Petty Officer 1st Class
Joined
Jul 3, 2014
Messages
342
Not sure about a link, but Wood did a super nice repaint of his in the flamingo thread. Not sure what page, but it is towards the end. Saginawbayboater was working on his, don't think he is done yet. I'm sure there are more, you might try using the search bar to find them.
Thanks nurseman, I will find it!
 

Barramundi NQ

Petty Officer 1st Class
Joined
Jul 3, 2014
Messages
342
Not only am I an Old DUMB Okie I'm also and Old SLOW Okie My Motor strip Down and Repaint Starts on Page 140 and goes ON and On and ON. sooo if you want to take a LOOOOOOONG look feel free to do so.:sleeping:

http://forums.iboats.com/forum/boat-...w-pics/page140

Thanks wood I went thru your thread before and thanks for the reminder. Can you help with the basics? I have a 1996 Evinrude 150. The cowl has raised gel like vinyl decals about 1-2 mm raised or thickness. How do I remove these without damaging the cowl? What grit for cowl and leg? Etch primer for the leg and hi build for the cowl or both for both? Then under coat? Then top coat? If you're D O O, then I'm a Dumb old Ozzie!
 

Woodonglass

Supreme Mariner
Joined
Dec 29, 2009
Messages
25,928
I used a razor scraper to remove the decals on the cowling then I sanded with 80 grit and then filled any dings with homemade fairing compound (1/2 cup of resin,2 tablespoons of cabosil and then glass bubbles mixed to the consistency of mayonaise ) Finished sanding wth 180 grit. On the leg I sanded with 80 grit then light coat of SE primer. Just enuf to barely coat it. Then Two coats of Rustoleum Automotive High build Primer. Then two coats of my Rustoleum Paint formula with Hardener. It was all pretty straight forward. Nothing to difficult about it. I had my decals custom made from a guy in Canada.
 

Barramundi NQ

Petty Officer 1st Class
Joined
Jul 3, 2014
Messages
342
Thanks wood. Perfectly condensed into one paragraph. You ROCK! It's hot and sunny here today (Friday) But my son has all our tools in his truck! :facepalm: :argue:.

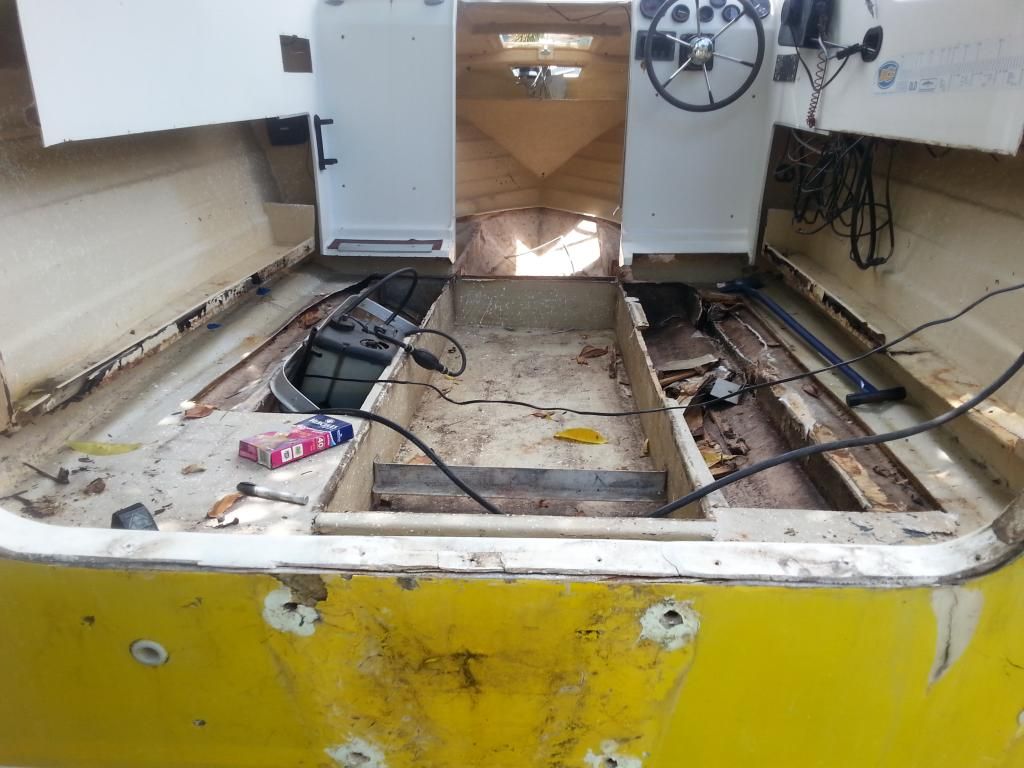
So I've just finished fully removing the rear of the cap and all fittings on the floor.......you won't believe what I found! 3 holes in the hull that the PO had drilled to fix the battery straps and brackets down with. Because the floor is just below the chine, they must have thought that they'd be OK in drilling and screwing into the floor.....NOT! The outside 2 screw holes were above the floor so......... they didn't drill into the floor......IT WAS THE HULL!!!! Like a good friend always says, "Its a beautiful day"

Pics soon
Gidday From OZ
 
Last edited:

Barramundi NQ

Petty Officer 1st Class
Joined
Jul 3, 2014
Messages
342
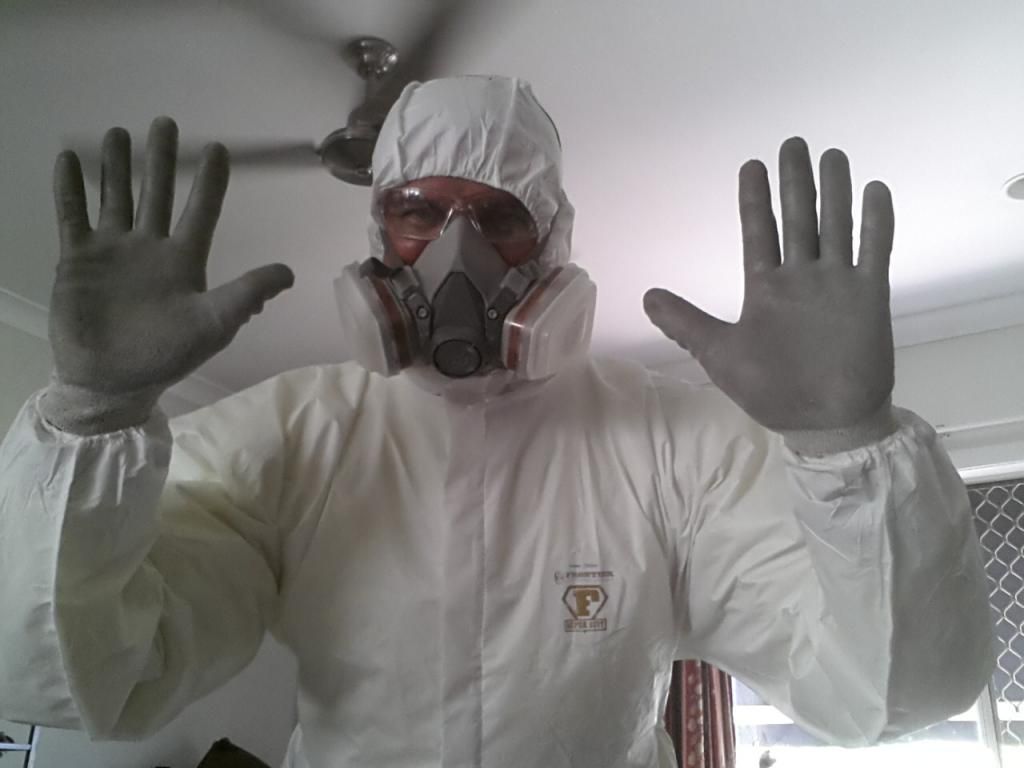
Safety 3rd!
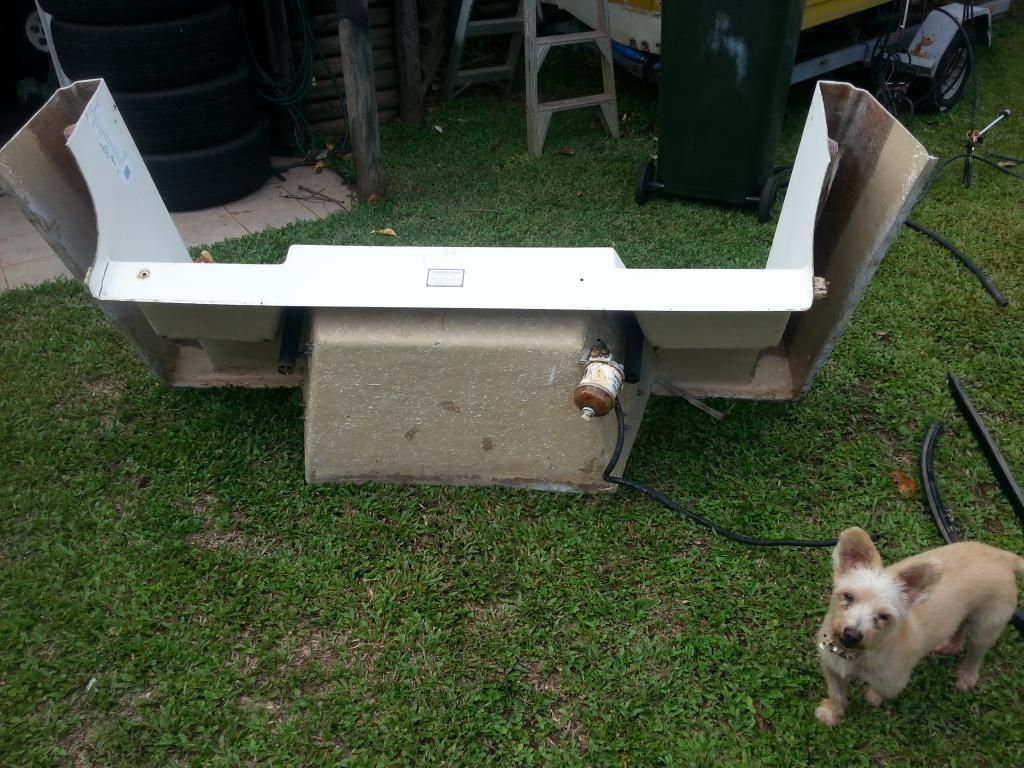
It's Off

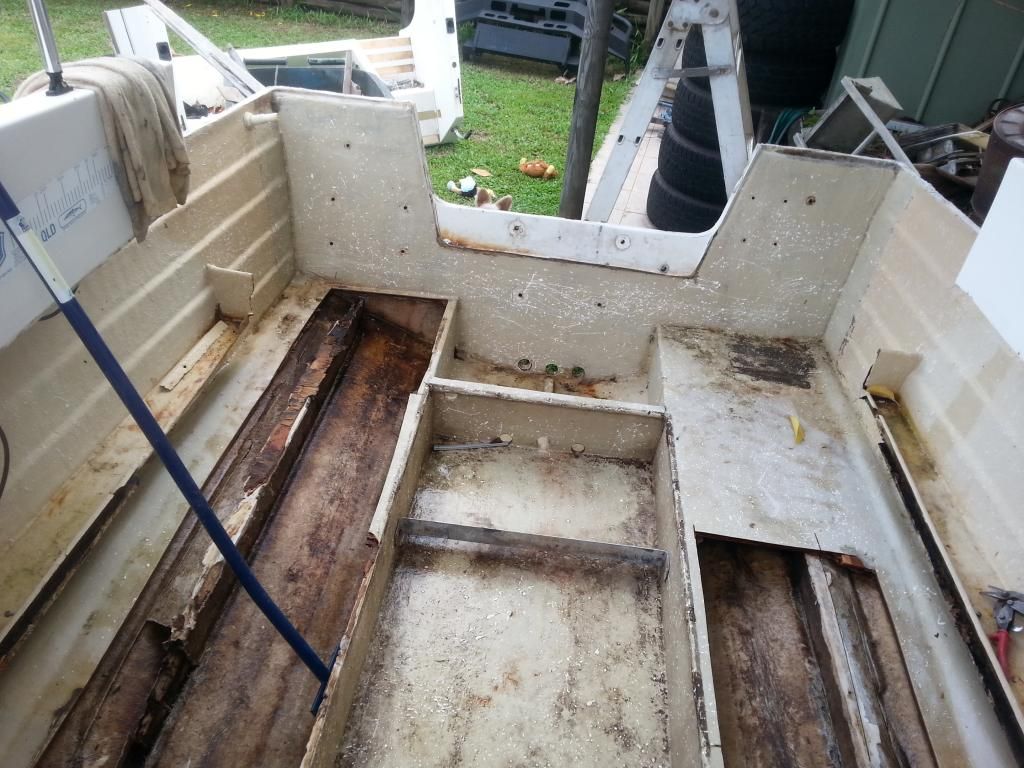
What I see as I climb in

Standing in the bilge

Starboard stringer in the cabin gone

Port stringer in cabin gone
 

Barramundi NQ

Petty Officer 1st Class
Joined
Jul 3, 2014
Messages
342
Cabin view now

Some more floor cut out with a grinder.....Need my saw

Back of cap on the ground

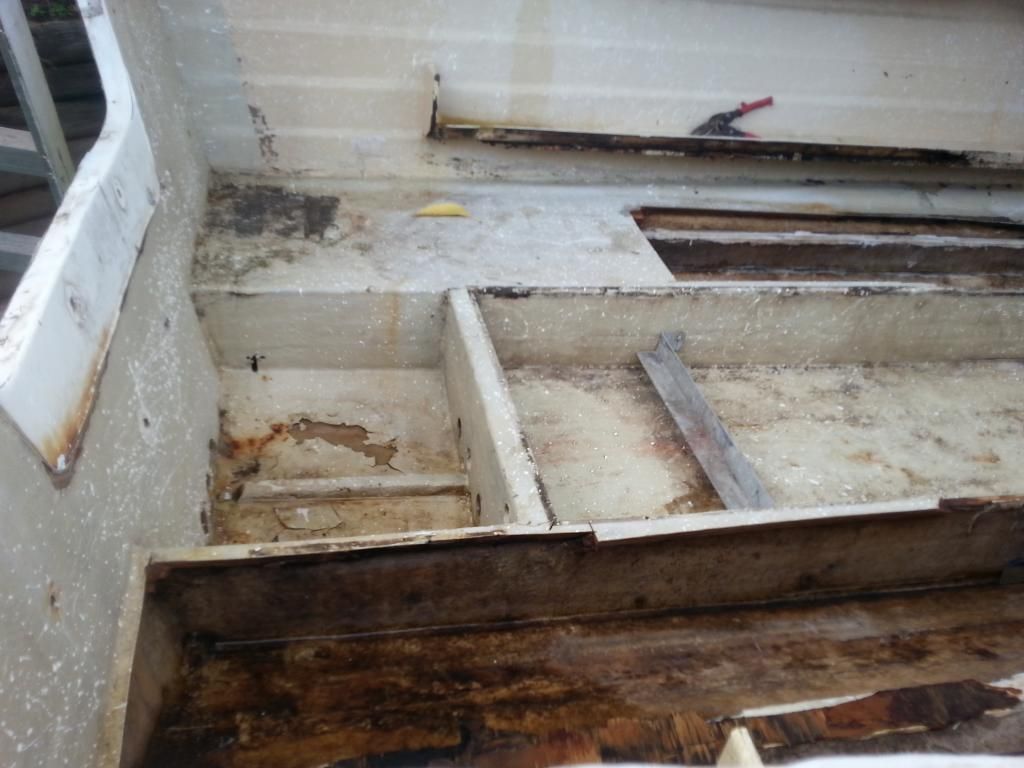
View of bilge vs transom
 

Barramundi NQ

Petty Officer 1st Class
Joined
Jul 3, 2014
Messages
342
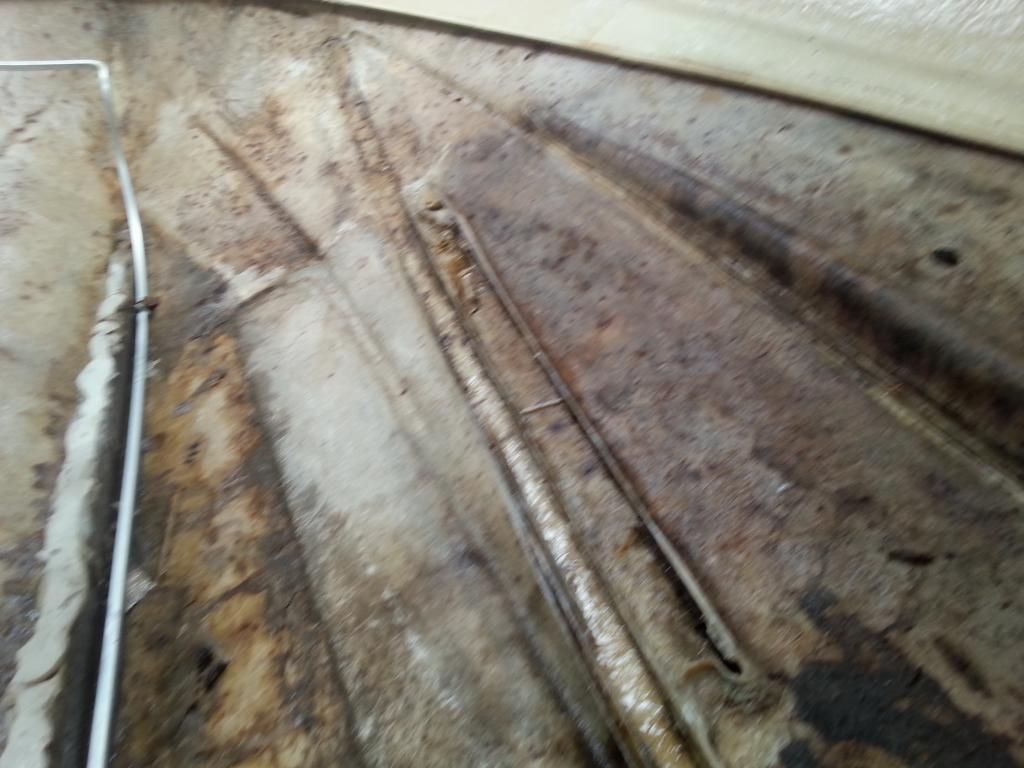
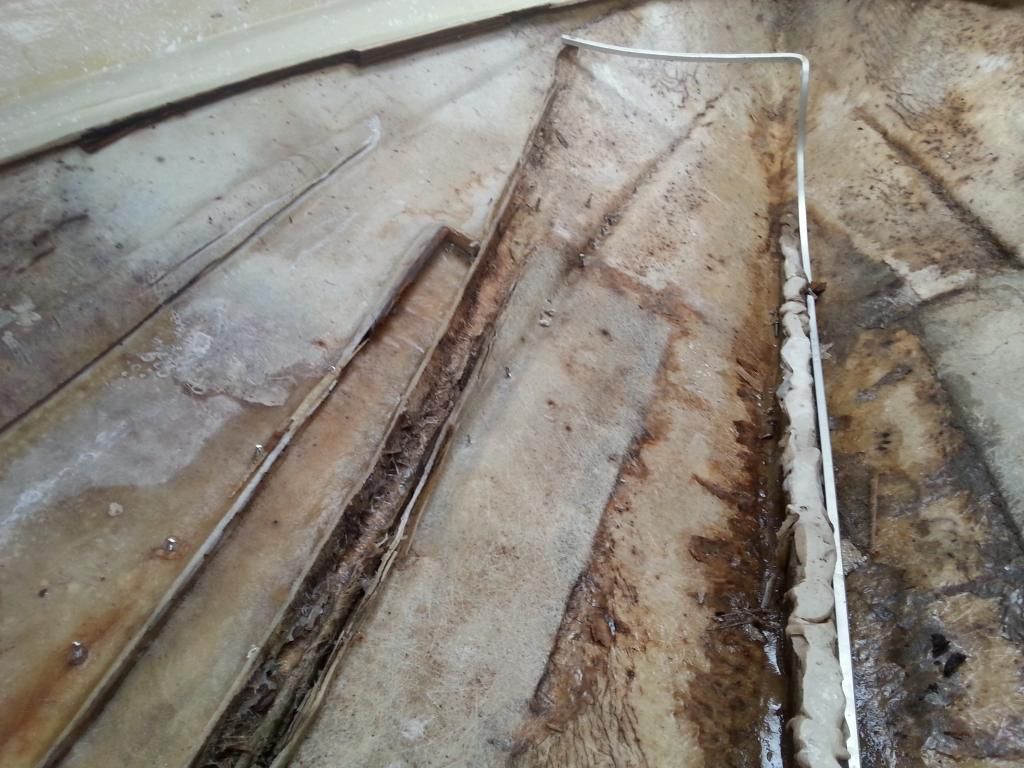
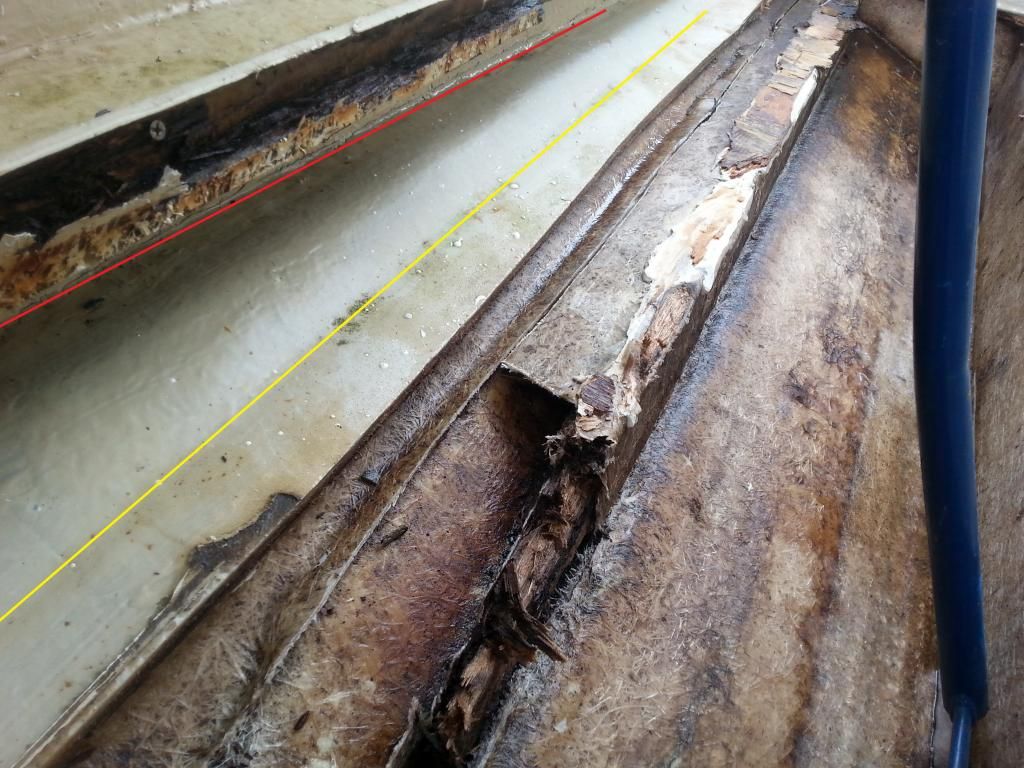
Here is something different to me. Have you seen this before?
The yellow line is where the floor meets the hull. The red line is the chine. Floor lower than the chine!!! Is that different or common?
 
Top