Cox Craft 85 Gutted and Rebuild.........ing

Barramundi NQ

Petty Officer 1st Class
Joined
Jul 3, 2014
Messages
342
Sorry to hear about the a## hole builder problems. In my contracting days, I ran into a few of those my self, and is one of the things that I absolutely don't miss about that industry. What kcassells said about drilling a hole and running a sawzall down the stringer is what I did when I was tearing mine apart as well. I would use at least a 9" blade so that you can get it to flex to the hull.
Sweet score on the tank and mounts!:clap2::whoo:

Nusreman, I've never in all my life had so much trouble in getting money out of people than in the last 12 months. I threatened legal action, and he said "go ahead", he's not phased at all. I have never met a more dishonest and dishonorable man in all my life. I'm a good reader of people but I clearly misread this man completely.

Going to borrow a friends sawsall to do the final stringer demo. Then out comes the transom. Looking forward to that!!! I can't believe how flimsy the hull has now become. Part of the problem is that I have still left the cap on so it is very top heavy and wobbles the whole boat around when I stand in it. All good thanks for your encouragement guys. I needed that!:laser::fish:
 

kcassells

Fleet Admiral
Joined
Oct 16, 2012
Messages
8,737
Good...go rip it up! It will get some of your angst out! For the rotten pc of ...adouble scribble. Been there, done that. The economy ...:blah::blah: Same everywhere.
 

Barramundi NQ

Petty Officer 1st Class
Joined
Jul 3, 2014
Messages
342
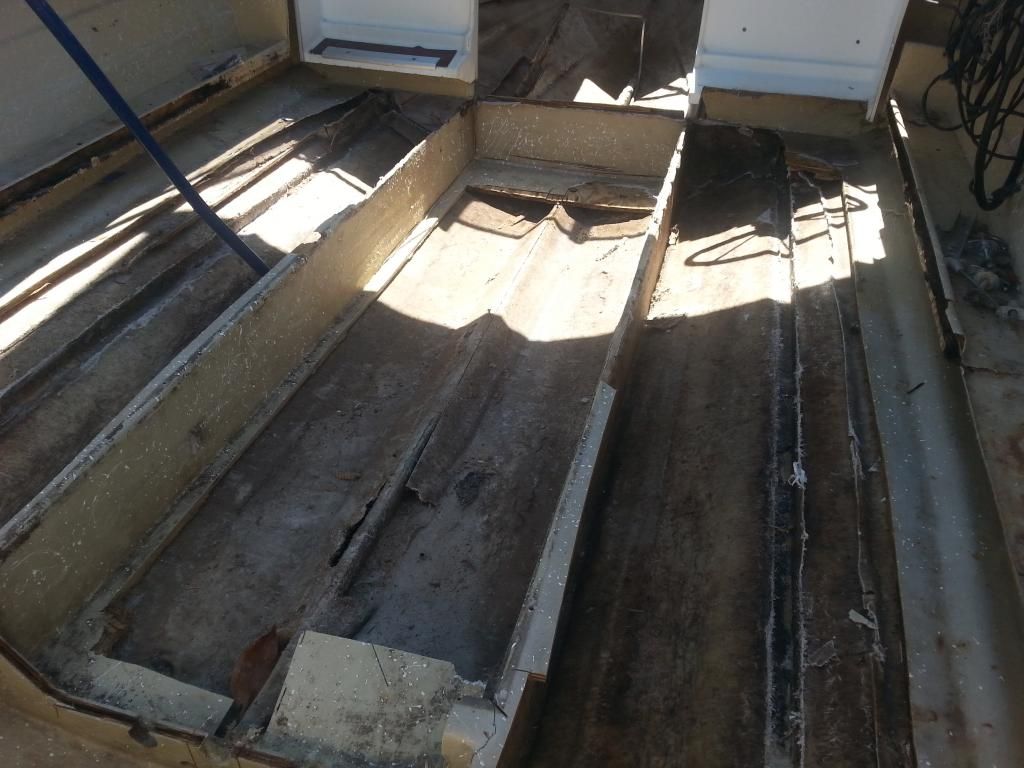
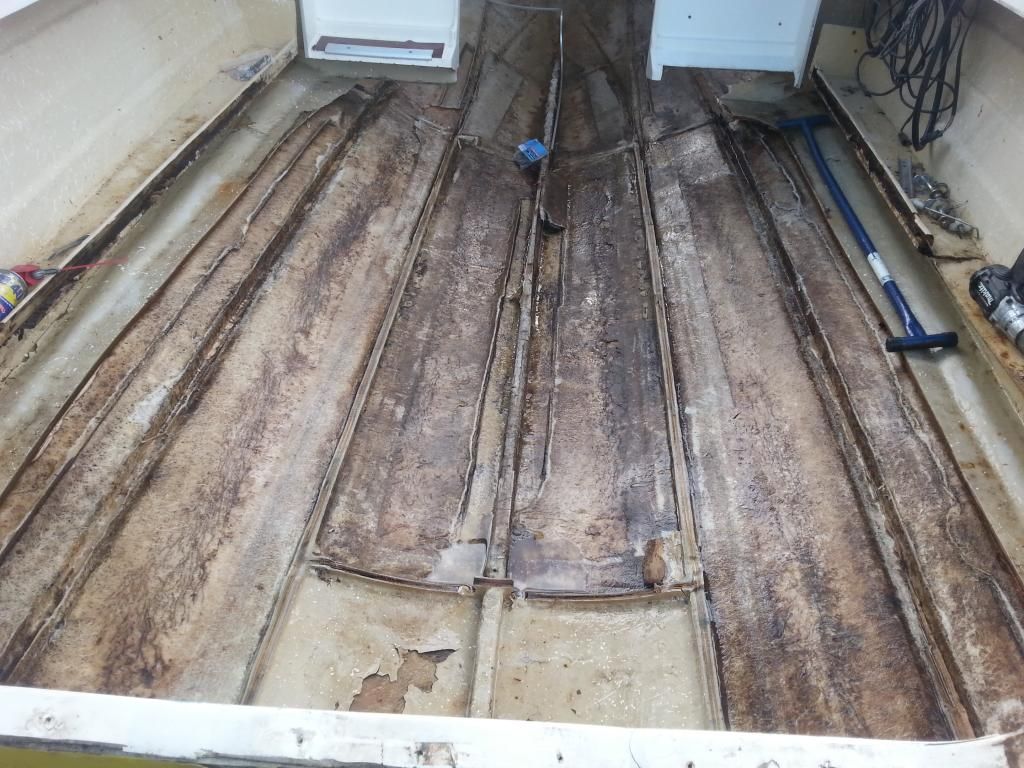
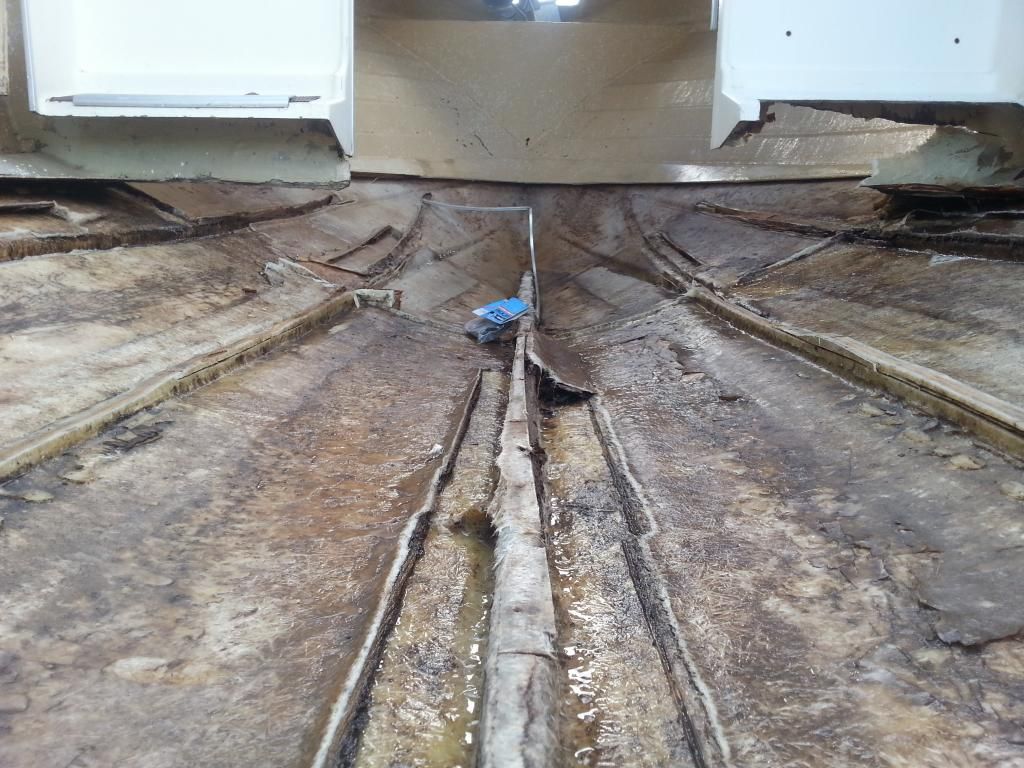
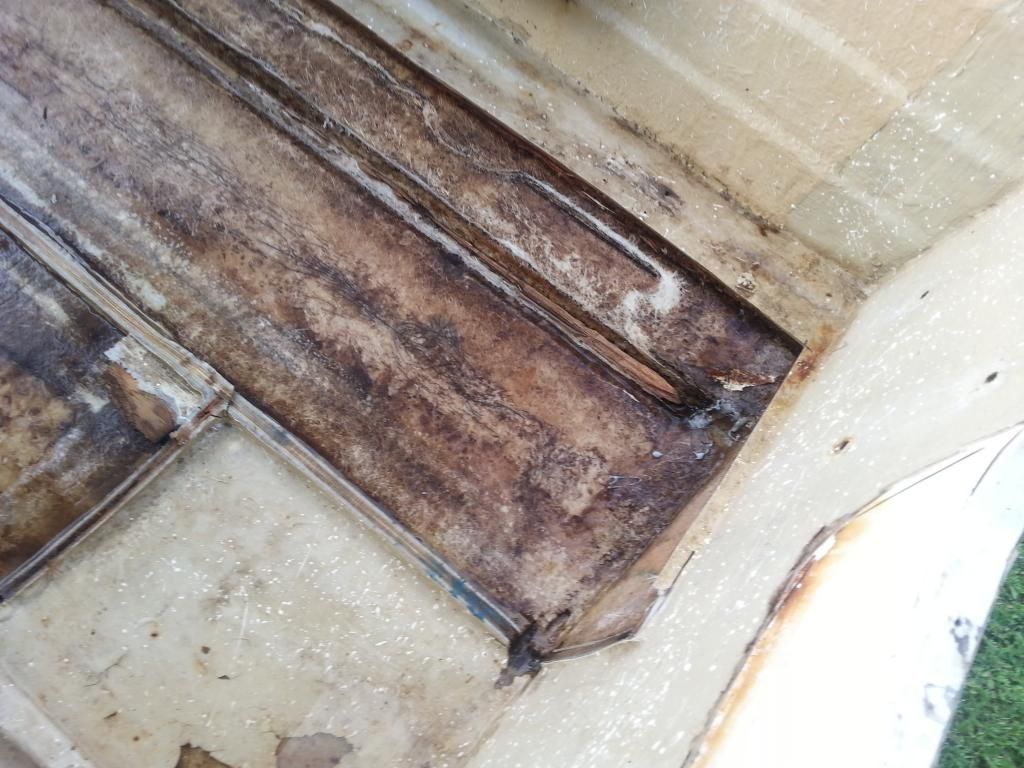
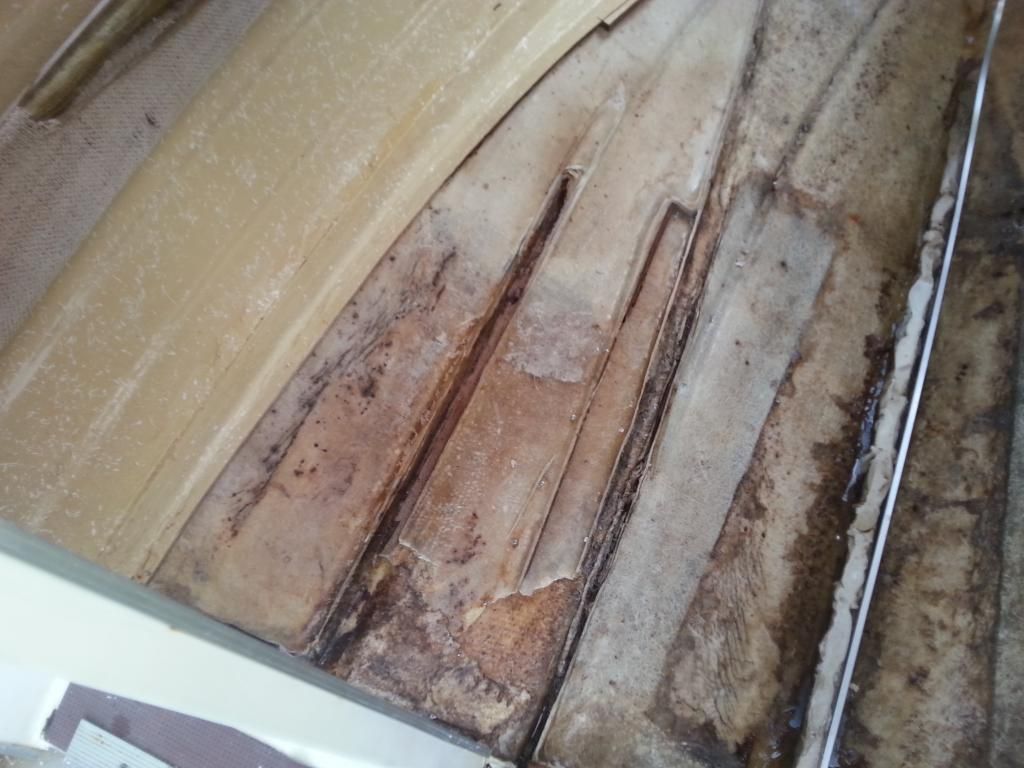
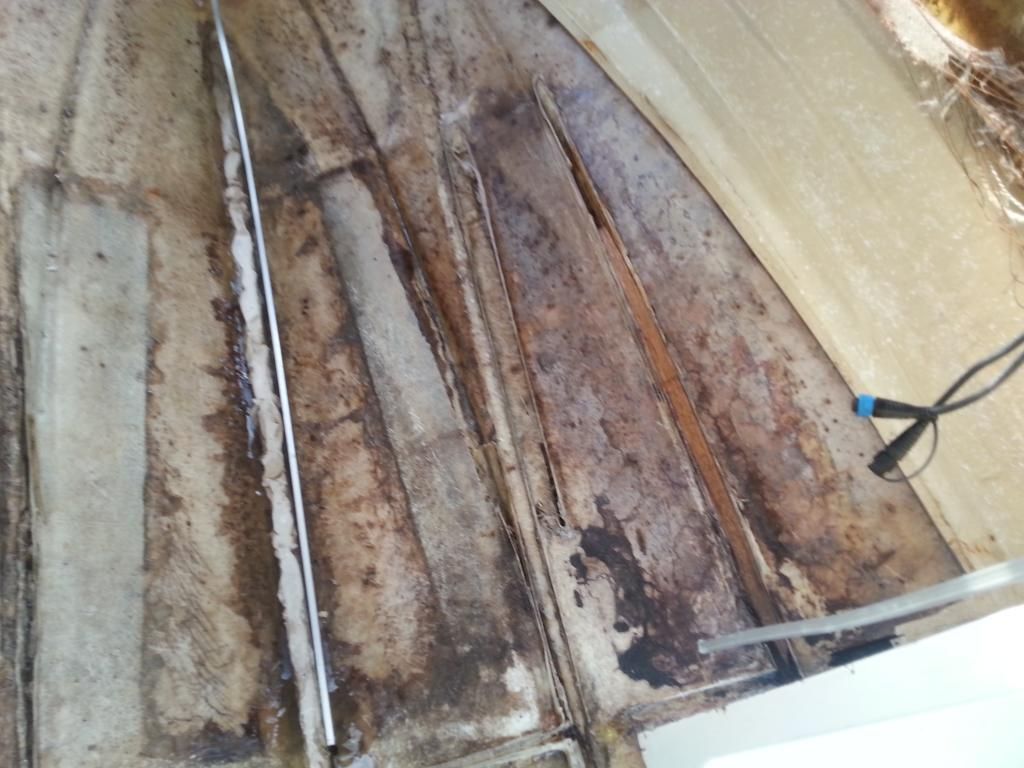
So I bit the bullet today and got a friends sawsall and began the task of cutting out the main stringers along with the 2 bulkheads front and back of the fuel tank well.
Compare this


With this


Barramundi NQ

Petty Officer 1st Class
Joined
Jul 3, 2014
Messages
342
When you look carefully, the plywood stringer remains are in excellent shape. No rot and well attached to the hull. However much as I wanted to leave them in, the tops had the begining's of rot where each S/S screw was. Every single one had failed. So out it all must go.


Barramundi NQ

Petty Officer 1st Class
Joined
Jul 3, 2014
Messages
342
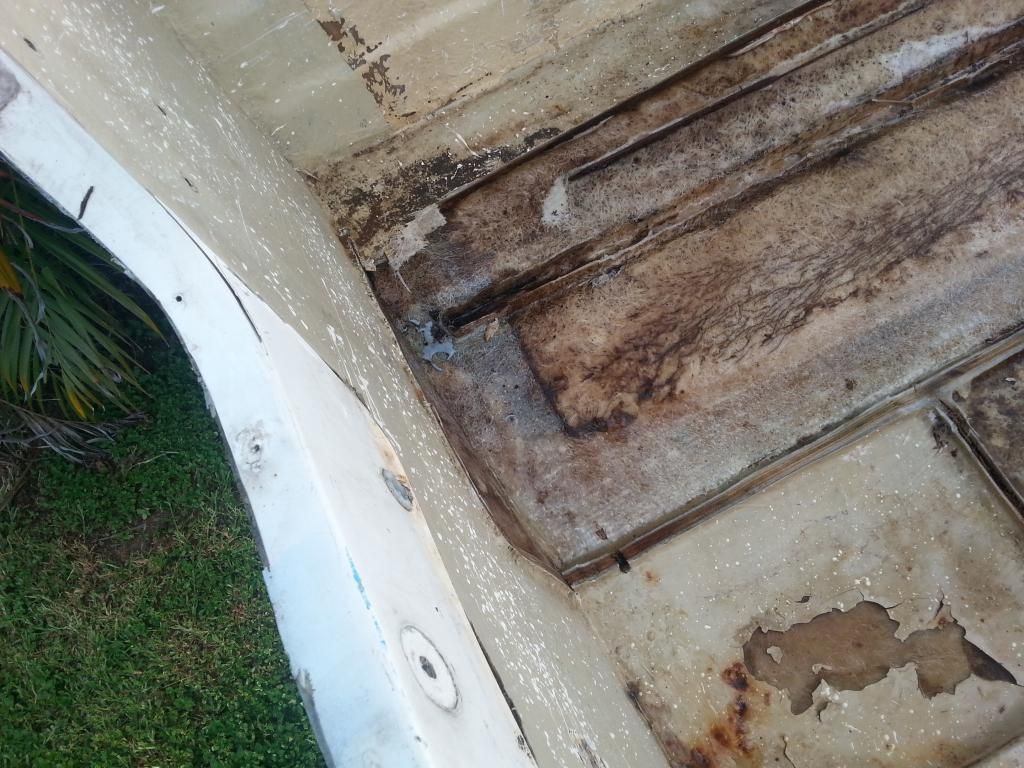
Port side near the transom, note the small or outer stringer didn't touch the transom.


Starboard at the transom


Barramundi NQ

Petty Officer 1st Class
Joined
Jul 3, 2014
Messages
342
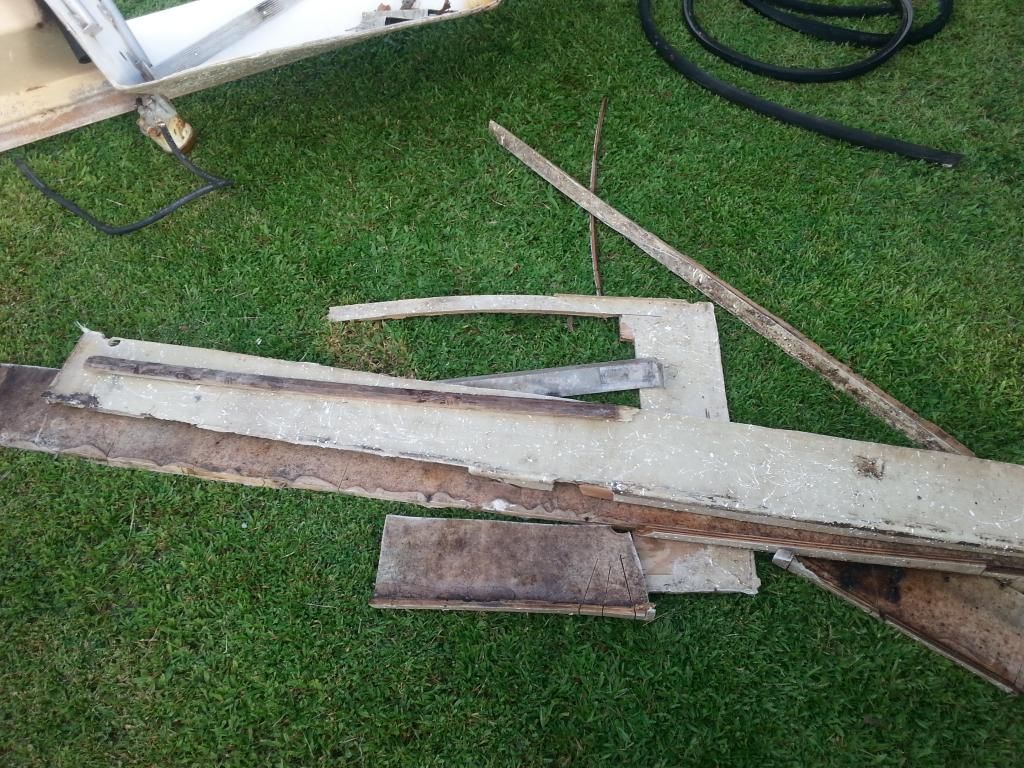
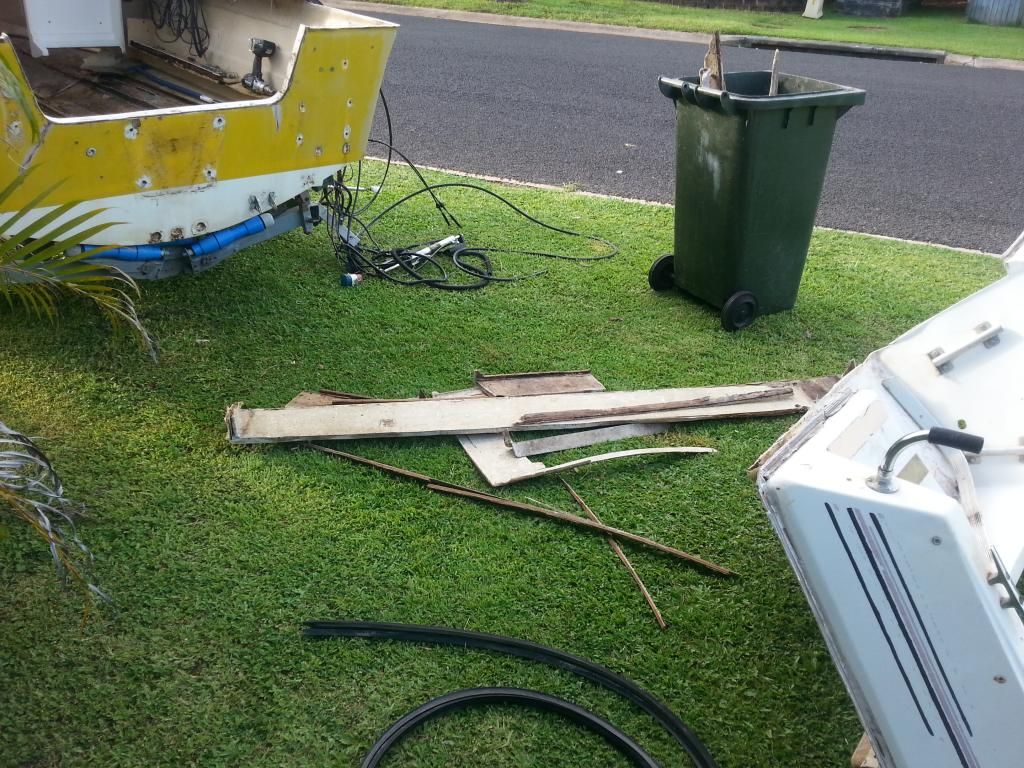
This is a wheelie bin I use for just this kind of thing. It's nearly full of odds and ends of the glass demolition. All the bigger bits went to the dump. Next bin day I'll fill the bin up with much of this stuff. This is the 3rd bin I've filled up with the carcass.


Main stringer bits out


My front yard today. Lush green grass here now that the wet season has begun, living in the tropics!


Barramundi NQ

Petty Officer 1st Class
Joined
Jul 3, 2014
Messages
342
Here's the view from inside the cabin looking at the port side. Note the oldest and therefore shiniest glass area? That was where I pulled off 3 layer of repairs by hand back to the original fractured glass. I believe I'll be putting some 1708 or biaxial glass down to return the shape and strength back to the old girl.


Here is the starboard side of the cabin. Same thing. Pulled off some glass repairs that weren't bonded to the original glass mechanically or chemically ( I don;t actually know which is which, so feel free to educate me!)


Barramundi NQ

Petty Officer 1st Class
Joined
Jul 3, 2014
Messages
342
Notice the height of the stringer after it was cut out? Is there an easy way to remove these when they are well bonded and solid plywood? Also the center keel stringer, Is there an easy way to remove this sucker?


kcassells

Fleet Admiral
Joined
Oct 16, 2012
Messages
8,737
Here's the view from inside the cabin looking at the port side. Note the oldest and therefore shiniest glass area? That was where I pulled off 3 layer of repairs by hand back to the original fractured glass. I believe I'll be putting some 1708 or biaxial glass down to return the shape and strength back to the old girl.


Here is the starboard side of the cabin. Same thing. Pulled off some glass repairs that weren't bonded to the original glass mechanically or chemically ( I don;t actually know which is which, so feel free to educate me!)


I thought I recalled you were using EEEEpoxy. So do not buy/use 1708 just use 1700 biaxial with no mat. 1708 is more for poly. Can be used but sucks up too much resin and is not required.
 

kcassells

Fleet Admiral
Joined
Oct 16, 2012
Messages
8,737
Notice the height of the stringer after it was cut out? Is there an easy way to remove these when they are well bonded and solid plywood? Also the center keel stringer, Is there an easy way to remove this sucker?


See those nubs of glass you showed? @ 1" high. This is where you want to use the grinder with a metal cutting blade and run it as close as you can to the hull. That will expose the wood. And from there you can use a wood chisel or prybar to dig out the wood. At the end of the day that glass nub standing up will be gone and the grinding will end up flush to the hull. For the placement of the new stringers.
 

Barramundi NQ

Petty Officer 1st Class
Joined
Jul 3, 2014
Messages
342
I thought I recalled you were using EEEEpoxy. So do not buy/use 1708 just use 1700 biaxial with no mat. 1708 is more for poly. Can be used but sucks up too much resin and is not required.

Hmmm don't remember saying I'll use epoxy??? Isn't that more expensive than poly resin? Because I'm a tight a%&* I'll be using a poly resin I reckon:D
 

Barramundi NQ

Petty Officer 1st Class
Joined
Jul 3, 2014
Messages
342
On the type of mat to use for strength, should I use 1708 or just the 17oz cloth for the major areas to build up the old repairs and other areas for overall strength? In other words is 1708 necessary or is the 170z mat better for the weak points in the hull?
 

Barramundi NQ

Petty Officer 1st Class
Joined
Jul 3, 2014
Messages
342
Can someone help with the type of loctite PL? Which number is used for bedding stringers and floor?
 

Woodonglass

Supreme Mariner
Joined
Dec 29, 2009
Messages
25,928
If you're using Poly you have to use 1708 with the CSM backing OR if you use 17oz biaxial you must lay down a layer of 1.5oz CSM prior to laying the 17oz biax. Poly requires the use of CSM in order to bind everything together. Without it, it becomes very brittle and will crack and break and allow water intrusion.
 

Barramundi NQ

Petty Officer 1st Class
Joined
Jul 3, 2014
Messages
342
If you're using Poly you have to use 1708 with the CSM backing OR if you use 17oz biaxial you must lay down a layer of 1.5oz CSM prior to laying the 17oz biax. Poly requires the use of CSM in order to bind everything together. Without it, it becomes very brittle and will crack and break and allow water intrusion.

Thanks woody! I need to have it dumbed down to my level of understanding:D

Has anyone heard of the composite material that is honeycomb in structure for floors and decks in boats? It still needs to be fully glassed like ply but it is a 10th of the weight and is twice as strong. A friend of mine has used it on his new floor in his boat and swears by it. I'll have to find the name.....
 

kcassells

Fleet Admiral
Joined
Oct 16, 2012
Messages
8,737
No, I have no experience with this material at all. Do some more reading on it. Seems to have a lot to offer. Only drawback I saw was the pricing vs. ply.
 
Top