72 Thunderbird Formula w/twin 165hp Mercs

alldodge

Moderator
Staff member
Joined
Mar 8, 2009
Messages
42,300
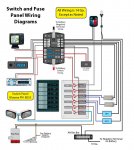
Buss bars are the way to go and they come in all sizes and shapes. Here is my Formula and it has a main ground buss bar for all the battery cables, which then goes to the Engine block. Directly above it on the left is a smaller one with a 10AWG wire connecting the two. All local grounds are attached to the small one. Then there is another 10AWG wire which goes up to behind the helm to another ground buss. This might be slight over kill for yours but just info. The bottom pic is just info

Solenoids Formula.jpg

Gen Wiring Diagram.jpg
 

Mark72233

Ensign
Joined
Jul 11, 2014
Messages
926
Arch and AllDodge thanks for the info. Arch I have that wire chart printed out somewhere so I will dig it up and AllDodge on your pic you have 10 Ga running from the Bus bar to the neg side of the battery. That sounds about right but since I have moved my batteries up towards the front I will have about a 12 foot run one direction so I will have to check the wire chart.

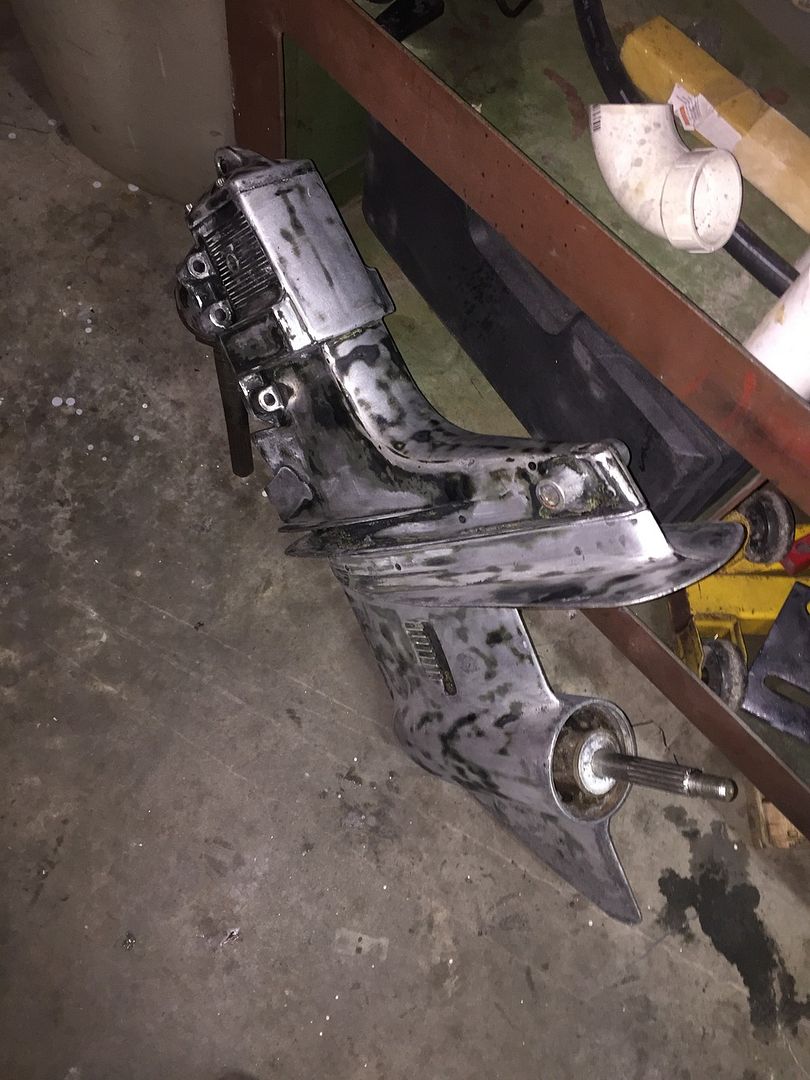
On another note I cleaned up the garage so I can move onto rebuilding the outdrives. I started with one of the original drives off the boat. I am pretty sure we had this one rebuilt professionally for about $300 back in around 2000-2001. $300 I doubt they will do it for that much these days. When I say rebuilt I mean they just took it apart and probably just replaced the same seals and things I am about to replace again. Anyway it was bolted onto the boat and probably ran on muffs a couple of times and never went back in the water because we never rebuilt the other engine and drive so it's been literally sitting for 15 years. I managed to get all the nuts and bolts off on the lower unit unfortunately one of the 4 bolts holding down the top cap broke but there is enough sticking up I feel certain I can get the rest of it out. The cool part is it was completely full of fluid that looks brand new so no leaks and no water intrusion so fingers crossed. All the shafts turn freely and the shifter works smoothly. So I am going to clean off all the old paint, pretty this thing up and replace all the stuff I need to. Even the U joints feel smooth but I have new ones so I may as well replace them too.
 

alldodge

Moderator
Staff member
Joined
Mar 8, 2009
Messages
42,300
You could probably get by with a 12 gage wire, but the time most always creates a weaker connection. Using a larger wire provides much more room (so to speak) before your trying to track down an intermittent issue. My opinion only
 

Mark72233

Ensign
Joined
Jul 11, 2014
Messages
926
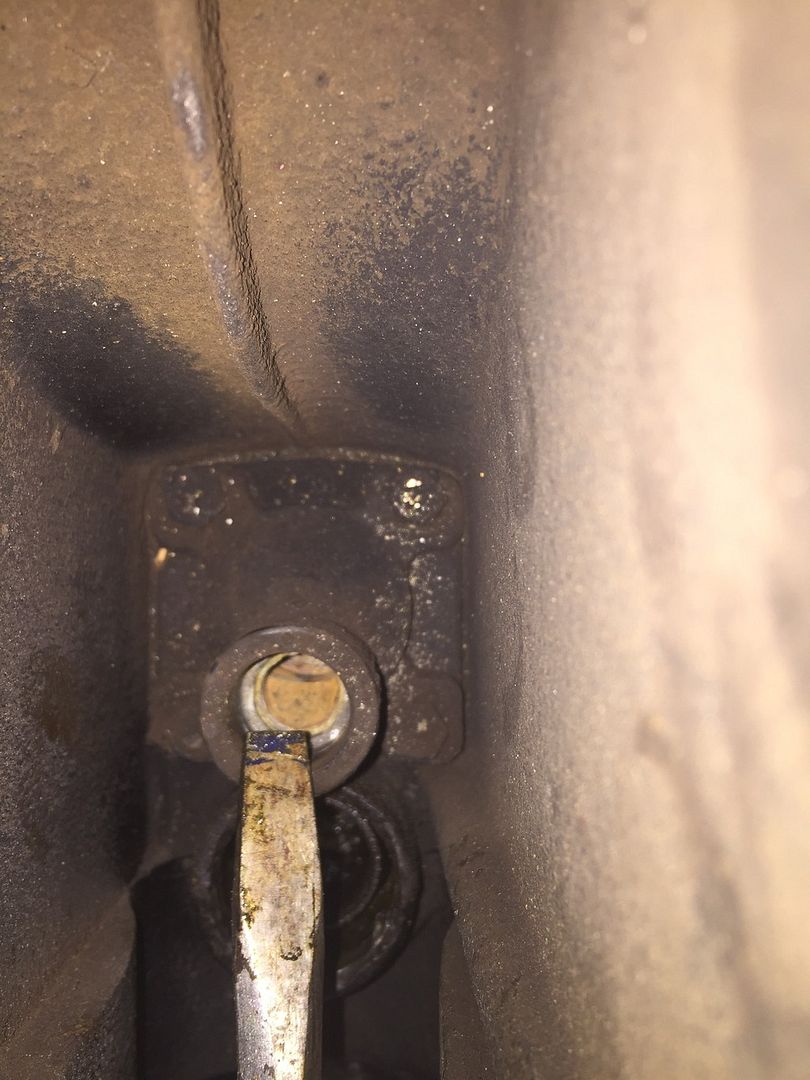
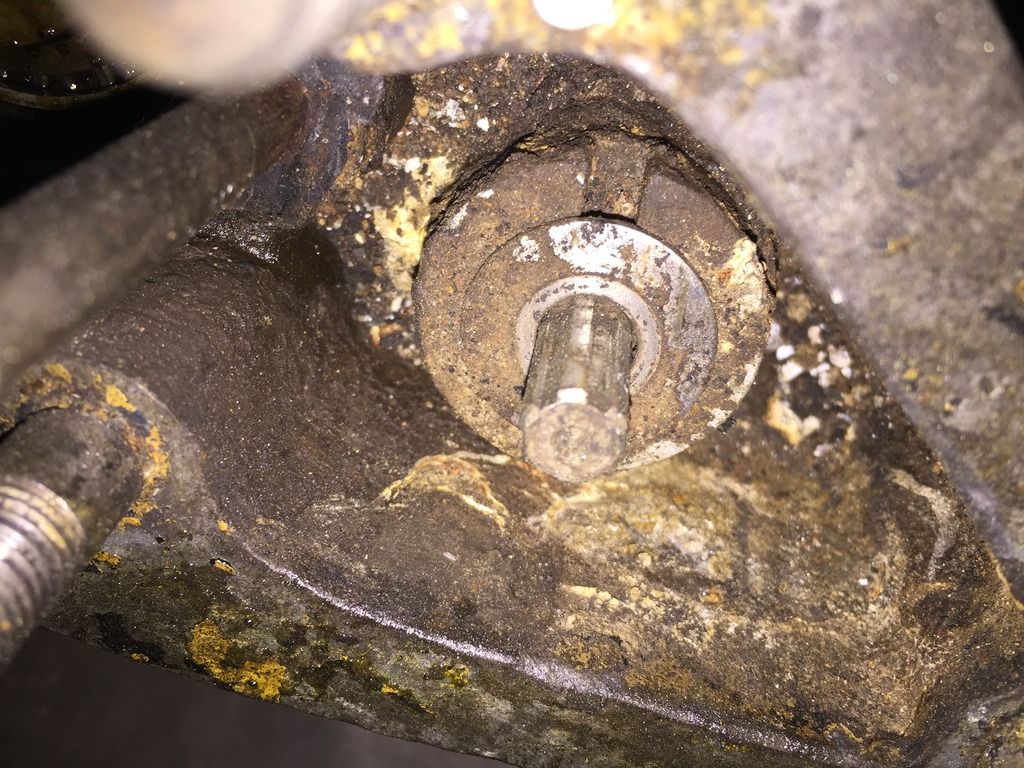
Need some Merc stern drive opinions. I have started tearing into the stern drives. Looking past the obvious seals and water pump housing and impeller replacements what else should I check and or replace. Inside the upper housing there is another part or housing for the water pump. I will replace the seal that goes here.
Should I take the 4 bolts off and inspect and replace anything else on this part. I am replacing the oil seal (it's under the screw driver) next to this housing where the drive shaft comes up and enters the top half from the bottom half.
 

Mark72233

Ensign
Joined
Jul 11, 2014
Messages
926
Well unfortunately let me answer my first question about the water pump upper housing. Unless you see or know of an issue with this part just leave it alone because it is nothing but a plastic housing with a gasket. If you try to take it off all 4 bolts will snap and there is no real way to drill them out turning the entire upper housing into a broken paperweight. 😭😝😤😡😳😳
 

alldodge

Moderator
Staff member
Joined
Mar 8, 2009
Messages
42,300
Sure sorry to hear about that. Read your post earlier and hoped someone would come in and assist. Problem with many of these long threads some stop looking all the time. Suggest posting a new one with just this issue. As for removing the drive shaft nut, I would not. If your gear lube looks good and it turns OK, just pressure test then fill it up.
 

smccormick

Recruit
Joined
Feb 20, 2016
Messages
3
Hey Mark72, on those drives, I'm not sure when you say you are going to rebuild them if you just mean service them or reseal them or complete disassemble and refurbish. But especially with the rebuilt one, just pressure test and if no leaks occur then run it. Same with the u joints if they move in all directions with smooth motion run it. Drives need to be removed and serviced every year so there is plenty of time to catch problems developing with proper service and attention. To change out all the seals and u joints when the drive is still serviceable is wasting your precious time and gas money. Throw those u joints you have on hand in your parts storage and fear not you'll use them in the future.

If you do intend to reseal the unit keep in mind that all the bevel gears need to be shimmed so that they mesh properly. Improper depth on any one gear will do significant damage to the set in short order. You need to know exactly what you are doing when reassembling the gear boxes. As for the retainer nut you are asking about above I would advise if you are not seeing any leaks just walk away. Even that top gear case cover has shims under it to preload the upper drive shaft bearings.

If you are just servicing the drive then change the oil, impeller and pump housing liner and go have fun. In coming years check the bellows, the bottom plug magnet for debris, look for milky contaminated oil. You can also send out a sample of oil for analysis for trending.

One aside, when you are running into stuck fasteners apply heat (propane, O/A needs to be handled with great care) to the aluminum you'll find they come out with much less fuss... and breaking.
 
Last edited:

Mark72233

Ensign
Joined
Jul 11, 2014
Messages
926
Alldodge where were you before I screwed up 😜 just kidding my own curiosity always gets me into trouble. I have 3 more drives anyway so it shouldn't be a problem. I am definitely going to just do the minimum, put them together and pressure test. I just need to put together a simple pressure tester. I think Goldie built one and put how he did it on his blog. I will also search the forum and the Adult only section also.
 

Mark72233

Ensign
Joined
Jul 11, 2014
Messages
926
smccormick, I am definitely going to just change out the minimum and put them back together. I did one tonight. I changed out the entire impeller setup along with the O ring on the shaft and the rubber inserts on each end of the water tube and the small O ring between the upper and lower halves. I will pressure test with crossed fingers.
 

Mark72233

Ensign
Joined
Jul 11, 2014
Messages
926
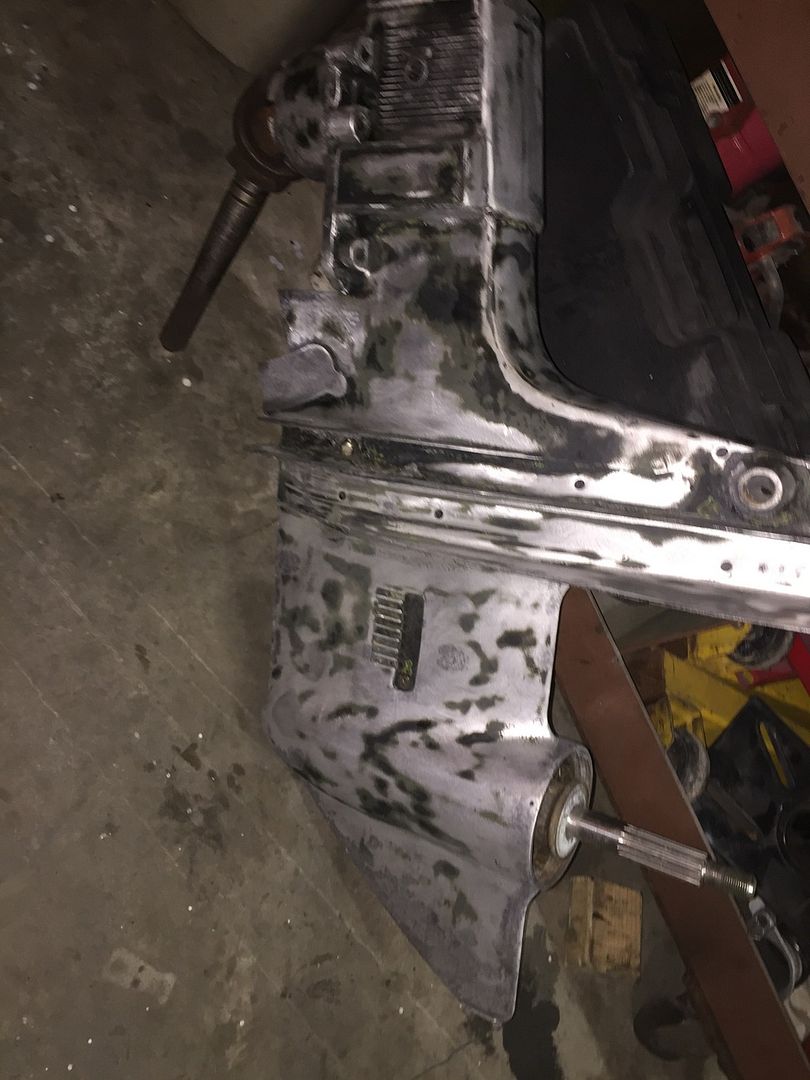
Sanded down the entire out drive and put it back together. It's ready for the pressure test and than hopefully prime and paint. Anybody got any favorite rattle can paints the like for painting the out drives.
 

alldodge

Moderator
Staff member
Joined
Mar 8, 2009
Messages
42,300
Sure glad you have other parts, messed up a bunch of stuff over the years, still do but only once in a good while, most cases involves asking someone to hold my beer. :D

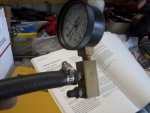
I made a pressure tester by drilling a hole thru the center of a bolt, hose, brass fitting, a gauge and sharder valve. I'll see about taking a pic of it and post later.
 

archbuilder

Vice Admiral
Joined
Sep 12, 2009
Messages
5,697
Looking nice Mark. You will want to use a self-etching primer before the paint. I think you can find some out there in a rattle can.
 

Mark72233

Ensign
Joined
Jul 11, 2014
Messages
926
That looks like a very expensive high speed low drag equipment you got there AllDodge :D. Looks easy enough to build. What pressure should I run it up to and how long should it hold. 8-10psi maybe for anything longer than an hour?
 

alldodge

Moderator
Staff member
Joined
Mar 8, 2009
Messages
42,300
That looks like a very expensive high speed low drag equipment you got there AllDodge :D. Looks easy enough to build. What pressure should I run it up to and how long should it hold. 8-10psi maybe for anything longer than an hour?

High Tec all the way for me, :) hardest part was drilling the hole thru the bolt and cutting the head off. After I made it though I should get a barbed fitting to go in the hose end then fit to my bolt, but what they hey, it works

Agree 8-10 and 15 is ok for me but not more then that. Let it hold for a couple hours is good for me others use the hole day.
 

Mark72233

Ensign
Joined
Jul 11, 2014
Messages
926
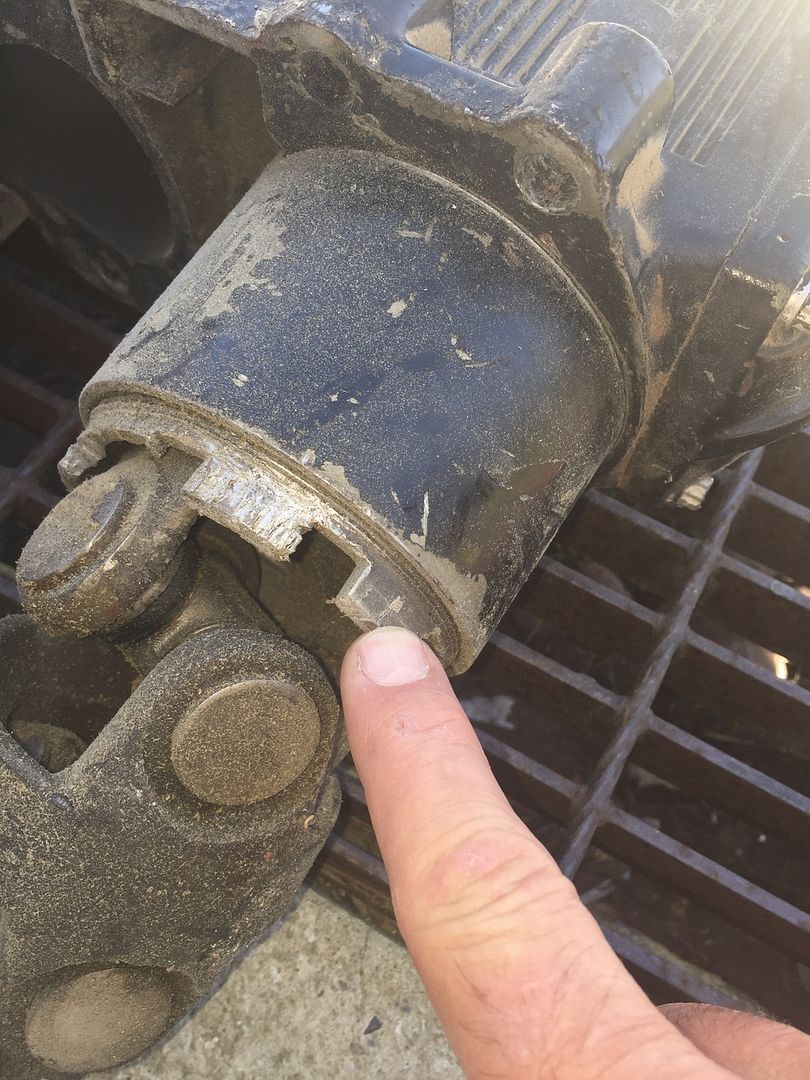
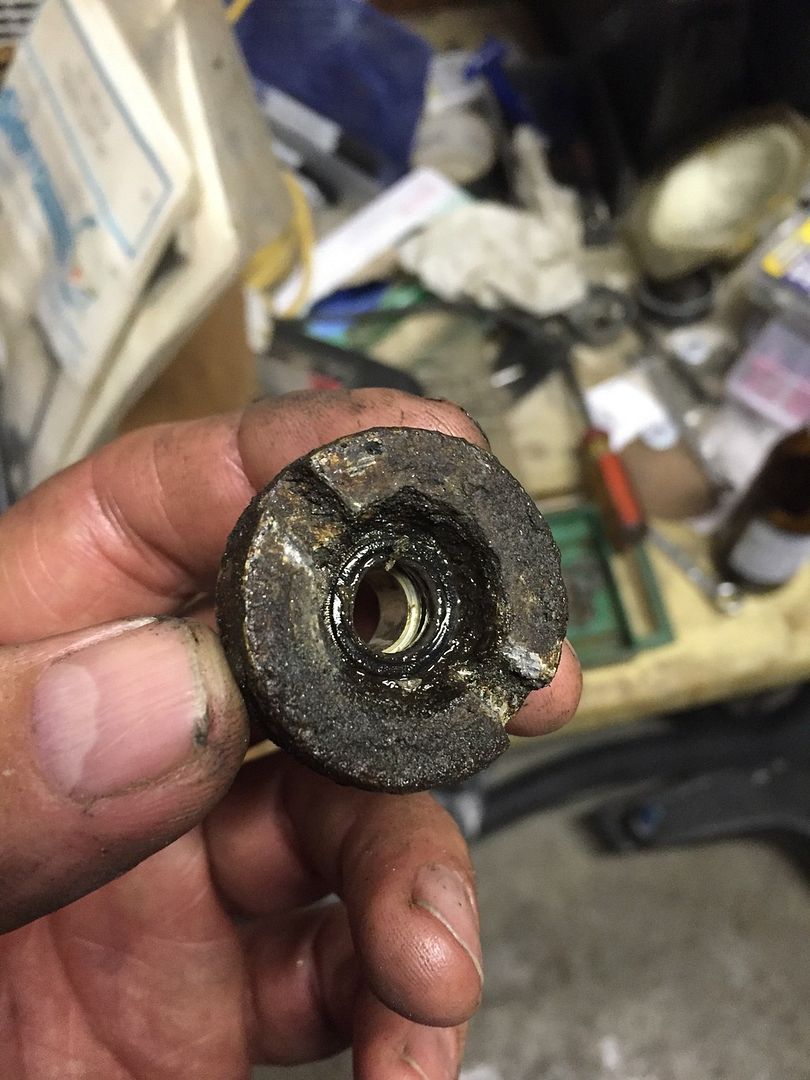
I pieced together a pressure gauge from parts I got at West Marine and Harbor Freight. I will take some pics of it later. I tested the rebuilt unit at 10psi and it leaks, quick. Within 30seconds. I checked everywhere I could with soapy water and no visible bubbles. I finally pumped it up to about 15psi and I could hear a leak near the center originating around the impeller housing. I didn't change out 2 seals. One is at the base of the impeller housing and the other was this piece.
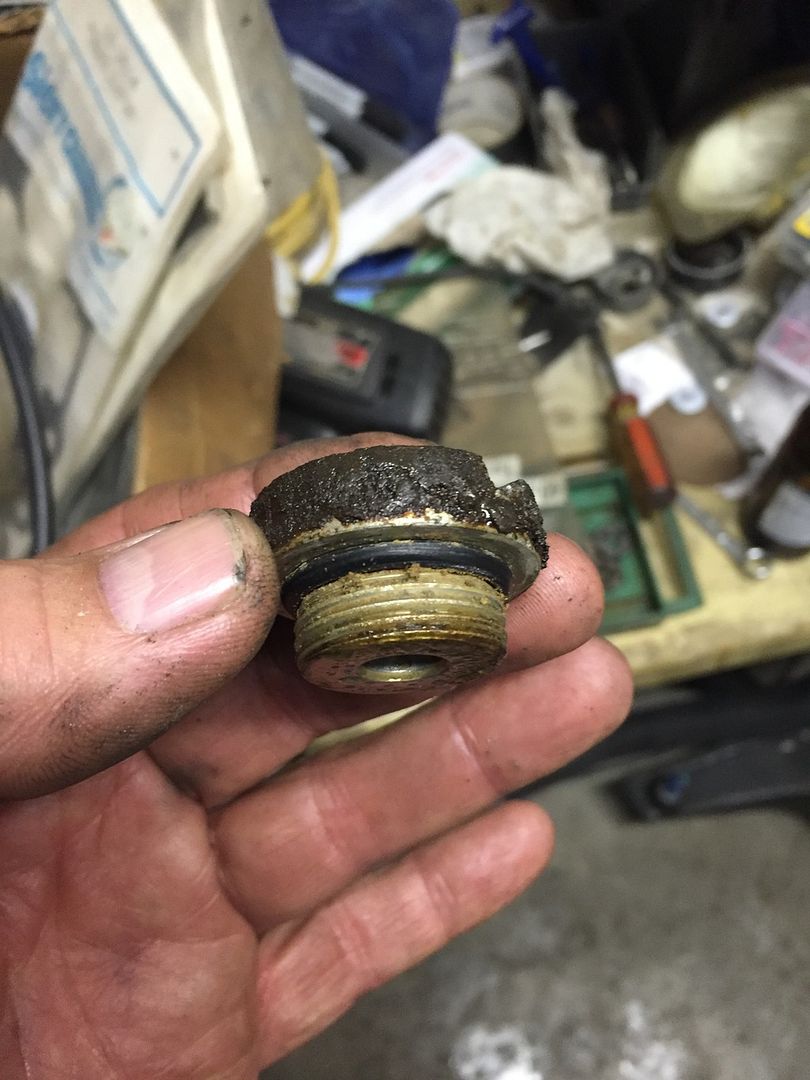
I took it apart and changed out that piece and put it back together. Pumped it up to 10psi again and so far no leak. Its been about 30 minutes but I haven't worked up the courage to see if it's leaked down or not. Good news, I did check one of the other units I have that is still together and no leaks. I pumped it up to 18psi and left it for an hour and it did not leak down.
 
Top