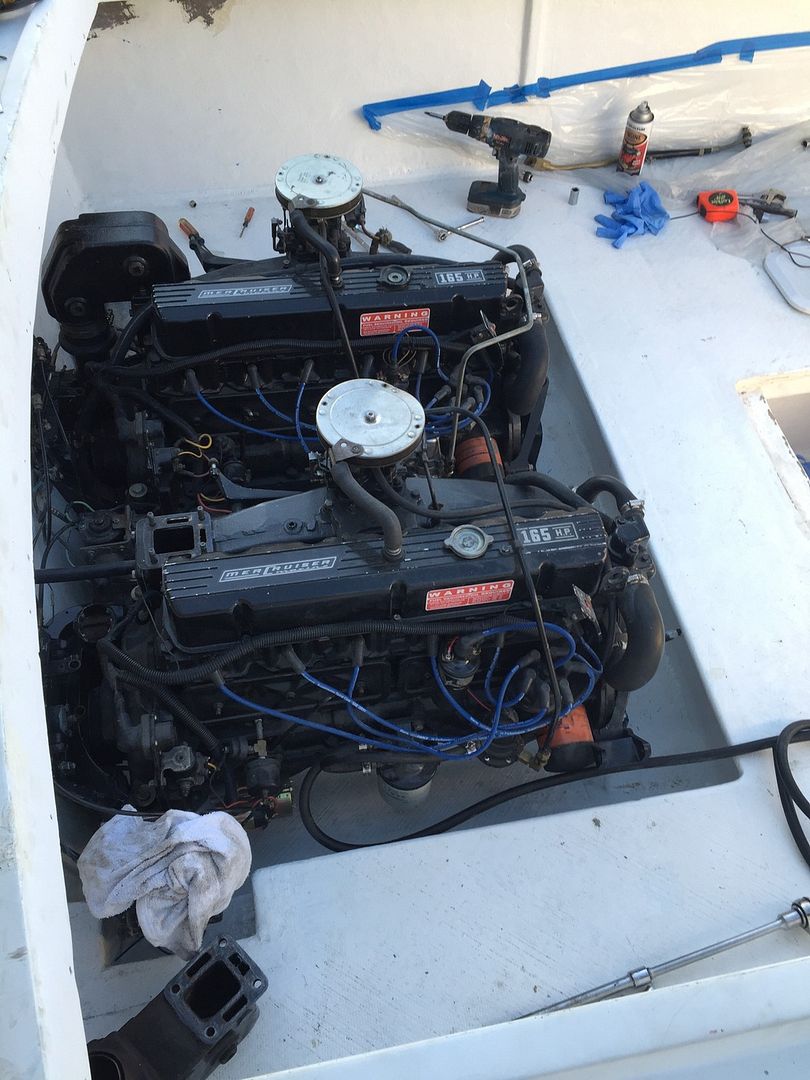
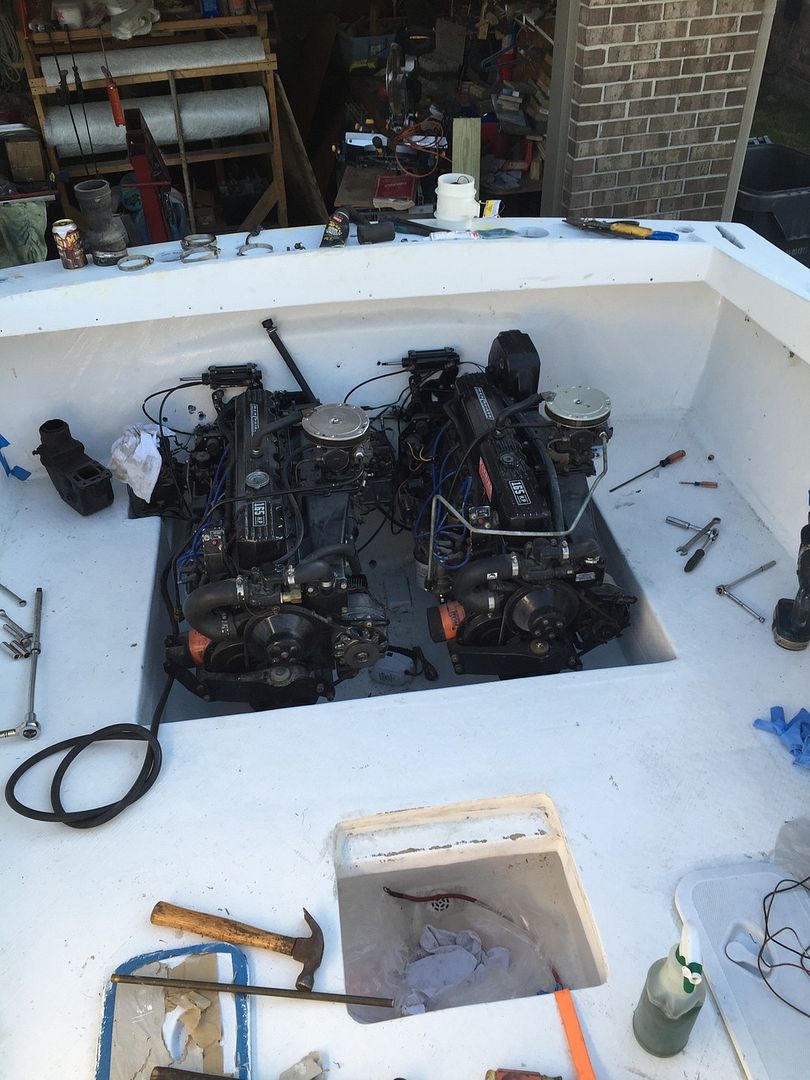
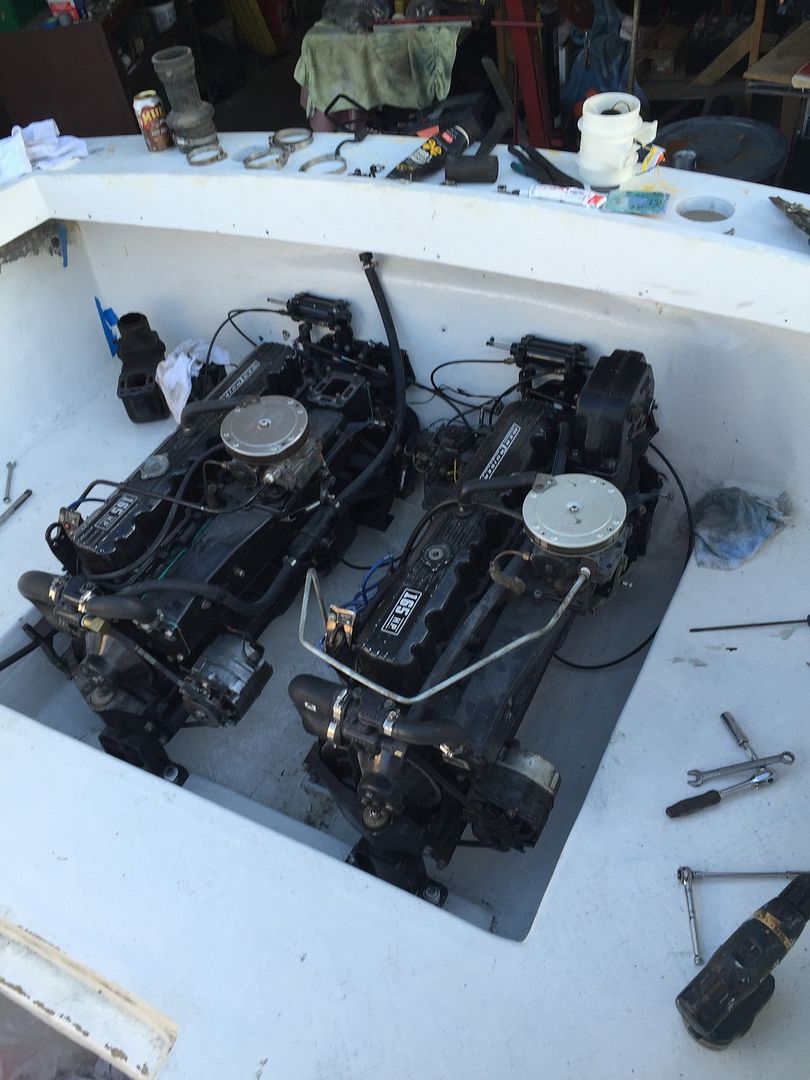
72 Thunderbird Formula w/twin 165hp Mercs

Mark72233

Ensign
Joined
Jul 11, 2014
Messages
926
Thanks WOG, I can't adjust the rollers they are mounted and stationary. As for the bunks I will use the floor jack so that should be doable.
 

Mark72233

Ensign
Joined
Jul 11, 2014
Messages
926
Thanks Arch. Doing it safely was questionable. I would use the 3 ton floor jack to lift it but that would allow the boat to move left to right. The boat would be balanced and while I was moving the blocks around the trailer so I could move it back a few feet the wind would pick up and start rocking the boat (Pun intended). At one point while I was under the trailer it went over way to far and scared the stuff out of me after that I had to keep it chalked on the sides so it wouldn't rock.
 

nurseman

Lieutenant Junior Grade
Joined
Jun 2, 2013
Messages
1,045
I agree with Wog, Alldodge, and Arch. Put the weight of the boat on the bunks.
 
Last edited:

Mark72233

Ensign
Joined
Jul 11, 2014
Messages
926
Arch, my plan is this Friday get the bunks in place and start dropping the engines into the boat and getting them aligned. Once the engines are installed, bolted in than it's onto the outdrives.
 

JoshOnt

Chief Petty Officer
Joined
Aug 12, 2013
Messages
487
Looks like it is coming along nicely. You're close to all the shinny add ons it appears.
 

Mark72233

Ensign
Joined
Jul 11, 2014
Messages
926
Yes as soon as I can get the cap painted then I can start bolting back all these pieces and parts I have either bought new or cleaned up and made to look new. I cant wait. I just have to get past installing both engines and rebuilding 2 outdrives that I haven't even looked at yet. I have 4 outdrives, 2 original drives from the boat and 2 from the donor engine and boat I bought. I have to confirm they are all 165 ratio drives and then piece together 2 working drives. Oh the fun I will have I type in a sarcastic tone :frusty::facepalm:
 

Mark72233

Ensign
Joined
Jul 11, 2014
Messages
926
Well I ended up getting sick about midday Friday it was like food poisoning. Came on quick and went on until about 3am along with bad heart burn. Oh the joy. Finally dragged myself out of bed at 10am and started trying to put in the port engine. Doing this alone sucks. If I did a video it would have been 8 hours long with lots of cussing. I couldn't get the darn thing aligned and too feel loose enough as I was spinning the alignment tool. I finally had to unbolt the rear mounts, spin the engine 180degrees and looked at the part that has a rubber insert and splines where the drive shaft from the stern drives inserts. Sure enough I messed it up when I was first trying to get the alignment tool pushed all the way in. Hint don't use a hammer and don't force it. Luckily I have a spar so off with the bell housing, switch out the messed up part and try this again. I got the alignment tool in and played with moving the front of the engine up and down and all around looking for the freest play or spin of the alignment tool. I have never done this before so I have no frame of reference and how it should feel and what would be with in tolerance. I can spin the alignment tool around but it doesn't pull out very easy or install very easily. I will try and install the starboard engine tomorrow and hope it will be a little easier not only to install but also to align. I still need to hook up elbow and exhaust tube and water intake hose along with a bunch of other items.
 

ahmincha

Lieutenant Commander
Joined
Jul 21, 2012
Messages
1,512
Sorry to hear you were sick!! I only aligned a motor once a few years back and from what I remember is the alignment tool should go in easily with 2 fingers and come out the same way.
 

alldodge

Moderator
Staff member
Joined
Mar 8, 2009
Messages
42,300
Should go in and out easy, two fingers in is great but sometimes new bearing makes it just a tad stiffer. That said it should still be easy. There is a place in the adults only section which explains it further. Grease it, push it in, then slap it lightly with a rubber mallet up/down and left/right. This slapping helps align the gimbal bearing, I use my hands.
 

Mark72233

Ensign
Joined
Jul 11, 2014
Messages
926
Ok I got the starboard engine installed in no time flat. One of the good thing about twin engines you learn all your errors or at least most on the first engine. I checked the alignment tool with a micrometer and found the end was out of round and misshaped. Again don't use big hammers on your alignment tools. I filed it done and got it where it would go into the coupler smoothly. Next I found what my real problem is. Once I put the alignment tool into the starboard gimbal bearing I quickly noted how it easily moved all around, up, down side to side transitioning smoothly so the alignment tool went right into the coupler with no issues able to move it freely around and in and out. So I went back to the port side and put the alignment tool just into the gimbal bearing and forced it up and sure enough it moves but is very stiff and takes a lot of effort to move it in all directions. Once I did that the tool went into the coupler with ease and moved in and out easy. Now my worries are is the gimbal bearing too stiff. I replaced both of them at the same time about 6-8 months ago. Should I replace the stiff bearing. It spins freely and just doesn't swivel freely like the starboard side
 

alldodge

Moderator
Staff member
Joined
Mar 8, 2009
Messages
42,300
So I went back to the port side and put the alignment tool just into the gimbal bearing and forced it up and sure enough it moves but is very stiff and takes a lot of effort to move it in all directions

Don't see any issue with it being to stiff.

Now my comment about the up/down and left/right was with the tool fully inserted into the coupler, sorry if I was unclear. This is done to help center the bearing to the coupler. Moving it around while not in the coupler hurts nothing and is ok.
 

Mark72233

Ensign
Joined
Jul 11, 2014
Messages
926
Thanks Alldodge, I understood what you meant once I saw how the starboard engine's gimbal bearing moved like it did. I also checked out the Adult section in Mercruiser section and it helped out also, lots of good info. I feel pretty good with my progress this weekend.


nurseman

Lieutenant Junior Grade
Joined
Jun 2, 2013
Messages
1,045
Looking really good Mark, gotta feel good to get that out of the way.
 

Mark72233

Ensign
Joined
Jul 11, 2014
Messages
926
OK I am not ready to start doing electronics but I need to ask a question and I hesitate for fear of showing how incompetent I am when it comes to electronics and wiring. It is all black magic at times. Anyway I am amongst friends and can certainly take any blows to my already deflated ego. Starting to look at wiring up 2 bilge pumps, 1 stern light, 1 in line bilge blower, some courtesy lights. I understand the power or positive wires and auto bilge switch wires need to run from the back up to the front to be connected to a switch. The question I have is for the black or negative side, what is the best way. I was thinking of using a negative bus bar attached to the transom wall and have all the negative/black wires run to this.

Do I run a larger black wire up to the negative side of what I will call the port engine/house battery. Do I also need to connect it to ground on the engine. I am going to be so lost when it comes to this part of the project.
 

archbuilder

Vice Admiral
Joined
Sep 12, 2009
Messages
5,697
With all of that equipment to hook up, having a ground buss back there makes sense to me. You will need a larger wire to go from the buss back to the battery. Remember it is carrying the current of all of the items that are on at the same time. So if everything together has a 10 amp load, then I would size my wire accordingly. It would be rare that you would have it all on at the same time, but if you did, the wire would be large enough.

I used a wire sizing chart when I did Miss Morgan, A good one will show you the size of wire for a certain length. The longer the run, the larger the wire. 12 volt systems are suffer voltage drop over long runs, thus the larger wire. When in doubt, use a bigger wire!

Most of your equipment should have some sort of power rating on it, say a 40watt light. The problem is that you know the voltage is 12V, but what is the amperage? Easy, 40watts / 12 volts = 3.4 amps. Once you know the amps and the approximate run length, just look up the wire size on the chart. This will also give you a good idea what size fuses to use on each circuit.

I did a drawing, which help a lot! I also color coded some of it black for all grounds, red for main power runs from the battery, white for power to lights, blue for wires going to sending units, etc.
 
Top