kcassells
Fleet Admiral
- Joined
- Oct 16, 2012
- Messages
- 8,741
Got pics Mick?you can get the replacement aluminum edging from taco marine.


Got pics Mick?you can get the replacement aluminum edging from taco marine.
If u have motors out, check transom for rot. It is an old boat!My intention is to replace the long block and transfer all usable parts. The old engine came out pretty easy.
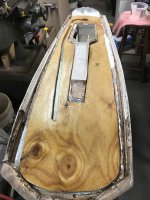
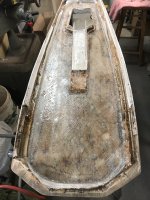
Happy Day after Bird Day!After more trimming and fitting I got the first layer of ply to sit pretty well.
View attachment 373026View attachment 373027
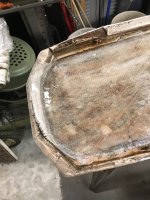
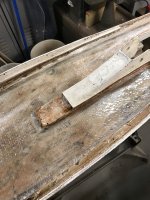
I've had success covering the glassed area with 0.7 mil plastic (drop cloth) material and massaging it smooth. If it is not the top coat, you could use some peel ply and then the drop cloth to cover it.Update 12-5
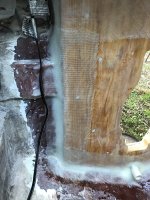
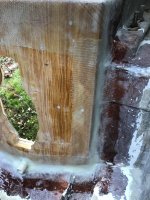
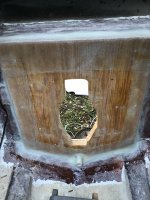
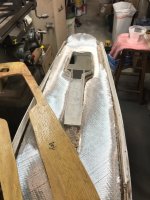
completed initial tabbing in transom. Hoping for another warm day to get the first complete layer of 1700 over the transom. Still looking for suggestions regarding the compound corners and how to get the glass mat to sit well on these areas. Most transom replacements I see are all just flat pieces that don’t have complex corners
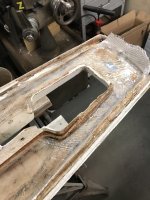
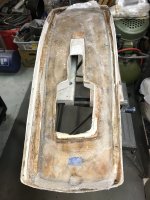
also making progress on the pulpit. Inner core pieces are made and wetted. I put one layer of 1700 down since some spider cracks appeared on the inside. Filled old holes with thickened epoxy.
Hmmmmmmm....Ted is the man for vacuum bagging. Me and most stick to the old sticky fashion way. Ted did a "MOST AWESOME" vacuum project on one of his threads. I'll never find it though.I've had success covering the glassed area with 0.7 mil plastic (drop cloth) material and massaging it smooth. If it is not the top coat, you could use some peel ply and then the drop cloth to cover it.
For the bow pulpit . . . it is a good size to use vacuum bagging once you get the resin applied.
Nah...a lot of guys miss the language thingy here. So the cuts into the ply on edge are exposed and also voids show up.Thanks guys! All great ideas. I’ll do some experimenting before doing the first full layer.
kcassels…..the pics of the transom are the before I sanded the crap out of them. its all smooth now. Question- Why do I wet out and let dry? Shouldn’t the next layer go over an abraded surface?
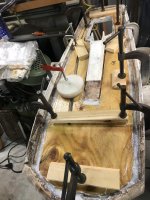
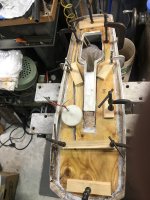
What is the angle for? Just to keep water from settling on it?Yes the language thingy has been challenging but I’m getting the hang of it. All plywood was soaked 3 times both flat and edges. It’s crazy how much does soak in.
First layer of ply clamped in…. Lotsa eeeeeepoxy used. Like how it turned out. Kinda like building a cake.
next challenge is to get the correct angle on the piece that attaches to the boat. The original had tapered plywood ( and poor glassing ). since there’s a slight angle getting, the correct thickness will be hard. Any ideas? I’ve looked at other pulpit rebuilds and they just had one thick piece of 12”x12” ply laminated which wasn’t on an angle. Considering doing the same.
View attachment 373437View attachment 373438
Great idea… not sure it’s worth the building of the jig for one scarf joint. But I did watch several videos on the process. Always learning here.If you've got a router you could build something like the fixture I used to make scarf joints for my stringers. It let's you router a very shallow angle into a piece of plywood. Just Google or YouTube "scarf joint fixture".