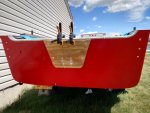
Originally there were thin aluminum strips below each of the seams in the decking, to tie them together as you're suggesting, definitely put something below the seams
")
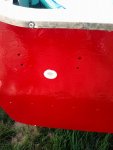
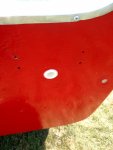
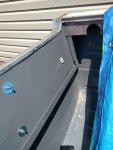
Never mind, figured out that the third hole is for the thru hull outlet. Oops!
Bilge pump thru hole?
Having gone through a few construction tubes of 5200 I can say it has earned it's nickname "Pelican Poo". :lol:
Thanks for taking a look at my Chief. I miss too many of the SC rebuilds when they're tangled up in the masses at the resto forum. MBS runs strong with these boats.and having 2 of them is the only way to go. I'm always looking for another one but then I would have to sell my little SN.
Keep pressing on and you'll be skimming the waves in your little Jet and turning some heads! :thumb:
Thanks! I hope so as this is my first rebuilding project and theres a few things I would do differently, but I guess you learn with time. MBS??
Multiple Boat Syndrome :lol:
I like the seahorse decals way better.
Thanks for the help.Are talking about from the inside or outside? Not sure of your 33 but on mine(50) the outside brackets hold the bolt heads and I just tightened the nuts up inside under the SW.