Look at my assuming. You know what they saw about that... lol
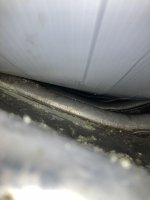
So since it isn't for wires, you going to run them under the gunwales?
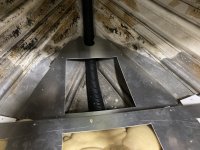
SHSU
lol, don't worry about it.
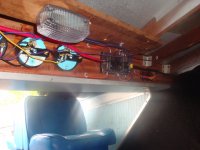
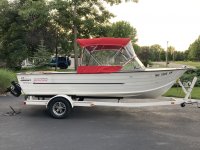
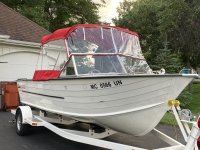
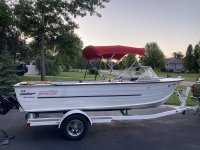
I actually rewired the boat a couple of years ago and I did end up running the wires down the gunnels. I did a few things to clean it up though.
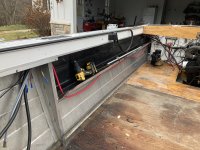
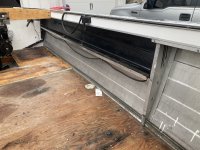
- I greatly reduced the number of wires running the length of the boat by basically running battery cable in their place. It goes from the battery through a fuse, to a fuse box under my dash, and then everything on my dash get it's juice from the fuse box, and I ran a negative battery cable all the way down the other (port) side of my boat so there is a good place to ground up there. The positive cable is on a switch. Nothing on the boat gets juice when it's off. It is the only connection to the battery (which cleans that up a lot).
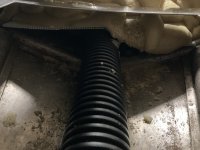
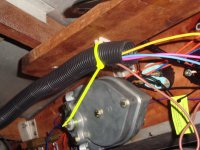
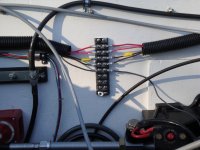
- There are still wires, sensors, bilge pump, aft running light, maybe a couple others that had to run the length of the boat, so I ran them in 1" corrugated tubing to a junction at the back of the boat, so they can be reused over and over again. For example when I buy a new bilge pump the wires that run the length of the boat don't get changed out you just tie it in to the junction at the back of the boat. The idea there was to eliminate the collection of wires that accumulates from buying new equipment and running new wires, and it makes it easy because you don't have to run the wires too. I also put a good ground bar back there.
If I ever keep my boat in docked somewhere I'll have to redo the bilge so it can still draw juice when my switch is off.
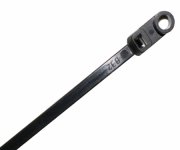
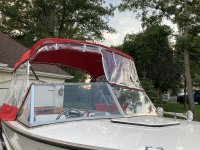
Anyway, yes, I did end up running my wires, the ones I had to run along the gunnels, I used zipties with an eye on them. The eye goes on the bolt for the rubrail. They worked out great!