


SigSaurP229
Commander
- Joined
- Oct 1, 2008
- Messages
- 2,123
Re: Time to get started on the starcraft resto.
Amazing what can happen when the wife and kids leave the house and the man is alone in the shop for 2 hours.
Ok thinking ahead, the Previous owner installed a technological marvel at one time, a cassette deck, and two 5 1/4" speakers. The unfortunate thing is that when he did it he hacked up the console, and left two large holes in the console.
You can see here.
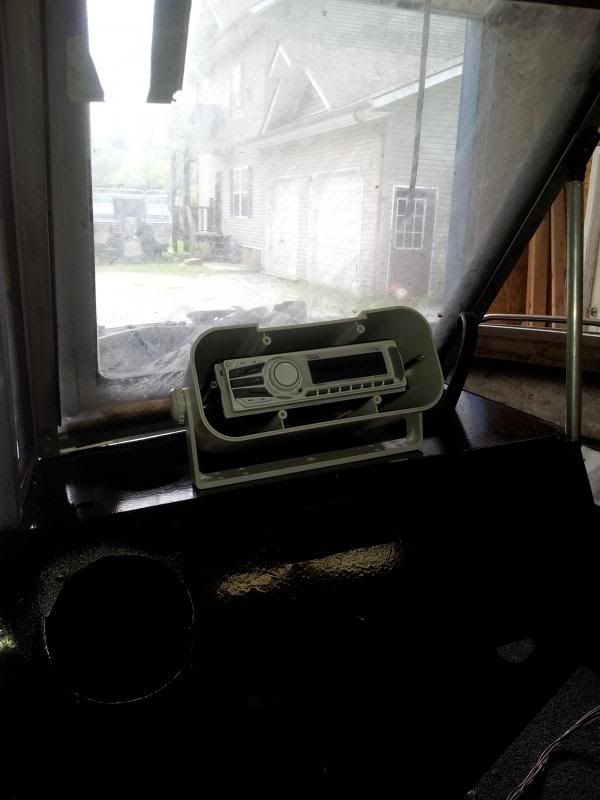
I want to install a glove box but it is just slightly smaller than the hole in the console what is the best way to patch this up so it will be solid and even, I don't want dips in the vinyl after it is covered.
I never get out of any of those places with the ONE thing I went in for. :facepalm: Nice work-around getting the cap back in place and fastened.
Amazing what can happen when the wife and kids leave the house and the man is alone in the shop for 2 hours.
Ok thinking ahead, the Previous owner installed a technological marvel at one time, a cassette deck, and two 5 1/4" speakers. The unfortunate thing is that when he did it he hacked up the console, and left two large holes in the console.
You can see here.

I want to install a glove box but it is just slightly smaller than the hole in the console what is the best way to patch this up so it will be solid and even, I don't want dips in the vinyl after it is covered.
Last edited:


