Re: Time to get started on the starcraft resto.
Today's update.
WARNING THE PICTURES BELOW ARE GRAPHIC and may cause nauseating side affects from the wanton desire to strangle a previously neglectful owner. The mere sight of the decay in the pictures below may very well cause a nauseated stomach.
Today I decided enough surfing on the web just shopping for parts time to actually get back out there and do something.
So one of the things that bugged me is the bow rails when I took them off they were held in place with self tapping screws I moved them slightly and remounted them with self tapping screws, BUT they weren't holding worth a crap. So I changed them to Stainless Steel bolts with nylon lock nuts and washer. It may not sound like much but it was a detail that was driving me crazy.
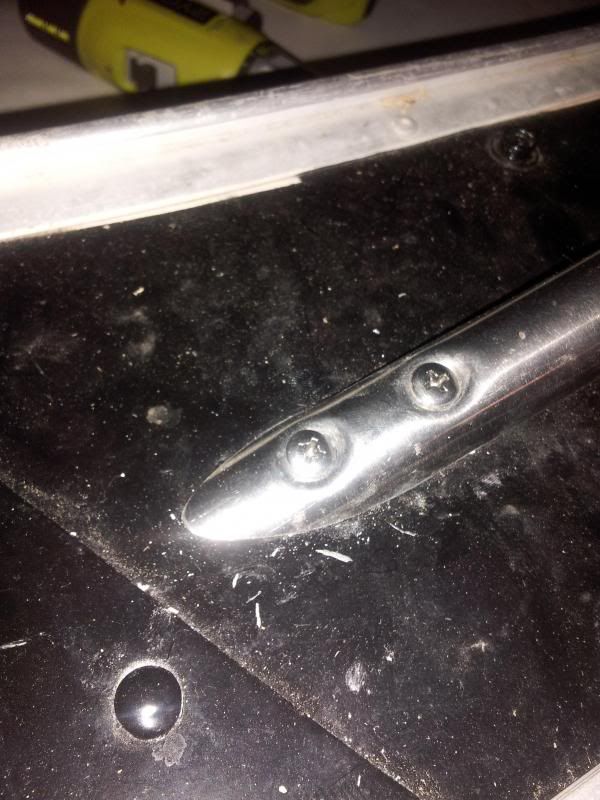
So now onwards after I completed that small task I decided the best way to approach finishing her up is just to work from bow to stern completing that small task I decided to move forward and replace the last of the remaining rot on the boat.
I started by drilling these rivets on both sides.
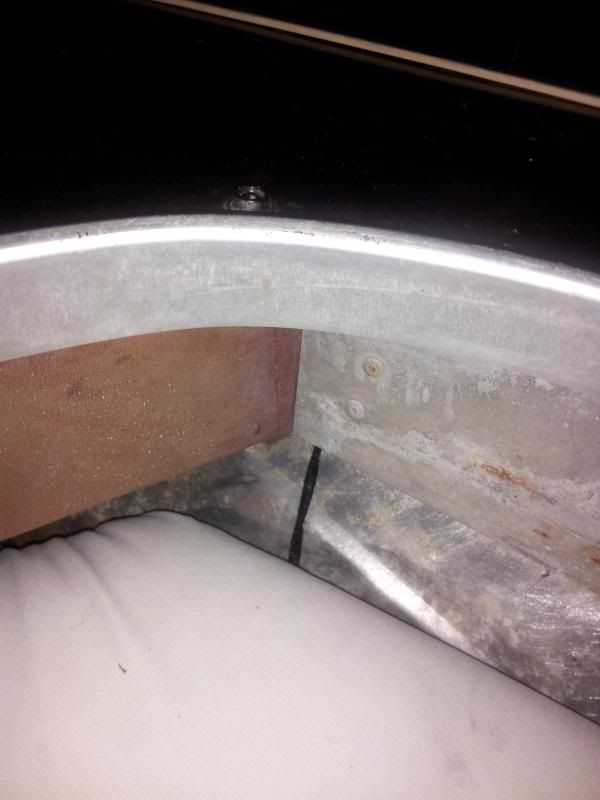
And then these rivets all the way around.
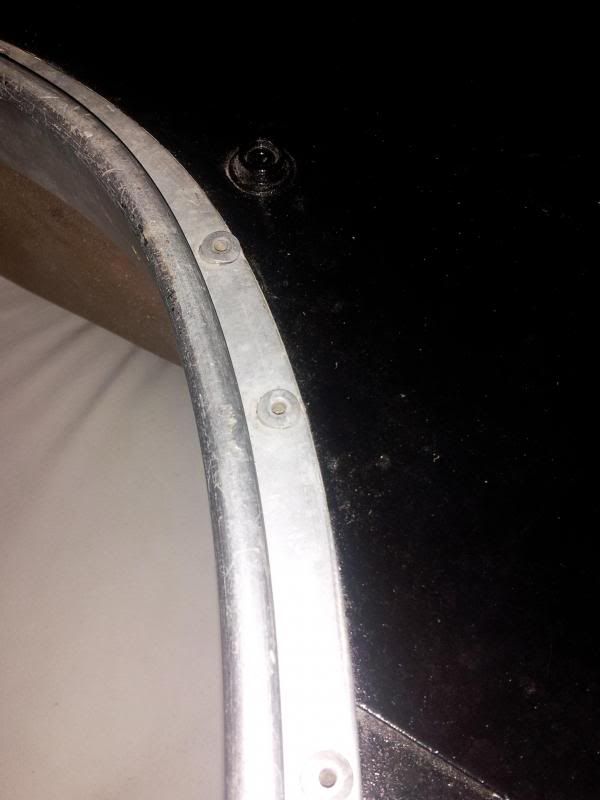
I loosened the rubrail, then removed the screws holding the trim in place, and then drilled the four blind rivets like what can be seen in the bow rail pic and VOILA,
A lobotomy on my boat.
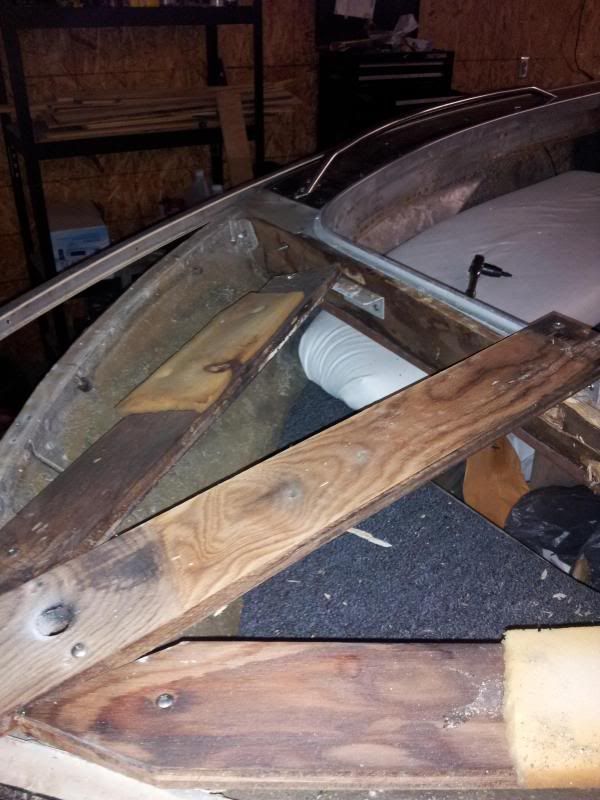
You can see in this pic that the front board is basically mulch.
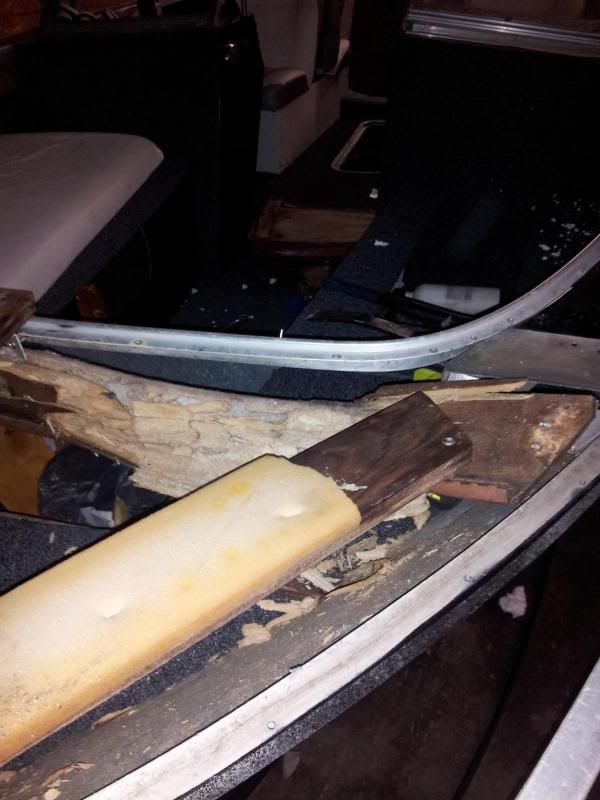
Unlike others my front boards aren't mahogany or anything else, they are just standard 3/4" untreated ply.
Unsurprisingly the boards underneath the aluminum cap are fairly intact, it is just the front board that had fully rotted away. They are all being changed though.
I haven't lost the touch I kind of figured getting that front piece off was going to be a two day job, it was off in three hours.


