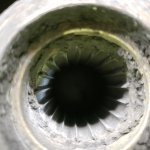
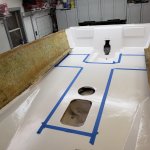
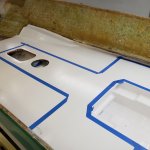
Last night I laid out the textured area and put it down. 30 minutes later I peeled the tape and did the 3rd coat on the rest of the floor.
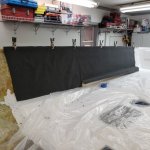
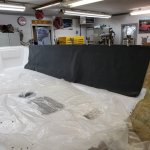
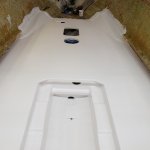
Today I added wax and applied the 4th and final coat to both the floor and transom. I didn't add any shine additive so the wax has dulled the finish some, but it's rock hard.
I'm very pleased with the final product, it's not perfect, a couple blemishes here and there, some sweat drips from the bottom of my respirator...grrr.
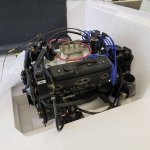
I realized today that this marks the last of the "major" fabrication.
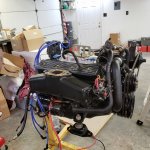
Other than some gelcoat repairs here and there, I get to start assembling this thing !
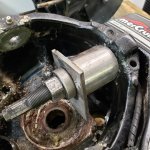
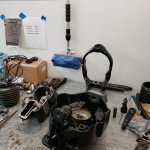
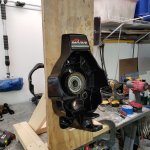
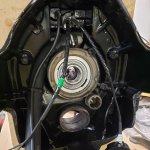
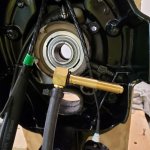
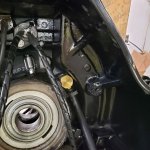
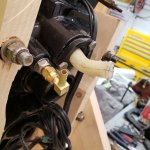
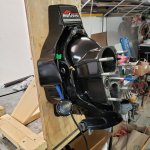
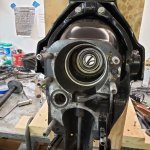
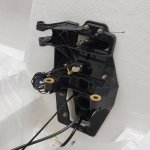
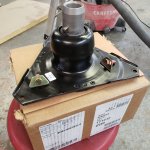
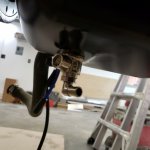
First up, clean the garage. Then start the gimbal rebuild. I'm thinking of installing the transom / gimbal and the engine before putting the cap back on as it will give me more space.
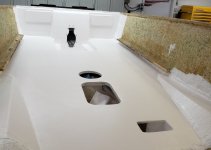
Today I added wax and applied the 4th and final coat to both the floor and transom. I didn't add any shine additive so the wax has dulled the finish some, but it's rock hard.
I'm very pleased with the final product, it's not perfect, a couple blemishes here and there, some sweat drips from the bottom of my respirator...grrr.
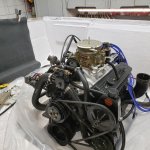
I realized today that this marks the last of the "major" fabrication.
Other than some gelcoat repairs here and there, I get to start assembling this thing !
First up, clean the garage. Then start the gimbal rebuild. I'm thinking of installing the transom / gimbal and the engine before putting the cap back on as it will give me more space.
Attachments
Last edited: