Mid 1960's OMC Evinrude gull-wing, a work in progress.

Quantumn

Petty Officer 2nd Class
Joined
Jul 17, 2012
Messages
142
The plan has always been to completely fill with foam below the deck. I have thought of live-wells, rod-holder storage, but I would rather step on a couple fishing poles and break them than to compromise safety. Foamage is a priority. That being said, I was about to attach the side strips of 2" foam then realized, I better grind down some more on the hull sides so I have clean fiberglass to tab onto.
Have I ever mentioned that without the experience and helpfulness from everyone here, this project would be a complete shamble? Excellent knowledge and tips makes restoring a boat a piece of cake, or should I say, a Masterpiece? Thanks for all the advice everyone, more pictures to come.
 

sphelps

Supreme Mariner
Joined
Nov 16, 2011
Messages
11,440
Poly resin will melt the foam unless you cover with packing tape or something .. I think epoxy may not ...
 

Quantumn

Petty Officer 2nd Class
Joined
Jul 17, 2012
Messages
142
Poly resin will melt the foam unless you cover with packing tape or something .. I think epoxy may not ...
I was unaware of that, thanks Sphelps. :thumb: I had considered how the foam would interact with acetone, so I poured a little bit on a small square, and it turned into a gooey blue blob in a matter of seconds. So wrapping the foam will be a major priority.
 

Quantumn

Petty Officer 2nd Class
Joined
Jul 17, 2012
Messages
142
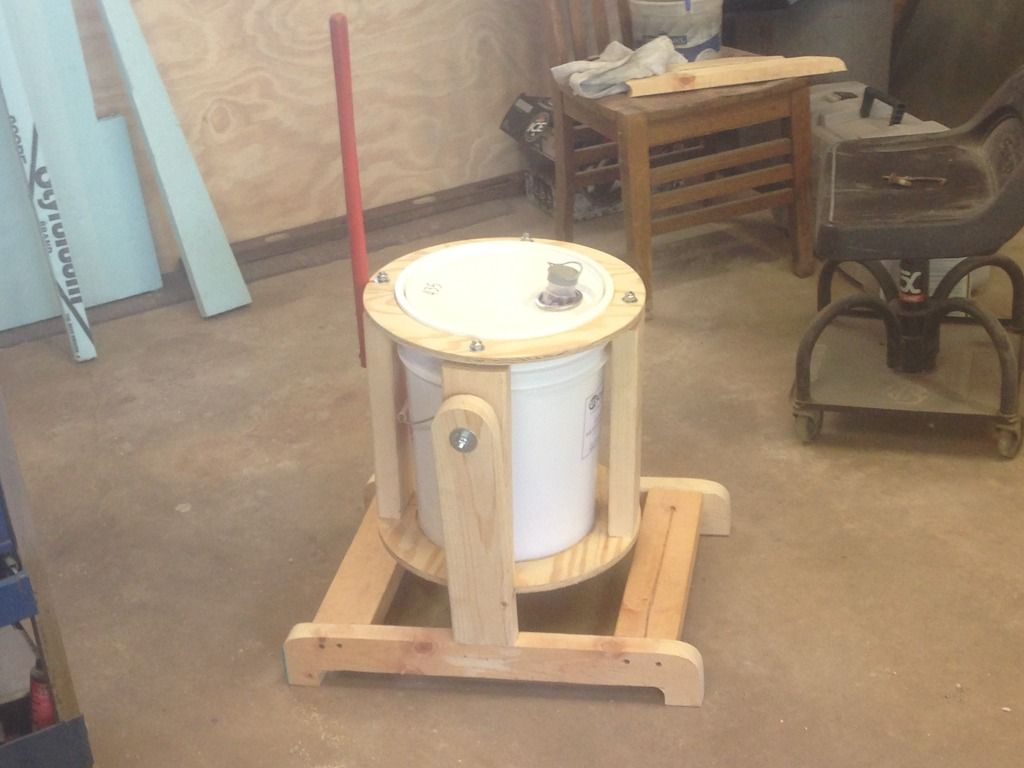
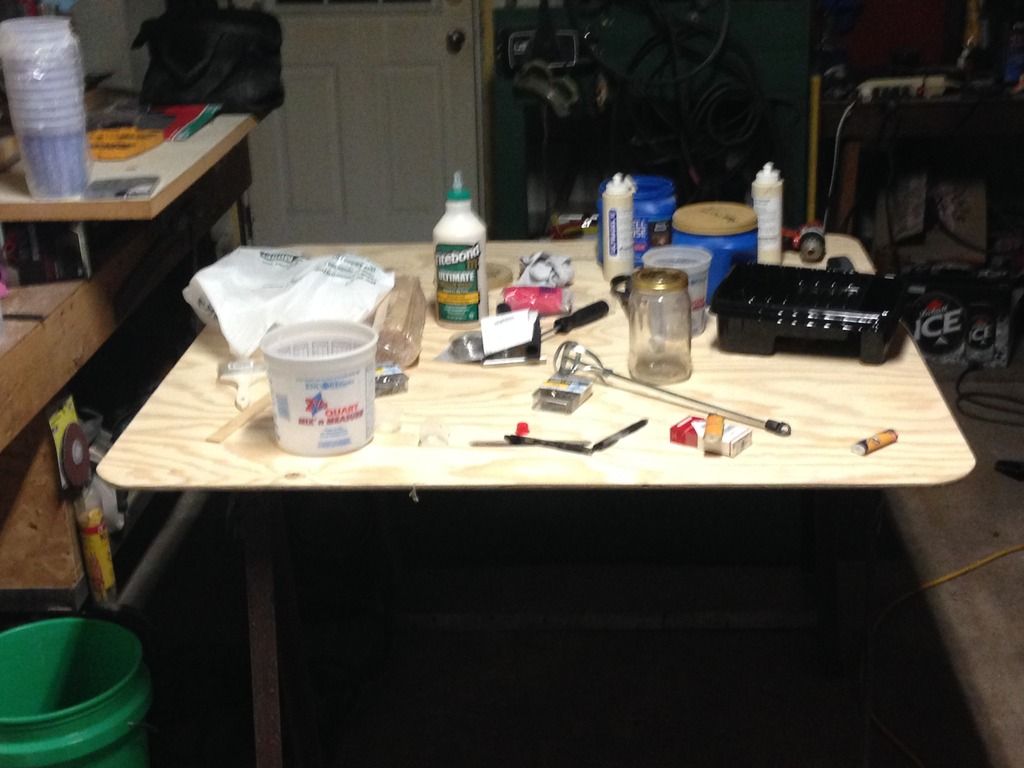
Not much to report but is it safe to say, getting ready to get ready? Received most things I will be needing, and cleaned out a 'cord' of wood out of the garage for space. Next is a quick work bench set up to keep things readily available without falling into the abyss. Oh also, was able to 'copy-cat' GM280's plans for pouring a 5 gallon pail of resin with ease. Thanks GM for the plans.


sphelps

Supreme Mariner
Joined
Nov 16, 2011
Messages
11,440
Yea he needs a patent on that . I've just been to lazy to build one ..
 

ssdale

Starmada Splash of the Year 2016
Joined
Nov 4, 2011
Messages
285
Ditto on the patent for that pouring rig Quantumn! I have always admired these OMC Gullwings, especially with the outboard like yours. There have been some cool vintage ads for them on e-bay over time. They always remind me of a early sixties Corvette. And the trailers were seriously built to last! Thanks for having the guts to tackle her and bring her back to glory!!!!:yo:
index.jpg images.jpg
 

Quantumn

Petty Officer 2nd Class
Joined
Jul 17, 2012
Messages
142
Thanks Ssdale for the vote of confidence. I truly believe this classic Evinrude will be a conversational piece once the restoration and spit/polish is complete. Our main goal is to use this as a fishing machine, but with the 125 hp, a few trips with ski's might be in order as well.
 

Quantumn

Petty Officer 2nd Class
Joined
Jul 17, 2012
Messages
142
For some updates on the project. Our weather has been just horrible the past few weeks. Temperatures have been in the mid 40's with an occasional wet/rainy day (high humidity) in the low 50's. Not really ideal conditions for poly applications. So I have been busy working inside the garage attending to other things, boat related.

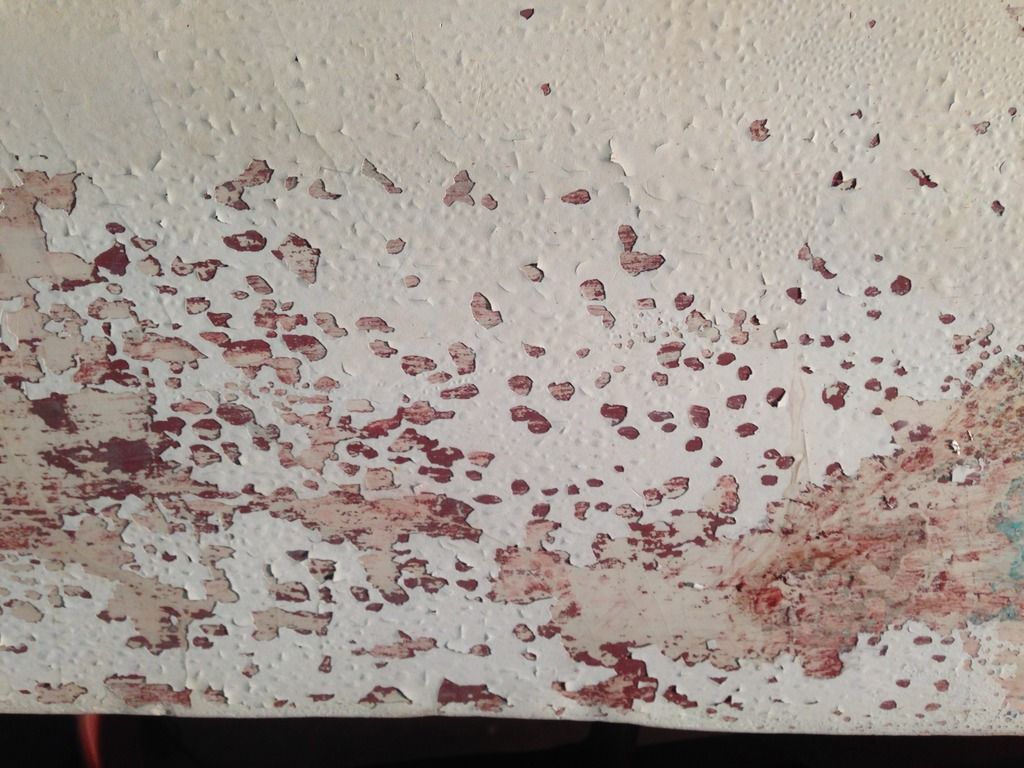
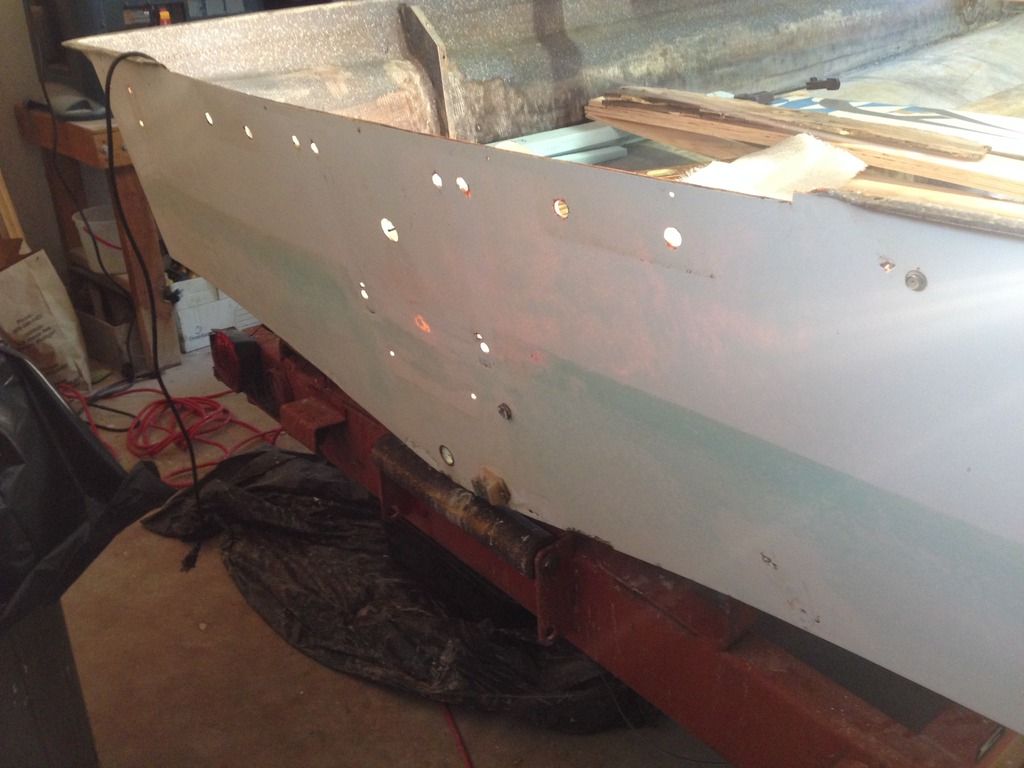
Working on the transom skin, this is what I have to contend with. The PO's attempted to primer/paint and as you can see, it did not manage to survive.


Also you think I might have a few holes to patch, lol.


Got the fiberlassing station ready to go.


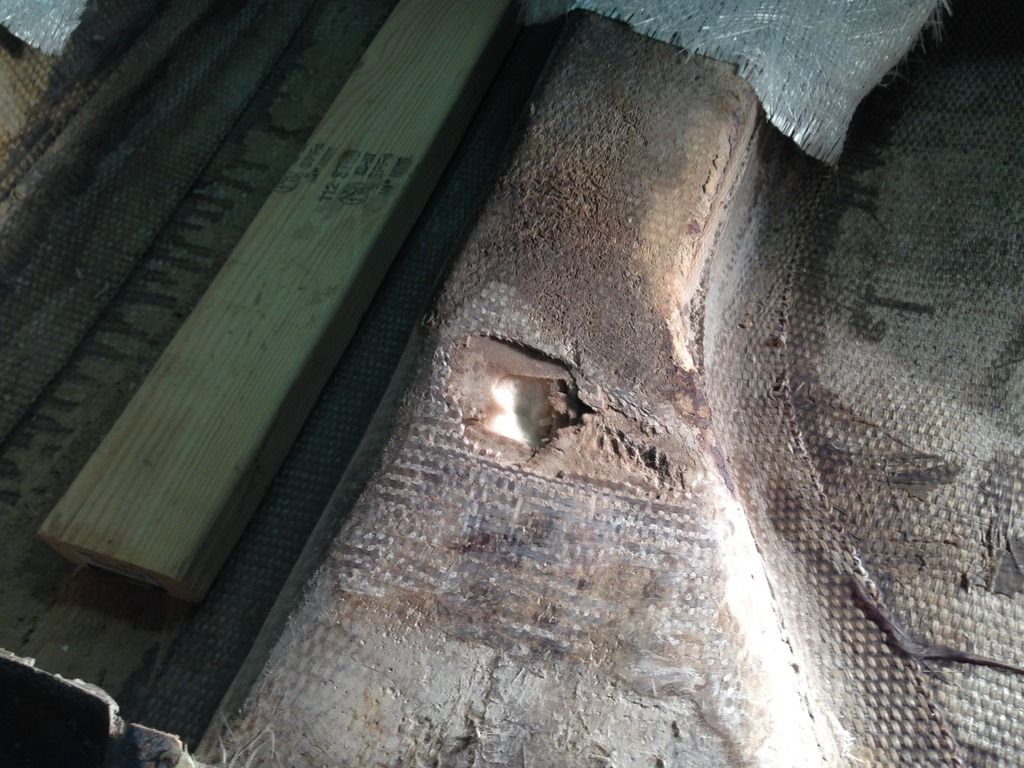
Upon applying some quick pb, I grinded down a few high spots on the stringers, and my heart sunk. I now will need to replace the foam. Was not looking forward to it.


Oh the agony.....
 

samsam

Petty Officer 2nd Class
Joined
Dec 30, 2005
Messages
121
12AEF1BB-C5E4-41E0-A2CA-A00699669EF7_zpssnue00se.jpg

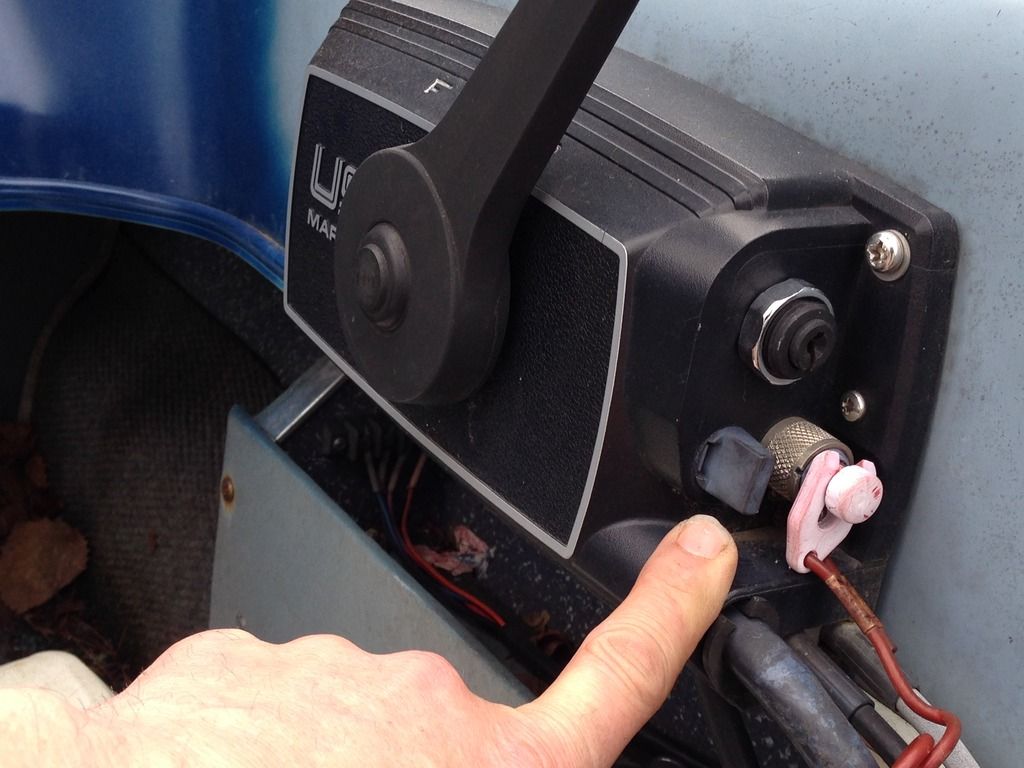
Your project looks good. The knob on the motor control looks like the friction adjuster, so when you take your hand off the throttle lever, the throttle stays where you put it and doesn't start creeping back to less and less throttle.

At the lever pivot point, if that is a movable button and not just a cover plate, it might be the gear shift disengager dohickey, so you can rev the motor without it being in gear.

I wanted to bring up 2 safety issues. Well 3, I guess. First, on your motor stand, if someone hops up on the forward crossbar, is there any chance that might tip the motor forward onto the 'someone'?

Second, SOME people, but not all, think that cable and pulley steering is dangerous, especially with a motor that size. There are so many primary links (if one link breaks the whole system fails) in the chain, such as cable clamps, pulley axles, pulley pivots, springs, rusty and corroded spring and pulley attachment screws and bolts going into questionable wood etc. The theory is, if one link breaks the surviving springs and cables on the other side will pull the motor that way and an unintentional high speed, very quick turn is the result.

Thirdly, that's where the automatic kill switch comes into play, but only if you are connected to it. If you are thrown out of the boat and it's in gear and still running, it might keep going until it's out of sight, which is good and bad, or it might just circle round and round, a blunt force object with a 115 hp meat grinder that you have to dodge until it runs out of gas, which is no good at all.
 

Woodonglass

Supreme Mariner
Joined
Dec 29, 2009
Messages
25,924
Don't need to patch the holes in the transom skin. Just duct tape em on the outside. When you install the new transom the PB will goosh out and fill all the holes. If you use the big transom clamps and a backer board, (as you should), then the holes will fill nice and flat so no grinding will be necessary. Some Paint remover and some sanding should have the outer skin ready for Gelcoat or paint in no time at all. Your foam/stringer repair should be an easy quick repair as well.
 

Quantumn

Petty Officer 2nd Class
Joined
Jul 17, 2012
Messages
142
12AEF1BB-C5E4-41E0-A2CA-A00699669EF7_zpssnue00se.jpg

Your project looks good. The knob on the motor control looks like the friction adjuster, so when you take your hand off the throttle lever, the throttle stays where you put it and doesn't start creeping back to less and less throttle.

At the lever pivot point, if that is a movable button and not just a cover plate, it might be the gear shift disengager dohickey, so you can rev the motor without it being in gear.

I wanted to bring up 2 safety issues. Well 3, I guess. First, on your motor stand, if someone hops up on the forward crossbar, is there any chance that might tip the motor forward onto the 'someone'?

Second, SOME people, but not all, think that cable and pulley steering is dangerous, especially with a motor that size. There are so many primary links (if one link breaks the whole system fails) in the chain, such as cable clamps, pulley axles, pulley pivots, springs, rusty and corroded spring and pulley attachment screws and bolts going into questionable wood etc. The theory is, if one link breaks the surviving springs and cables on the other side will pull the motor that way and an unintentional high speed, very quick turn is the result.

Thirdly, that's where the automatic kill switch comes into play, but only if you are connected to it. If you are thrown out of the boat and it's in gear and still running, it might keep going until it's out of sight, which is good and bad, or it might just circle round and round, a blunt force object with a 115 hp meat grinder that you have to dodge until it runs out of gas, which is no good at all.


Excellent points Samsam and thank you for the insight. Safety is always a priority of mine, and the last thing I would like to happen is a bad situation that could have been avoided with knowledge and preparation. On your points, 1) Not sure that it would tip or be stable, but there is always that possibility. I will be sure to at least put on a wood stopper/bunker to prevent that from happening, preventive measures for sure. 2) The current cable/pulley steering system was always marginal in my eyes from when I first purchased and I have been looking into safer setups, any that you would recommend? 3) Auto kill switch is attached to my person when ever we travel at 5 mph or more, also tested on every outing. Great information Samsam, thank you for the safety pointers. Also you are correct, the center pivot position for the throttle is to increase the rpm's without being engaged.
 

Quantumn

Petty Officer 2nd Class
Joined
Jul 17, 2012
Messages
142
A few updates, as I progress further in the project. Did some cleaning up on the keel outer skin and she shined up fairly decent. While I was able to get down to the original gelcoat, it appears that some chemical from the primer might have permeated the base coat. There is a green tint that will not go away, as it is as deep as the gelcoat itself. I tried to buff it out so far that at one point I got to the inner fiberglass structure. Oh well, it looks better than before and I will be able to get smooth resin rivets once I install the transom. Thanks for the pointers WOG, your always spot on.


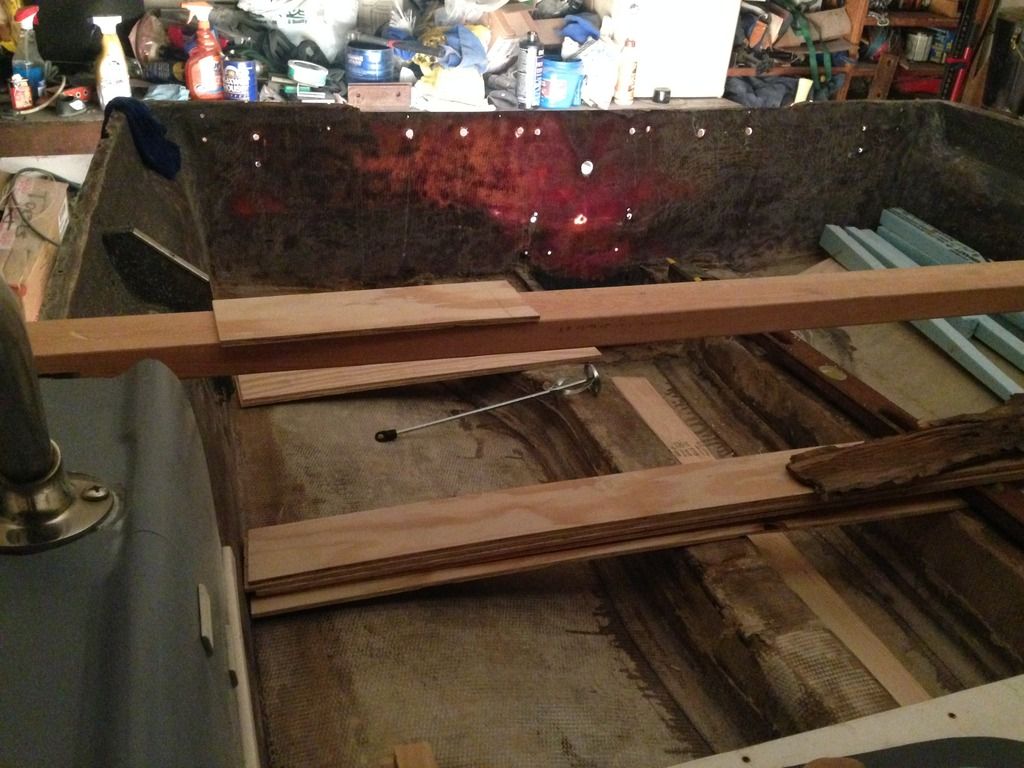
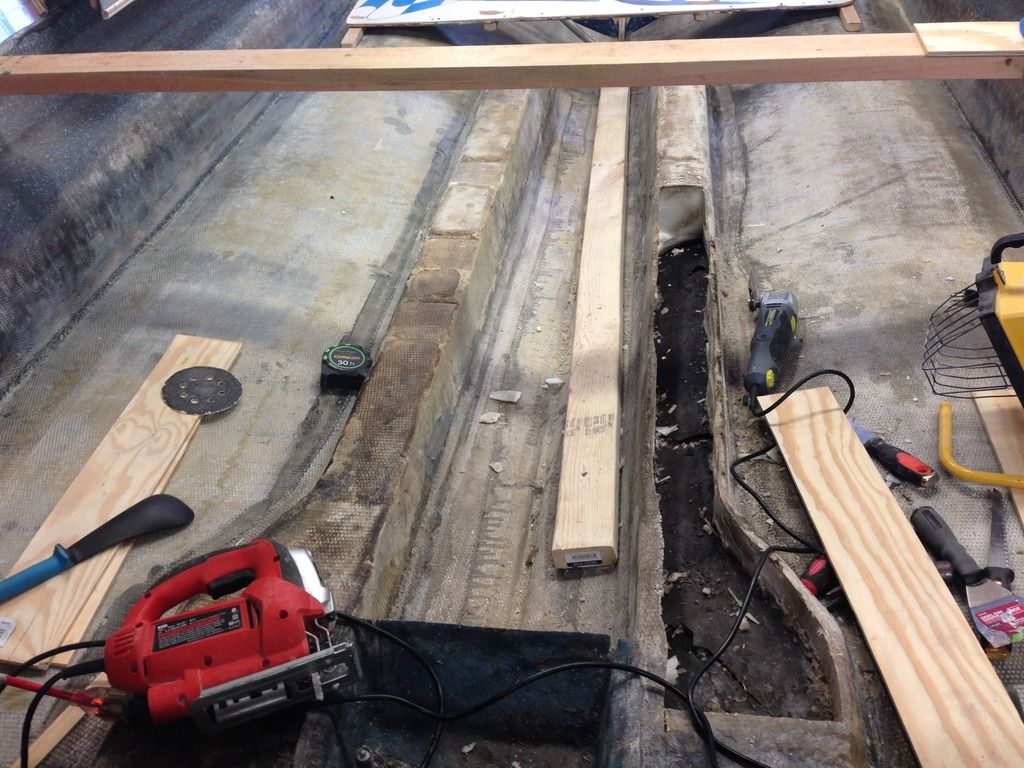
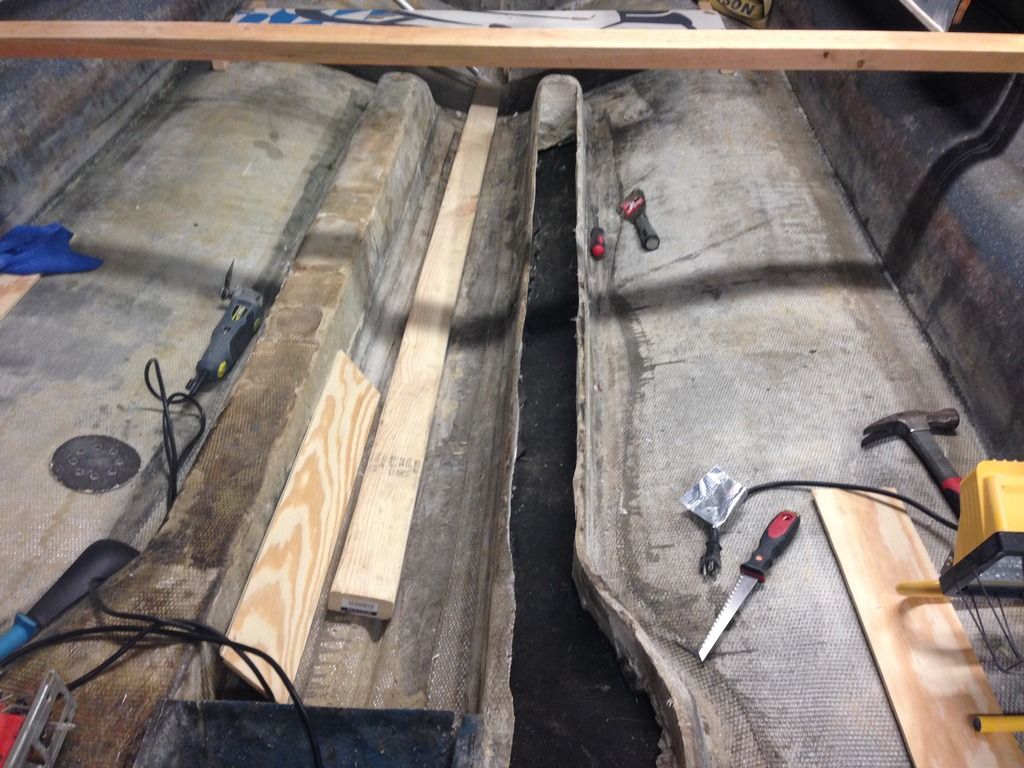
Also I have been working on the waterlogged foam stringers a bit today, a quick picture of what I have managed to accomplish. Though I am unsure if I am going in the right direction. Maybe creating more work than necessary.


I have decided to fill them back up with floatation foam, as best to my calculations, each stringer consists of 1.94 cf of foam, and x2 equals about 3.88 total cubic feet. 3.88 x 60 lbs floatation per cubic feet = 232.8 lbs floatation per pair of stringer foam. That's huge when you consider its almost my weight. And as recommended the rest of the sub-floor will be engulfed in foam as well. My calculations puts me at just shy of 25 cubic feet of foam needed. Always up for debate and/or pointers on my calculations, as I am a noob when it comes to boat rebuilding.
 

Quantumn

Petty Officer 2nd Class
Joined
Jul 17, 2012
Messages
142
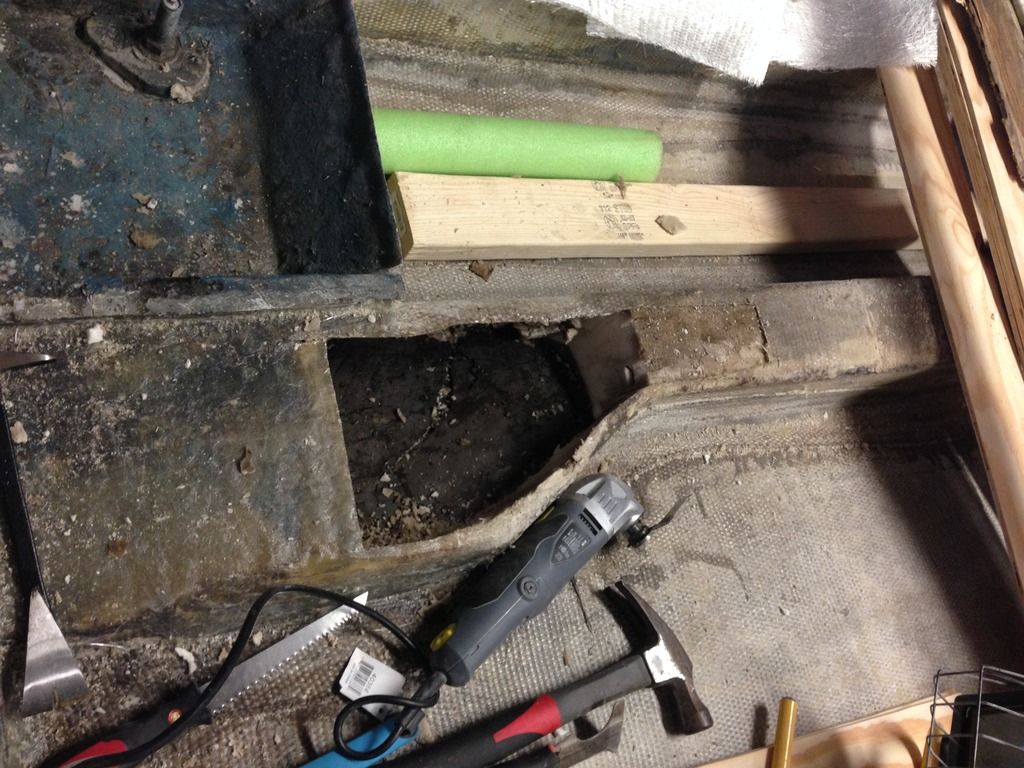
So looking for some advice from the Iboats community. I have managed to remove the tops of the stringers and removed the foam. Now I am to the point of recapping the structure with 1708 and poly. How would I accomplish this? Basically my issue, is it needed to provide a base for the top of the stringers for the fiberglass to adhere to or is it possible to use fiberglass to provide a bridge over the top, allow that to cure, then layup a couple more layers? I have pondered using 1/4 inch ply for the top, or possibly cardboard. Thanks everyone.
 

MTboatguy

Fleet Admiral
Joined
Jul 8, 2010
Messages
8,988
Hey I recognize that tape measure and saber saw, in fact mine went missing a couple of weeks ago????????????????????


:mad-new:
 

sphelps

Supreme Mariner
Joined
Nov 16, 2011
Messages
11,440
If they re still good you could use the old caps as woody said . Me thinks you could cut some small flat sticks to screw through stick into the old cap and let the edges rest on each side of the stringer .. Hairy pb and then some glass ..
Or maybe make some new skins about a 1/4" bigger than the opening .. pb in place then a little clean up sanding then glass over the whole thing ... Or pour the foam first trim off the extra and glass over that .. I guess there are plenty ways you could do it ..
 
Last edited:

Quantumn

Petty Officer 2nd Class
Joined
Jul 17, 2012
Messages
142
Hey I recognize that tape measure and saber saw, in fact mine went missing a couple of weeks ago????????????????????


:mad-new:

Lol, sorry about that MTboatguy, maybe I should change the time stamp on that photo, though possession is 9/10's of the law. :rolleyes:

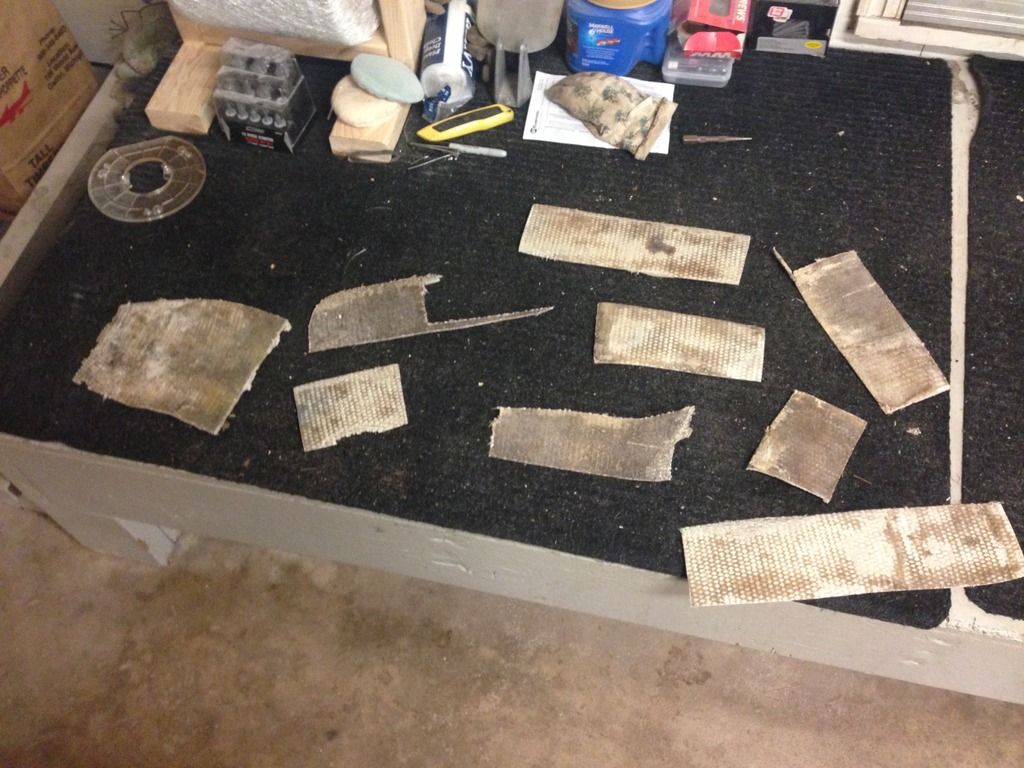
WOG, in hindsight I wish I would have just cut the caps off in one piece, instead I chopped them into about 1 foot lengths, :frusty: though I have only done one side so far. Lesson learned foo shoo. Thanks Sphelps for the ideas. I suppose there is many ways to recover from this so tonite I will rig up a solution. Updates to follow. Rock On Everyone :whoo:
 

MTboatguy

Fleet Admiral
Joined
Jul 8, 2010
Messages
8,988
Lol, sorry about that MTboatguy, maybe I should change the time stamp on that photo, though possession is 9/10's of the law. :rolleyes:

LMFAO!

Just had to add a little levity, which we can all use when rebuilding a boat!

:lol:
 

Quantumn

Petty Officer 2nd Class
Joined
Jul 17, 2012
Messages
142
LMFAO!

Just had to add a little levity, which we can all use when rebuilding a boat!

:lol:


Well played MTboatguy, and much appreciated. At times it can be daunting and endless, so a little humor is always welcome.

Just a couple quick updates before I dig back into the resto. One stringer cap and foam is removed:


WOG reply; Aren't you going to use the Old stringer caps?? If not why not??:confused: Here is a visual answer:


Eeks, looks like I need to reassemble "johnny5!" Hoping to gorilla tape the bottom sides to hold them in place, then pb them back on top of the stringer. Then 1708 tabbing to the rescue. Wish me luck everyone. :doh:
 
Top