


Quantumn
Petty Officer 2nd Class
- Joined
- Jul 17, 2012
- Messages
- 142
I have planned from the inception to try and grind/cut outside on our garage landing, but mother nature does not want to cooperate so far this year, current picture of our lovely weather today:smow::
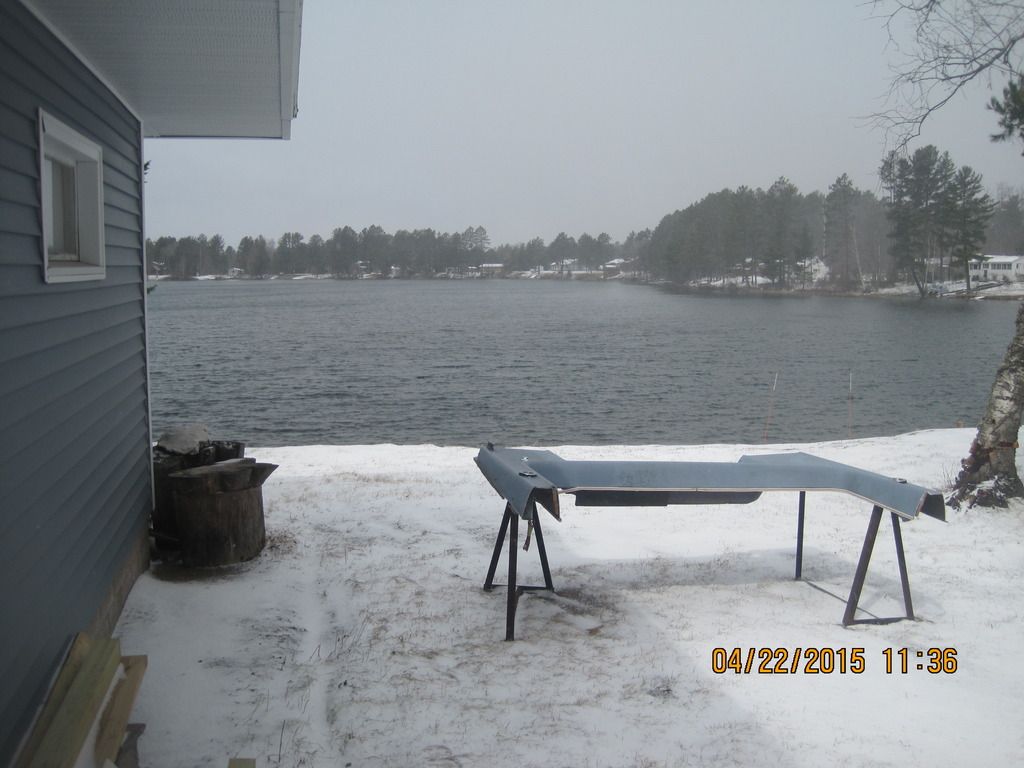
I've been needing to utilize my burn barrel for the past week, but rain and snow has prevented that. Some day I will be able to get rid of some of this scrap that I've acquired over the past month.
Also, PPE is a necessity for this type of project. I picked up a 3m 6200 respirator with 2097 filters. I will need to pick up some [FONT=Arial, Helvetica Neue, Helvetica, sans-serif]organic vapor filters once I start the acetone cleaning and such. Also having a tyvec suit is a must. I am using a heavy-duty chemical splash coverall. Almost makes me feel as if I am wearing a full-body rain suit. [/FONT]
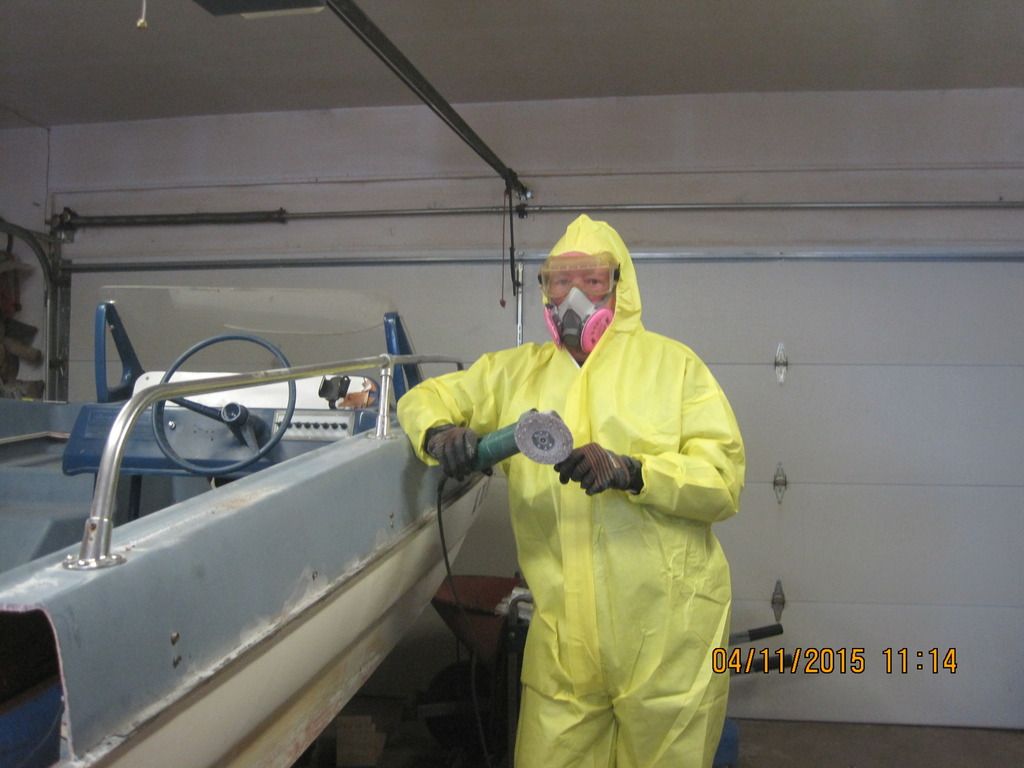
At the start of this project, I noticed my hands were taking a tremendous beating by all the slivers/cuts/abrasions so I picked up a pair of kevlar lined work gloves and that has helped to keep my blood on the inside :encouragement:


")


