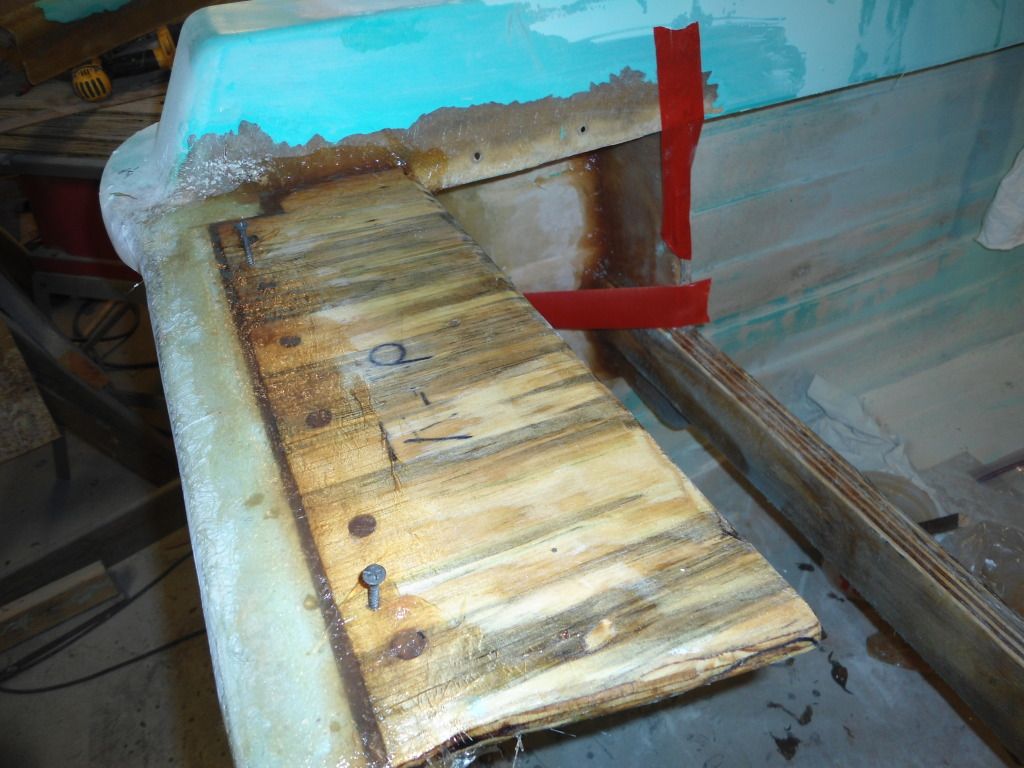
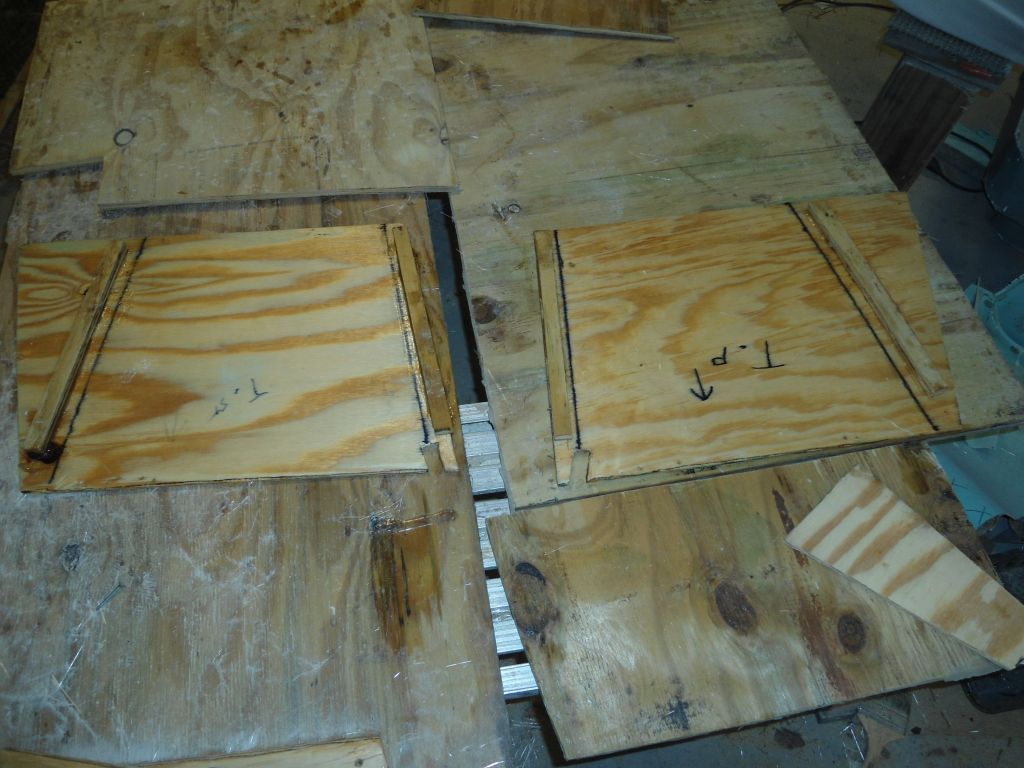
MFG rebuild getting started pics

sphelps

Supreme Mariner
Joined
Nov 16, 2011
Messages
11,468
Re: MFG rebuild getting started pics

Lunch Break !
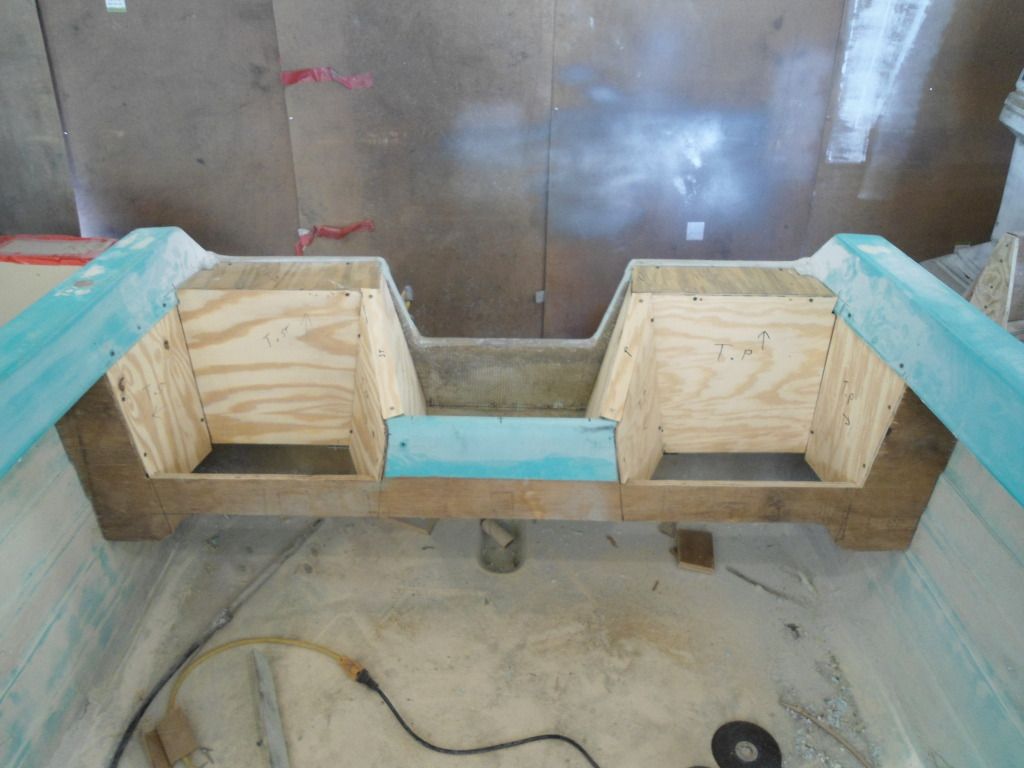
Got everything cut and tacked in place. Back at it after refuel !
DSC00452.jpg

Debating on setting the motor back on for a dry run. My mind says yes but my back says no! LOL !
 

Trooper82

Commander
Joined
Nov 21, 2011
Messages
2,648
Re: MFG rebuild getting started pics

Dang SP! You got that thing figured out...looking great man...Keep at it.
 

jbcurt00

Moderator
Staff member
Joined
Oct 25, 2011
Messages
25,056
Re: MFG rebuild getting started pics

Well that looks fabuluos! Can't say you didn't reuse the splashwell:)

It doesn't look like it is, so after lunch, I'd double at least the front plywood before glassing the front apron. And large PB fillet the sides to the front apron inside & out.......

Good looking!
 

Decker83

Commander
Joined
Apr 5, 2011
Messages
2,593
Re: MFG rebuild getting started pics

Man sp that is a very creative well designed seating arrangement.
Lookls like your By Guess and By Golly method works.
Great job.
 

GT1000000

Rear Admiral
Joined
Jul 13, 2011
Messages
4,916
Re: MFG rebuild getting started pics

I told ya, that looks like factory!...only way better...very cool addition...I like it alot!:cool:
 

sphelps

Supreme Mariner
Joined
Nov 16, 2011
Messages
11,468
Re: MFG rebuild getting started pics

Troop.
Thanks, a little head scratchin but it worked out..

Jbc.
Yep I used about 2 ft or so of the original splash . LOL! And I do plan on dbl up on the front apron but on the inside and just the the 3 1/2" piece that runs along the bottom of the seat it will be like a 2x4 all the way across . I think that should be enough strength..

Decker.
Thank you sir !

GT .
We'll see how factory after the shiney paint!:eek:
 

jbcurt00

Moderator
Staff member
Joined
Oct 25, 2011
Messages
25,056
Re: MFG rebuild getting started pics

Yep I used about 2 ft or so of the original splash . LOL! And I do plan on dbl up on the front apron but on the inside and just the the 3 1/2" piece that runs along the bottom of the seat it will be like a 2x4 all the way across . I think that should be enough strength..

Read my mind. Not to worry, mostly monosyllabic, small words, plus big print...It's a quick & easy read:D....

Let me know if you'd like some tiny perforations along that apron. Puppy teething aids in the penetration of poly resin into plywood substrates:facepalm: Too bad the coffee table wasn't slated for glass work.....

Did the OB find it's way over for a test fit on the newly reworked splashwell?
 

sphelps

Supreme Mariner
Joined
Nov 16, 2011
Messages
11,468
Re: MFG rebuild getting started pics

I'm pretty good at reading minds I have a lot of practice cuss my wife thinks I should read hers all the time!
Perforations may make the glass stick better. But I got 3 of em runnin around out there just smear some bacon grease on it and they'll go to town..
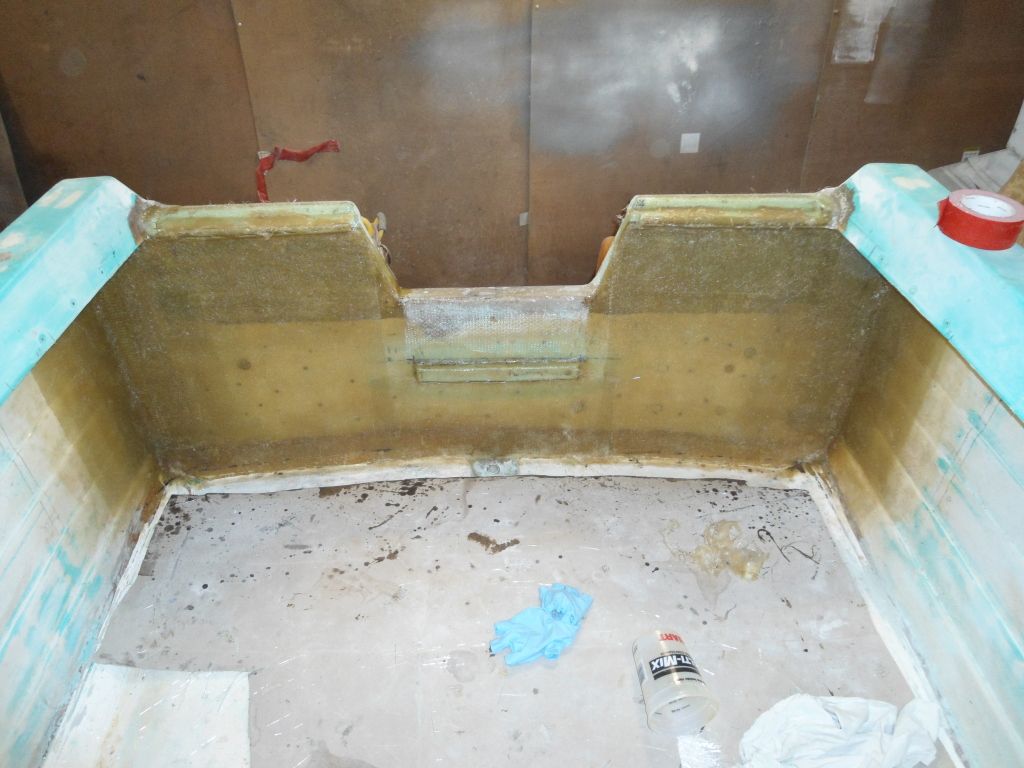
Did not do the motor dry run. I went back over my pics on ph-bucket and my splash is the exact hgt and distance out as per original and I also made plan C alittle wider on the sides than plan A . Side to side was tight but working ok with plan A.


I didn't get as muchdone today as hoped . I used just about all the resin I had putting the last thank goodness layer of csm on the transom. I reused the seacast piece that I cut off the top to make a kleat for the bottom end of the splash.
DSC00455.jpg

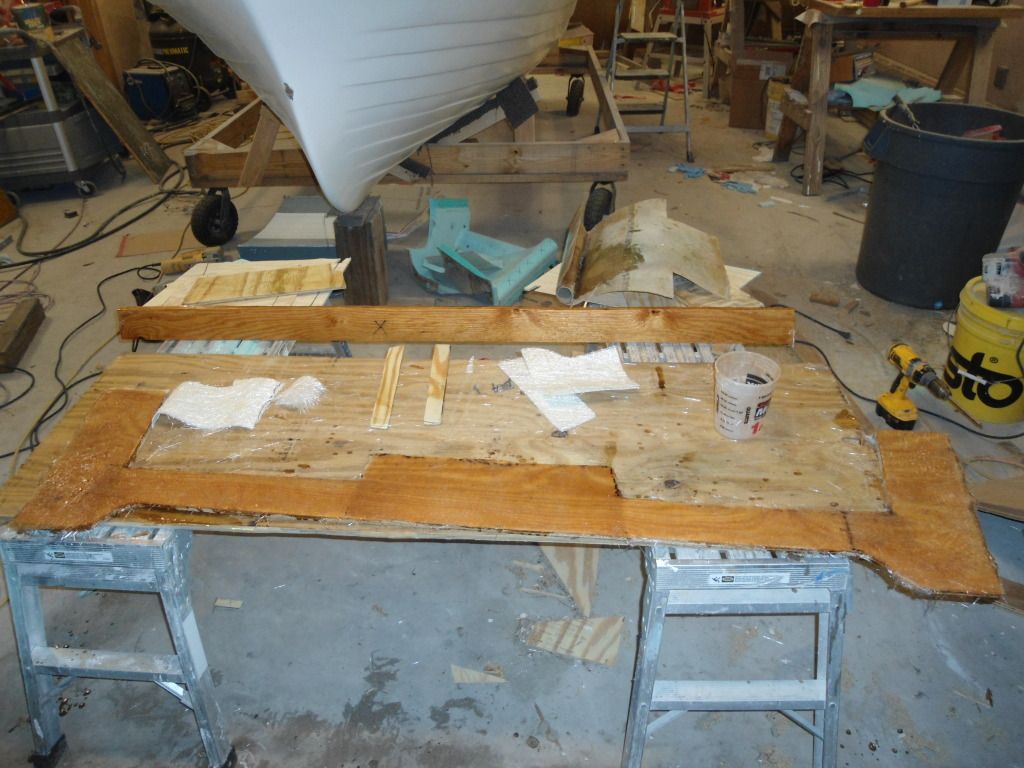
I used the last of my resin on the apron pieces.
DSC00453.jpg

What a mess ! And to think I gave Trooper some ribbing on his work bench the other day !:facepalm:
 

Trooper82

Commander
Joined
Nov 21, 2011
Messages
2,648
Re: MFG rebuild getting started pics

I fully understand. In the heat of battle things can get out of hand. It really doesnt look that bad to me. Maybe just a little sweeping and it will ok.
 

sphelps

Supreme Mariner
Joined
Nov 16, 2011
Messages
11,468
Re: MFG rebuild getting started pics

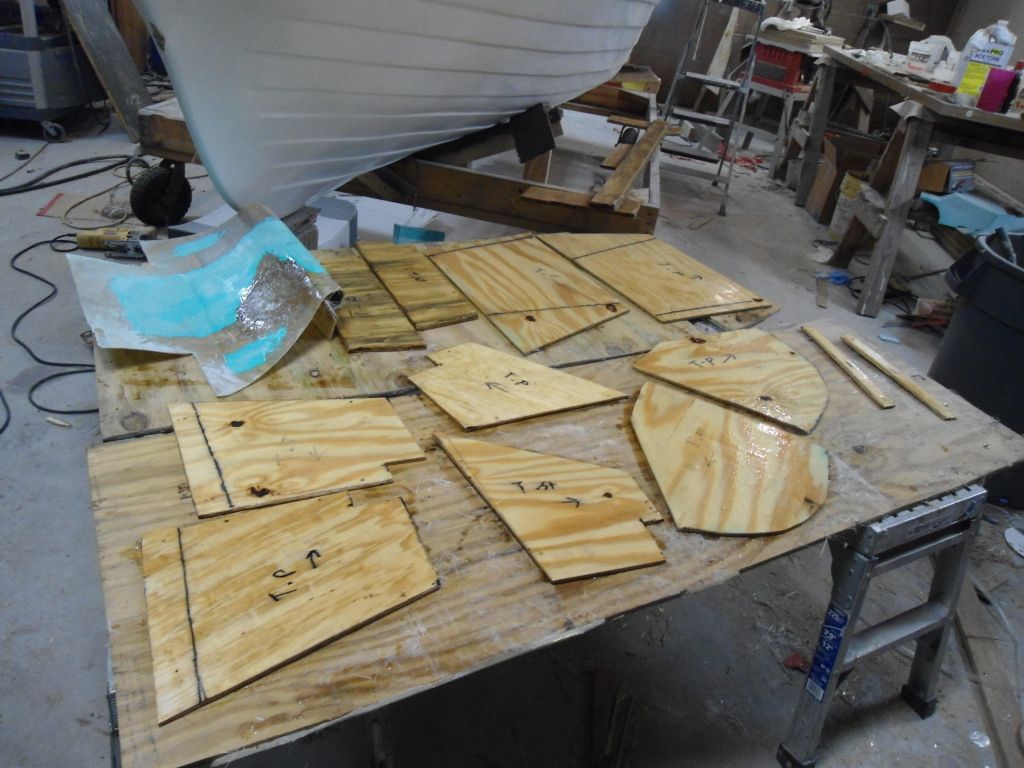
Just finished up coating all the splash pieces with resin . I have also layed a layer of csm on the backside of all pieces . 2 layers csm on the bottom rim of the apron. I also patched the old cable hole that was in the old splash.
DSC00456.jpg

Got the transom ruff edges knoked down . I will probably do a little more sanding before I start installing all the pieces.
This is going to be interesting getting it all pb'ed in place!:eek:
 

GT1000000

Rear Admiral
Joined
Jul 13, 2011
Messages
4,916
Re: MFG rebuild getting started pics

Looking great S.P.

Got a hot glue gun and some cardboard?

Use it to hold the pieces temporarily together, mix up a hot batch of PB, apply and when kicked, remove cardboard supports...

Holding Jig.jpg

Have a Great week...
 

Jon Sob

Master Chief Petty Officer
Joined
Jun 11, 2011
Messages
827
Re: MFG rebuild getting started pics

This is going to be interesting getting it all pb'ed in place!:eek:

I know I haven't posted much but I am watching ..... good luck it's going to look great.
 

Pmccraney

Lieutenant Commander
Joined
Jul 26, 2011
Messages
1,734
Re: MFG rebuild getting started pics

You could also tack all of the pieces together with a brad nailer... Once the PB has set, you can pull them out with needle nose, or if they are buried in there, just leave 'em and fiberglass over them... Just a thought.

I like GT's idea too.
 

sphelps

Supreme Mariner
Joined
Nov 16, 2011
Messages
11,468
Re: MFG rebuild getting started pics

Looking great S.P.

Got a hot glue gun and some cardboard

My wife has one that takes forever to heat up.
A glue gun that is!:redface:

Jon
Thanks , I gotta hurry and catch up with ya!

Pmc.
Brad nails sound good I need to check in my tool box and see if I have any. I can always put a temp screw in and take back out later..
 

sphelps

Supreme Mariner
Joined
Nov 16, 2011
Messages
11,468
Re: MFG rebuild getting started pics

Didn't get to much done this afternoon . By the time I got home did more grinding and prep work it was diner time. I did manage to get the apron and the 2 pieces behind the backrest glued in. You would be surprised at how well red poly tape sticks to cured poly resin.I took an idea from I think CW's old school transom replacement and drilled some 3/8 " holes into the top plywood and into the top edge of the smurf transom about a 1/2" deep so the pb would act like fastener of sorts holding the piece together.
DSC00458.jpg

I guess it was a good idea.
Then I glued some backer strips at some inside corners to help keep the pb from rolling back when I install the next pieces . It should give a little extra support.
DSC00457.jpg
 

Trooper82

Commander
Joined
Nov 21, 2011
Messages
2,648
Re: MFG rebuild getting started pics

I used that trick, think it helped (drilling holes for pb).

Won't. E long now, you'll have some seating back there.

Like always, looking good sp.
 

Decker83

Commander
Joined
Apr 5, 2011
Messages
2,593
Re: MFG rebuild getting started pics

sphelps;3769901My wife has one that takes forever to heat up. A glue gun that is!:redface:[/QUOTE said:
Now that was funny.:D:):eek:

Drilling the holes for the PB will add a lot of strength. Like the backing strips. Looks great.
 

sphelps

Supreme Mariner
Joined
Nov 16, 2011
Messages
11,468
Re: MFG rebuild getting started pics

Well today all I got accomplished was installing the center splash piece and the 2 outside pieces that attach to the top cap. I also tabbed in a layer of csm and 24oz woven on the inside vertical apron piece to the hull on both sides ..
Question, I need to install the splash drain hole. If I drill in the center any water will drain out right on top of the trim cylinder . I do have enough room to the port side of the motor to install drain. What do you guys think would be best placement..
Thanks S.P.
 
Top