MFG rebuild getting started pics

Pmccraney

Lieutenant Commander
Joined
Jul 26, 2011
Messages
1,734
Re: MFG rebuild getting started pics

Yeah, second time's a charm.... That's not goin anywhere... Good work sp, you are rollin!
 

GT1000000

Rear Admiral
Joined
Jul 13, 2011
Messages
4,916
Re: MFG rebuild getting started pics

Sorry to hear 'bout the glassin woes, but it looks like you are over that hump...looking solid as a brick S#!T House...Nice save!
 

Decker83

Commander
Joined
Apr 5, 2011
Messages
2,593
Re: MFG rebuild getting started pics

WOG is right about the 1708 was bad.
Just a note about the woven roven, You have to use csm before each layer of the woven roven. It should always be put on wet on wet.

The glass job you did with the roven lools like a pro did it. Very good job.
Glad you got it going your way.
 

Jon Sob

Master Chief Petty Officer
Joined
Jun 11, 2011
Messages
827
Re: MFG rebuild getting started pics

Looks good and solid sp .... great job.
 

craigweaver

Chief Petty Officer
Joined
Oct 24, 2011
Messages
550
Re: MFG rebuild getting started pics

^^^^^^^ what they all said! SP, it looks like you got it figured out! Great job man.
 

sphelps

Supreme Mariner
Joined
Nov 16, 2011
Messages
11,468
Re: MFG rebuild getting started pics

Thanks everyone! ^^^^^^
Yep Decker csm , woven wet on wet.
I'll try and finish the next few layers on the rest of transom then start some head scratchin on how to lay out the splash area..
 

sphelps

Supreme Mariner
Joined
Nov 16, 2011
Messages
11,468
Re: MFG rebuild getting started pics

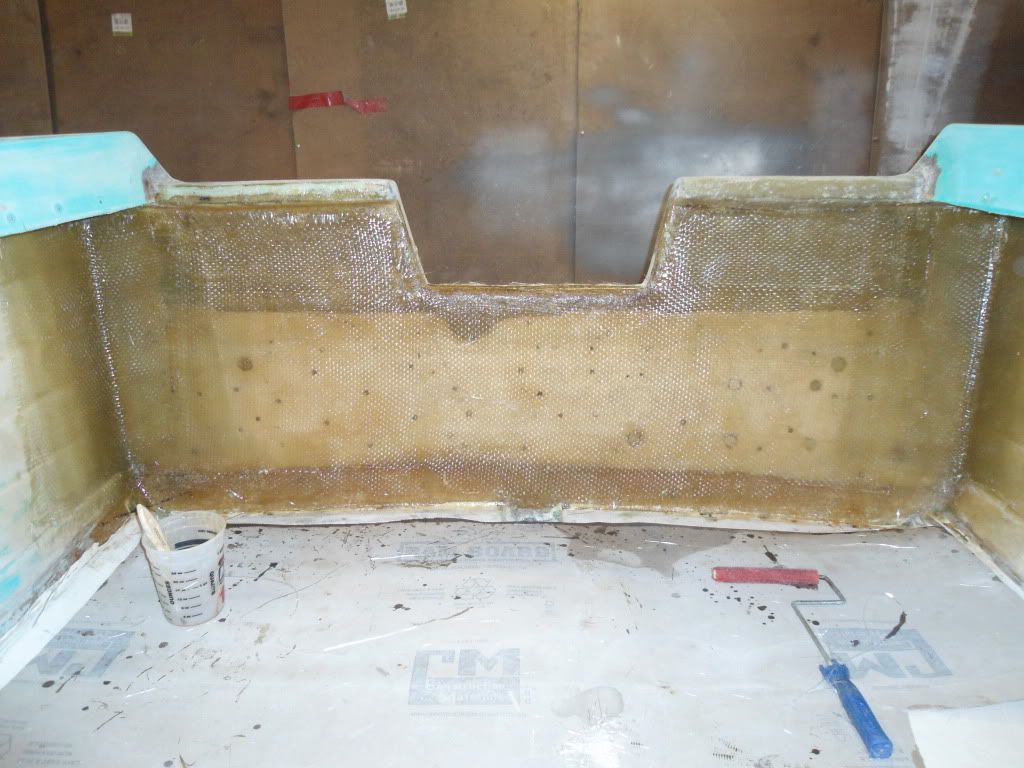
It's ugly but it should be strong. Last layer of woven. Still needs a layer of csm but I may wait until I build the splashwell and do it then..
DSC00420.jpg

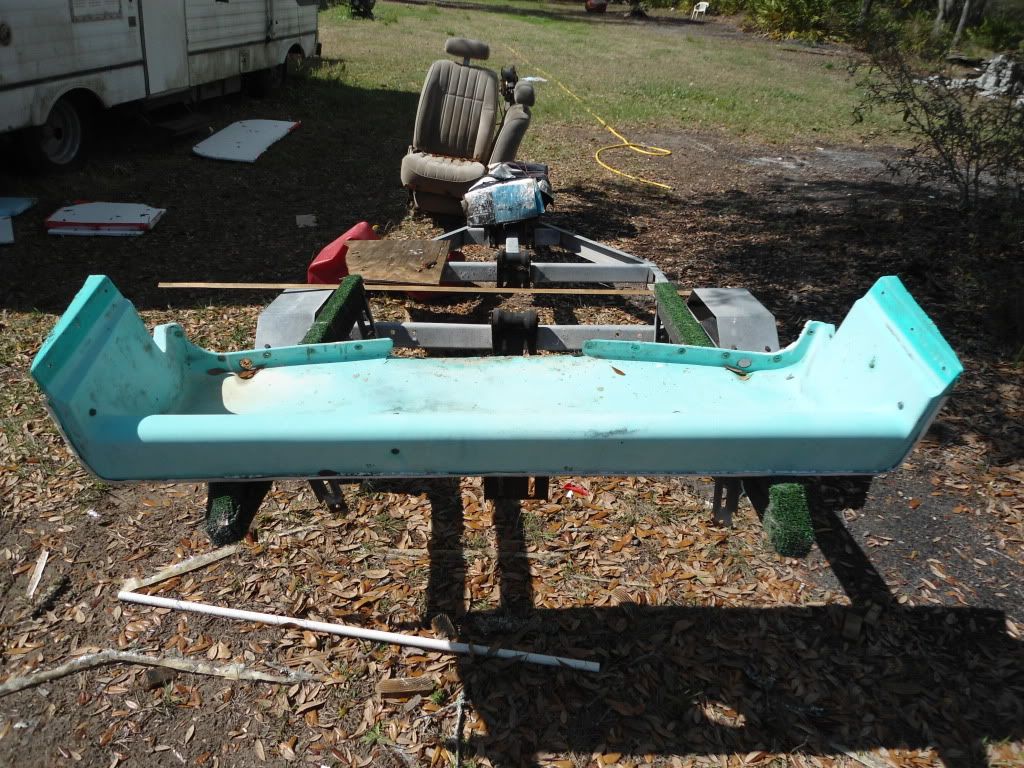
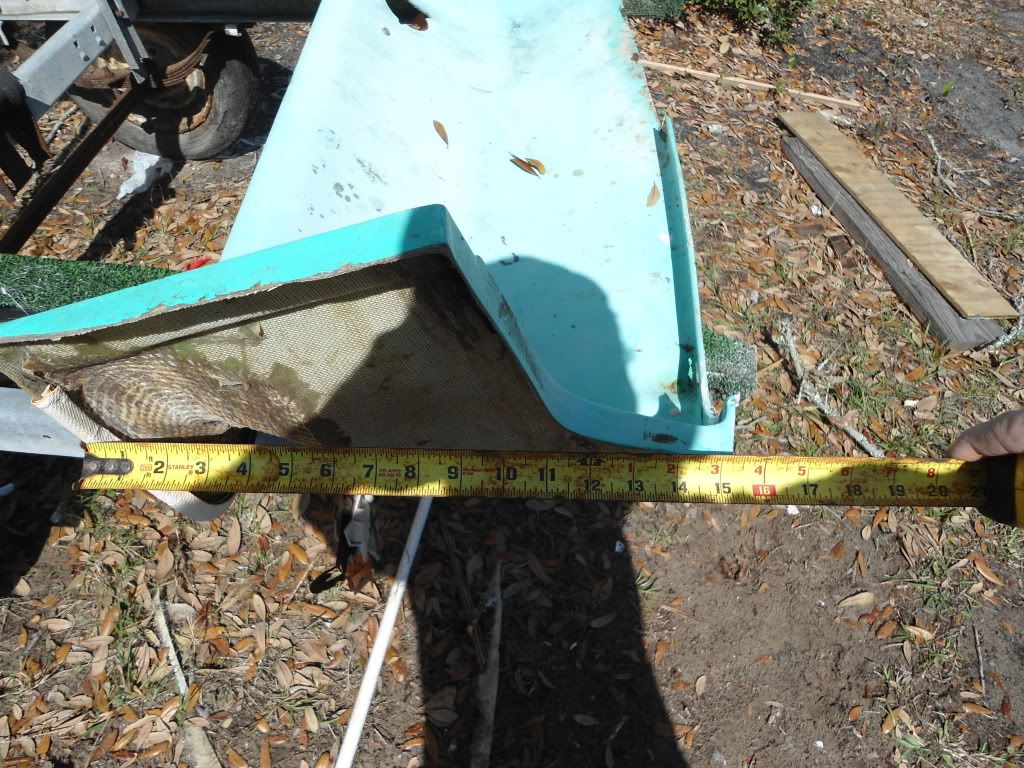
I might try and incorporate the old splash into the new one somehow. I would like to make a small seat on each side of the motor with the smallest splash possible ..
DSC00230.jpg

DSC00229.jpg

Gotta work tomorrow but hope to get off early and start making a mock up..
 

sphelps

Supreme Mariner
Joined
Nov 16, 2011
Messages
11,468
Re: MFG rebuild getting started pics

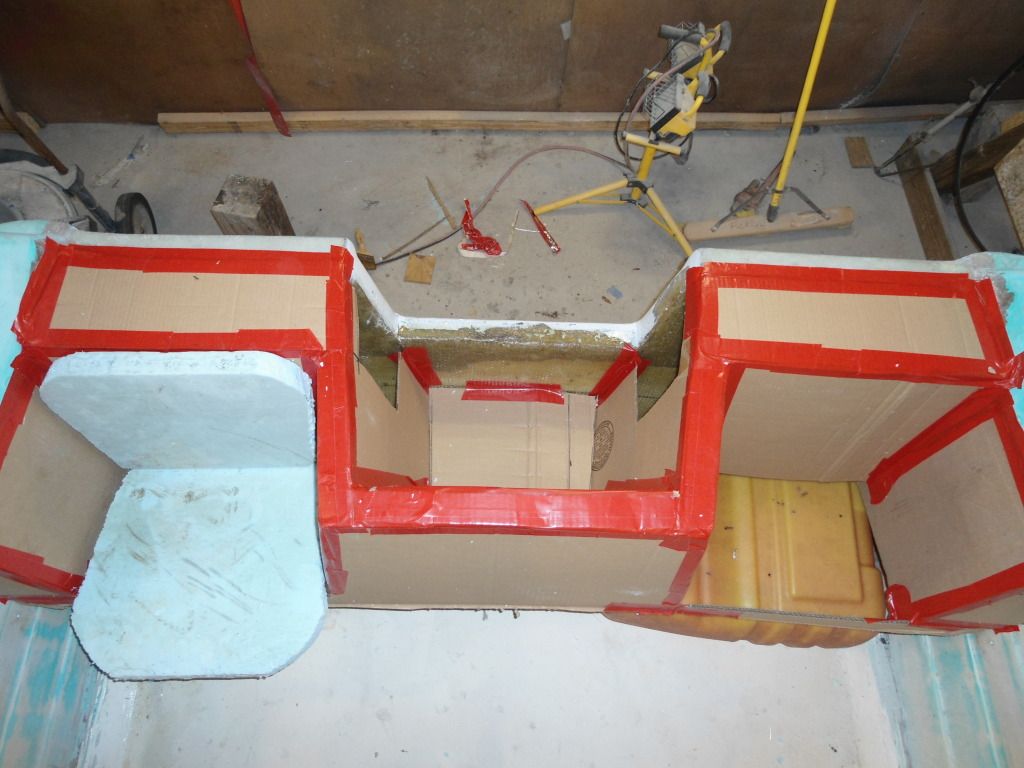
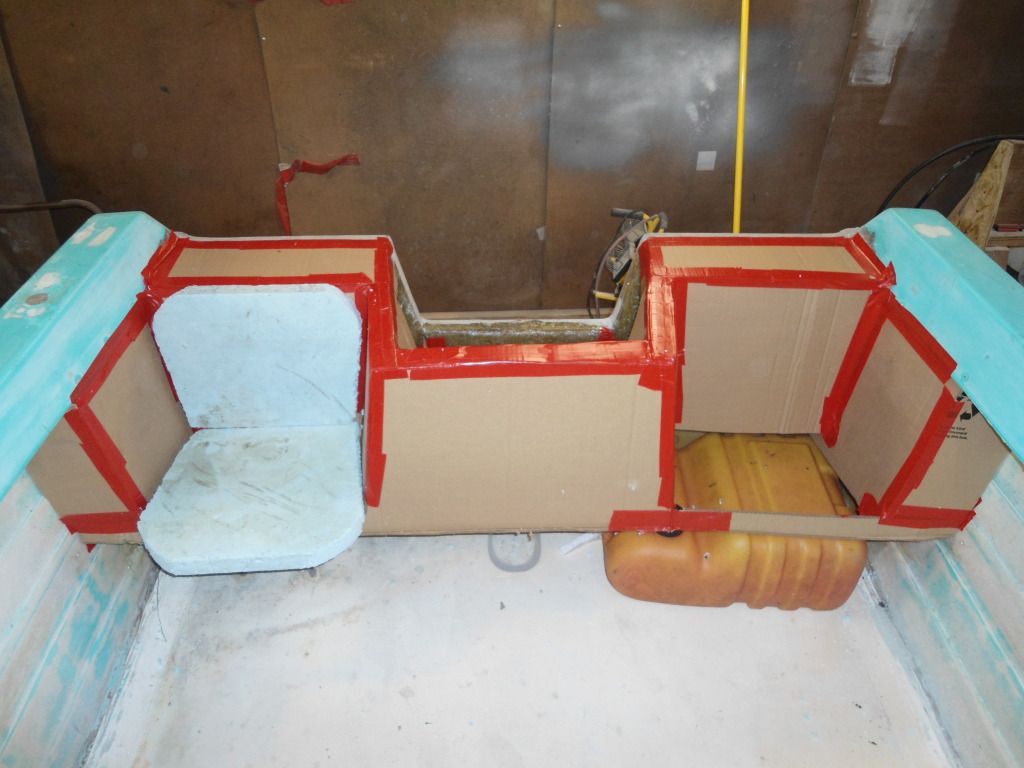
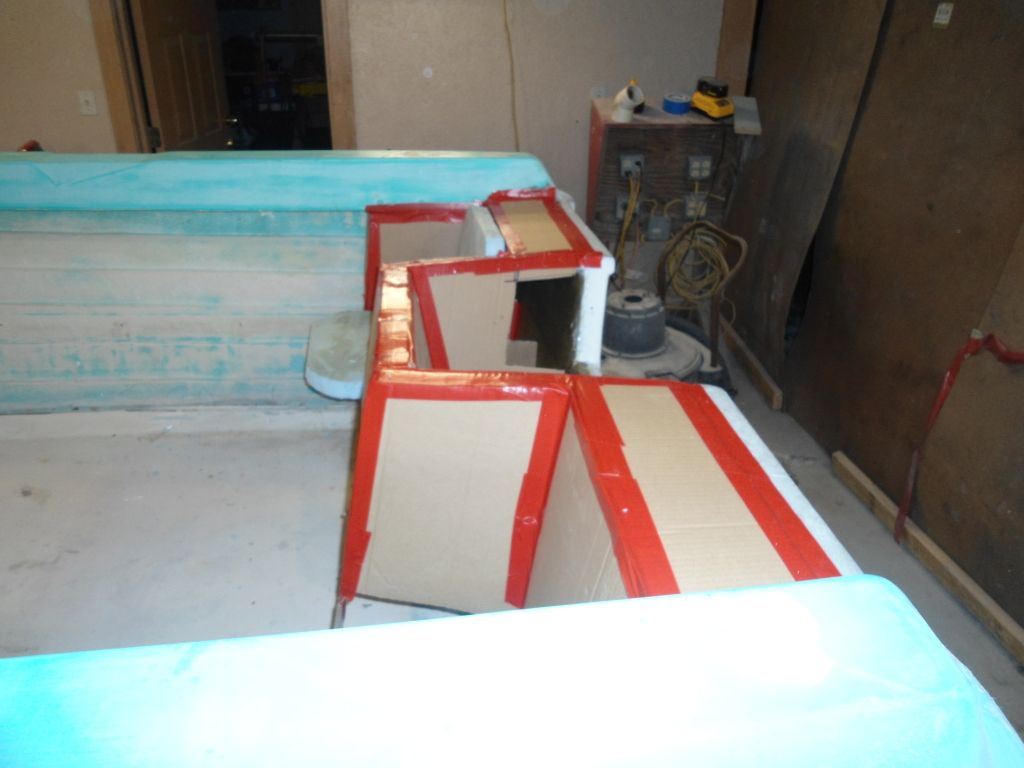
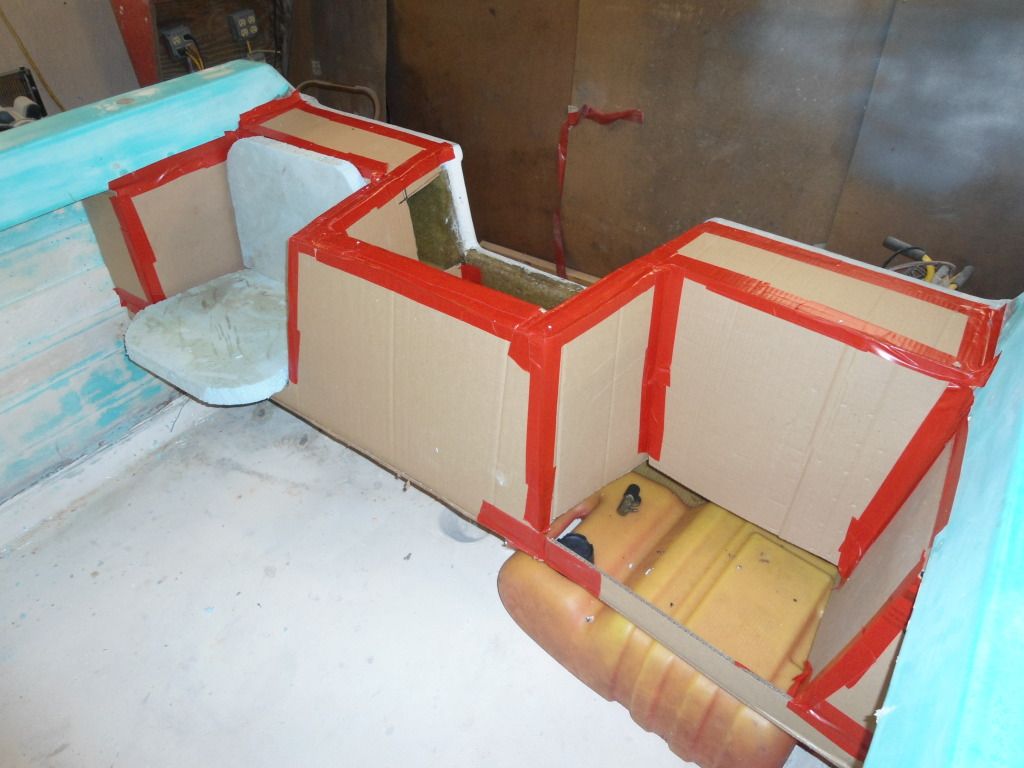
Well somewhere in all the cardboard and poly tape there's a general concept . Not sure if I like it or not . Got any comments or ways to improve ? Be as brutal as need be. LOL!
DSC00426.jpg

DSC00424.jpg

DSC00429.jpg

DSC00425.jpg

I think I will set the Chrysler on it tomorrow and make sure every thing clears . The Force is basically the same size so if one works so should the other one..
 

Pmccraney

Lieutenant Commander
Joined
Jul 26, 2011
Messages
1,734
Re: MFG rebuild getting started pics

This type of mock-up (creativity) is why I love iboats... I'll defer to the pros, but it looks to be a very efficient use of space back there...

The fabrication might be a bit of a challenge (but maybe you do something with your "smurf biscuit" powder)?

Keep plugging... looks great.
 

jbcurt00

Moderator
Staff member
Joined
Oct 25, 2011
Messages
25,056
Re: MFG rebuild getting started pics

My only suggestion would be to angle the backs of the jump seats a bit more, looks pretty close to 90deg. Even if it makes the 'gunwale' area narrower behind the seat.

It's high enough to slide the gas out, though?

Else nice mockup!
 

sphelps

Supreme Mariner
Joined
Nov 16, 2011
Messages
11,468
Re: MFG rebuild getting started pics

PMC
I'll probably use 3/4 ply for the front and 1/2 for the rest . I'm not sure how but I need to try and keep the weight down.

Jbc
I think your right on the seat back angle . I made it the same angle as the transom.
The main part I'm not sold on yet is the front of the splash . It's a little flat and boxy looking. One idea I had was to angle the front towards the bow a little and 45 the corners . Or I also was thinking build a curved table or shelf out of mahogany slats with cup holders ..
 

Trooper82

Commander
Joined
Nov 21, 2011
Messages
2,648
Re: MFG rebuild getting started pics

I think that will work, but agree with JB on angling the seat back a little. Do you have a battery that needs to go under them too?

Looks good to me.
 

Pmccraney

Lieutenant Commander
Joined
Jul 26, 2011
Messages
1,734
Re: MFG rebuild getting started pics

Also, as you planning this out, don't forget about your steering and shift/throttle cables... Just make sure they can snake behind that starboard seat and exit to the motor connection without kinks... Just a thought
 

sphelps

Supreme Mariner
Joined
Nov 16, 2011
Messages
11,468
Re: MFG rebuild getting started pics

Good morning everyone ! Time ta make the coffee !
DSC00422-1.jpg
 

Jon Sob

Master Chief Petty Officer
Joined
Jun 11, 2011
Messages
827
Re: MFG rebuild getting started pics

That's one heck of a breakfast nook .... sp. Wish I can have one of those put in over here.
 

Trooper82

Commander
Joined
Nov 21, 2011
Messages
2,648
Re: MFG rebuild getting started pics

Thatis a scene that would never grow old.


Nice sunrise!
 

sphelps

Supreme Mariner
Joined
Nov 16, 2011
Messages
11,468
Re: MFG rebuild getting started pics

I took that 5 minutes before I had to be at work yesterday at a public beach access . The early birds were already out casting for whiting and pompino .. I posted thinking you all would enjoy!!:)
 

Woodonglass

Supreme Mariner
Joined
Dec 29, 2009
Messages
25,928
Re: MFG rebuild getting started pics

Design looks "Spot On" to me. As stated make sure cable routing is adequate and motor tilt clearnce works then let the glassin begin.
 

sphelps

Supreme Mariner
Joined
Nov 16, 2011
Messages
11,468
Re: MFG rebuild getting started pics

Question . Can I permanently glass into the sides of the hull?
Is it ok to glass over screws and such that hold the cut pieces together ?
Should I place any vertical post to help with support?
Thanks!
 

Woodonglass

Supreme Mariner
Joined
Dec 29, 2009
Messages
25,928
Re: MFG rebuild getting started pics

I would prolly remove the screws but glassin to the sides is A-OK. I would think some sort of vertica structure would be needed.
 
Top