MFG rebuild getting started pics

sphelps

Supreme Mariner
Joined
Nov 16, 2011
Messages
11,462
Re: MFG rebuild getting started pics

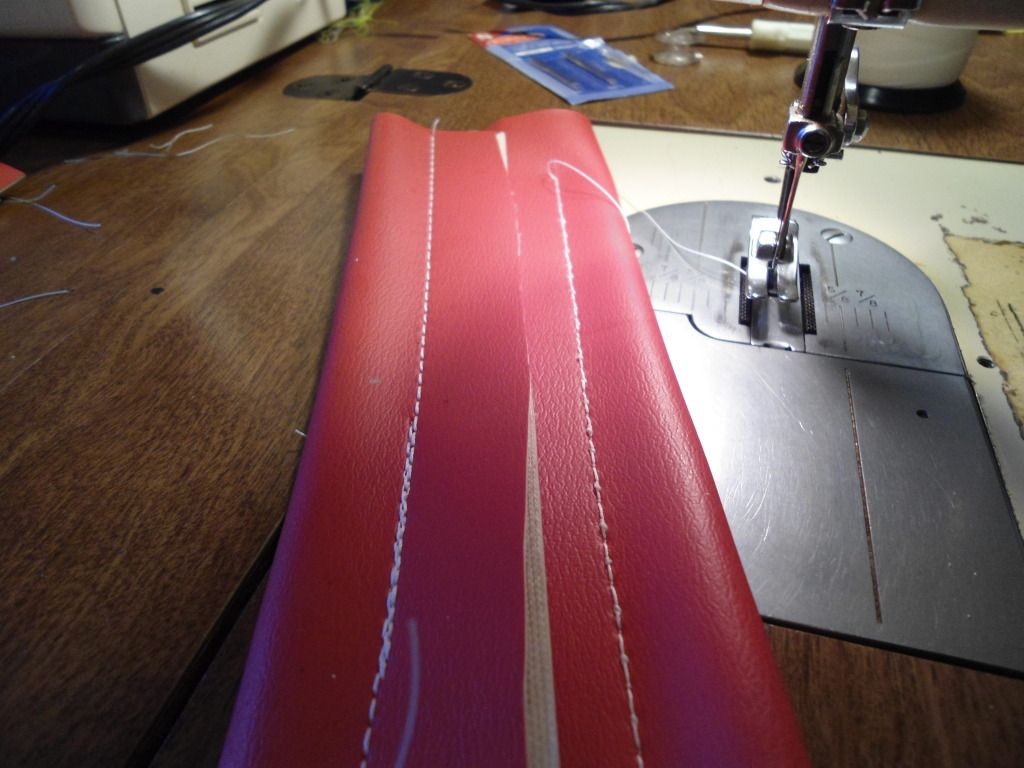
I have been playing with the tension top and bottom and this is what I have so far. I installed the thick thread in the bobbin and installed a # 18 needle . Just what I have on hand.The stitch on the left is the top stitch and the right is the bottom.
DSC00764.jpg

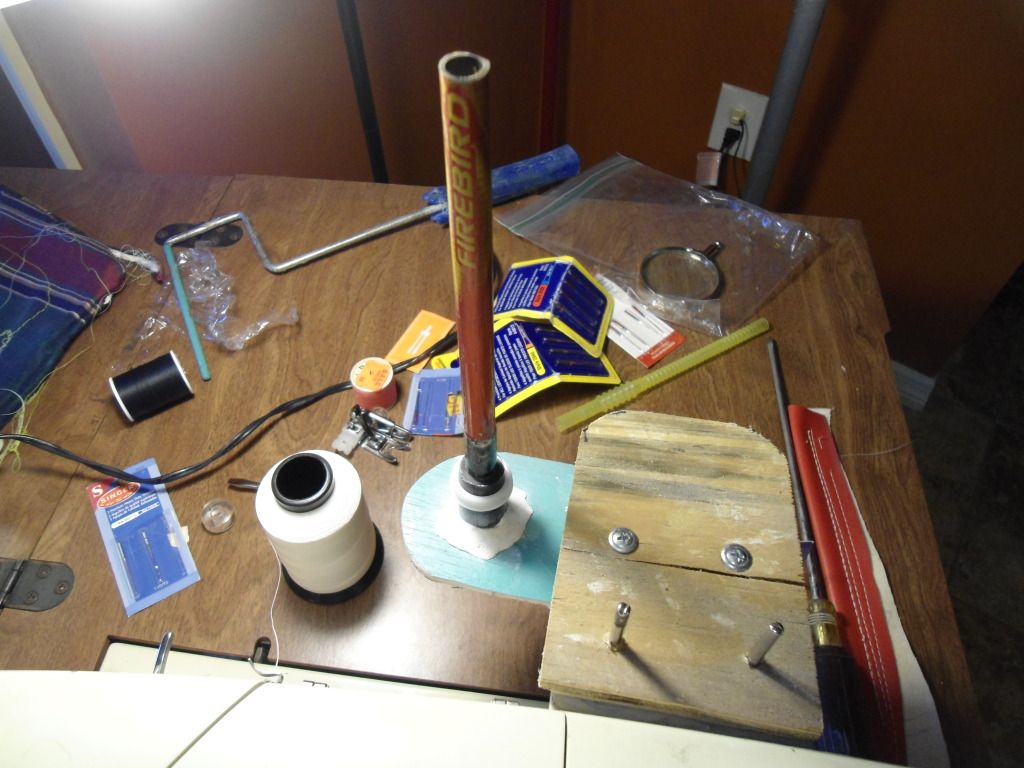
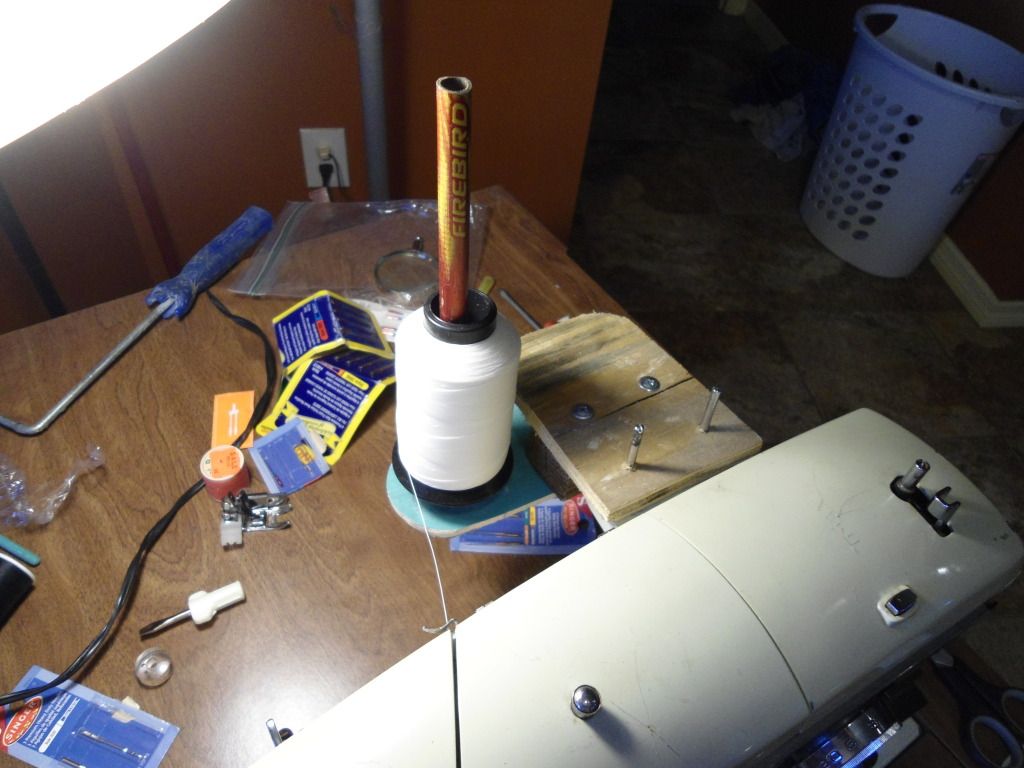
I also ran into a problem with the large spool . The spool post were to close to the machine to work correctly so I used my redneck ingenuity and made an attachment " patent pending " out of some scrap wood and an old broken fishing rod.;)
DSC00762.jpg

DSC00761.jpg

My wife just looked at it and shook her head..LOL ! It seemed to work just fine ...
 

GT1000000

Rear Admiral
Joined
Jul 13, 2011
Messages
4,916
Re: MFG rebuild getting started pics

iFn it werent fer rednek injuneeering, we woodent of gotten ta wer we er tooday...

table-boat.jpg


Nice looking stitches BTW...:D
 

Woodonglass

Supreme Mariner
Joined
Dec 29, 2009
Messages
25,927
Re: MFG rebuild getting started pics

Check this out...
http://www.threadsmagazine.com/item/4302/understanding-thread-tension/page/all

[h=2]How To Adjust Your Sewing Machine Tension[/h]Posted By Sarah J. Doyle on July 19, 2012
Have you noticed when you’re changing from one project to another the thread all of a sudden starts to loop, get tangled in the bobbin area or other crazy things? The fact is that as you change projects and start sewing on different weight materials, you should test the stitching on a piece of scrap material of the same weight you’re changing to, before beginning the actual project.
As an example, if you’re changing from a denim type material to a silky type material, you would definitely want to make sure the tension is correct and the stitching looks right before you start to sew on the new project.
First, be sure you KNOW where the upper tension is located on your sewing machine (check your manual). It can be on the front of the machine, the left side (or end) of the machine, or it could be at the top of the machine, depending on the make and manufacturer of your machine.
Before attempting to adjust the upper tension, you will need to understand how the upper and lower thread works together to form a stitch and do a test to see if the tension is actually “off” (see Figure 7A, 7B and 7C).


The above diagrams show you how the tension SHOULD be and how they would look if there is a problem.
To determine whether the upper tension is too tight or too lose for the fabric you want to use, try the following test. Take a small scrap of the fabric, fold it, and stitch a line on the bias of the fabric, using different colors of thread in the bobbin and on top. Grasp the bias line of stitching between the thumb and index finger. Space the hands about 3 inches apart and pull with an even, quick force until one thread breaks, as in the following diagram.


If the broken thread is the color of the thread in the needle, it means that the upper tension is too tight. If the broken thread is the color of the bobbin thread, the upper tension is too loose. If both threads break together and take more force to break it, then the tensions are balanced.
 

Trooper82

Commander
Joined
Nov 21, 2011
Messages
2,648
Re: MFG rebuild getting started pics

Nice thread holder SP...looks like you are getting the hang of the sewing too....
 

sphelps

Supreme Mariner
Joined
Nov 16, 2011
Messages
11,462
Re: MFG rebuild getting started pics

Troop it looks like this sewing journey and all the ups and downs have just begun !

Wood thanks for the info that sure shed,s some light on the tension.. It seems from the sketch that my upper is to loose or the lower is to tight. Good luck trying to break this thread even if the tension is way off ! LOL!
Gunna start by tightening the upper just a touch.
 

Decker83

Commander
Joined
Apr 5, 2011
Messages
2,593
Re: MFG rebuild getting started pics

Looking good sp. WOG gave some good info for you and the rest of us. Good luck in the sewing adventure.
 

sphelps

Supreme Mariner
Joined
Nov 16, 2011
Messages
11,462
Re: MFG rebuild getting started pics

Yep Wood is definitely a huge help on all the cool info !
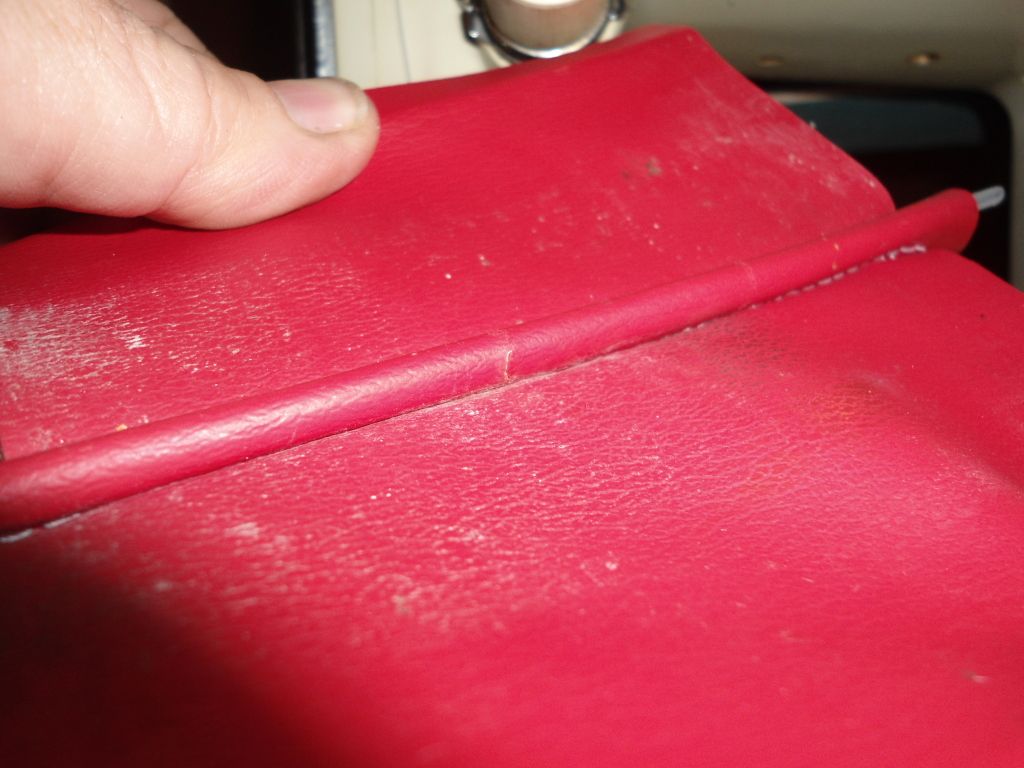
Hey i,m almost proud of this practice seam .:)
DSC00765.jpg
 

GT1000000

Rear Admiral
Joined
Jul 13, 2011
Messages
4,916
Re: MFG rebuild getting started pics

Yep, a couple more days of practice and I can see it now...

"Sam's Ship Skins"...;)
 

Woodonglass

Supreme Mariner
Joined
Dec 29, 2009
Messages
25,927
Re: MFG rebuild getting started pics

Looks like Piping to me!!!! Very nice job. Once you get the Tension set, the presser foot pressure right, the sewing speed figured out etc... it really gets to be quite easy. Oh and don't forget to stick your tongue out too!!!!:p
 

sphelps

Supreme Mariner
Joined
Nov 16, 2011
Messages
11,462
Re: MFG rebuild getting started pics

Right now I,m just trying not to sew my fingers together ! :eek: :D
 

sphelps

Supreme Mariner
Joined
Nov 16, 2011
Messages
11,462
Re: MFG rebuild getting started pics

I picked this up on the way home . I think it will work.
DSC00766.jpg

How wide should I cut the vinyl for the piping ?
 

Woodonglass

Supreme Mariner
Joined
Dec 29, 2009
Messages
25,927
Re: MFG rebuild getting started pics

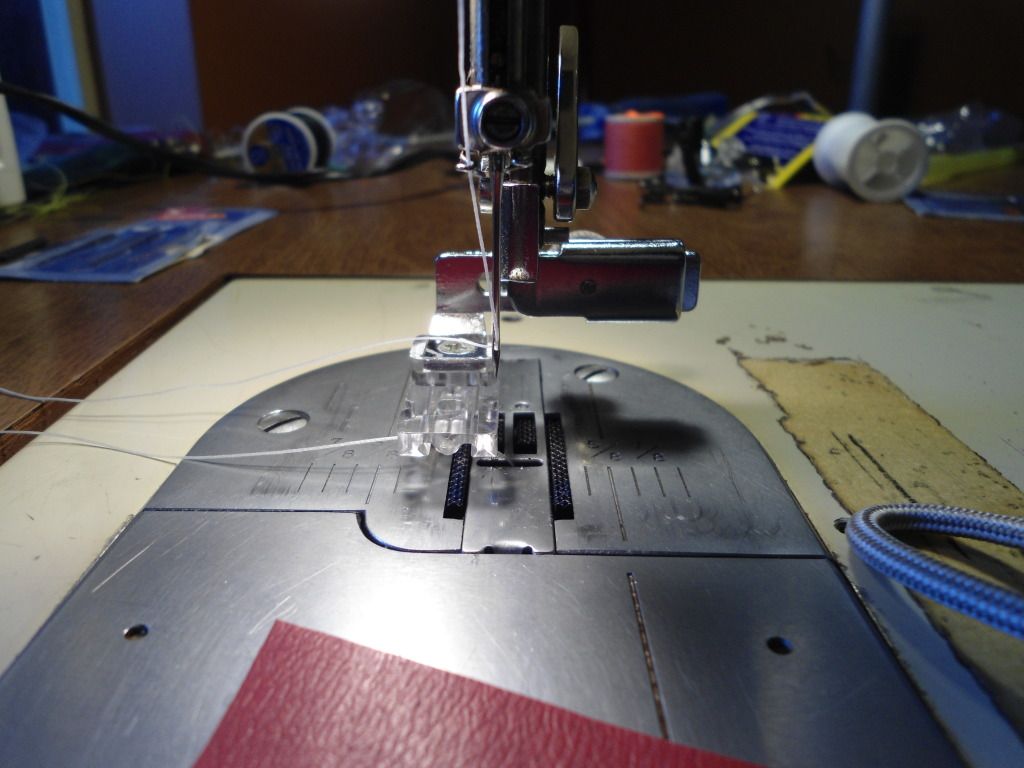
Needle goes on other side. About 1 3/8". that will give you about a 1/2" allowance when complete. Don't worry about getting it to "Tight" initially. You actually want it kinda loose. That way when you sew it onto the "Flats" and sew it up "Tight" you won't see the seam from the inital sewing. Make sense?? Best way is to set the Needle deeper into the zipper foot when making the Piping and then set it right on the outer edge of the foot when sewing the piping onto the "Flats". Call me if you want to discuss. PM me if you don't have my Phone #. Maybe these pics will help.

This is the needle set to the inside to make the piping. Don't worry about holding the cording to tight. that will come later.
zipperfoot_In-1.jpg


Here it's moved to the outside of the foot. This is where it should be when you sew the Piping to the vinyl. Pull the cording as tight to the foot and needle as possible.
zipperfoot_out-1.jpg
 

Decker83

Commander
Joined
Apr 5, 2011
Messages
2,593
Re: MFG rebuild getting started pics

Right now I,m just trying not to sew my fingers together ! :eek: :D

Don't want to see any pics with puppet fingers in them. :eek:


Your doing a great job on the sewing so far. Keep it up.
 

sphelps

Supreme Mariner
Joined
Nov 16, 2011
Messages
11,462
Re: MFG rebuild getting started pics

Thanks Wood ! yea I was looking at the foot and thought it would work better on the right side of the needle and moved it over. Then I saw your post and I thought at least I got something right ..LOL! Keeping the piping a little loose does make sense. I,m gunna take the red vinyl and try and make a complete mock up of at least the backrest slip cover. This may take a while..LOL! I,ll send you a pm..
 

sphelps

Supreme Mariner
Joined
Nov 16, 2011
Messages
11,462
Re: MFG rebuild getting started pics

Been pretty busy at work so not much progress on the seats. I got the owners manual for the sewing machine in today. JDA found it on a cd the other day.. Been going thru it and learning what all the gadgets and thingamabobs do.. Learned I had my needle in backwards..:facepalm:
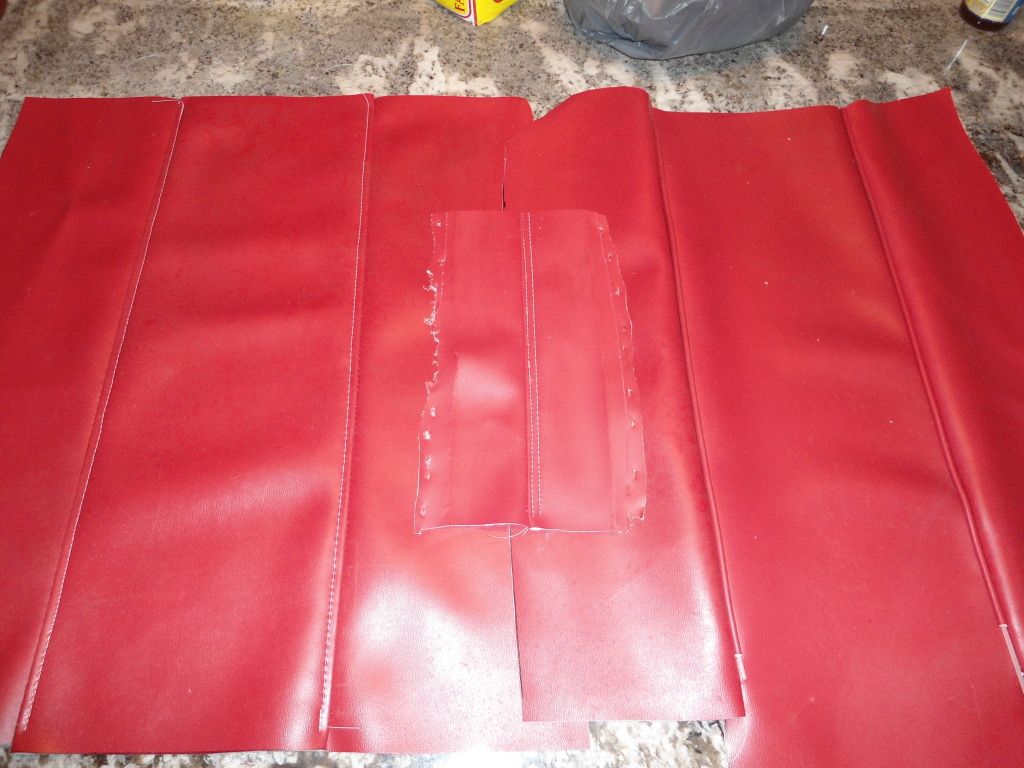
I have done a little sewing though. Been trying out different seams and cutting out some patterns . Here is 2 panels . The right one is done with piping and the left is a semi flat felled seam. The center will be white so the thread will blend in some.
DSC00767.jpg

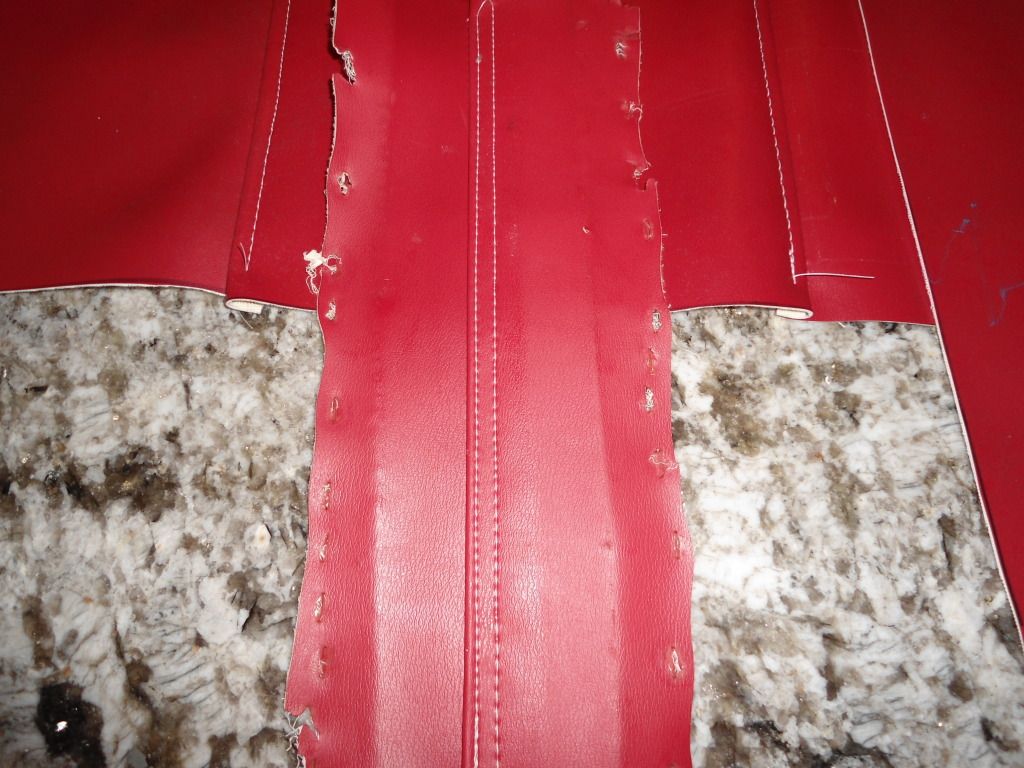
I really like this seam . It looks like a full flat felled but actually I just run another stitch on a semi flat .
DSC00768.jpg

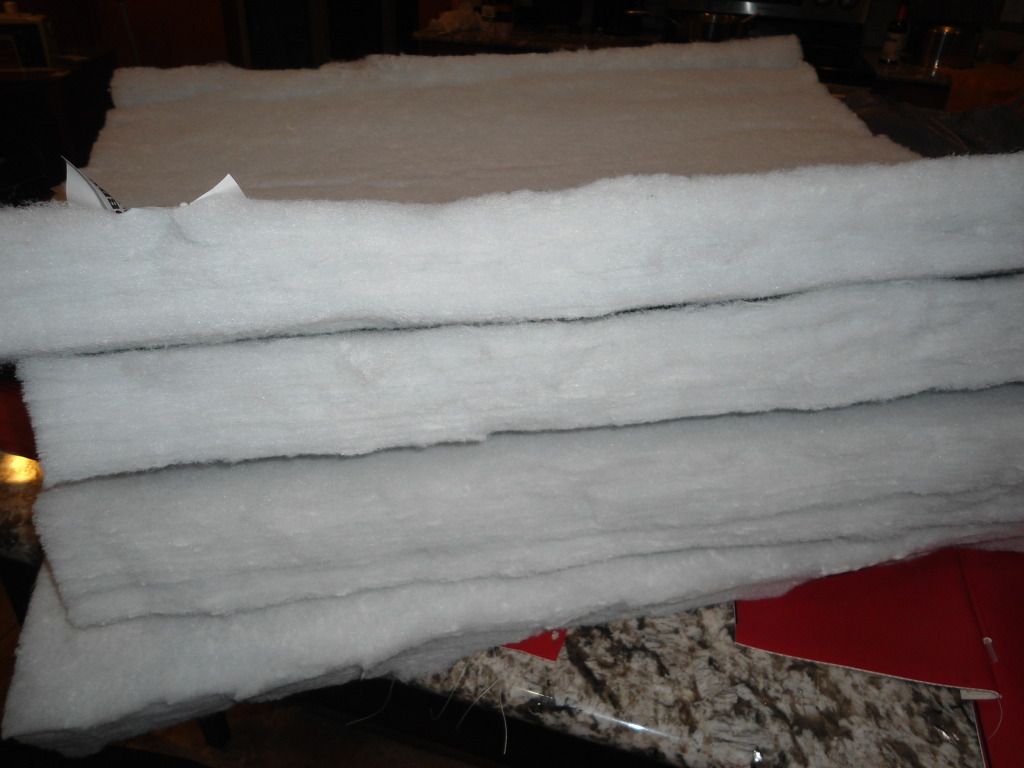
My wife is awesome she picked the foam up for the jump seats for 20 bucks got 40 % off with a coupon !
DSC00769.jpg

Hope everyone is having a great weekend !
 

Decker83

Commander
Joined
Apr 5, 2011
Messages
2,593
Re: MFG rebuild getting started pics

Looks like your getting the sewing thing down. I like the piping in the first pic but the double stitch looks even better.
Nice score on the foam. You better take her out to dinner. :D
 

GT1000000

Rear Admiral
Joined
Jul 13, 2011
Messages
4,916
Re: MFG rebuild getting started pics

You are becoming a "Stitchmaster"...;)...the interior on the MFG is going to look amazing! Believe me, I have it on good authority...:D


fortuneteller.jpg
 
Top