MFG rebuild getting started pics

Woodonglass

Supreme Mariner
Joined
Dec 29, 2009
Messages
25,928
Re: MFG rebuild getting started pics

I'd go to 1/2 cup 50/50 and shoot the transom first to see how it goes. Add up to 3/4 if needed. Primer has lots more solids in it which need bigger tip. Bump the gun to between 35-40 and see how it goes. Need to make sure it is atomizing correctly. If it starts to orange peel or overspray a bunch drop it back down.
 

sphelps

Supreme Mariner
Joined
Nov 16, 2011
Messages
11,468
Re: MFG rebuild getting started pics

Thanks Wood tomorrow I'll give it a go !
 

sphelps

Supreme Mariner
Joined
Nov 16, 2011
Messages
11,468
Re: MFG rebuild getting started pics

Sprayed 3rd coat of primer today. I think 40 psi was alittle much I felt like it was blasting the paint instead of like laying it on .It didn't seem to orange peal though. I have to do some things for my mother tomorrow afternoon so I probably wont spray any finish paint but I will try and get every thing ready for the next day.Been thinking of things to do.
Lightly wet sand with say 320 , dry ,and acetone wipe.
Change tip back to the 1.4.
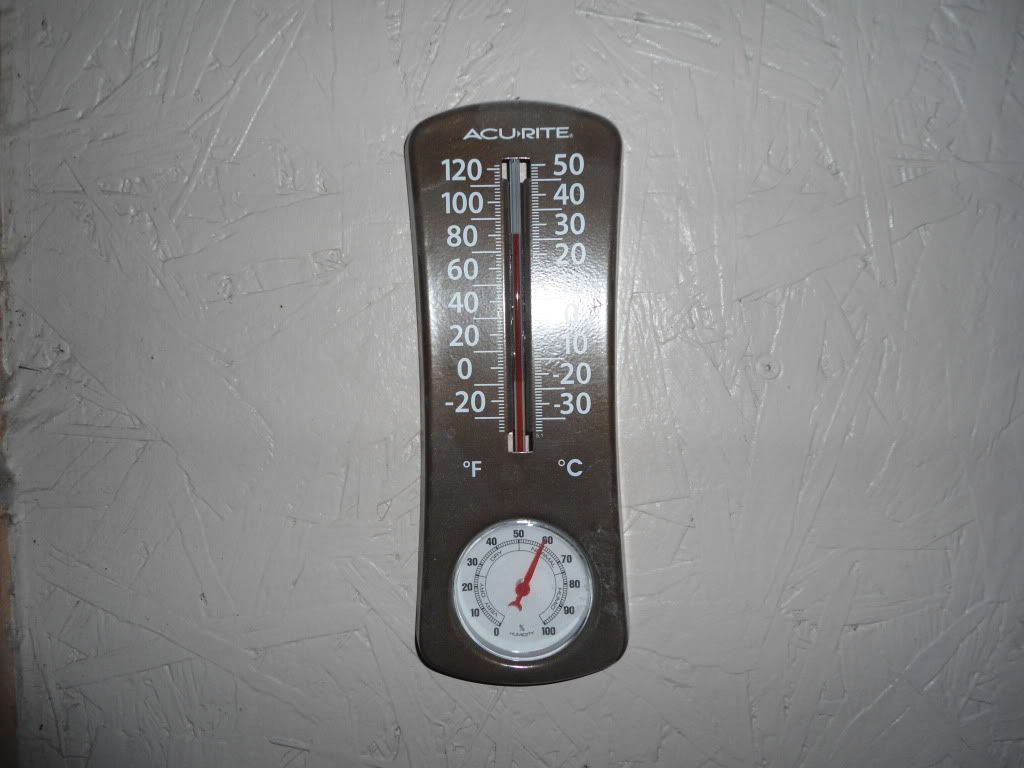
The temps have been 85 to 90 in the shop how much thinner should I use per 2 cups paint?
The last coat of primer was 3 cups should this be the same for finish paint?
My can of white paint has a dry paint skin layer over it. It should be ok to skim it off and strain before mixing right?
Spray thin layer.
Please let me know if I have missed or gotten anything wrong! I sure hope it turns out good !
Thanks everyone!
 

Woodonglass

Supreme Mariner
Joined
Dec 29, 2009
Messages
25,928
Re: MFG rebuild getting started pics

Sounds good to me. For the finish coats I used 2 cups paint, 3/4 cup of 50/50 mix of acetone and MS. When the temps went up I actually went to Advanced Auto and got their Medium Reducer for Temps in the 80's and 90's. It's Acme Finish One Brand. Don't be afraid to UP the thinner to get good atomization on the finish coats. Each gun is a little different so start on the transom until you get the right mix and gun setup. One last thing...Make sure and mix the hardener for 30 mins before shooting.
 

sphelps

Supreme Mariner
Joined
Nov 16, 2011
Messages
11,468
Re: MFG rebuild getting started pics

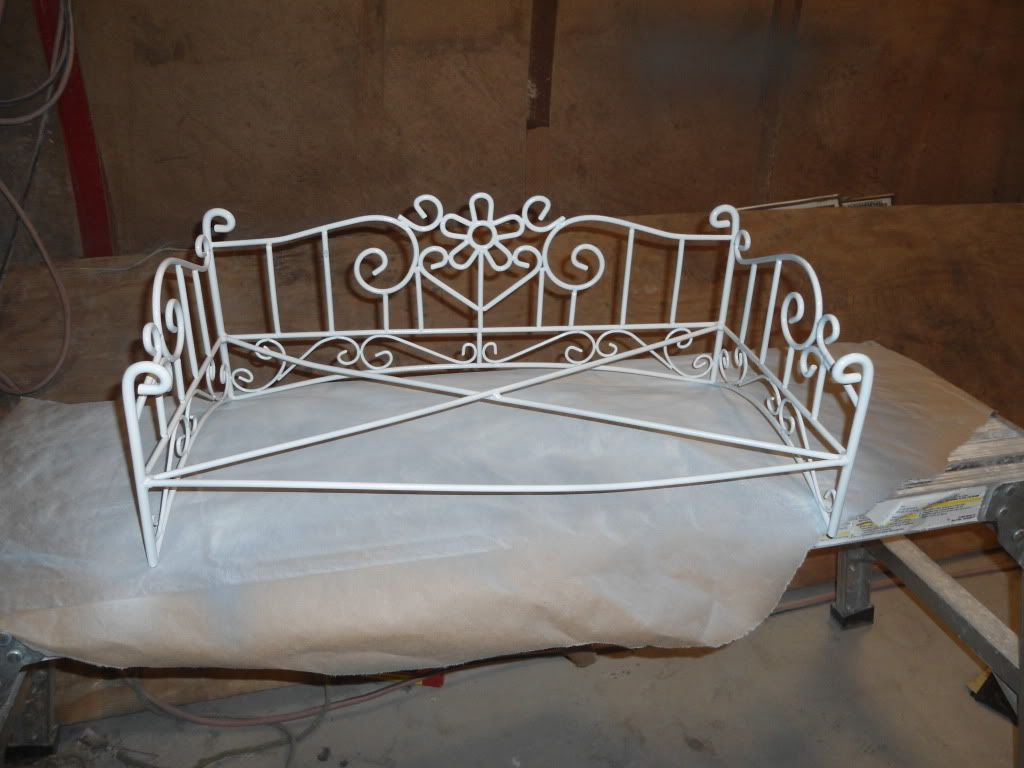
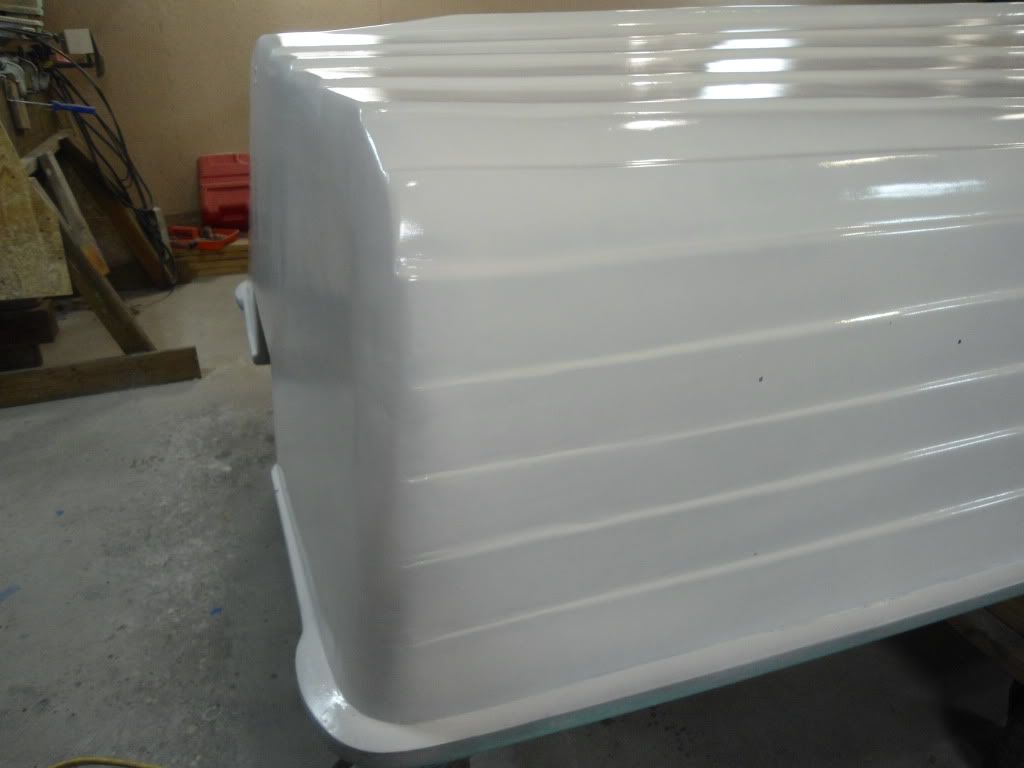
I wanted to practice spraying today after I took care of mom's sonny do list. So I mixed some paint and painted this for my wife.
DSC00313.jpg

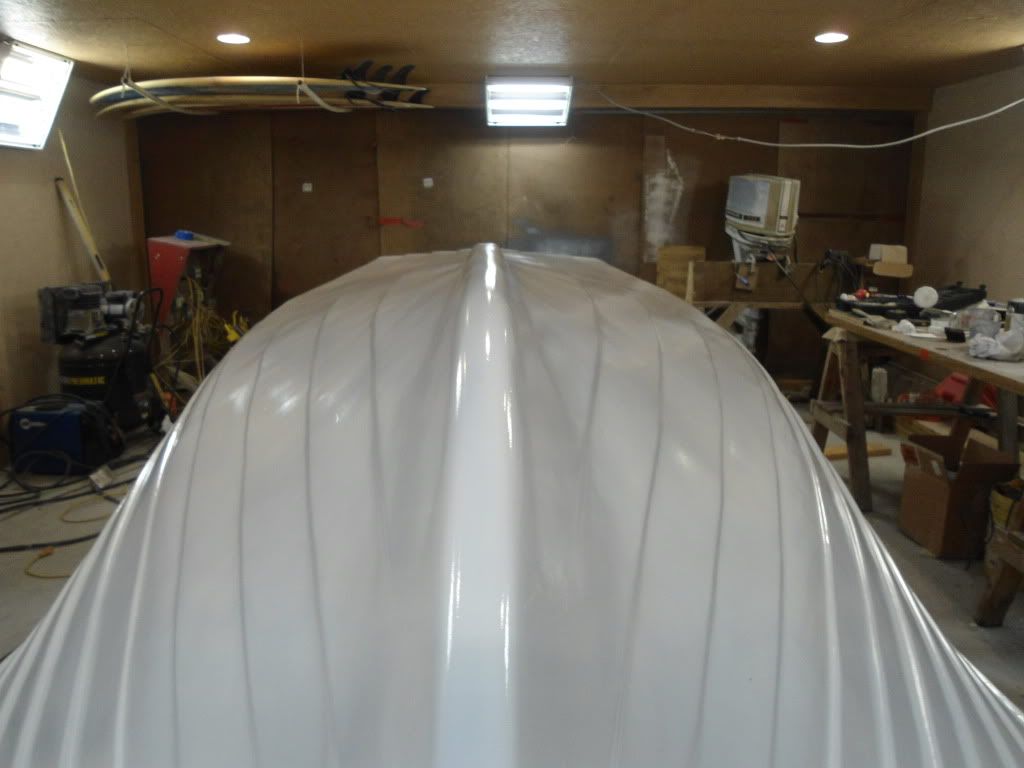
I needed more practice so then I painted the repaired keel damaged on the bow.
DSC00312.jpg

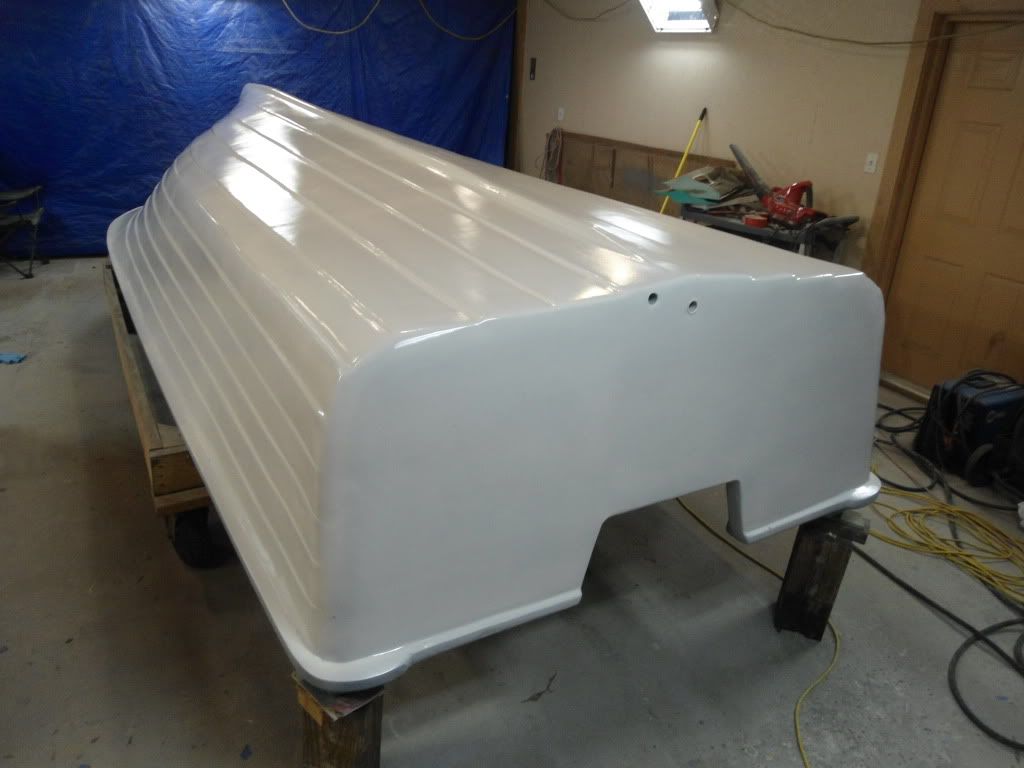
Heck, lets put the first coat of finish on the rest of it!
DSC00310.jpg

http://i1231.photobucket.com/albums/ee507/Sam1005boat/DSC00311.jpg[/IMG
[IMG]http://i1231.photobucket.com/albums/ee507/Sam1005boat/DSC00309.jpg
It took 3 cups paint I added 1 1/8 cup thinner 1.5 oz hardener.
 

sphelps

Supreme Mariner
Joined
Nov 16, 2011
Messages
11,468
Re: MFG rebuild getting started pics

DSC00306.jpg

DSC00311.jpg

Will it be ok to touch up a couple bad spots with the 3m premium Before the next coat?
 

Woodonglass

Supreme Mariner
Joined
Dec 29, 2009
Messages
25,928
Re: MFG rebuild getting started pics

Only if you sand it down to glass. Don't want to fill over the paint. Where are they and how bad are they? Pics????
 

ezmobee

Supreme Mariner
Joined
Mar 26, 2007
Messages
23,767
Re: MFG rebuild getting started pics

Remember not to obsess over the bottom. It will NOT be seen once she's flipped.
 

Decker83

Commander
Joined
Apr 5, 2011
Messages
2,593
Re: MFG rebuild getting started pics

She's looking good. That first coat really shines.
 

sphelps

Supreme Mariner
Joined
Nov 16, 2011
Messages
11,468
Re: MFG rebuild getting started pics

Only if you sand it down to glass. Don't want to fill over the paint. Where are they and how bad are they? Pics????
Wood there in the pic right above your last post .I had to reform the lap stakes right at the corner of the transom from all the previous glass work and grinding. It's kinda hard to see in the pics. Not to bad just alittle bothersome .
 

sphelps

Supreme Mariner
Joined
Nov 16, 2011
Messages
11,468
Re: MFG rebuild getting started pics

Ezm,
Yep your probably right. You see things and you say to yourself , man I wish I had caught that!

Thanks decker prolly put 2 or 3 more coats on then she'll be real shiny!
 

Jon Sob

Master Chief Petty Officer
Joined
Jun 11, 2011
Messages
827
Re: MFG rebuild getting started pics

Great job sp ..... looks good.
 

sphelps

Supreme Mariner
Joined
Nov 16, 2011
Messages
11,468
Re: MFG rebuild getting started pics

Troop, Pmc, Jon,
Thanks guys !!

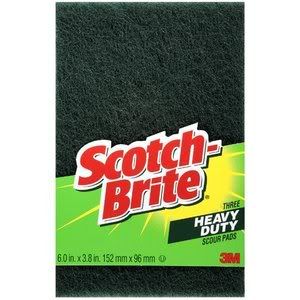
Need to wet sand before next coat . I have 320 ,500 , 1000, 1200. I was thinking maybe use the 500? Wood say he uses a scotch bright pad. Is this like a reg pad you would scrub your pots and pans with?
 

Jon Sob

Master Chief Petty Officer
Joined
Jun 11, 2011
Messages
827
Re: MFG rebuild getting started pics

yes ...that's what I used.
 

jbcurt00

Moderator
Staff member
Joined
Oct 25, 2011
Messages
25,056
Re: MFG rebuild getting started pics

The ScotchBrite & 3M material is similar to that but is more like synthetic steel wool, & is found in most big box hardward/lumber stores that carry sandpaper. It is next to or @ the regular sand paper. And is also available in different grits, 0_00_000 'ought' like steel wool.

The pot scrubber may also work, but I'm not sure how aggressive/fine it is. New & un-used though:eek::D

And not for subsequent use in the kitchen after, though either:facepalm:
 

Jon Sob

Master Chief Petty Officer
Joined
Jun 11, 2011
Messages
827
Re: MFG rebuild getting started pics

This is what Woody told me to use:

0005113150218_300X300.jpg


He sent this photo to me.
 

sphelps

Supreme Mariner
Joined
Nov 16, 2011
Messages
11,468
Re: MFG rebuild getting started pics

I had to stop and pick up more acetone while I was there I got some of the synthetic steel wool .ooo very fine. I saw the HD scotch brite and thought it might be a little ruff. Ijust wasn't sure.
 
Top