MFG rebuild getting started pics

craigweaver

Chief Petty Officer
Joined
Oct 24, 2011
Messages
550
Re: MFG rebuild getting started pics

sphelps, that is an awesome job on the seacast!
 

sphelps

Supreme Mariner
Joined
Nov 16, 2011
Messages
11,468
Re: MFG rebuild getting started pics

Thanks Craig, I,m hopefully gunna git it flipped over to start on the hull soon.
Gotta catch up with you and your son!:D
 

sphelps

Supreme Mariner
Joined
Nov 16, 2011
Messages
11,468
Re: MFG rebuild getting started pics

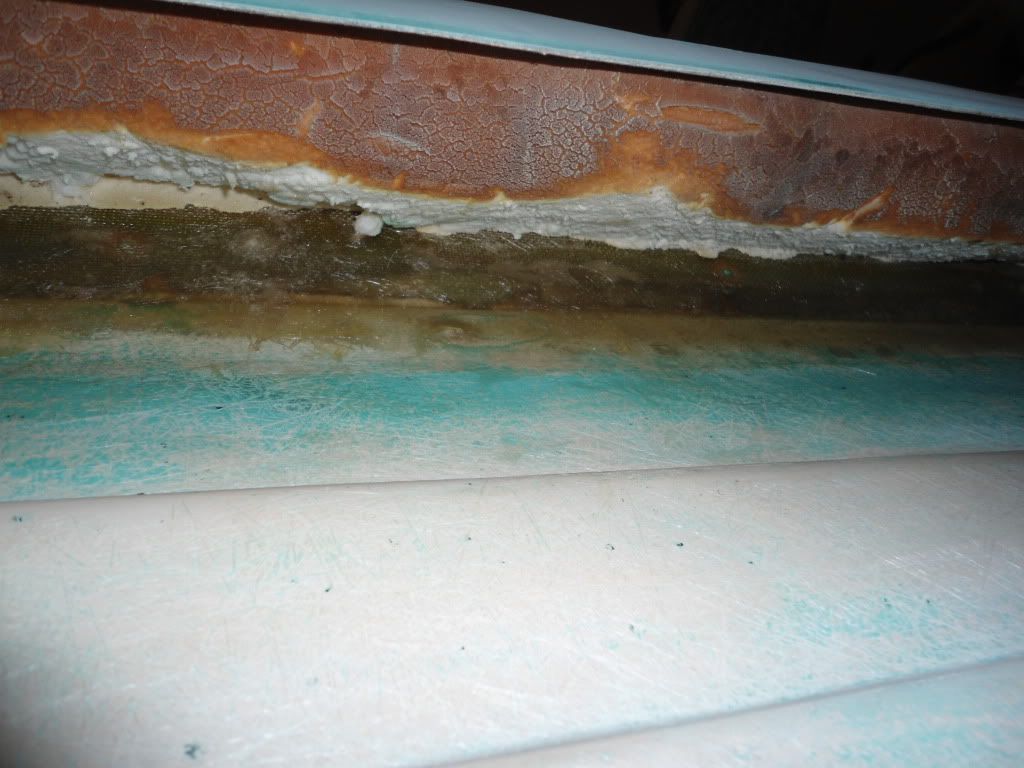
Got the cap glassed onto the hull .I filleted the joint yesterday then put a layer of csm today. Sure aint going to sweat the bubbles under there!
DSC00196.jpg

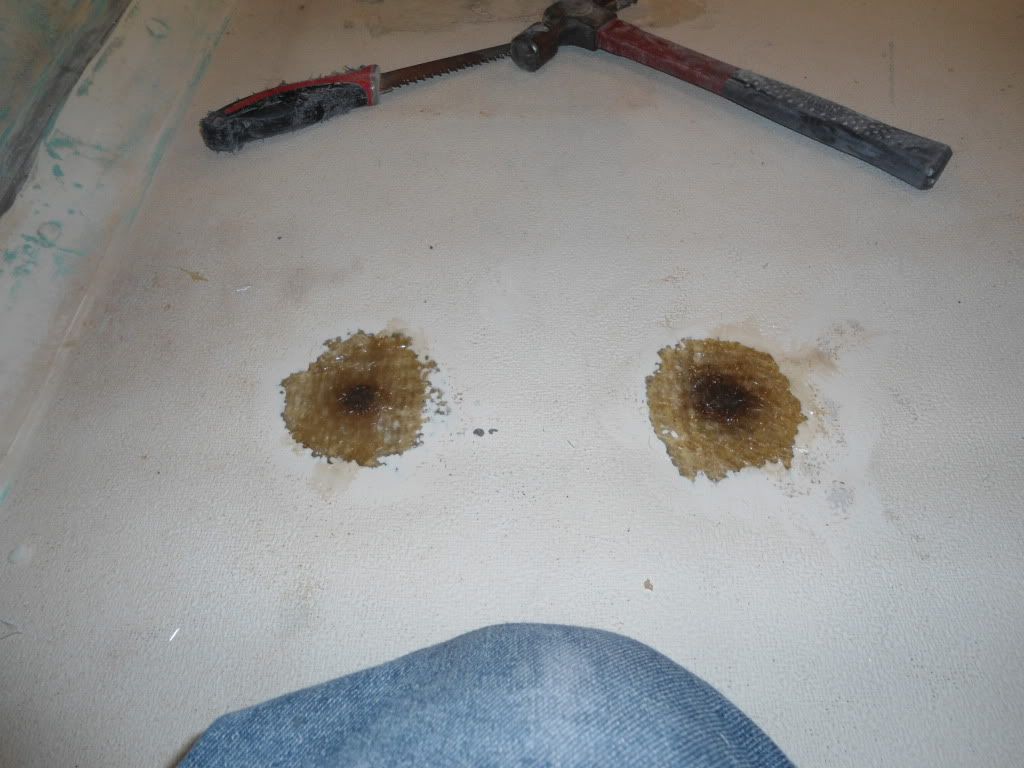
Had some resin left over so made up a little pb and patched 4 holes in the deck.
DSC00197.jpg

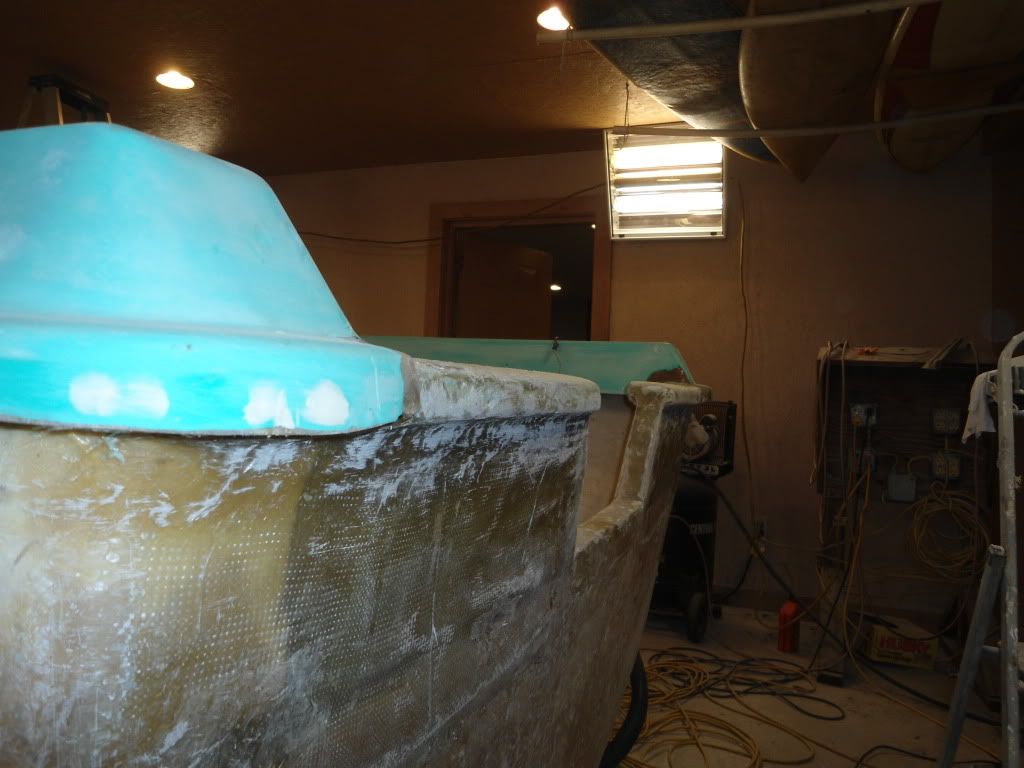
also did some shaping on the transom cap..
DSC00198.jpg
 

Trooper82

Commander
Joined
Nov 21, 2011
Messages
2,648
Re: MFG rebuild getting started pics

Mighty fine work there s.p. you sure you didn't put hose holes in there with the hammer and saw?
 

bear_69cuda

Commander
Joined
Oct 10, 2008
Messages
2,109
Re: MFG rebuild getting started pics

Sweet brutha!

The holes were for the old seat mounts?
 

jbcurt00

Moderator
Staff member
Joined
Oct 25, 2011
Messages
25,057
Re: MFG rebuild getting started pics

Good looking work rebuilding the transom area! And the cap back on!?!?! Sweet, nice progress!

Have a good rest of the week!
 

sphelps

Supreme Mariner
Joined
Nov 16, 2011
Messages
11,468
Re: MFG rebuild getting started pics

Yea those holes had some epoxy looken stuff smeared on em . I still have a few more to patch. They must have been for the fun n sun seats that were original . Wish I still had them to model new seat from.
 

Woodonglass

Supreme Mariner
Joined
Dec 29, 2009
Messages
25,928
Re: MFG rebuild getting started pics

Nice work on the Vid. Do we have to start calling you Hollywood now!!!!:eek:
 

sphelps

Supreme Mariner
Joined
Nov 16, 2011
Messages
11,468
Re: MFG rebuild getting started pics

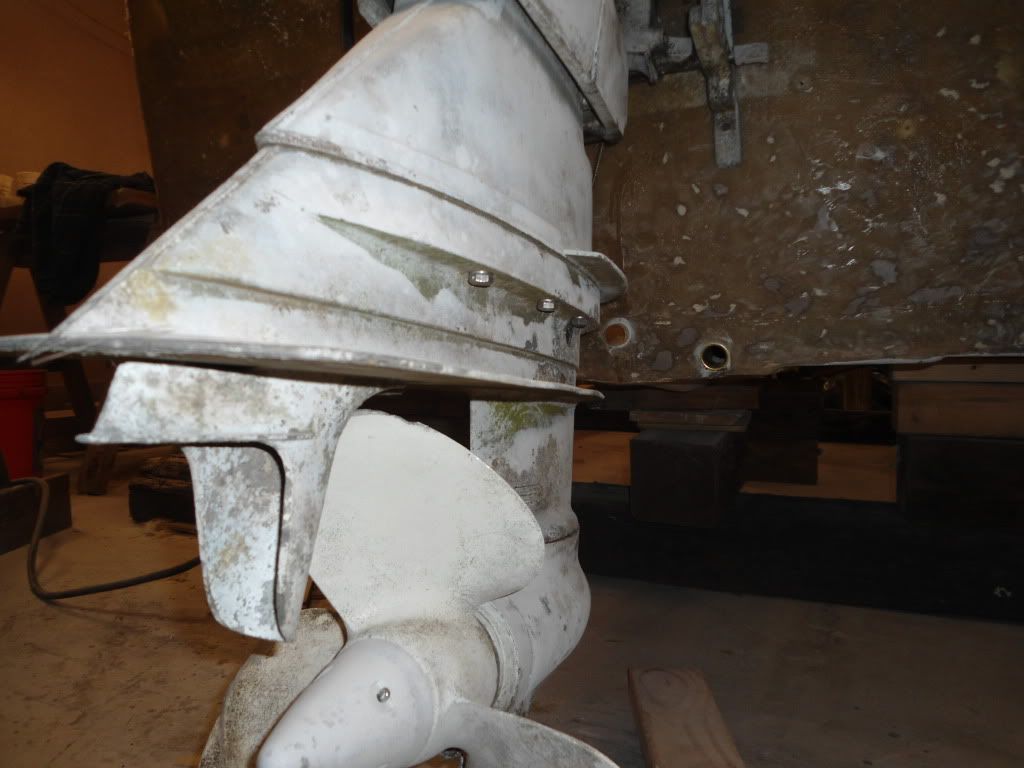
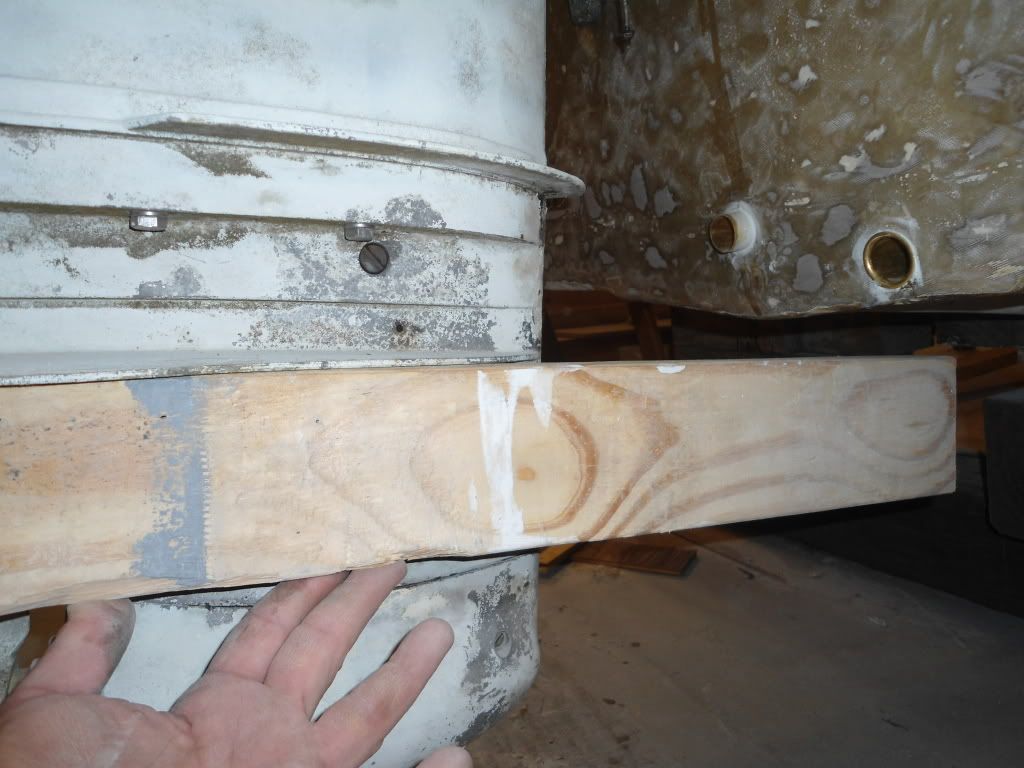
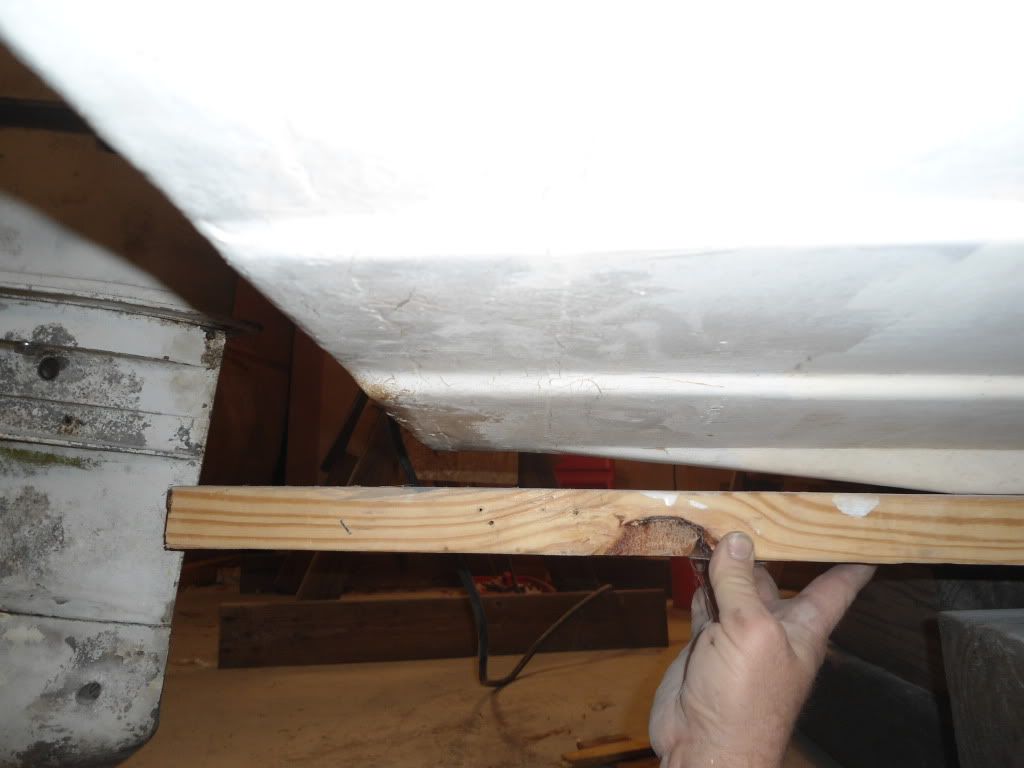
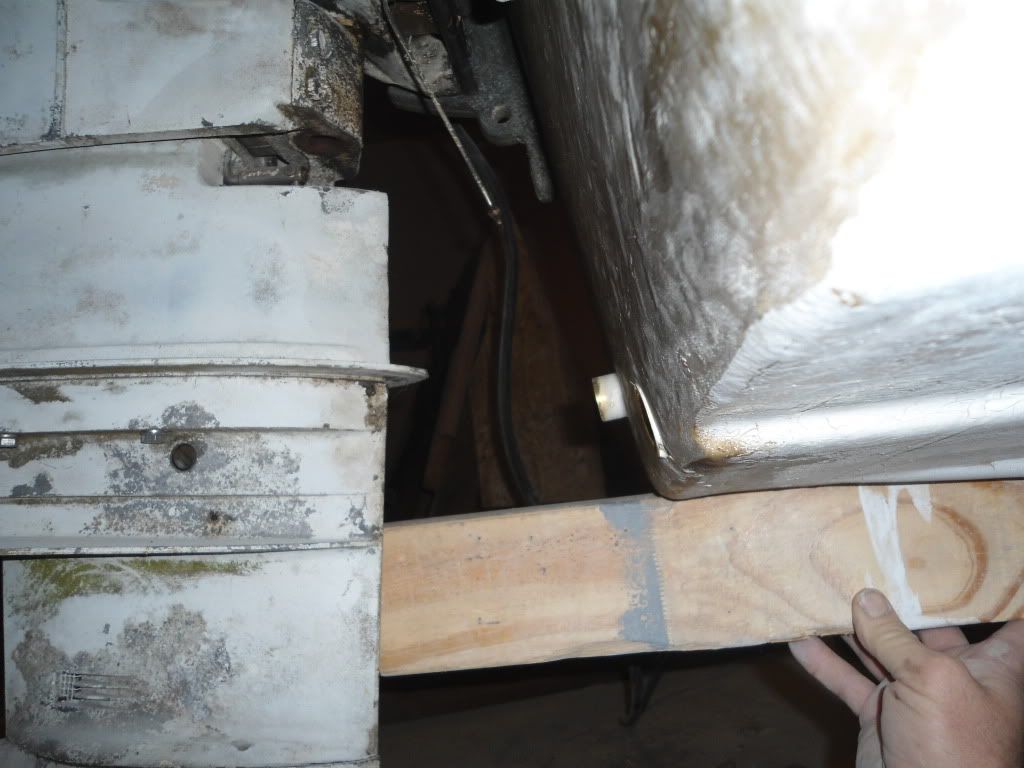
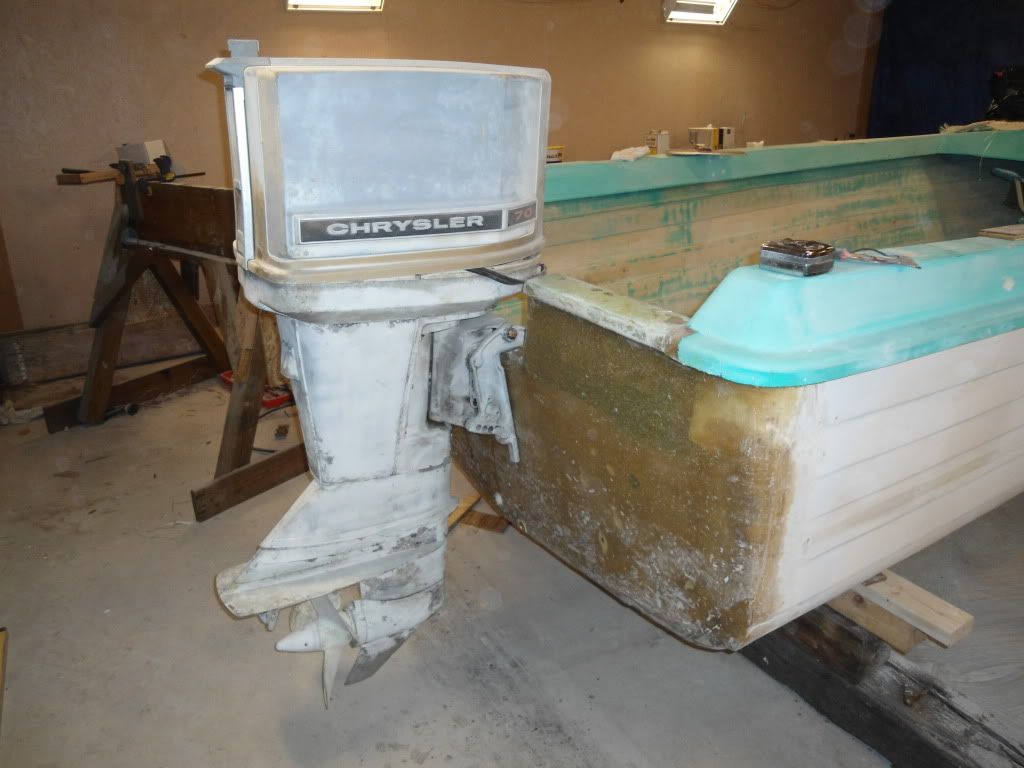
Me and my son did wrestle mania with the old O/B . I wanted to check the transom height. I hope I'm pretty close to where it needs to be. It looks like it still needs the angle to trim down some.Does this look close to right?
DSC00203.jpg

DSC00202.jpg

DSC00201.jpg

DSC00200.jpg

DSC00199.jpg
 

jbcurt00

Moderator
Staff member
Joined
Oct 25, 2011
Messages
25,057
Re: MFG rebuild getting started pics

Hey Hollywood: Good looking work! Nice work w/ the seacast video. Nice job nailing the transom height. That motor will look good after a little attention from your new paint gun.
 

Pmccraney

Lieutenant Commander
Joined
Jul 26, 2011
Messages
1,734
Re: MFG rebuild getting started pics

Looks like some has a new nickname... S.P. - loved the Seacast video - I've always heard about that stuff, but never seen it used. I am now sort of kicking myself for not using it on my curved transom that has been working me for the better part of the winter.

Keep video-ing your progress. The smurf brownies look awesome - what's next on the menu? You are doing great!!
 

sphelps

Supreme Mariner
Joined
Nov 16, 2011
Messages
11,468
Re: MFG rebuild getting started pics

Thanks gentlemen, I,m eventually gunna have to turn my attention to the O/B unless I want to install a set of oarlocks .:facepalm:

Yall look for my next movie High Glass Grinder staring SP Eastwood, go ahead make my day!!:cool:
 

jbcurt00

Moderator
Staff member
Joined
Oct 25, 2011
Messages
25,057
Re: MFG rebuild getting started pics

:cool: An action flick! Sweet!
 

GT1000000

Rear Admiral
Joined
Jul 13, 2011
Messages
4,916
Re: MFG rebuild getting started pics

Thanks for the vid, S.P. Makes pouring a seacast transom much less of a mystery...

And it looks like you nailed the engine to transom height, most excellent!

That Chrysler is gonna look nice all painted up on the finished MFG...

You guys are doing fantastic work, keep it up!

Have a great weekend!
 

ezmobee

Supreme Mariner
Joined
Mar 26, 2007
Messages
23,767
Re: MFG rebuild getting started pics

I think the motor might be a smidge low but certainly well within the mounting-hole adjustability of the motor so you're good. Nice work.
 
Top