Building a '93 Caravelle 1750 Classic Bowrider

Reserector_

Chief Petty Officer" & 2021 Splash of the Year Win
Joined
Oct 15, 2019
Messages
607
Scott, what you are saying makes perfect sense, however, this was not balsa. It was plywood.
 

Reserector_

Chief Petty Officer" & 2021 Splash of the Year Win
Joined
Oct 15, 2019
Messages
607
The back yard is soggy, so I didn't get much done on the boat.
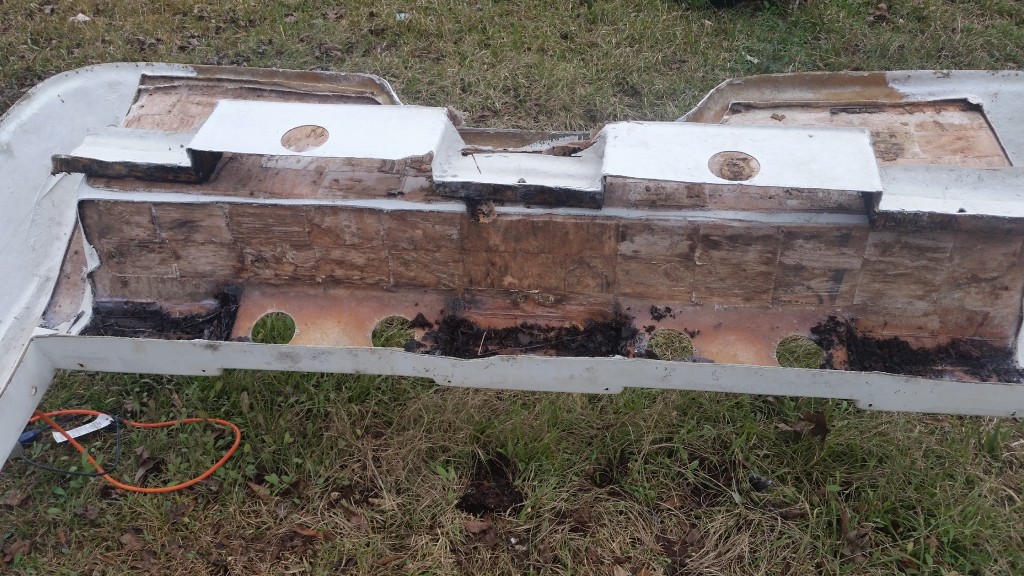
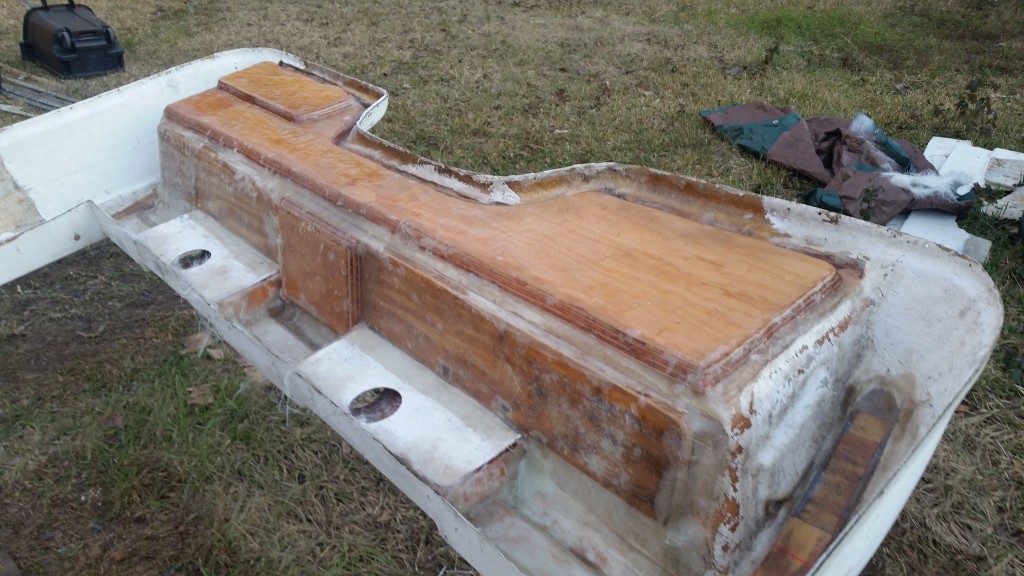
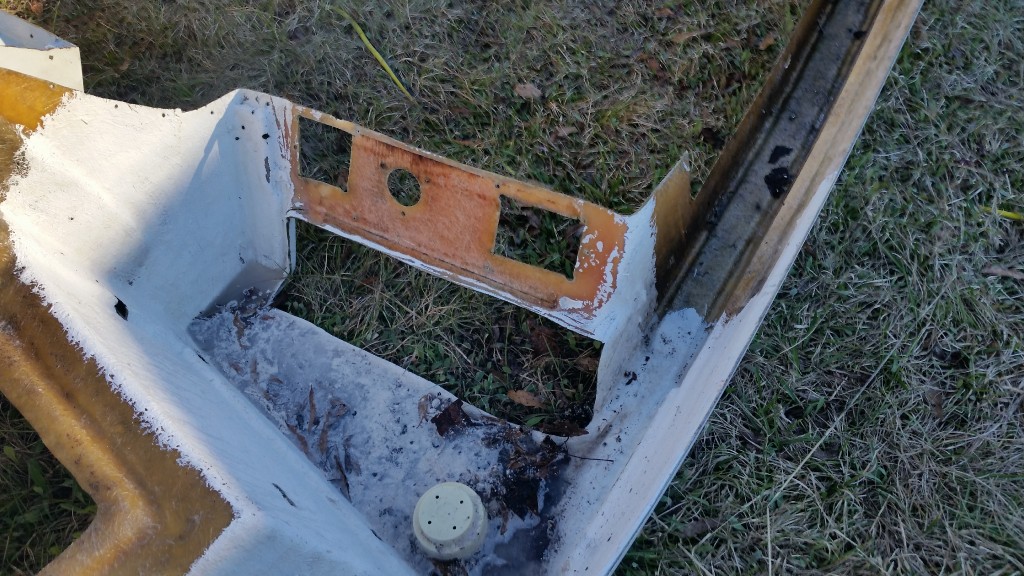
I removed some more fiberglass to expose more rotten wood. This was a really complicated area, so I'm glad I got past this hurdle.
The remaining wood literally washed away with a garden hose.

20200112_145813.jpg

20200112_145754.jpg

20200112_145005.jpg

20200112_145017.jpg
 

Reserector_

Chief Petty Officer" & 2021 Splash of the Year Win
Joined
Oct 15, 2019
Messages
607
I pulled roots out of a few places.

Oh, and I figured out the whole plywood block thing. After the gel coat, skin coat and the rest of the fiberglass schedule is laid up in a mold, the wood goes in. The glass lay-up is in the correct shape because it is still in the mold.
The last thing they need is a piece of warped plywood that would leave gaps. At a factory, there is no time to clamp wood in place and wait for the resin to kick off before covering it with more glass and resin. They need to lay glass over the wood and get on with it. Therefore, the blocks instead of a sheet.
The blocks of wood as core material are plenty strong in that application. Let's say that Scott is right, and balsa is cheaper. Well maybe that was not the case in 1993. Or maybe they ran out and had to improvise.

Since the cap is no longer in the mold, I need to use a very flat piece of ply to control the shape. I have no choice but to use a large piece, clamp it in place and wait.
For the places down lower that I don't have to control, I have the option of using smaller pieces as core.
 
Last edited:

kcassells

Fleet Admiral
Joined
Oct 16, 2012
Messages
8,715
Pre glass it first, flat work is so much easier. Drop it in the pb, clamp or screw then just tab it in.
 

Davetowz

Petty Officer 1st Class
Joined
Sep 19, 2012
Messages
227
It depends on the tongue weight. I pull a motorcycle trailer behind the camper with no problems at all. Can't tell it's back there. I never weighed it, but I estimate it to be just over 1,000 lbs with 100 lbs on the tongue. The boat will be closer to 3,000 with about 300 on the tongue. Not sure. That's why I weighed the empty trailer. Always thinking ahead.
The truck can pull it. I just don't want to over tax the frame.

[IMG2=JSON]{"data-align":"none","data-size":"full","src":"http:\/\/photos.reserector.com\/images\/20190726_151641-640x360.jpg"**[/IMG2]

The tag axle has electric brakes. It helps with stability and stopping.

That truck looks like something I would build, F'n Tag
axle... are we separated at Birth?
 

Davetowz

Petty Officer 1st Class
Joined
Sep 19, 2012
Messages
227
Yea I said the same thing on my first boat...:D And now on this boat.

I have said the same on 3 boats now. My last request was; just give me a friggin viking funeral, hell... burn up a bayliner if you can find one floating...:)
 

Davetowz

Petty Officer 1st Class
Joined
Sep 19, 2012
Messages
227
Just saw your build thread. Motivating... Taking an old boat from a garden to a usable boat! Not sure where you are located , but I pulled a 3.0 OMC from my current boat, cobra drive . all of it. Might be willing to trade it off for a good cup of coffee.Going 5.7 merc .. don't need any of the 3.0... You are pretty far along to modify into a dual 3.0.... but glass is cheapish... :)
Keeep building, notice the negative posts in the beginning kinda dwindled out... Loving the truck also!
 

Reserector_

Chief Petty Officer" & 2021 Splash of the Year Win
Joined
Oct 15, 2019
Messages
607
Not sure where you are located , but I pulled a 3.0 OMC from my current boat, cobra drive . all of it. Might be willing to trade it off for a good cup of coffee.Going 5.7 merc .. don't need any of the 3.0...
I may take you up on that if opportunity allows. I'm in Laurel, Mississippi... only 774 miles from Columbus, OH. It could happen.
 

Reserector_

Chief Petty Officer" & 2021 Splash of the Year Win
Joined
Oct 15, 2019
Messages
607
The seemingly endless rains have finally ended. The back yard (my work area) is mush. Too cold to lay glass.
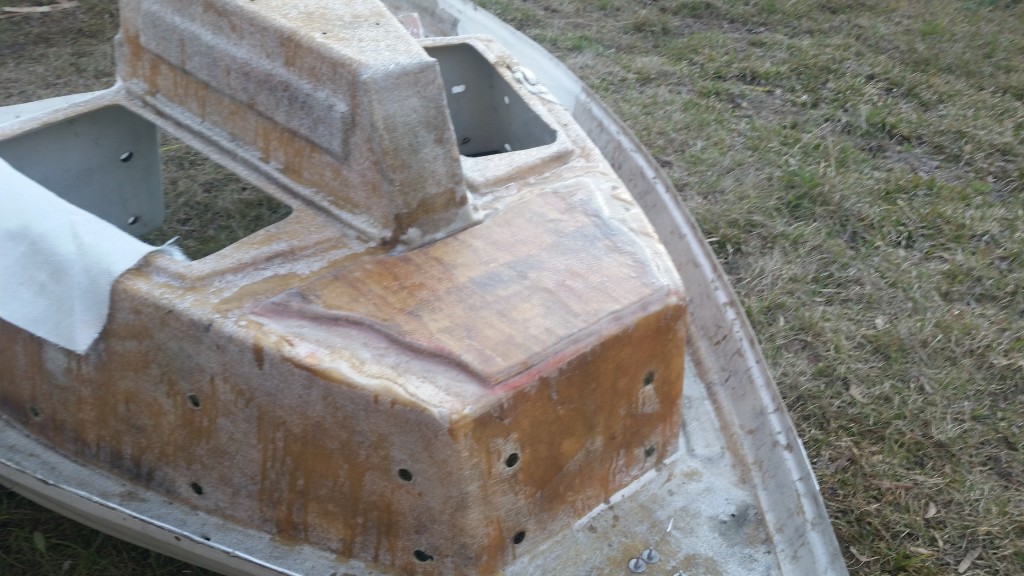
So I donned the bunny suit once more and accepted my fate. It was time to grind on the cap.
It had to be done, and I'm glad that one more awful task is behind me.
If the weather stays cold, I can cut all of my wood for the cap. Some of this will likely be time-consuming.
I really want to stick with building the structure before going through the mechanical, but through the winter I'll settle for any gains.

20200119_160950.jpg

20200119_161022.jpg

20200119_160941.jpg

20200119_160931.jpg
 

Reserector_

Chief Petty Officer" & 2021 Splash of the Year Win
Joined
Oct 15, 2019
Messages
607
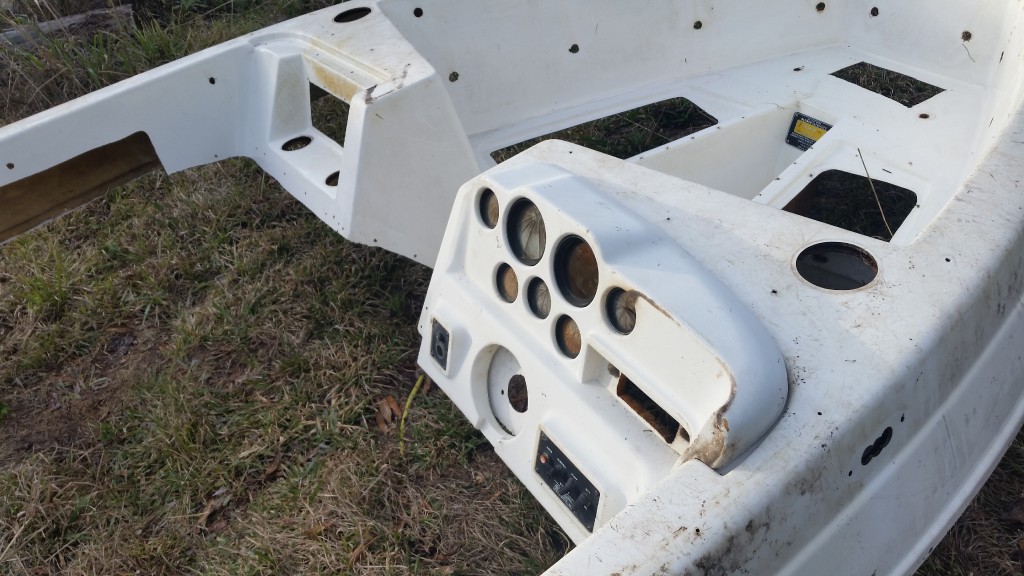
Last weekend was almost a bust. Had to catch up on other jobs. I only managed to look it over, plan, remove cup holders, and test fit the instrument panel. I'm so glad I have that panel and that it is in good condition.
20200125_160506.jpg

20200125_160525.jpg


This weekend was cold on Saturday, so I spent the afternoon cutting and fitting my plywood parts.
20200201_134358.jpg

20200201_134344.jpg

20200201_145219.jpg

20200201_145242.jpg


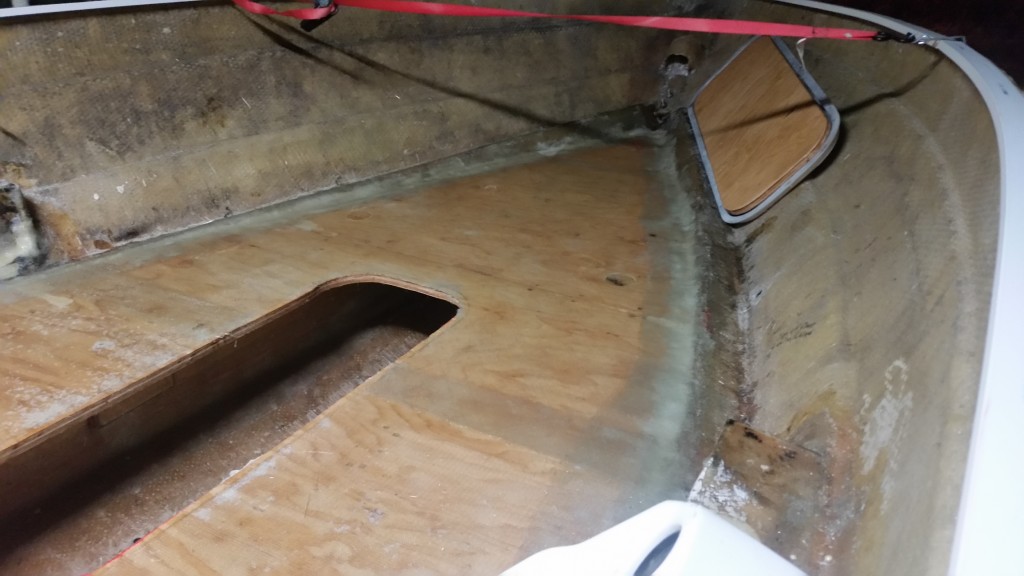
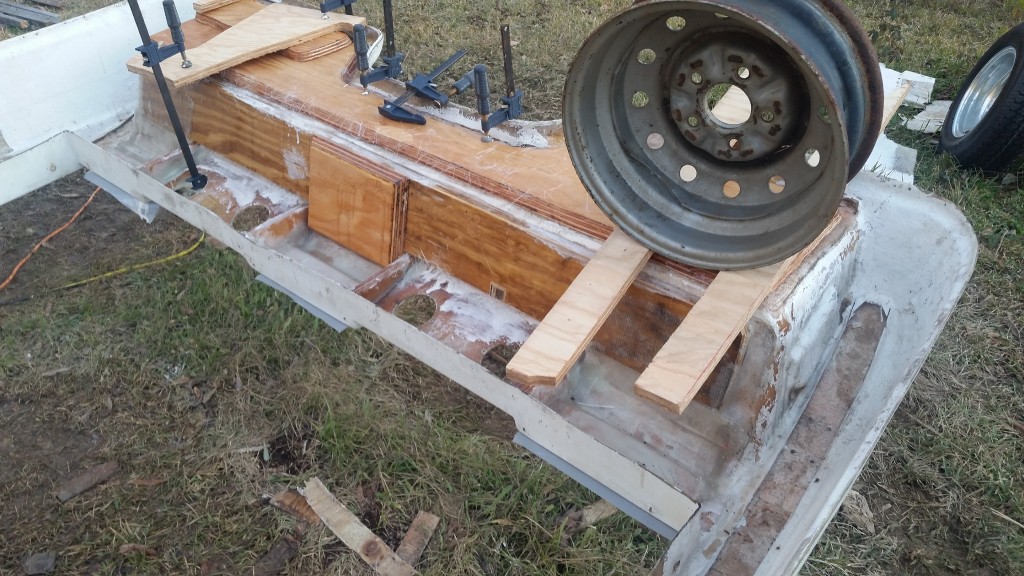
Sunday was gorgeous and 70° or more. All my Saturday prep paid off. I was able to get much of it glued in and glassed except for the biggest pieces at the rear because it was getting dark before the clamps could come off.
That's when I switched on the light over the hull, and finished glassing the front of the floor. (Finally).

20200202_170020.jpg

20200202_175600.jpg

20200202_165958.jpg

20200202_165938.jpg


One more warm day, and I can finish the structural work with the exception of seat pedestal pads. I can't place the plywood bases until the cap is on, steering wheel is in place, and I can determine where the seats need to be.
I still have a little more wood to cut, and I can start buffing the rest of the gel coat. Good cold weather work.
I got my carb kit, so I even have some garage work lined up in case the weather is really bad. This project is moving forward no matter what! LOL
 

archbuilder

Vice Admiral
Joined
Sep 12, 2009
Messages
5,697
Looks like you are making good progress! I am glad you had warm weather. We are supposed to be 70 today, snow on Wednesday, lol!
 

Reserector_

Chief Petty Officer" & 2021 Splash of the Year Win
Joined
Oct 15, 2019
Messages
607
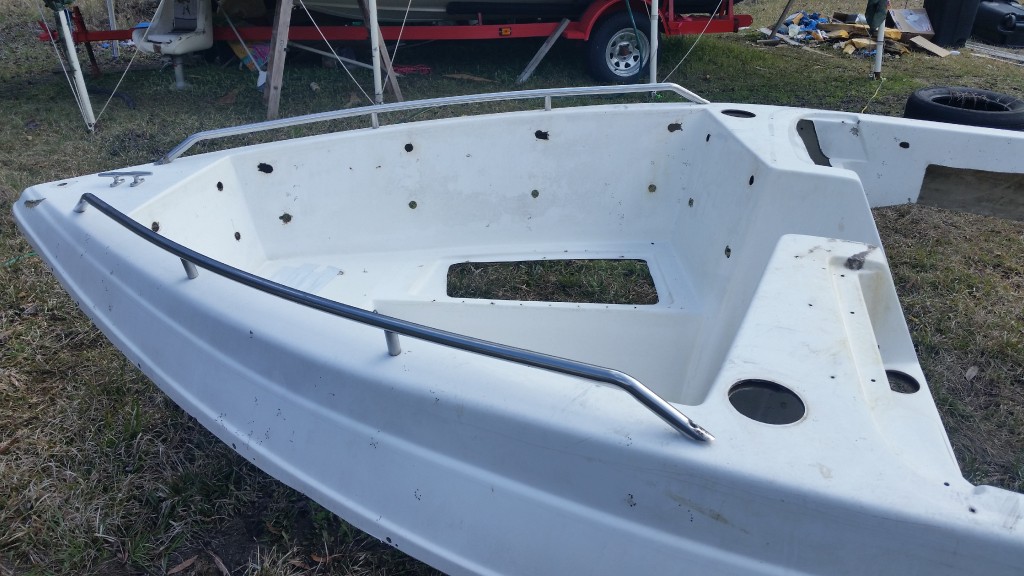
It was chilly Saturday morning, so I test-fitted the bow rails. I knew I was missing the spacer tubes, so I had ordered a piece of tube that was slightly smaller in diameter than the rails, so it would inset a bit. I've had that for a couple months, now.
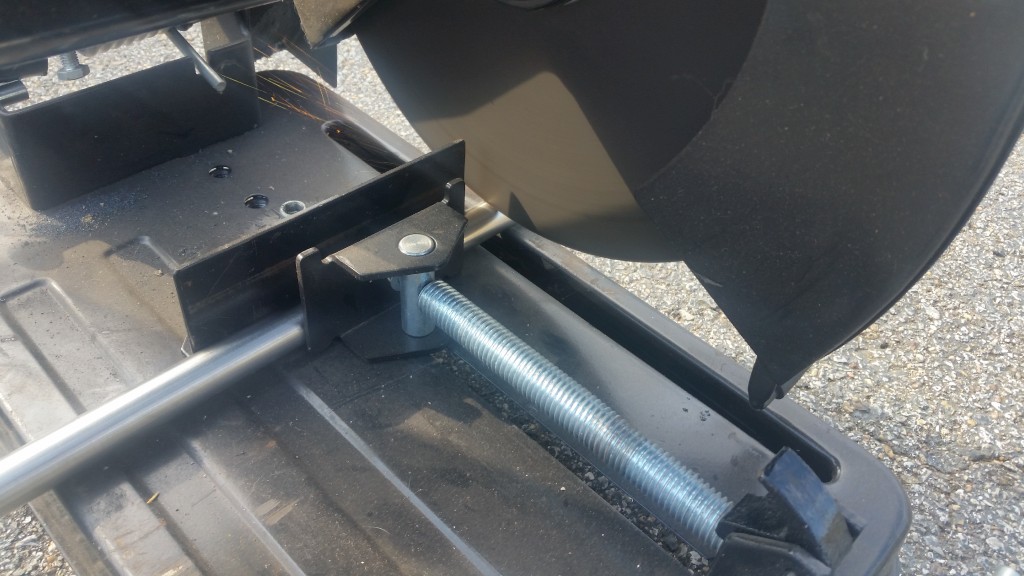
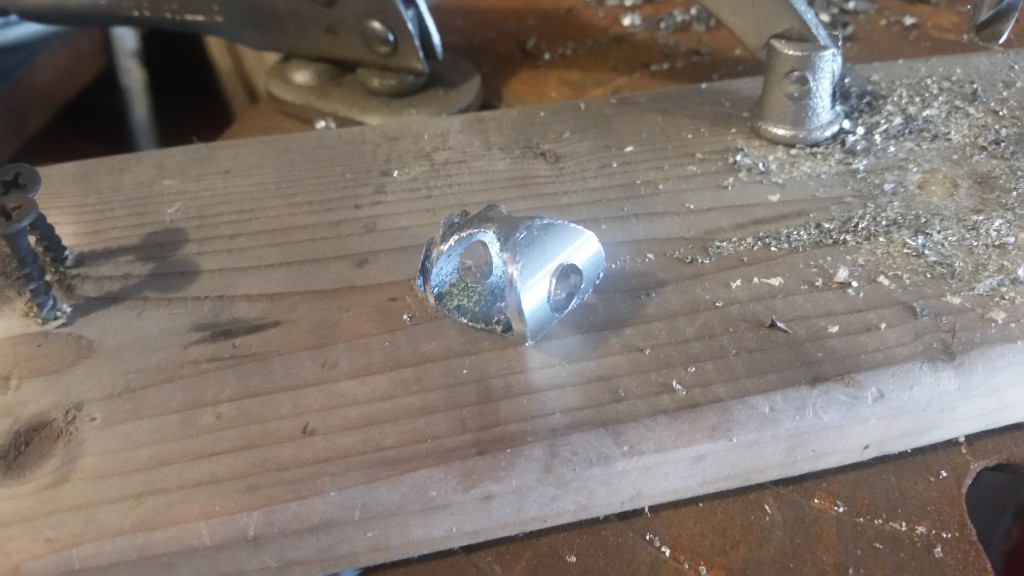
After determining the length from the bottom of the rail to the top of the deck, I set up the drill press with a 7/8 hole saw to
​​​​​​cut the fish mouth in the 3/4 inch tubing. Straight cuts were made in the chop saw.

A little deburring, a test fit, some filing and they were ready to go. Now all I need are the nuts and washers which I can pick up locally.

20200208_101248.jpg

20200208_101629.jpg

20200208_100342.jpg

20200208_110129.jpg

20200208_110142.jpg


After lunch it was warm enough for resin to flow, so I got the rest of the wood and glass done except a few tabs. That includes the dash "board". I made that stronger than factory because I want a rigid mount for the steering.

20200208_171512.jpg

20200208_171456.jpg

20200208_171555.jpg

20200208_171439.jpg

20200208_171422.jpg

20200208_171446.jpg


On Sunday afternoon, I tidied up some loose ends, and slathered on the gel coat. I forgot to take pictures before flipping it, so I did the best I could.

20200209_165039.jpg

20200209_165122.jpg

20200209_165045.jpg
 

Reserector_

Chief Petty Officer" & 2021 Splash of the Year Win
Joined
Oct 15, 2019
Messages
607
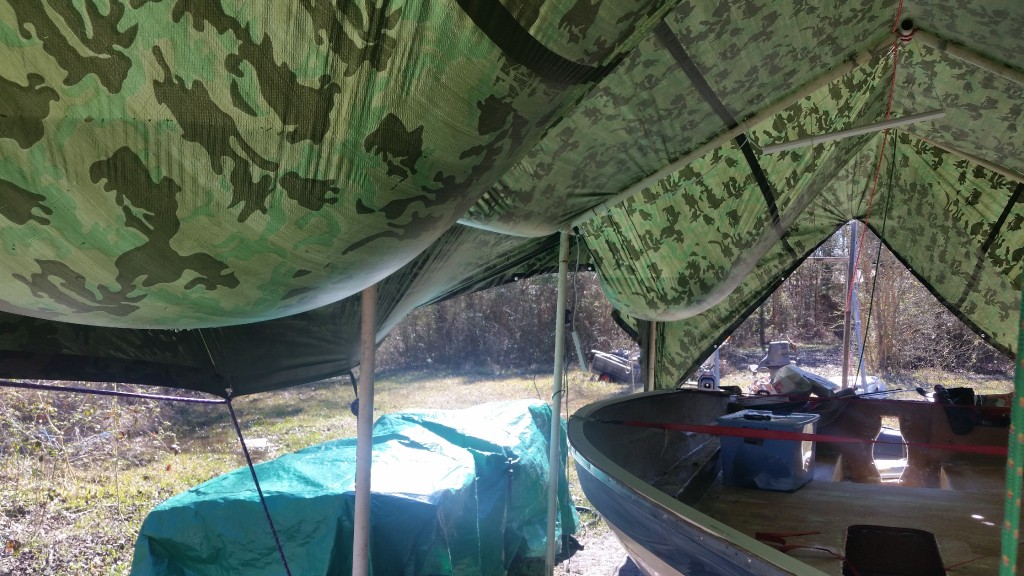
This weekend started with a surprise. I walked out to my temporary boat enclosure to find a scary amount of rainwater collected in the tarp. I had to siphon most of it off before I could push the rest off and reset the ropes.

20200215_105737.jpg


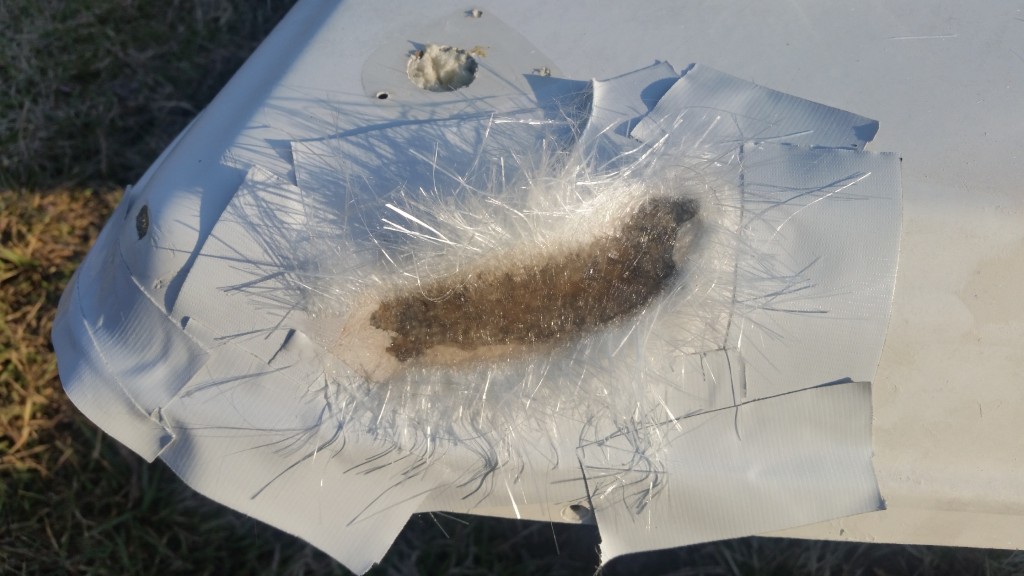
Saturday was warn and sunny. I set to work on a nasty gouge on the bow. It was not weak, though. Merely cosmetic. So I didn't go overboard with tapering the edges of the wound.
​​​​​
I ground away the cracks and loose material, cleaned with acetone, and taped around the area.

20200215_153454.jpg

20200215_154903.jpg


I tore pieces of chopped strand mat, and layered them up, trying to stay below the final shape to leave room for a good gelcoat layer.

20200215_161148.jpg


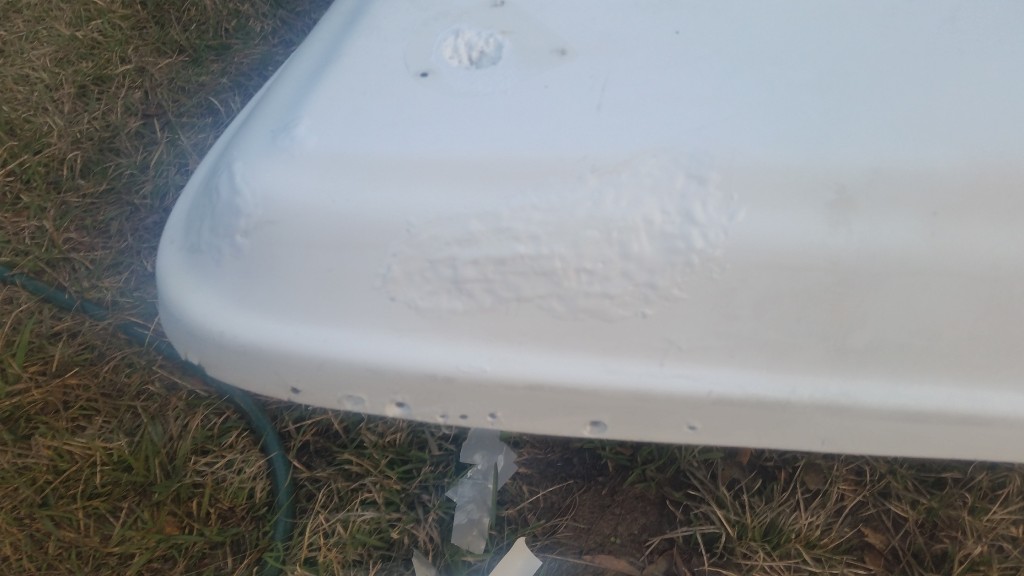
I missed a picture after grinding, so we pick back up after grinding the fuzz off and building a layer of gelcoat.
20200215_172743.jpg


To keep it from sagging and building too high, i layed a piece of a shopping bag on it with the printed side out. That kept it in place and also allowed me to " strike" it like concrete in a form.

20200215_173018.jpg

20200215_173007.jpg


Each time I had to wait for resin to cure, I was cleaning the rest of the cap. I had to go all the way to 500 wet in order to scour through the oxidation and stains.

Sunday was cool and misty, so all I could do was wet sand some more. I finished going over everything with 500, and hit one area with compound and the electric buffer. It was raining, so I couldn't tell how effective that was yet.
But for the first time, it is CLEAN!

20200216_161008.jpg


I peeled the plastic off, (it comes right off, in case you were wondering) and block sanded with 220 wet. It revealed a high spot that I'll have to grind down before the next layer of gelcoat can go on.

20200216_121711.jpg


20200216_153137.jpg
 
Top