Building a '93 Caravelle 1750 Classic Bowrider

Reserector_

Chief Petty Officer" & 2021 Splash of the Year Win
Joined
Oct 15, 2019
Messages
592
I fell Thursday night while roller skating. Pretty sure I fractured my wrist. Between that and days of cold and rain, I didn't think I would get anything done this week. With extra days off for Christmas, I was losing time that I should have been gaining.
But if I've learned anything in my 56 years, it is that my plans are seldom the plan that gets approved, if you know what I mean. So in times like this, you roll with it and wait to see how things shake out.
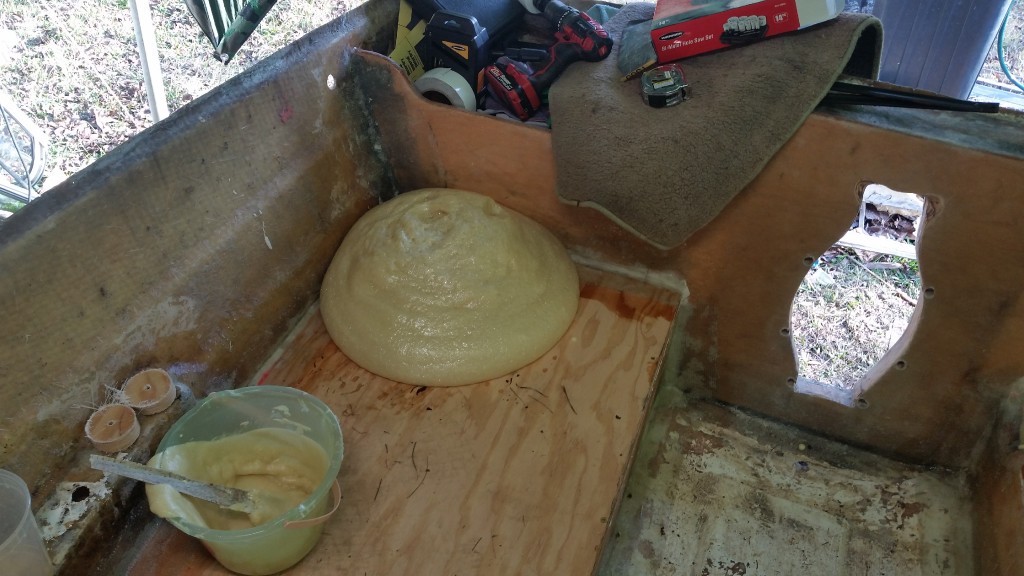
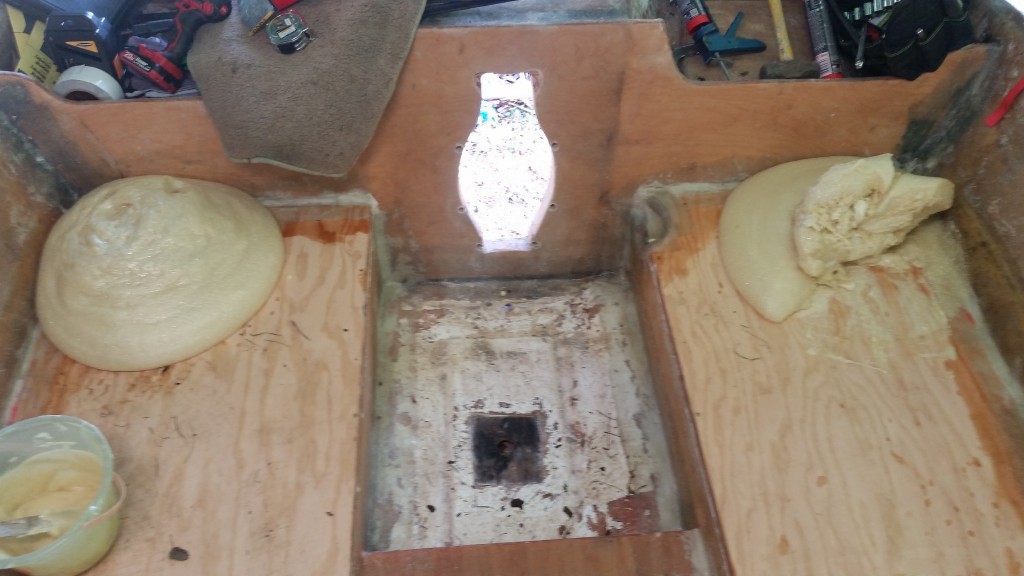
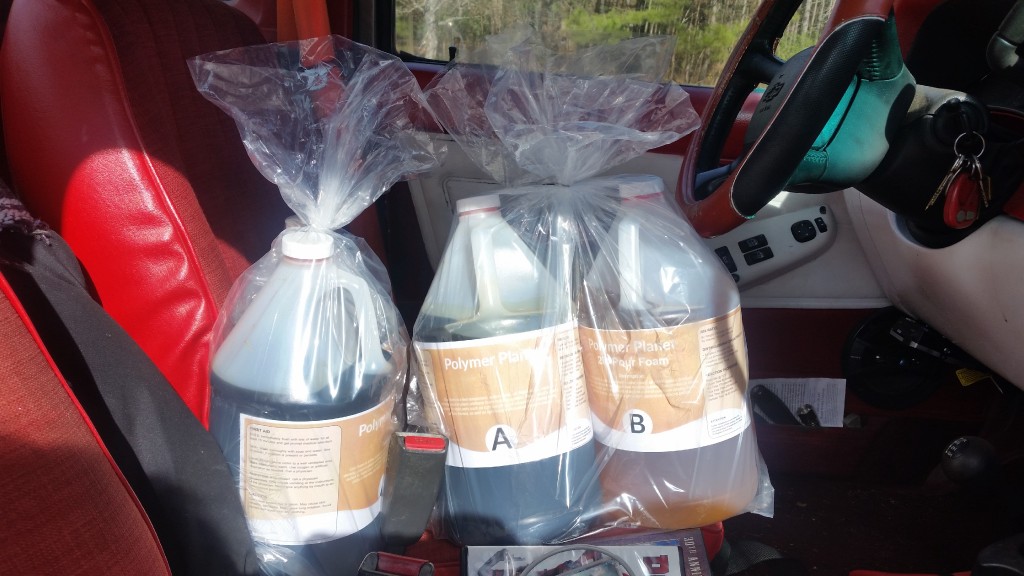
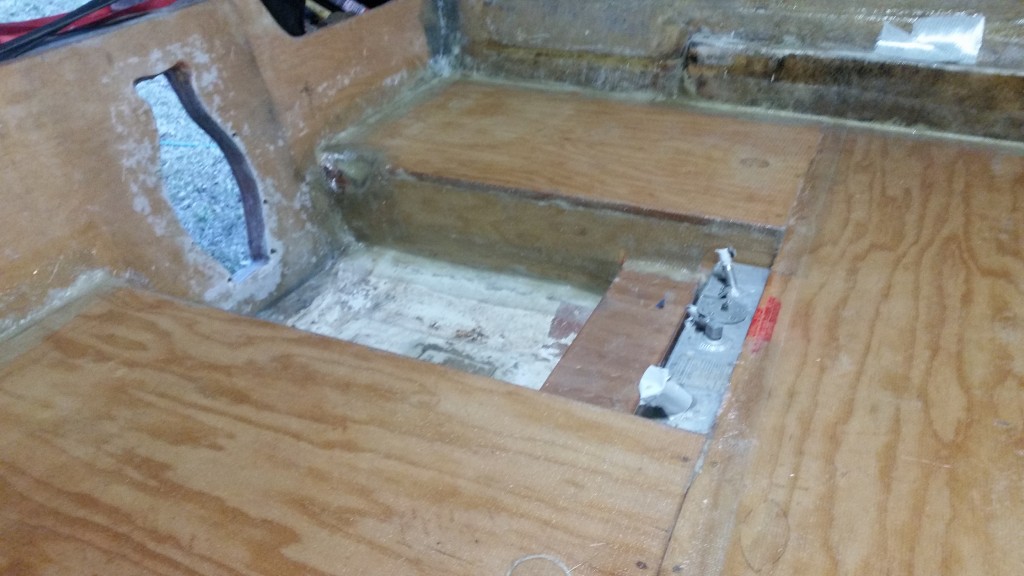
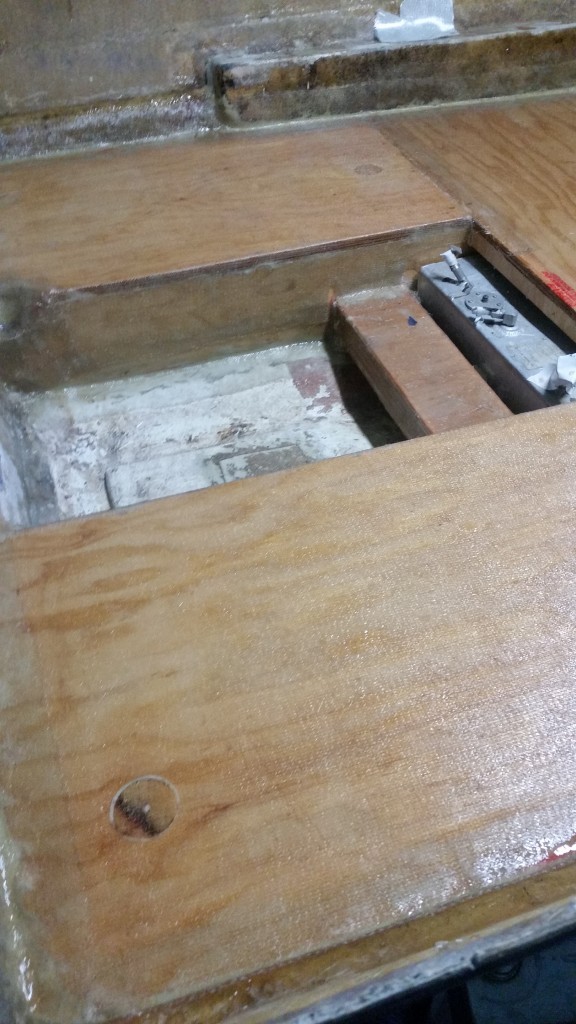
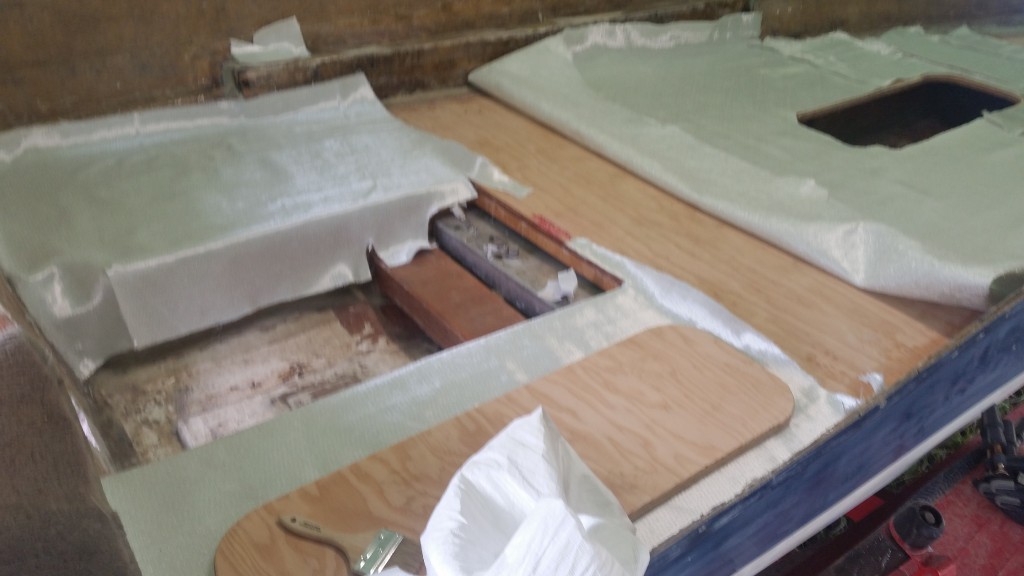
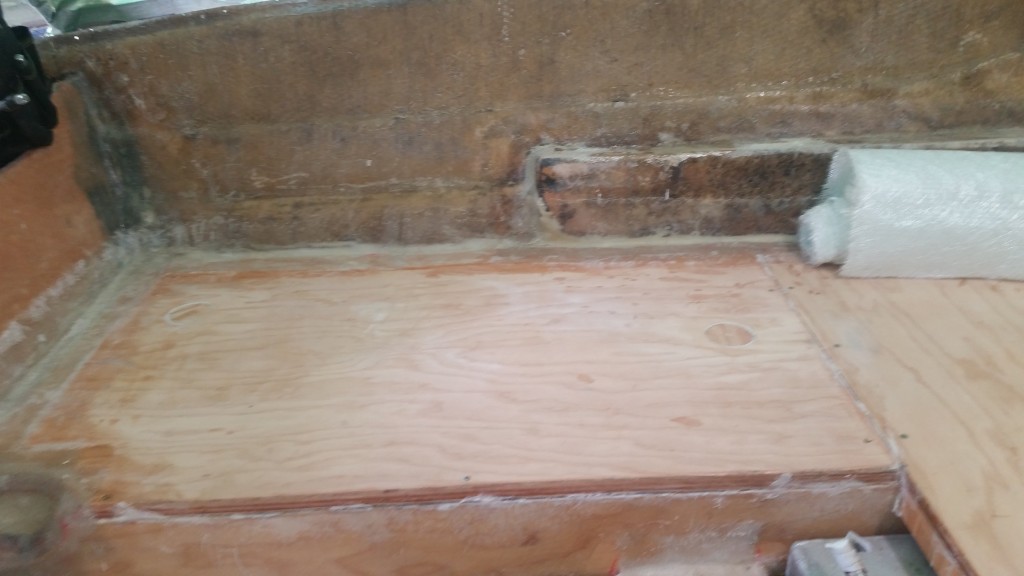
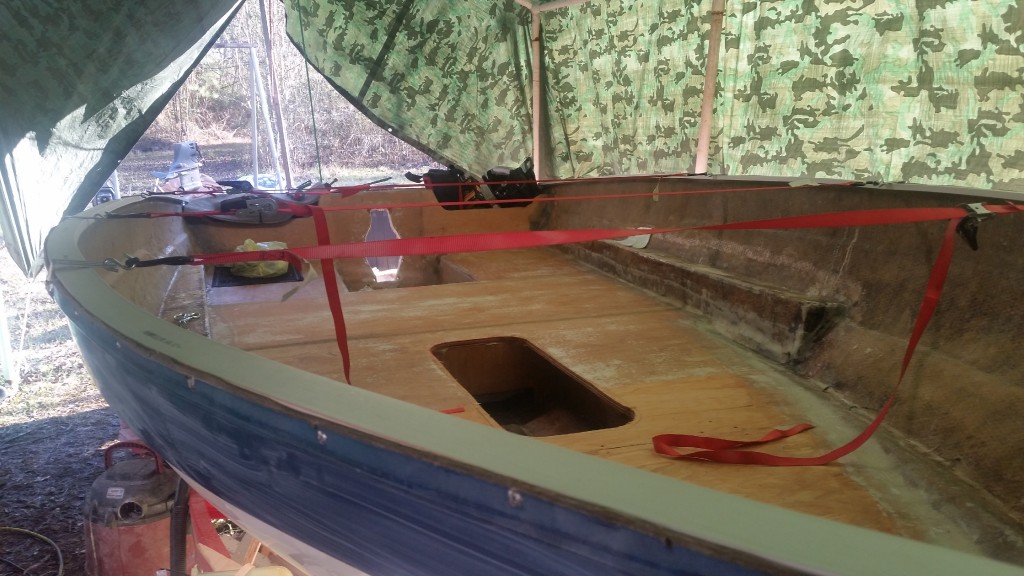
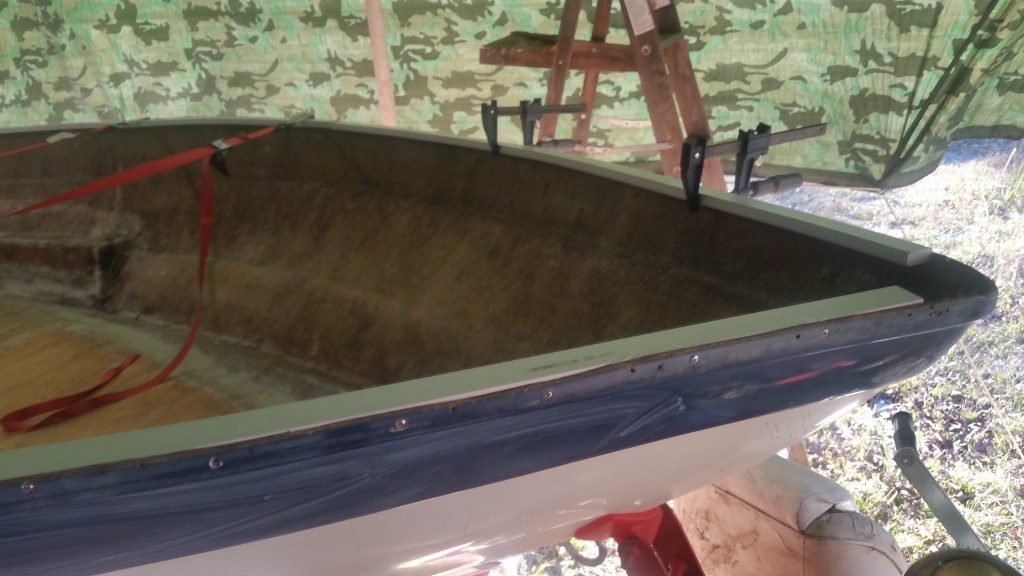
We'll things shook out today. It was perfect weather for pouring flotation foam in the boat, so that's what I did.
It was stressful and fun at the same time.

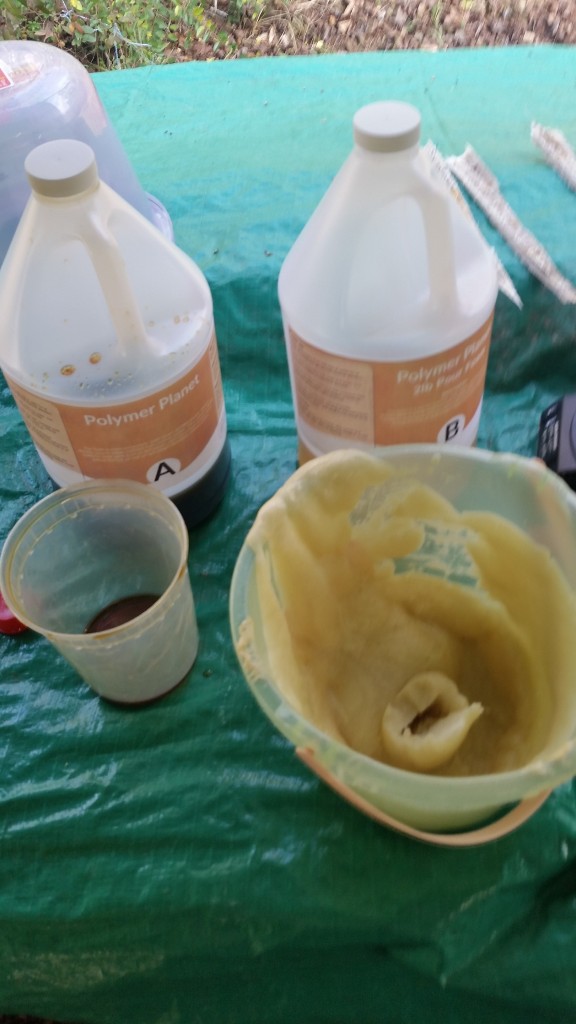
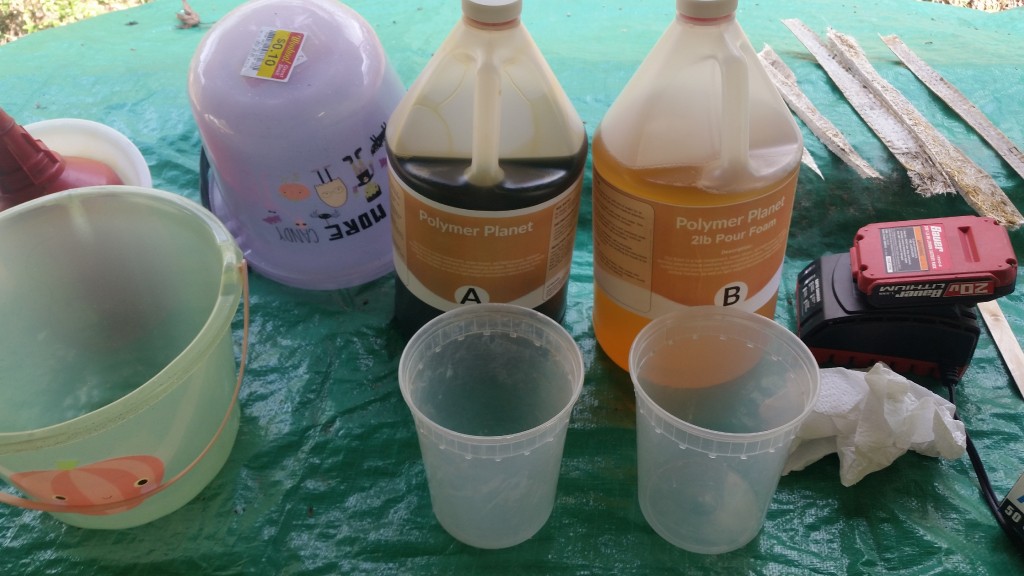
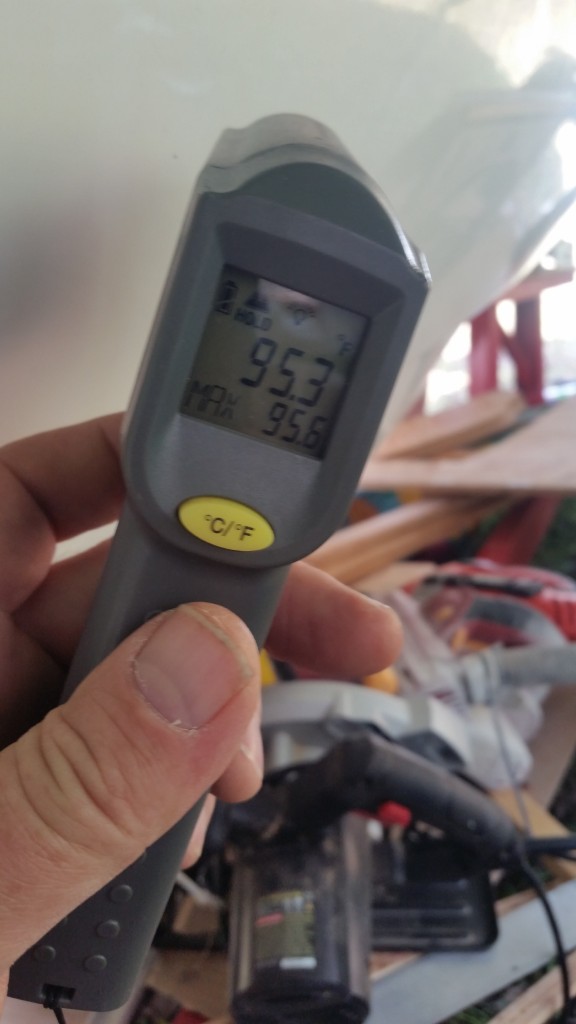
I pre-warmed the liquid in the cab of my truck, which was in the sun.
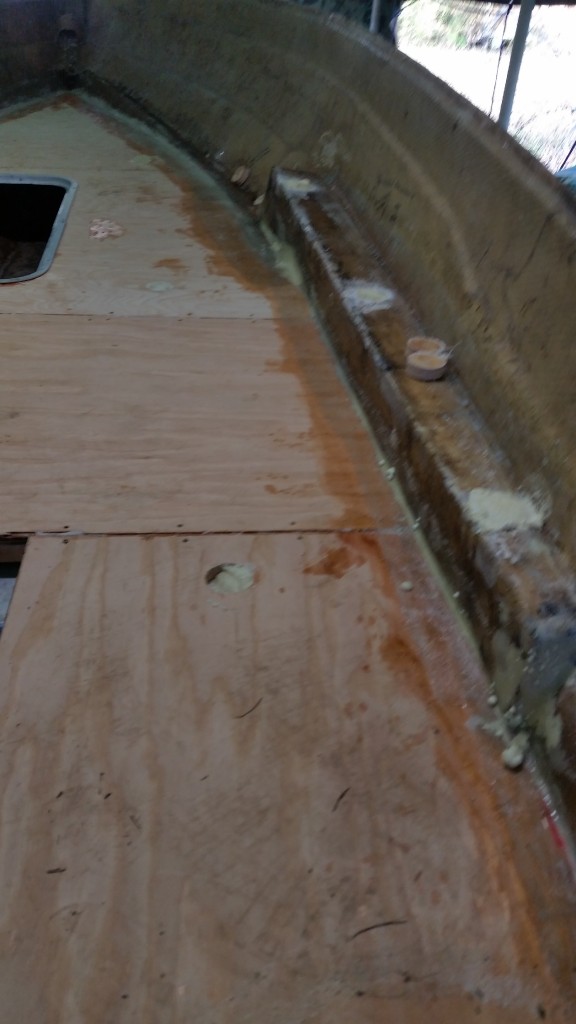
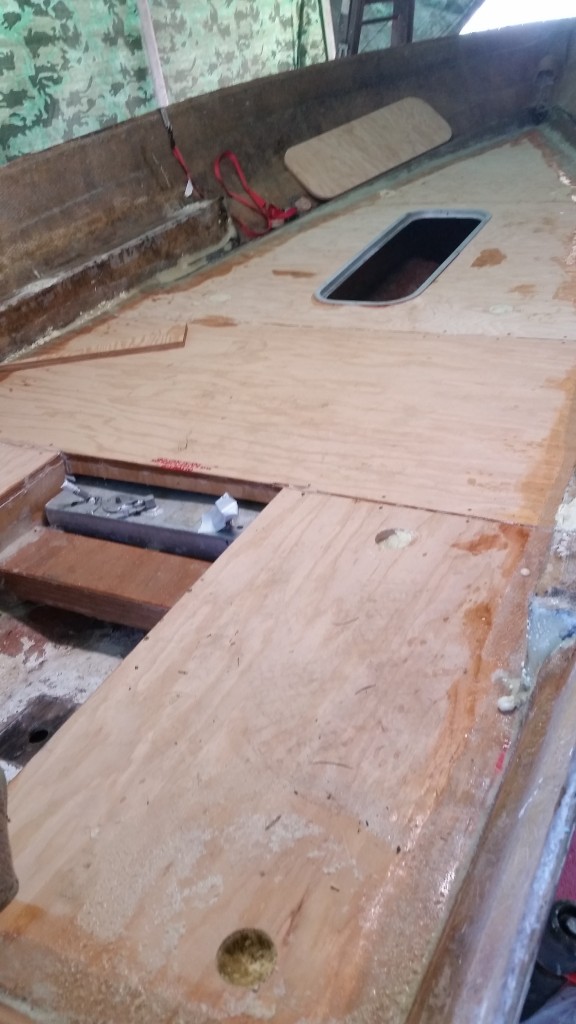
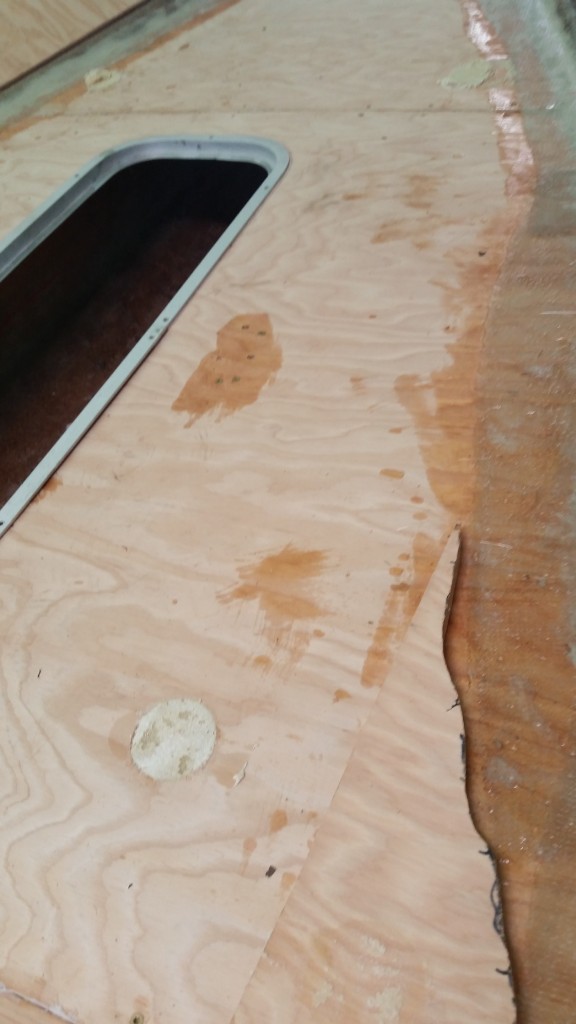
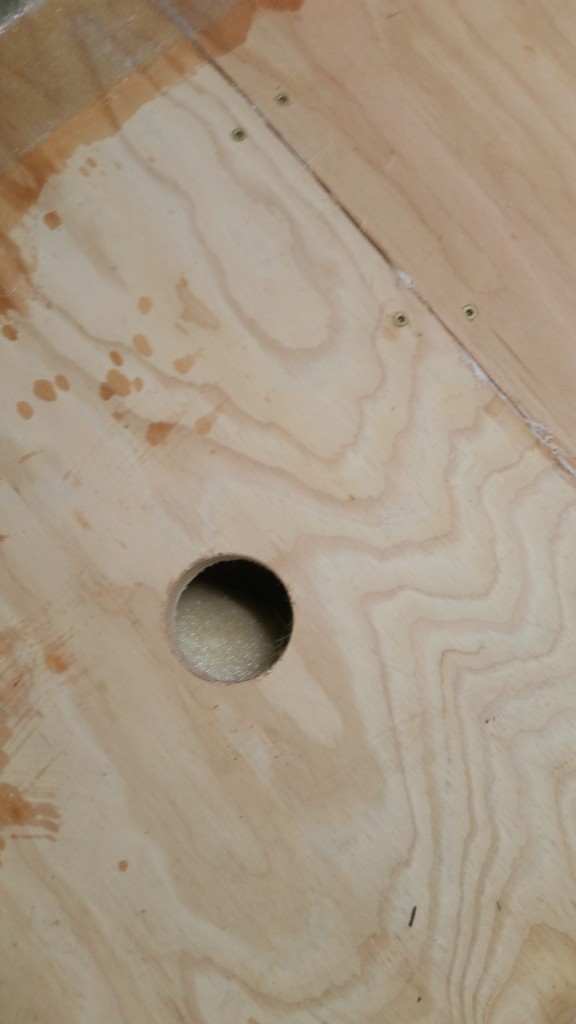
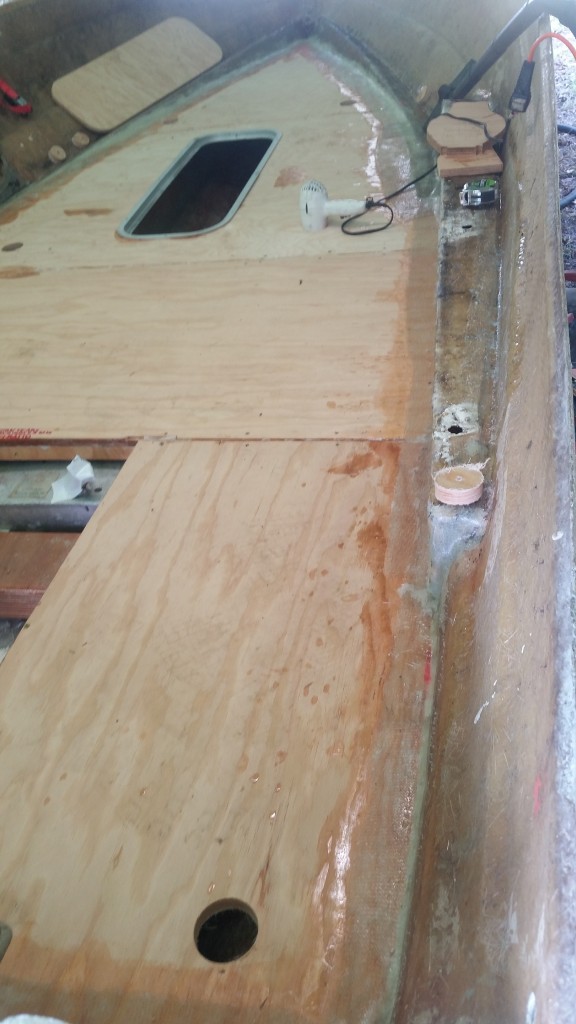
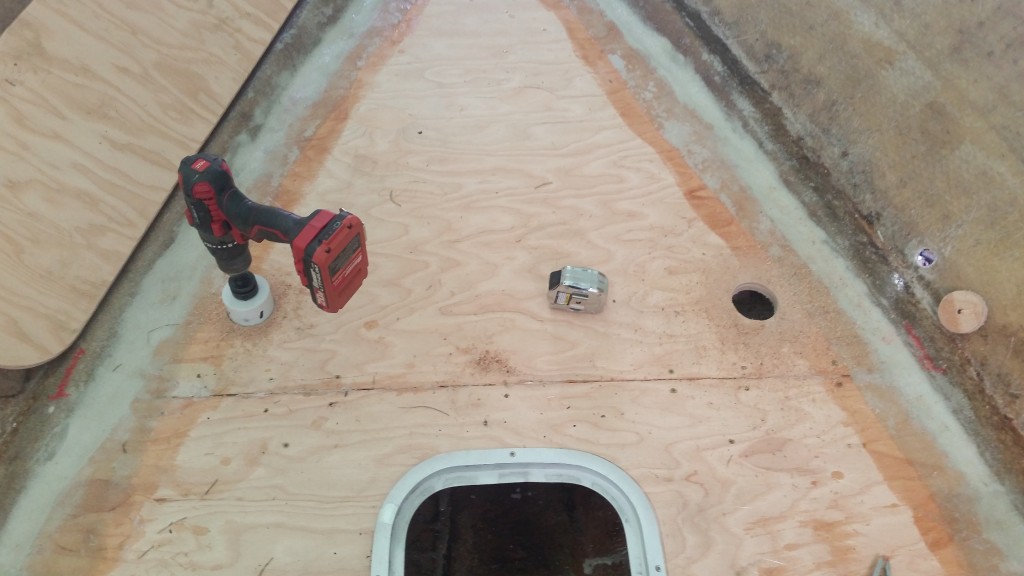
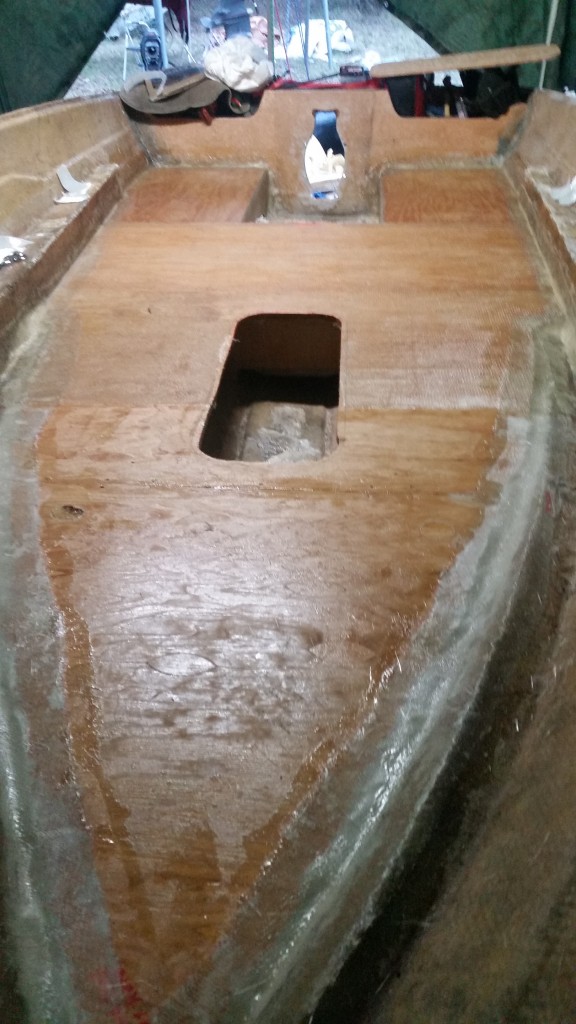
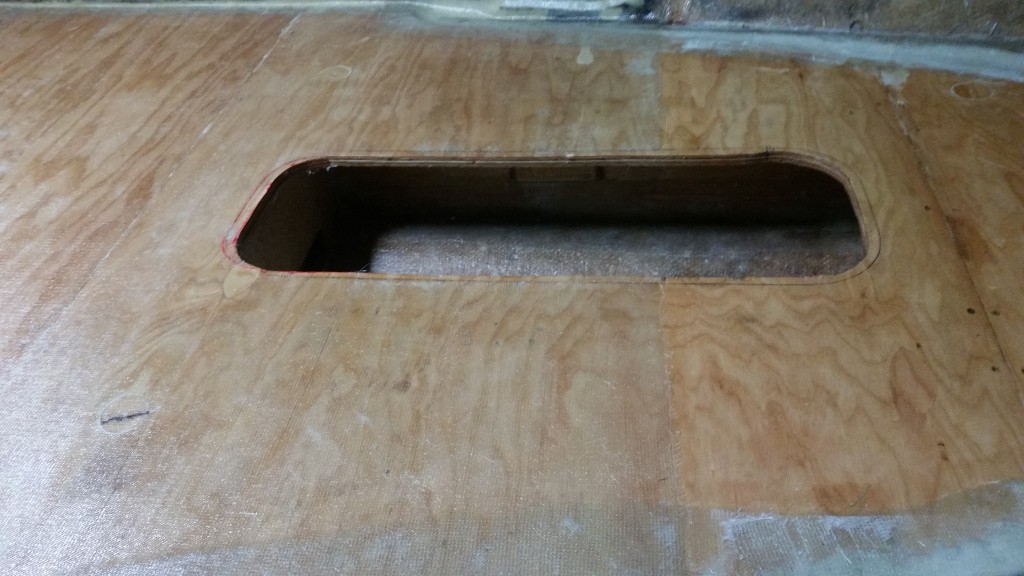
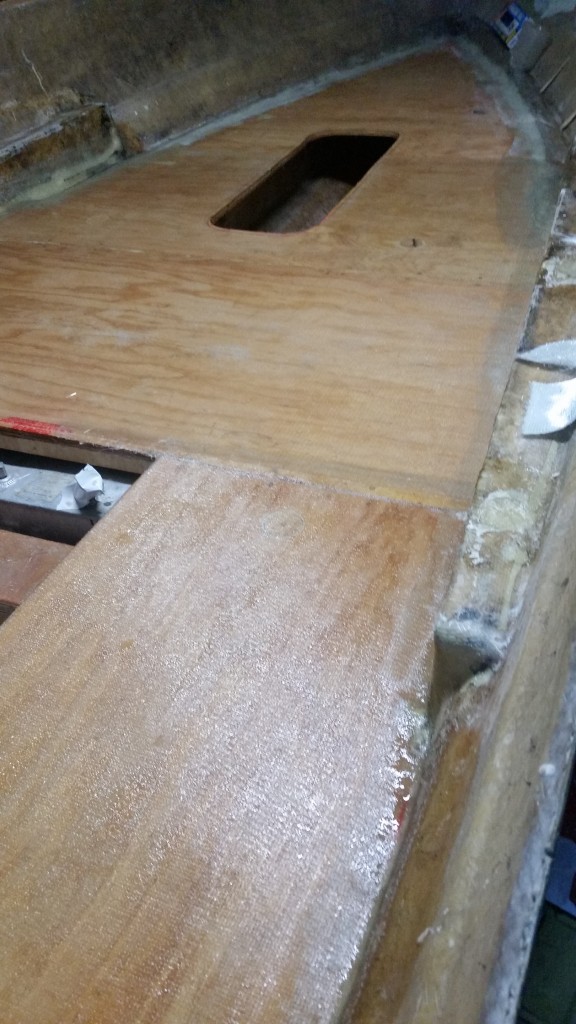
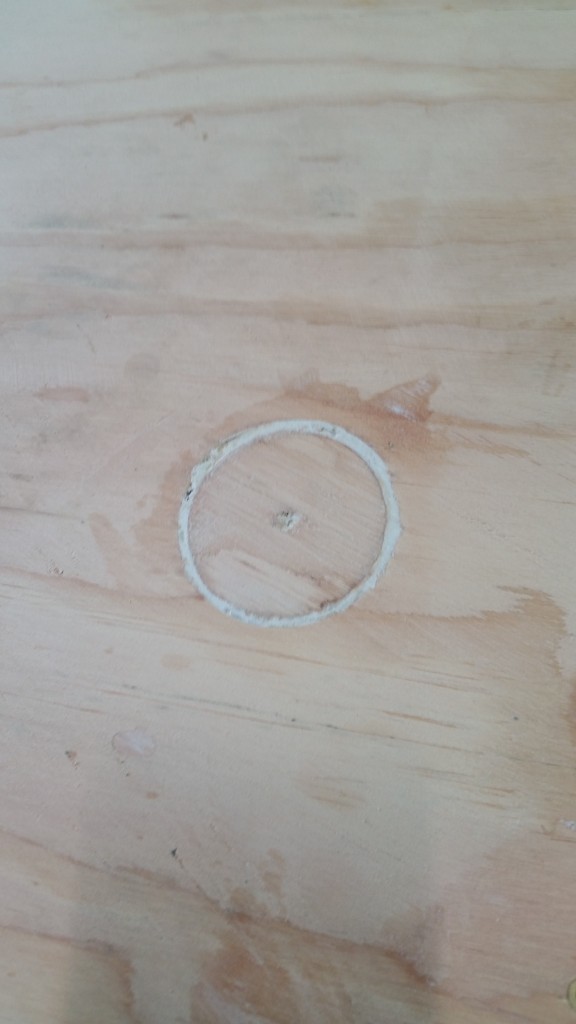
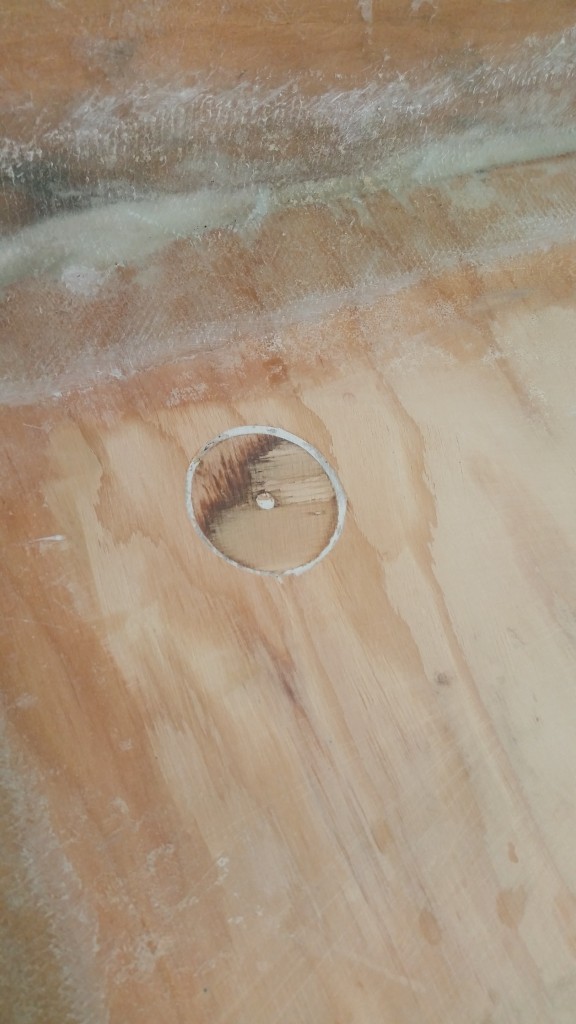
I made my holes big enough to stick a blow dryer in. That's how i pre-heated the hull and floor.
The extra warming made the foam kick off big and fluffy. I was thrilled with the expansion. One 4 gallon kit is enough! I have two small places yet to do once the cap is on, and there is enough left to do those.
Photos are in reverse chronological order, and I'm tired. So please scroll to the bottom and work your way up.

20191224_155016.jpg

20191224_155007.jpg

20191224_145604.jpg

20191224_145542.jpg

20191224_140246.jpg

20191224_140239.jpg

20191224_130249.jpg

20191224_125255.jpg

20191224_124530.jpg

20191224_124727.jpg

20191224_113821.jpg

20191224_121906.jpg
 

kcassells

Fleet Admiral
Joined
Oct 16, 2012
Messages
8,600
Looks Great! Sorry to hear bout da wrist. Roller skating???? Time to put those bad boys back in the closet.
Yea I got a kick out of pouring the foam.
Have a Great Christmas!
 

Reserector_

Chief Petty Officer" & 2021 Splash of the Year Win
Joined
Oct 15, 2019
Messages
592
Not much boat progress this weekend, but progress nonetheless. At least I finally got a haircut...and picked up a small tractor that I was supposed to get last spring.

I used a soft wire cup wheel and a belt sander to clean the floor and tabbing of stray foam.
Used a router to clean out the foam holes, sealed them with resin, and then plugged them with peanut butter and the plywood plugs. Just need to slick them off with the belt sander before glassing the floor.
The holes in the flotation boxes were ground flush with the belt sander and sealed with csm.

I removed the gimbal housing again and finished sealing the opening with csm. Did some other little finish items.

Next: glass the floor. Hoping to do this on New Years Day.

​​​​​
20191229_181351.jpg

20191229_181318.jpg

20191229_181339.jpg
 

froggy1150

Master Chief Petty Officer
Joined
Nov 3, 2017
Messages
803
Something I stumbled across when I was doing my deck. When I glued the pucks in I had minute pinholes around the edge in a spot or two . Very small. When I started laying deck glass I got big bubbles that I couldn't get rid of. Thank God I started on the smaller piece. Went back and coated the rest with resin pushing it in all the crevasses. Don't know if it was a reaction or just air from the heat but didn't happen after.
 

Reserector_

Chief Petty Officer" & 2021 Splash of the Year Win
Joined
Oct 15, 2019
Messages
592
Thanks for that. I already dribbled some resin in a few pinholes. There's a good chance there will be more after I belt sand them. I'll be sure to seal them before I go to the next step.
I need to lay it into the joints as well.
 
Last edited:

tpenfield

Moderator
Staff member
Joined
Jul 18, 2011
Messages
17,711
Something I stumbled across when I was doing my deck. When I glued the pucks in I had minute pinholes around the edge in a spot or two . Very small. When I started laying deck glass I got big bubbles that I couldn't get rid of. Thank God I started on the smaller piece. Went back and coated the rest with resin pushing it in all the crevasses. Don't know if it was a reaction or just air from the heat but didn't happen after.

This makes me think the the 2-part foam ‘out gases’ for a few days after it is poured. Something to keep in mind during the rebuild.
 

Reserector_

Chief Petty Officer" & 2021 Splash of the Year Win
Joined
Oct 15, 2019
Messages
592
I had given a lot of thought to cutting tapered holes with the jigsaw set at 30° or more. Might have been tricky drilling the starting hole, but a tapered plug cannot fall into its hole, and better yet, would be easier to set back in place with PB.
The problem with the straight plugs is keeping the PB spread evenly on the sides where you need it. That, and sealing the pilot hole in the middle.

Thought about it. Didn't do it. :(
 

kcassells

Fleet Admiral
Joined
Oct 16, 2012
Messages
8,600
Millions of ways to do it. I think your approach was right on the money.
Oh....thats what I did lol.!
 

Reserector_

Chief Petty Officer" & 2021 Splash of the Year Win
Joined
Oct 15, 2019
Messages
592
The weather was good enough to roll out some resin, but I had to be sure to hit my window or it would be too cold.
I sanded down the plugs, vacuumed the floor and pre-cut my 1708. That's when I realized I was not going to have enough 1708. However, it was enough to make a serious dent in the project. So I hit my marks and did what I could. I ran out of cloth and resin at the same time. (9 gallons so far.)

20200101_163010.jpg

20200101_162943.jpg

20200101_162926.jpg

20200101_162910975f6fd99c9b9ed1.jpg

20200101_162903f3a7f7435c51f768.jpg

20200101_162910.jpg

20200101_162903.jpg

20200101_140533.jpg

20200101_130907.jpg

20200101_130859.jpg

20200101_130842.jpg


Here are some pictures from today.
 

Reserector_

Chief Petty Officer" & 2021 Splash of the Year Win
Joined
Oct 15, 2019
Messages
592
You know it! The only thing that has any "give" is the sides where it will join the cap. It is a loooog way from where I started.
 

Reserector_

Chief Petty Officer" & 2021 Splash of the Year Win
Joined
Oct 15, 2019
Messages
592
Still waiting for cloth and resin, so I guess I will start removing rotten wood from the underside of the cap tomorrow.

All I did today was install the firring strips along the edges of the hull.
Original was 1" wide strips of 5/8" plywood. I decided to use 1 1/2" x 3/4" PVC on edge. These come in 12' lengths. The ss screws bite easily and grip tightly. PVC curves smoothly without relief cuts, and will not crack or split. Can't rot, either.
This might be a good place to attach my wiring and control cables to when I get to that point.

20200104_152819.jpg

20200104_152807.jpg
 

kcassells

Fleet Admiral
Joined
Oct 16, 2012
Messages
8,600
Neat application. Looking good. What if any adhesive will you use to secure cap to pvc?
 

Reserector_

Chief Petty Officer" & 2021 Splash of the Year Win
Joined
Oct 15, 2019
Messages
592
The cap fits over the hull "shoebox style". Screws will then go through the edge of the cap, through the edge of the hull, and into the pvc. The pvc is just there for the screws to bite into.
Currently, it is only screwed in enough to hold it in position.
I plan to get a bead of sealant between the cap and the hull. That will seal the overlap as well as make the joint more solid.
 
Top