93 Crownline 250; she 'was' dirty, but now shes clean and SPLASHED!!

bigdirty

Senior Chief Petty Officer
Joined
Oct 4, 2013
Messages
652
Well thanks guys :)

I'm no expert, but I figured it out by some trial and error.. ended up with a 'two step' process to get it to where it is. First I used 3M rubbing compound on a rag, with a bit of elbow grease on a 2 ft x 2 ft section at a time.. when it hazed up I wiped it off then used a buffing compound with an electric buffer. The compound brand name is 'Presta' and they have a bunch of different formulas and kinds, (some meant for different colors, ect) and a buffing wheel/pad matched to the compound, with specs on RPM and how to apply. I'm pretty impressed with it, considering how bad my boat was to begin with... although there are still till a few splotchy/white spots so I want to go over it again on day this week.

No pics from the last few days to post yet, but I got the drive on, changed oil, re-assembled the motor and FIRED IT today! :joyous: She runs like a champ, oil pressure and temp are good, NO leaks of ANY kind, starts first hit on the key, and shifts smooth through f/n/r and back. I'm excited now, she is very close to splash.. Some minor electrical and re-assembly work is all that remains... so I took the night 'off' and went for a hot tub at a friends and got into a few beers.. :party: :drunk:
 

556guy

Cadet
Joined
Aug 27, 2013
Messages
19
Great thread. I just got into boating with a '92 250CR and I've been learning a lot about how the boat is put together. One thing I've been trying to figure out is how the steps leading down to the cabin are attached. I think on newer models the top step is hinged so that space can be used as storage. Can't wait to see the finished product.
 
Last edited:

greenbush future

Lieutenant Commander
Joined
Aug 28, 2009
Messages
1,814
This has to be some kind of record as far as getting as much done as you did, so quick. I'm impressed with your ambition to finish the job and get her on the water. I really hope the boat does what you want it to, and runs good too. You sure have busted your behind to get things done. The hot tub and beers were well deserved! show us more pictures when she floats.
 

Fastatv

Petty Officer 1st Class
Joined
Sep 28, 2013
Messages
258
Well thanks guys :)

I'm no expert, but I figured it out by some trial and error.. ended up with a 'two step' process to get it to where it is. First I used 3M rubbing compound on a rag, with a bit of elbow grease on a 2 ft x 2 ft section at a time.. when it hazed up I wiped it off then used a buffing compound with an electric buffer. The compound brand name is 'Presta' and they have a bunch of different formulas and kinds, (some meant for different colors, ect) and a buffing wheel/pad matched to the compound, with specs on RPM and how to apply. I'm pretty impressed with it, considering how bad my boat was to begin with... although there are still till a few splotchy/white spots so I want to go over it again on day this week.

No pics from the last few days to post yet, but I got the drive on, changed oil, re-assembled the motor and FIRED IT today! :joyous: She runs like a champ, oil pressure and temp are good, NO leaks of ANY kind, starts first hit on the key, and shifts smooth through f/n/r and back. I'm excited now, she is very close to splash.. Some minor electrical and re-assembly work is all that remains... so I took the night 'off' and went for a hot tub at a friends and got into a few beers.. :party: :drunk:
Thanks for the info on buffing. I bought the buffer on sale at Orielly's....looks like yours...lol and purchased the Presta Ultra scratch removing compound, worked well. And was a very good work out. Anyway, your boat is looking great! I look forward to hearing you say ...."it's splash time" and reporting it runs well and has been worth all your efforts.....and I think it will. I can imagine the "overnights" and party's you will have.
 

bigdirty

Senior Chief Petty Officer
Joined
Oct 4, 2013
Messages
652
Ahh yes... the overnights and parties... :) I cant wait, but i need to put a bit more but busting wok in this week.. I'll try t post a few pics up later today, she's coming together pretty good now, just need to finish the aft cabin windows/rear deck lip re-install and its time to clean her up and toss the second battery in.. have some minor re-wiring to do, relocating one batt. to the port side instead of both being on the starboard.. and get some lights working in the cabin. Gota be able to see where I'm stumbling after a few beers :lol:
 

Streffpilot

Petty Officer 2nd Class
Joined
Aug 22, 2012
Messages
144
Subscribing to your boat porn channel. I hope to do a cruiser someday too. Just no time or money right now.
 

bigdirty

Senior Chief Petty Officer
Joined
Oct 4, 2013
Messages
652
Update, with some pics.. It was a busy weekend.. tried posting last night, site refused to work for me.

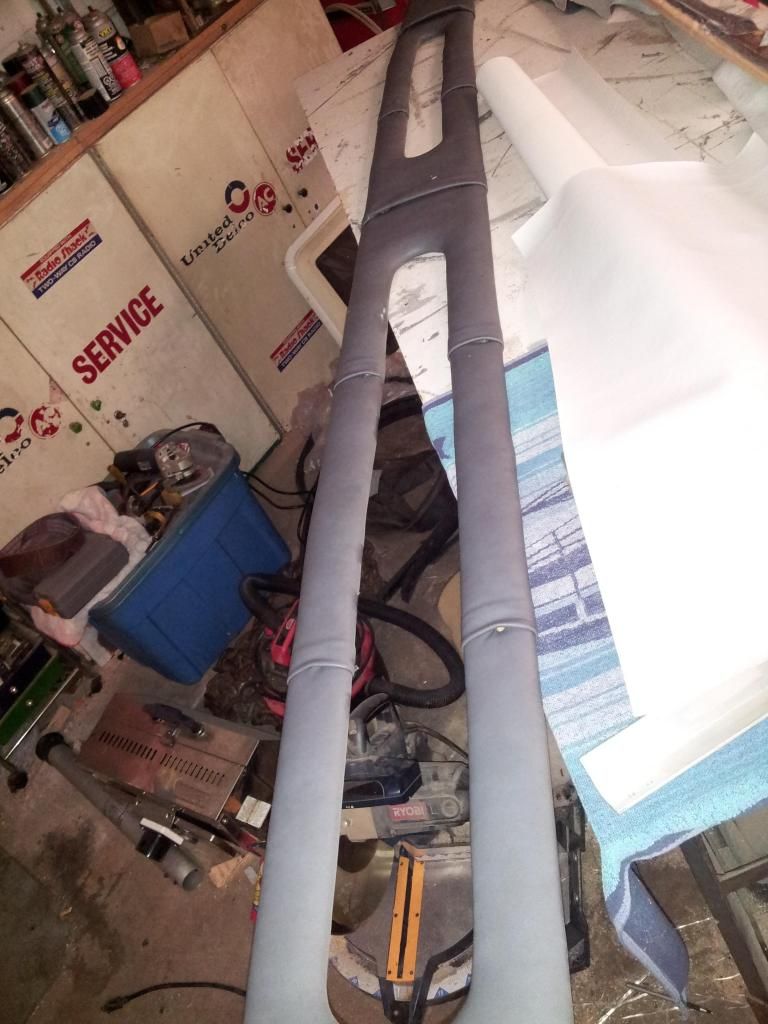
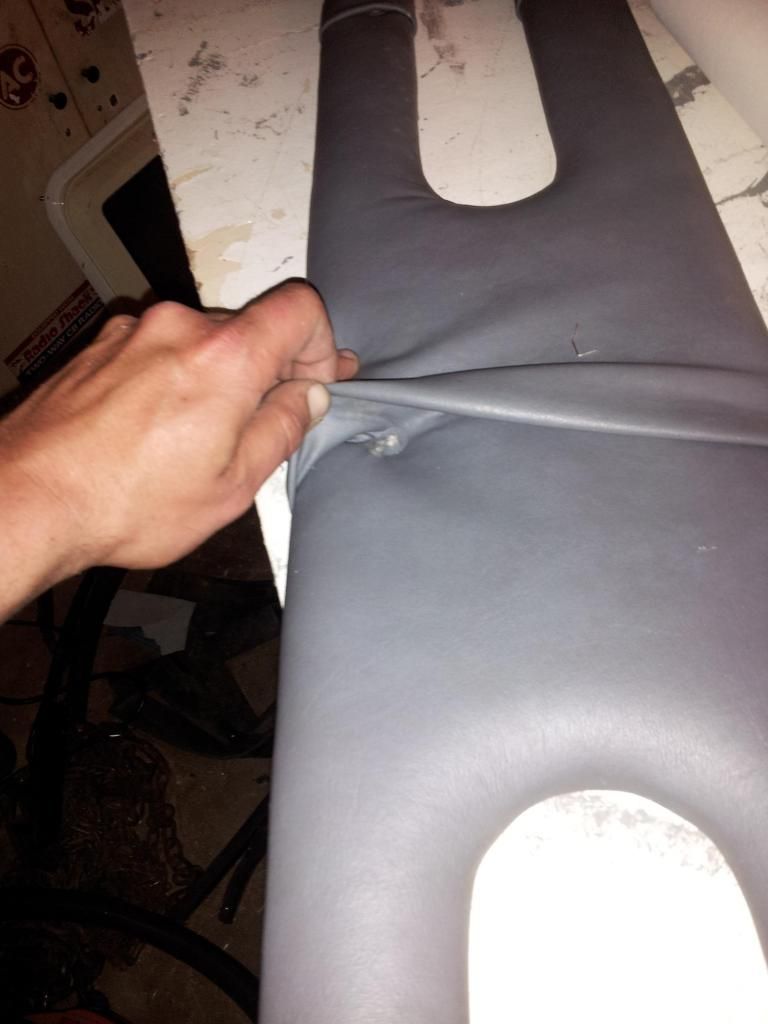
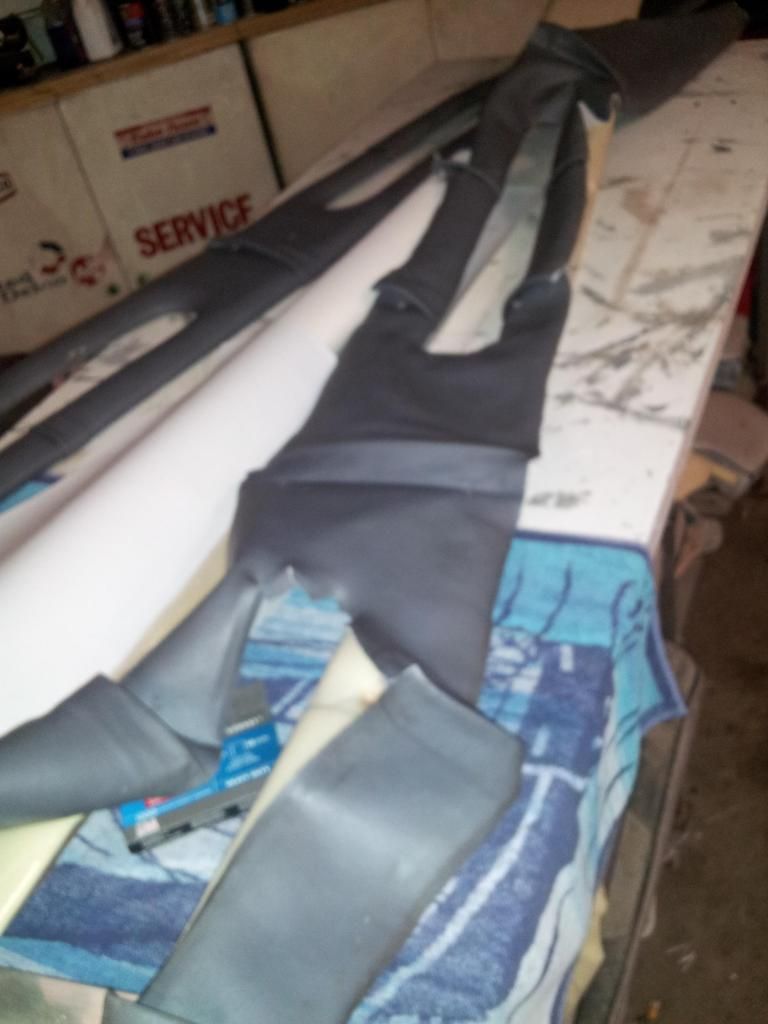
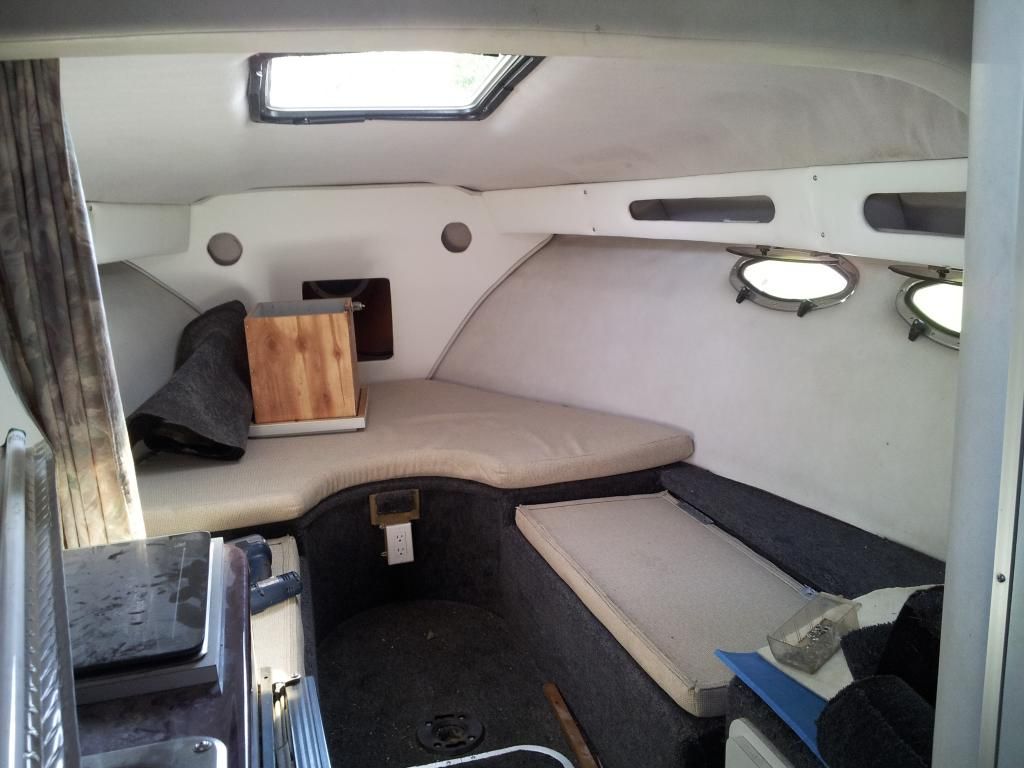
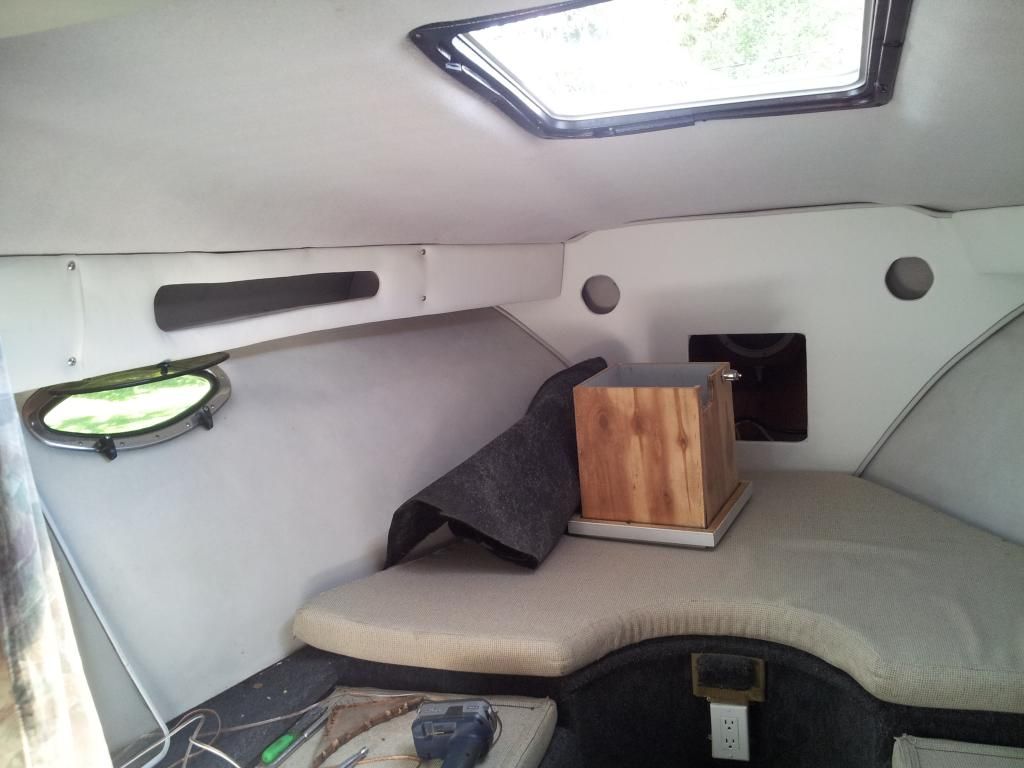
The cabin had poorly recovered face panels on the v birth shelves, and nothing on the headboard piece, just bare wood.. and I had some white material left over from the bayliner seats sooo.... heres what i was, and what i ended up with..


Ugly color, and poorly done imo..


a 'roll over' of fabric every 2 feet to hide the mounting screws..


nuts to that, white is cleaner looking and a few stainless screws with proper grommets don't bother me..


the 'headboard' piece worked out well, and I think definitely it looks nicer than bare wood..:rolleyes:
 
Last edited:

bigdirty

Senior Chief Petty Officer
Joined
Oct 4, 2013
Messages
652
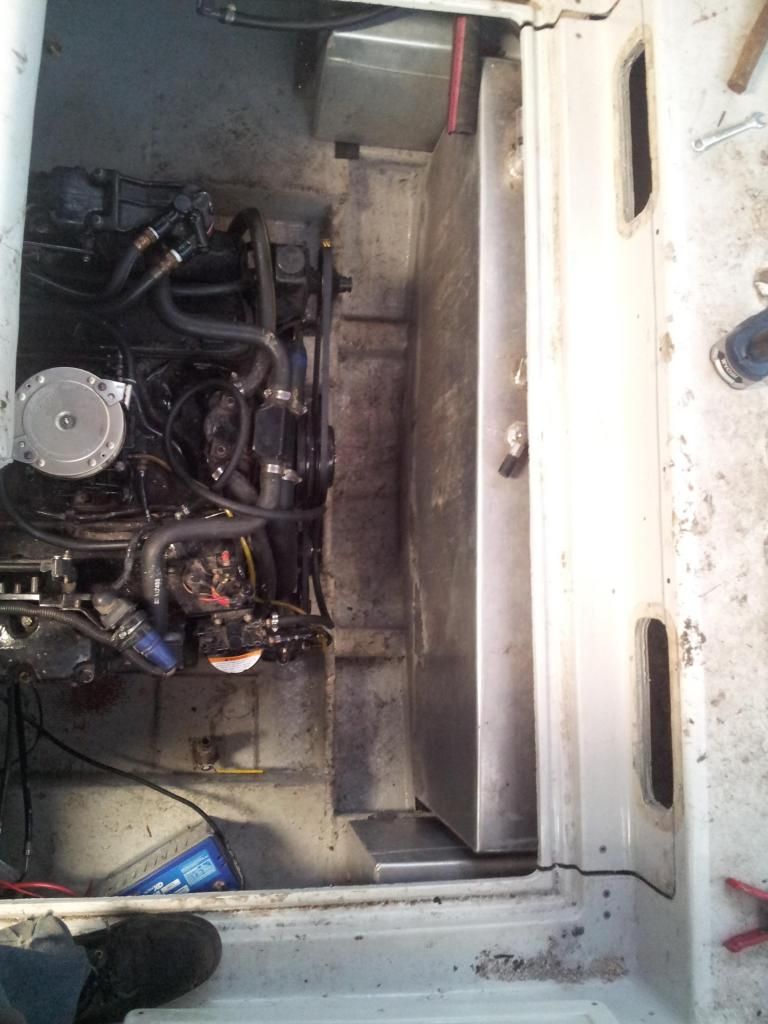
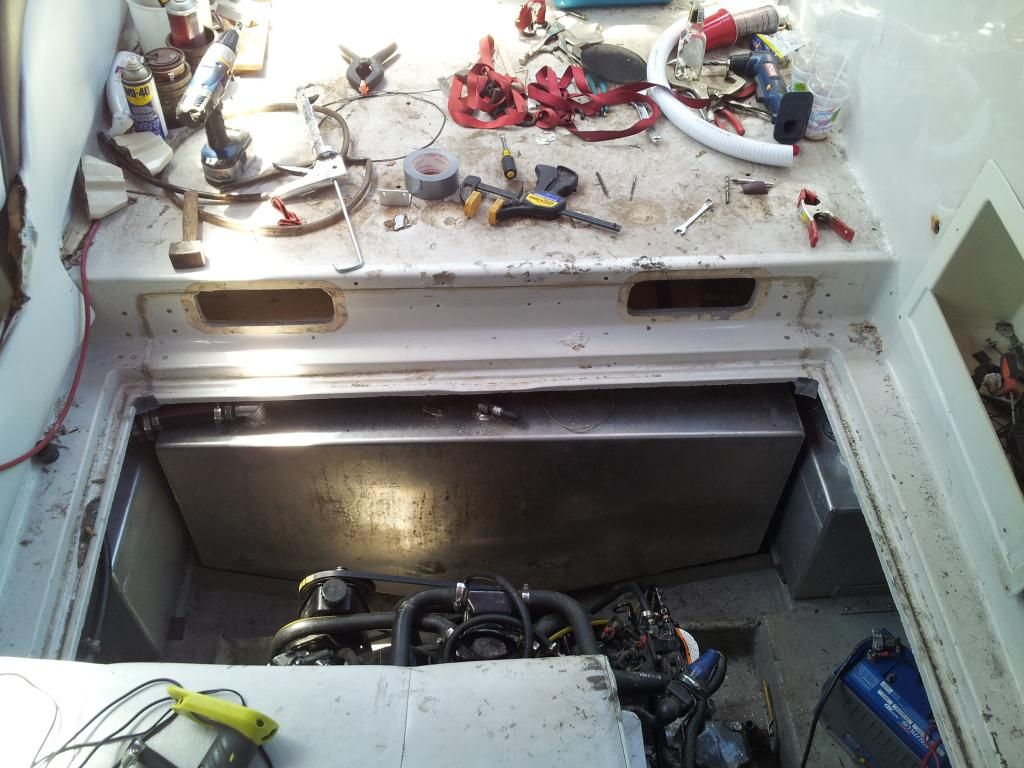
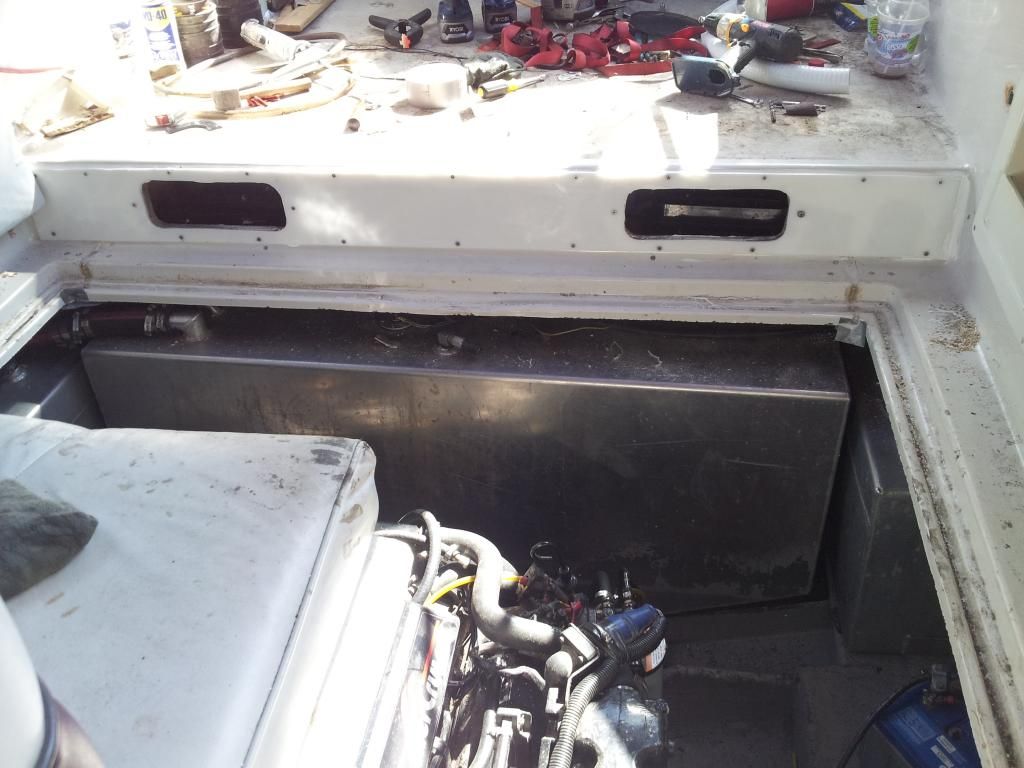
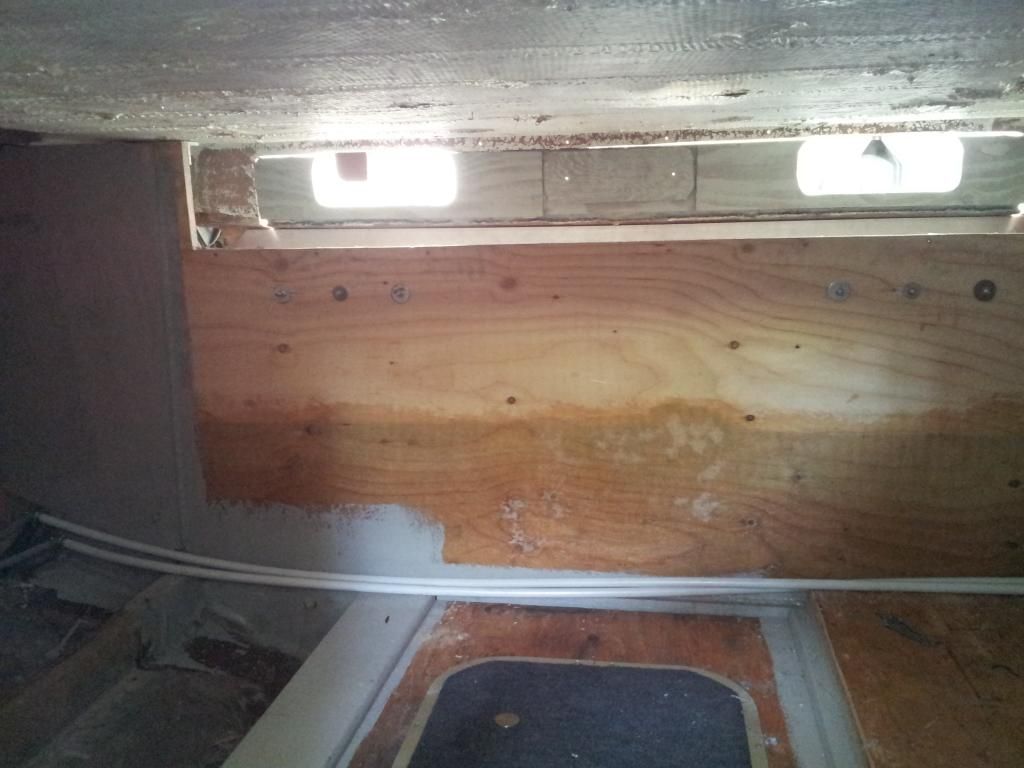
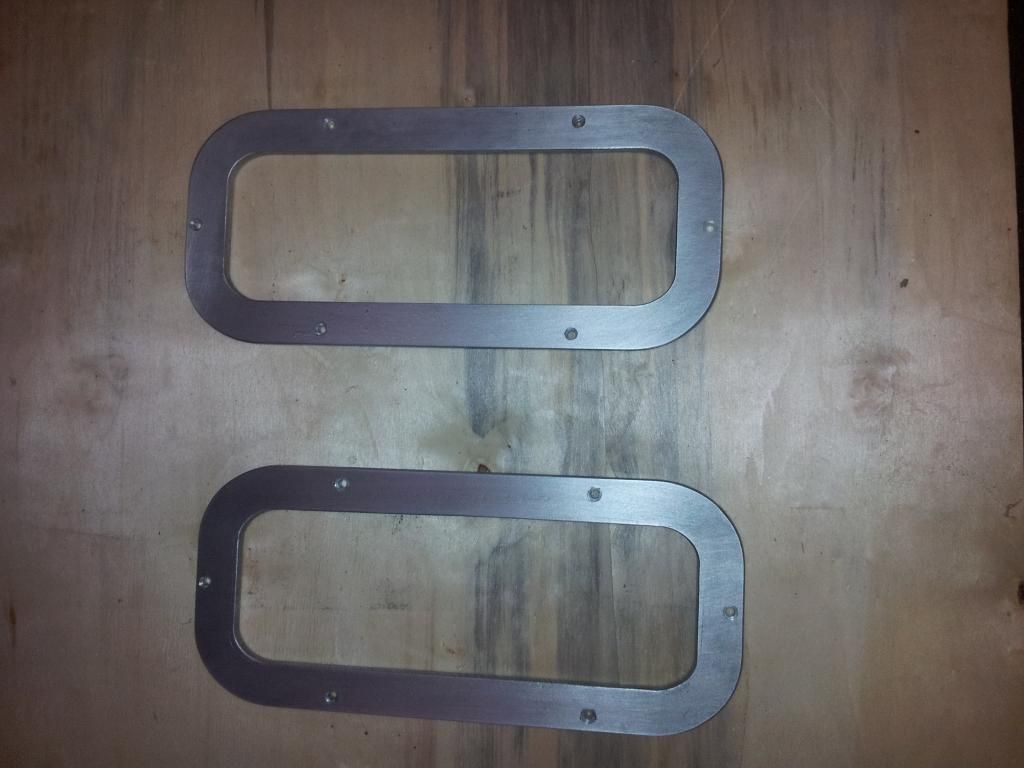
And the tanks back in, aft shelf and engine/deck cover pieces getting done.. just need to make up some window trim pieces out of 1/8" aluminum to finish it off..


another tube of PL, a bunch of screws/nuts/bolts and she is solid as a rock..


Fnishied off (hiding the cut lines) with a piece of 1/4" UHMW plastic sheet over the vertical surface glued in place with 5200 and screwed on. Planing snap in carpet for the deck hatches that will cover the remaining surgery scarrs. Aft cabin eventually needs carpet and finishing trim, but I can do that in water or next fall..


There are actually more progress pics to come, but just haven't taken them yet :lol: was trying for splash this coming weekend, but decided now to take my time and tie up all the 'little things' and get her ready to go for late next week.
 

Mikeopsycho

Senior Chief Petty Officer
Joined
Feb 6, 2014
Messages
738
Almost done.................................................................................................................................:thumb:. And looking real good!
 

greenbush future

Lieutenant Commander
Joined
Aug 28, 2009
Messages
1,814
Man is that boat getting the love, and you're doing a great job, cabin looks awesome, tank repair is great, I like all your work. I agree to wait on the splash, it's so much easier to fix all these little items at home where all the tools are. I'm assuming you are going to slip this boat? I would get all that stuff done before the launch. I had to haul tools 25 miles one way, and it was no fun when you forget one little tool or part. When will you fire her up? Check the gears and all that?
 

bigdirty

Senior Chief Petty Officer
Joined
Oct 4, 2013
Messages
652
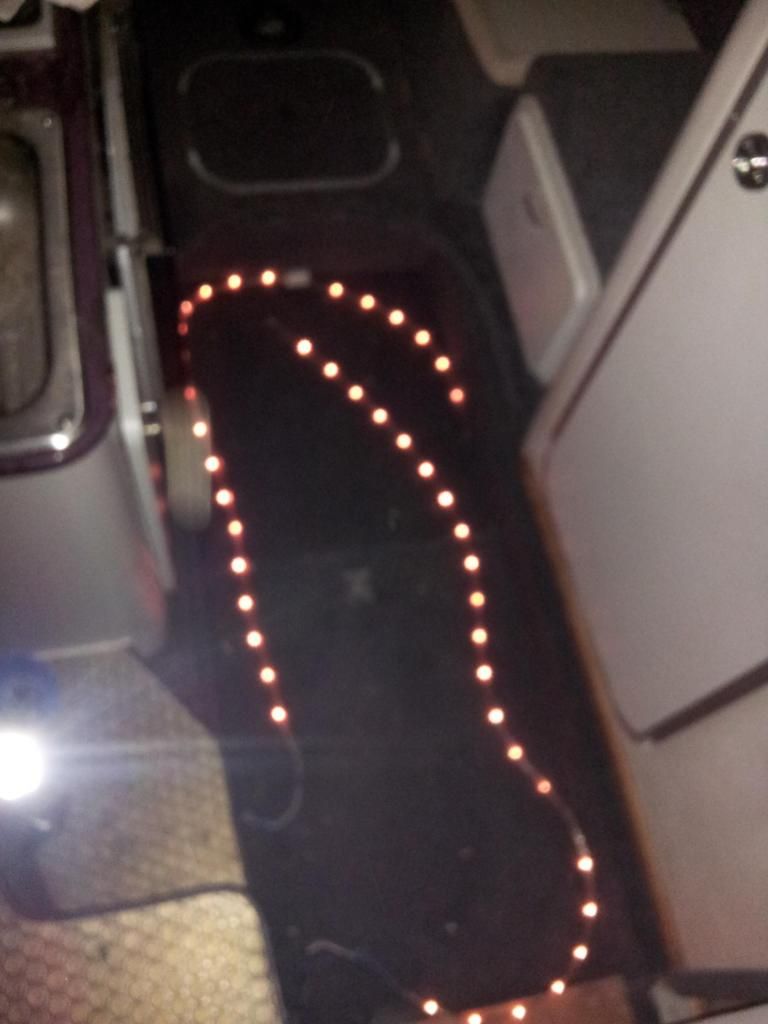
Thanks again guys, it really is coming together well, and yes.. I dock it at a slip about 30 mins away, so forgetting a tool or small part REALLY SUCKS! :lol: so te less I have to do at the dock the better. I did the test run in the driveway last weekend, drive shifts smooth and motor purrs.. I'm not worried about the mechanical too much, but I do have to re-seal the entire windshield and repair a few stitches/zippers on the top (had a fairly huge downpour here last night and she is leaking all over) and still finish the overall cleanup... after I finish the minor cabin re-wiring and lighting changes. Found 12v rope led lights behind the v birth shelf faces so I'm 're purpousing them' to the cabin floor as well as adding a few more lights in various spots in the cabin.


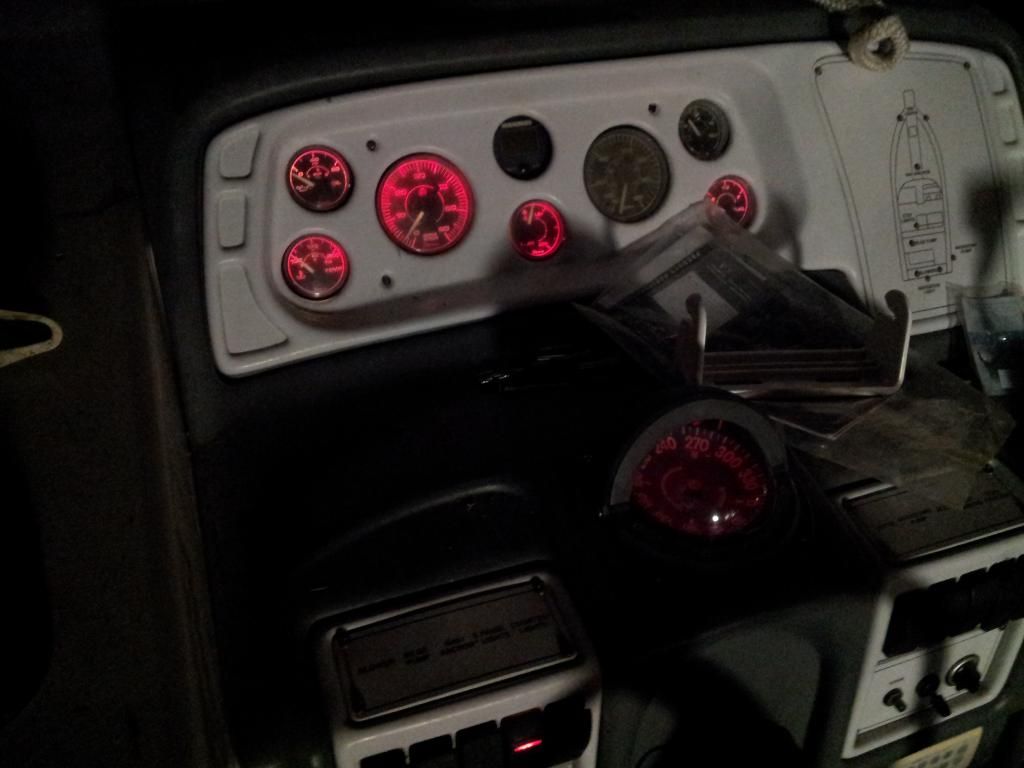
Just gota staple them up and put the teak trim back in on top of them (the teak was there factory) Also tested the whole 12v/110 shore power system(s) I have a working 2 way fridge, 2 way stove (not that I will use the alcohol part of the stove... it scares me..) a working 2 bank battery charger, and fancy red back lit gauges :)


Tossed the helm bench back in as well to determine mounting/placement. It was about 5" away from the starboard side wall and up on 2x2 lumber when I got the boat.. just nfg.. also got my aft cabin window trim pieces plasma cut at work today (1/4" aluminum) and gave them a covering of clear coat.. should be able to install tomorrow.


and all was well... but wait! Something had to go sideways on me! :laugh: Next post.... wait for it...
 

bigdirty

Senior Chief Petty Officer
Joined
Oct 4, 2013
Messages
652
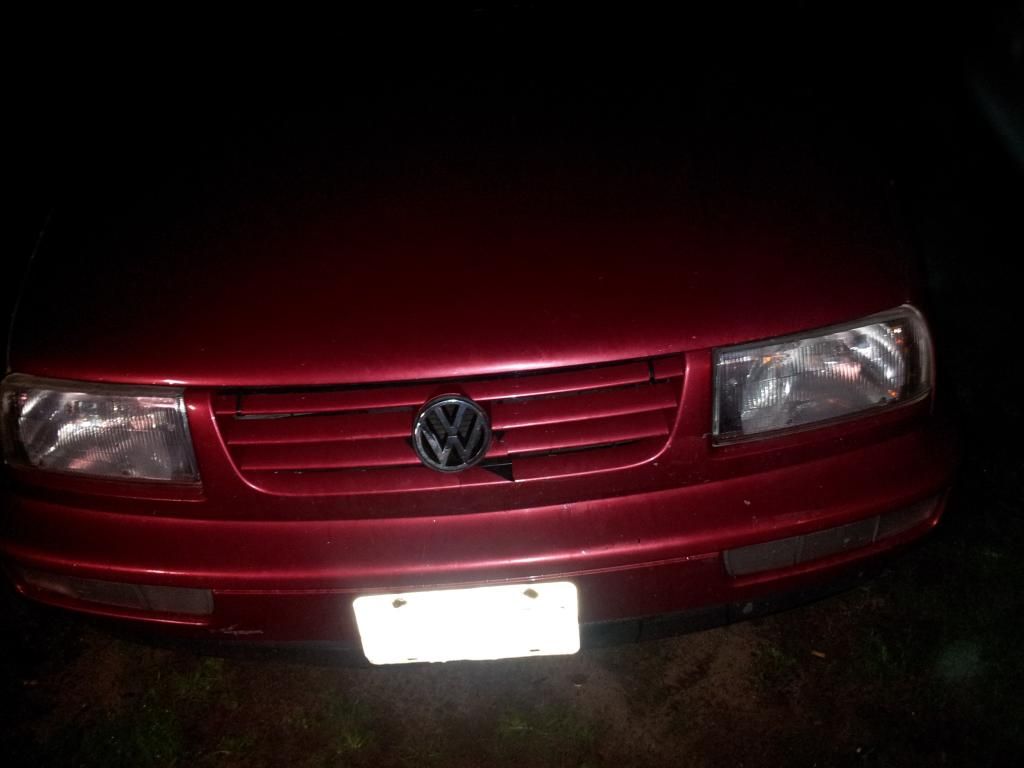
i was happily working in the cabin doing the wiring, and having a beer.. And I hear my renter "crap...the dog got off his leash.. I'm goin to find him" and her suv starts up.. then i hear 'the crunch' (anyone been in a car crash or seen one? :lol: ya... I had parked my car behind her ford escape, as there was a truck in my normal spot earlier from a dump run/junk collection out of the boat shed..


Not terrible, but the rad saddle was pushed in to the point the hood latch wouldn't open, and the grill is pretty much toast.. :laugh: sadwagon is sad... Got the hood pried open eventually, rad is intact, no lights smashed, and I moved the hood latch back out to where it works with a piece of 2x4 and a hammer.... She was really upset and sorry, said she will replace whatever it needs to fix.. meh, if I spot a grill next time I'm at the salvage yard I'll replace it. still drives fine, she found the escape artist dog, and all is well.
 
Last edited:

Scott Danforth

Grumpy Vintage Moderator still playing with boats
Staff member
Joined
Jul 23, 2011
Messages
49,548
good news is that the rad support is easy to pull out. LKQ has grills in their u-pull it yards for $10
 

GT1000000

Rear Admiral
Joined
Jul 13, 2011
Messages
4,916
Bummer on the V-dub bang up...:grumpy:
But the boat sure is coming together very nicely...glad to see all the progress and can't wait for the imminent dunk in the drink.
Nice!:thumb:
 
Top