93 Crownline 250; she 'was' dirty, but now shes clean and SPLASHED!!

bigdirty

Senior Chief Petty Officer
Joined
Oct 4, 2013
Messages
652
Thanks guys :) Hoping for some more decent weather this coming weekend, might be able to get another big chunk done..

To Axkiker;

I have a few ways I made templates/pieces to rebuild. It helps to have a 'road map' when you are putting it back together, from measurements taken while doing demo, try to make lots of drawings. As for odd shapes or curves , like the bottom of stringers, I put a straight edge/tape measure across the top edge, then measure down every foot or so, starting from one end. You will end up with a series of measurements you can transfer directly to the piece of wood (using the factory cut straight edge of the wood) and just 'connect the dots' so to speak.. For the V of a bulkhead say, use a straight edge running across the beam of the boat, sitting at the hight of the stringers in that area. Find center, measure down to the keel, then same thing, transfer measurements to the wood you are using and draw it out/connect the points. There maybe other ways of doing it (easier?) but that's just what I did. :)
 

Mikeopsycho

Senior Chief Petty Officer
Joined
Feb 6, 2014
Messages
738
Someone told me you can buy door skins at lumber yards, and that they make great templates. I haven't priced them out yet, and I can't vouch for how well they work, but I thought I'd throw the idea out there.

Awesome work bigdirty! I'm really glad you're sharing your boat rebuilding experiences with us! Thanks for your info on PL vs PB, you helped me decide which one to use.
 

bigdirty

Senior Chief Petty Officer
Joined
Oct 4, 2013
Messages
652
No prob, but I am by no means an expert :rolleyes: and I'm sorta flying by the seat of my pants on this project. Trying to take all the knowledge and info from folks here, combined with my own and local friends/people and make something work.. :lol:

Got the helm seat wrapped up and finished "good enough" tonite, as it was kinda in my way. Got some more supplies today as well (had a half day off work) so hoping to getthe main bulkhead all cut up and ready for glass tonight. Plan is to cover it both sides with resin/glass mat before install, along with the two side pieces, leaving 6" or so around the edges bare, to tab into the boat when the time comes. I'll likely be through bolting it to the lower, and using some aluminum angle to attach the top edges to the bottom of the helm deck as well. This main center piece will basically be the only thing the fuel tank gets secured to, (strapped to it, and the main stringers below) so I figure it should be attached to the boat in a serious way..unlike the factory did.. Might post some pics up in a bit, break time is over now :p
 

bigdirty

Senior Chief Petty Officer
Joined
Oct 4, 2013
Messages
652
Hrmmmm..... :mad: I got some problems, maybe... Just jumped into the boat to check a few measurements for the bulkhead and found that there are quite a few spots/areas still almost WET to the touch, and sticky.. like I could possibly peal up the matting/resin if I tried. I really hope im not up the creak here.. Its mostly towards the rear of the boat, engine mount bulkhead and that area... the cabin seams to be set up good, and is dry to the touch... help? :rolleyes:
 

bigdirty

Senior Chief Petty Officer
Joined
Oct 4, 2013
Messages
652
:rolleyes: :mad: Well this really really sucks.....I just lost about 3 pages of posts and pics/updates here... and the site STILL isn't working correctly. So much for this site, I'll check back in a few months I guess..
 

Axkiker

Petty Officer 1st Class
Joined
Nov 18, 2013
Messages
264
Yeah, i'm very surprised that the site has taken this long to work out the kinks. I guess its just not a priority since its not a money making part of the business. Anyways, I wont start my rant on that.

How has everything been going? Any updates? You were moving so fast I figured you were out on the water by now.
 

bigdirty

Senior Chief Petty Officer
Joined
Oct 4, 2013
Messages
652
Things have been going pretty well... im (hopefully) a few weeks from splash.. Waiting on parts to wrap up the motor tune up and drive re-install, spent the last few days buffing the hull and general clean up... still need to throw fuel/water/waste tanks back in and hook up some electrical and lots of 'little' things... have about 50 pics for the last few weeks work, but site has been so hard to deal with its not worth the aggravation to me to try and post them yet... hopefully the site gets fixed soon... :rolleyes:
 

Axkiker

Petty Officer 1st Class
Joined
Nov 18, 2013
Messages
264
Supposedly if you use photobucket you wont have issues.. I haven't tried but thats what im reading.
 

Axkiker

Petty Officer 1st Class
Joined
Nov 18, 2013
Messages
264
and what did you ever do about the resin that wasnt curing properly. Kinda curious about that
 

bigdirty

Senior Chief Petty Officer
Joined
Oct 4, 2013
Messages
652
Posting pics ya, I use photobucket, but regardless, the site is junk right now. Im getting errors every time I try to log in, every time I post, and more often than not the "previously entered content" doesnt show up complete or properly... so I'm not willing to throw away an hour of my life trying to update the thread, only to possibly loose it all and just have to do it over again.

As for the slow to dry glass, it did eventually harden up.. I 'spritzed' some hardener over a few areas, which seamed to work well, and two small spots i cut out completely and re-did with new layups. The temps have finally gone up and stayed fairly constant, so that helped as well for the last few sessions on the bulkhead and battery/fuel and water tank shelves. Actually, its been quite hot the last few weeks here, been working on the boat with no shirt on :lol: and sweating buckets a few days, as I've pulled the tarp off now and the sun beats down on it pretty good..
 

tpenfield

Moderator
Staff member
Joined
Jul 18, 2011
Messages
18,040
Hey BD - just give us the link to your photobucket album instead of trying to re-post everything.


I think I only lost 3-4 posts during the restore, but it was difficult to figure out where to start. I finally just posted a few at that end of my thread.
 

bigdirty

Senior Chief Petty Officer
Joined
Oct 4, 2013
Messages
652
I'm gona try something here.. Im typing this all out in notepad and inserting the photobucket links, then I will try and log in an do a quick copy past into the reply box (and hit post really fast) we shall see.. :lol:

My cell phone (camera) got glitchy with over 2000pics on it, so i dumped a bunch off it on to my pc and tried to sort out the crownline pics from it all.. think I lost a few along the way, but there are stll about 50 'new' ones.. so here goes the first attempt at updating this thread....

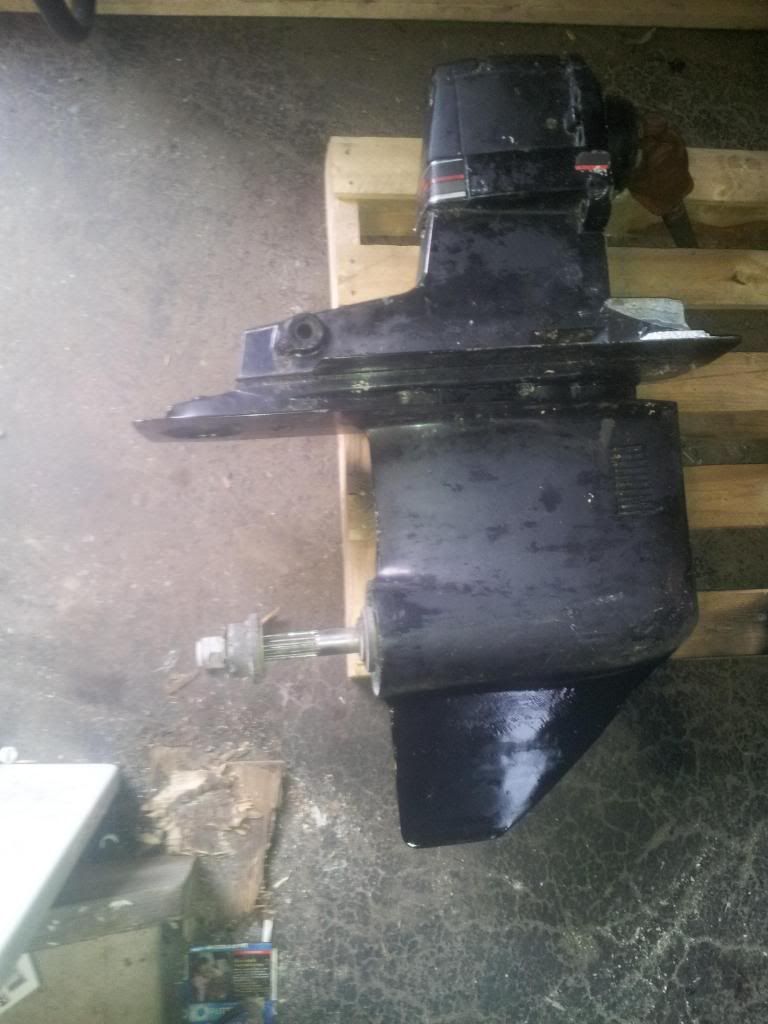
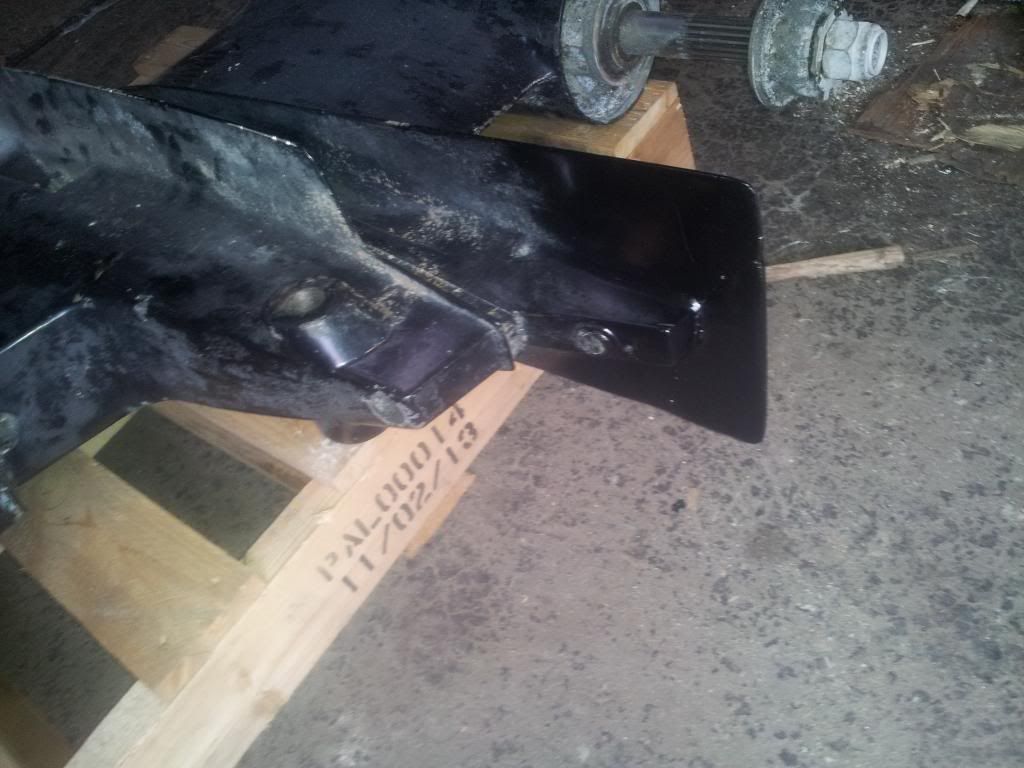
Drive has been repaired by a friend/coworker. Skeg was mostly gone, anti cavitation plate had a big chunk missing;


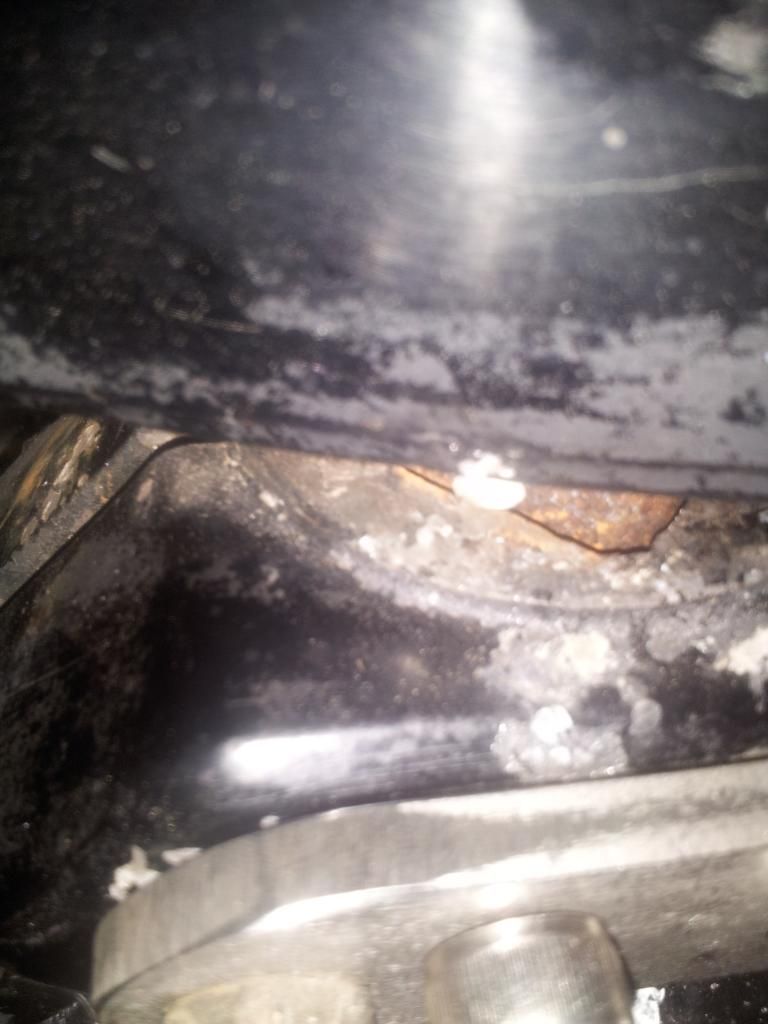
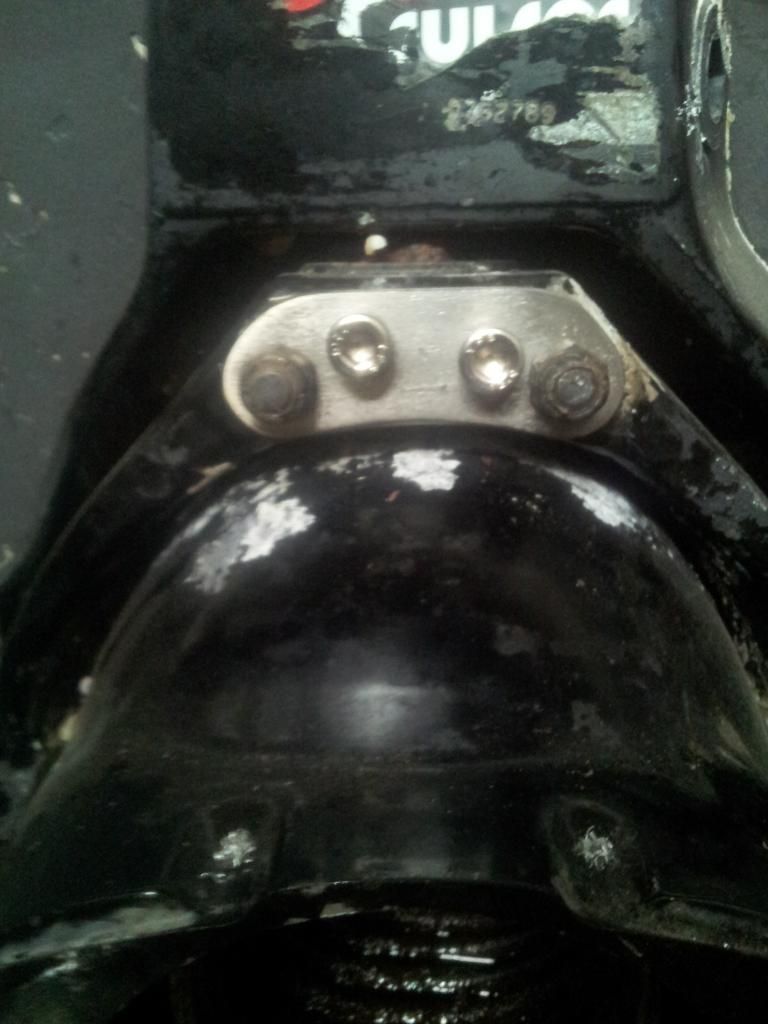
And then i performed my 'quick fix' on the sloppy gimble... she was quite loose..


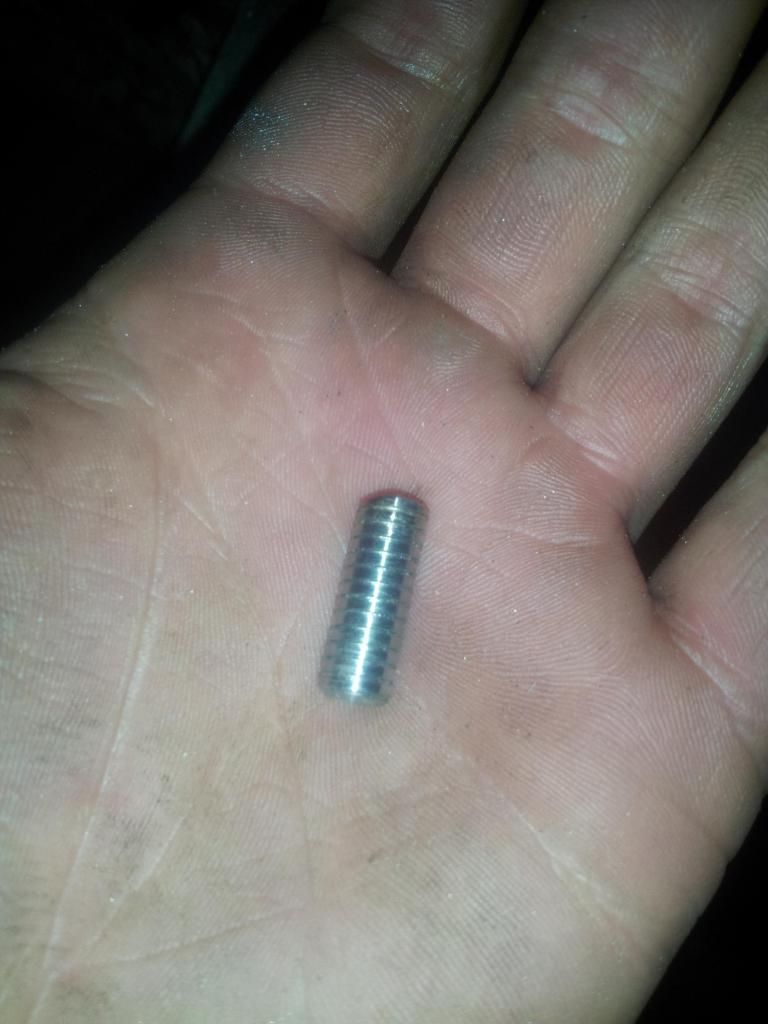
1/4" stainless plate, drilled and tapped 8mm in between the factory U bolt holes, and also drilled and tapped the gimble ring in those positions. Flat bottomed the tap drill and put small spot faces on the gimble pin.. Inserted a stainless 'slug' (a slightly turned down 8mm ss cut off screw end) and cranked it all down tight. With red loctite.


Seems to have worked pretty well, tightened the drive right up, but I wont know for sure untill i splash her and go for a run...

Now to see if I can post this...
 
Last edited:

bigdirty

Senior Chief Petty Officer
Joined
Oct 4, 2013
Messages
652
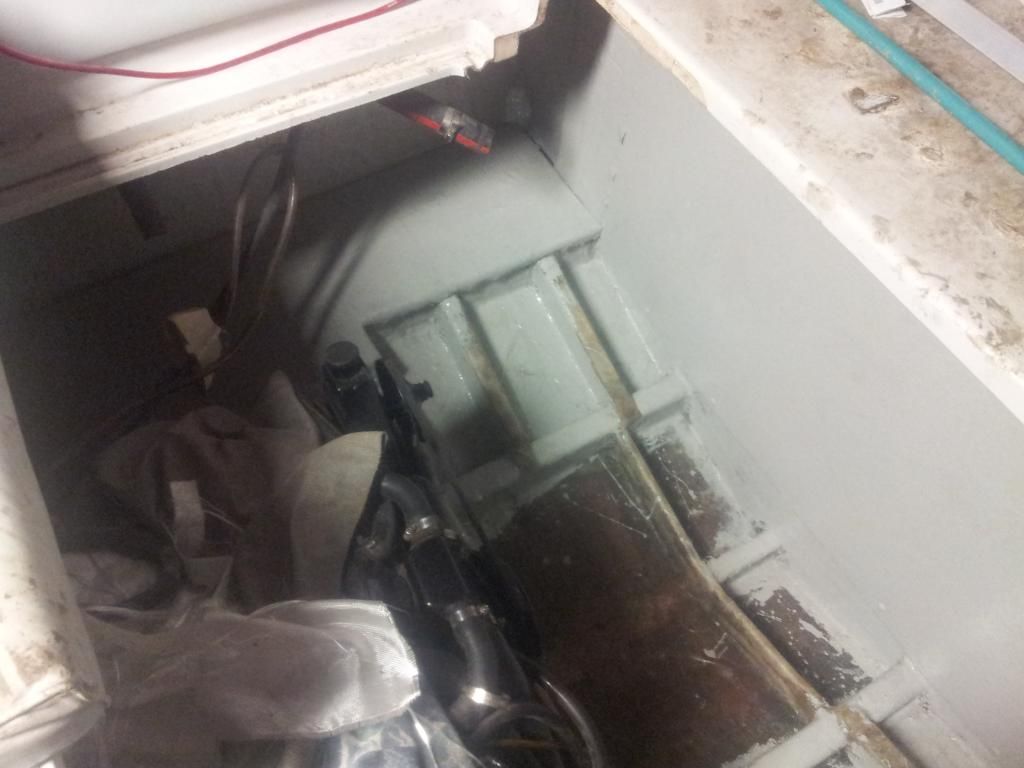
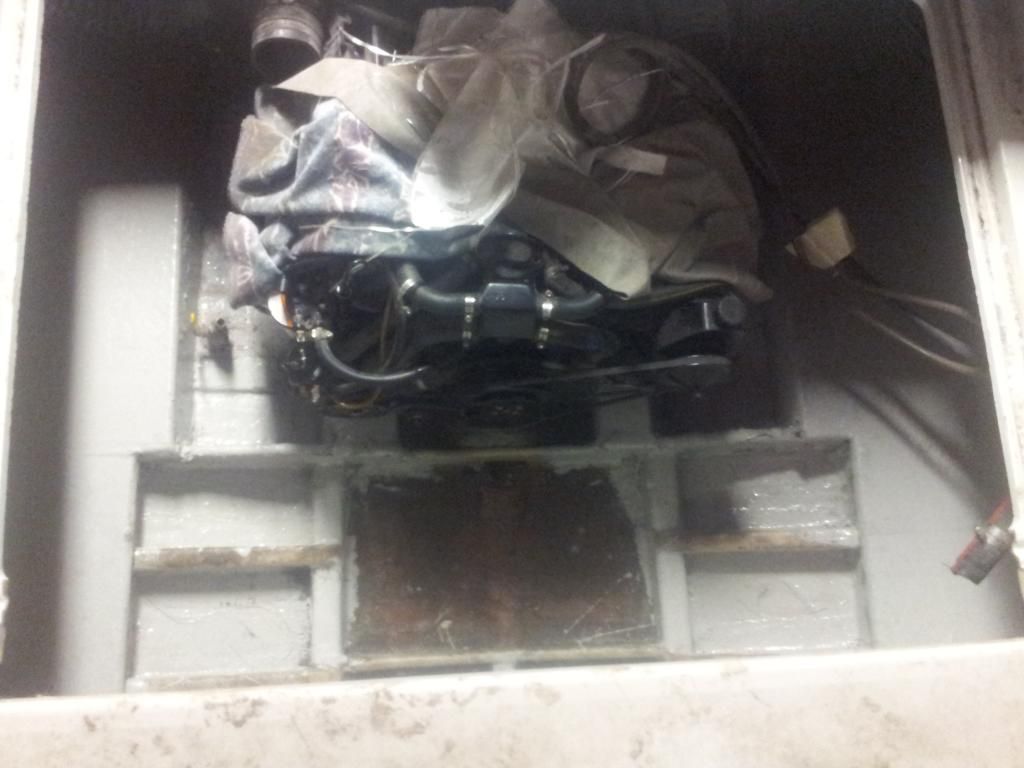
Whoooo hoooo!!!! I posted something again!! ok... so, been a busy few weeks... got all the shelves in the engine bay and the bulkhead in, glassed and painted..


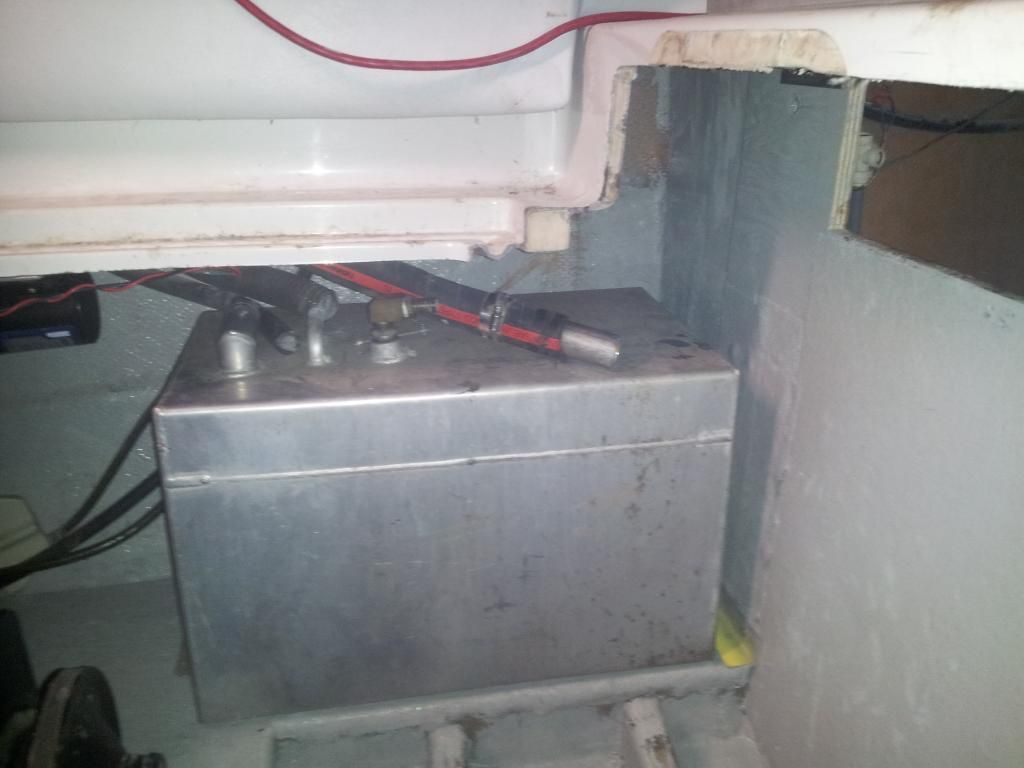
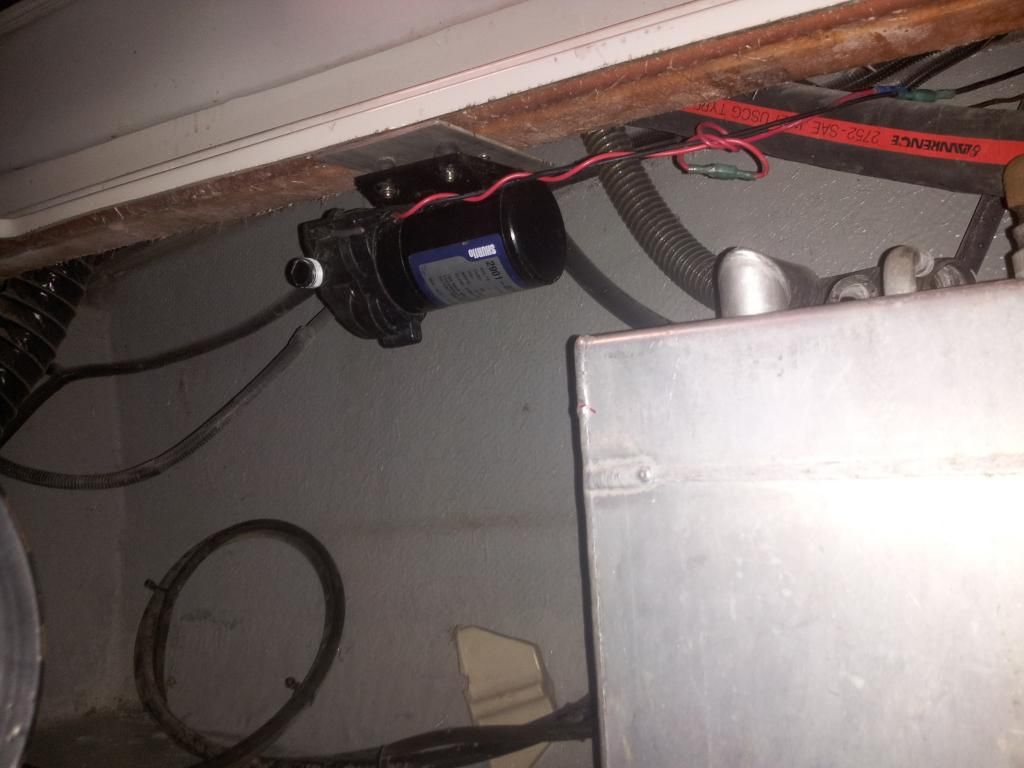
Test fitted fuel tank, is gona be almost perfect fit. Got a 'better' way to install water and waste tanks, making it easier to remove if I ever need to. Piece of angle aluminum to 'trap' the front mount of the tank (yellow paint on it in the pic), and two screws on the back tab. Also re-located fresh water pump to a better place (was mounted BEHIND the tank, on the bulkhead... impossible to get to) and just need to plumb it.. The fuel fill hose wont be long enough now as I moved the tanks all forward 6-7" so I have a stainless tube as a joiner/extension which will go to another 8" or so piece of fuel line.


Last edited:

bigdirty

Senior Chief Petty Officer
Joined
Oct 4, 2013
Messages
652
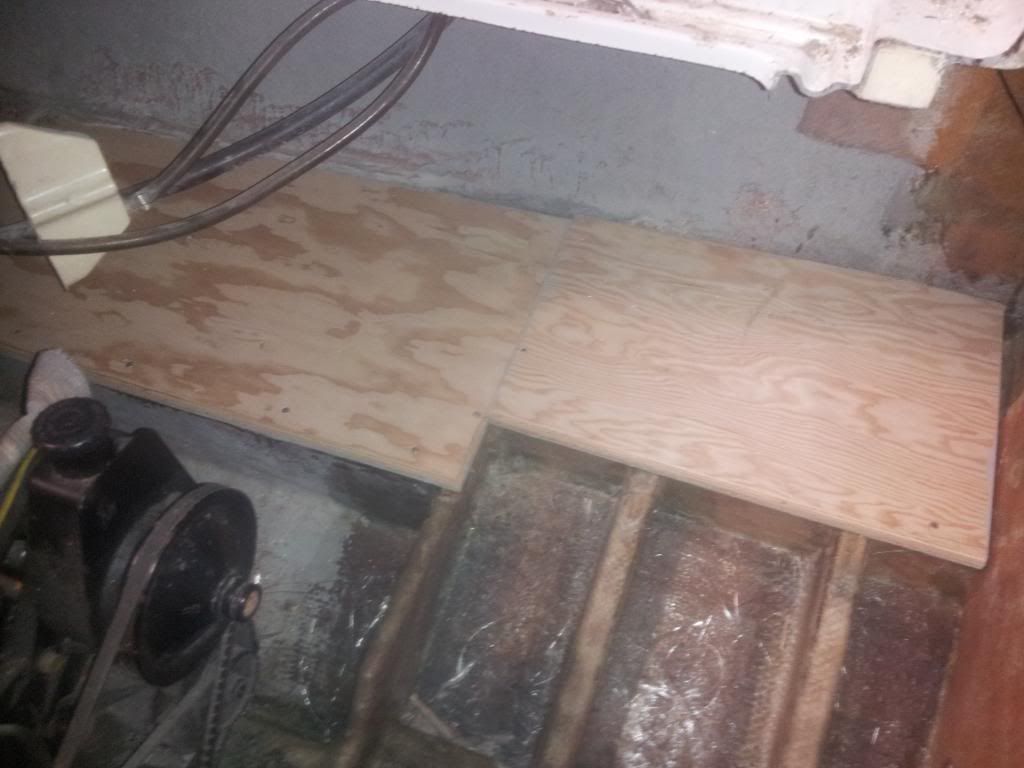
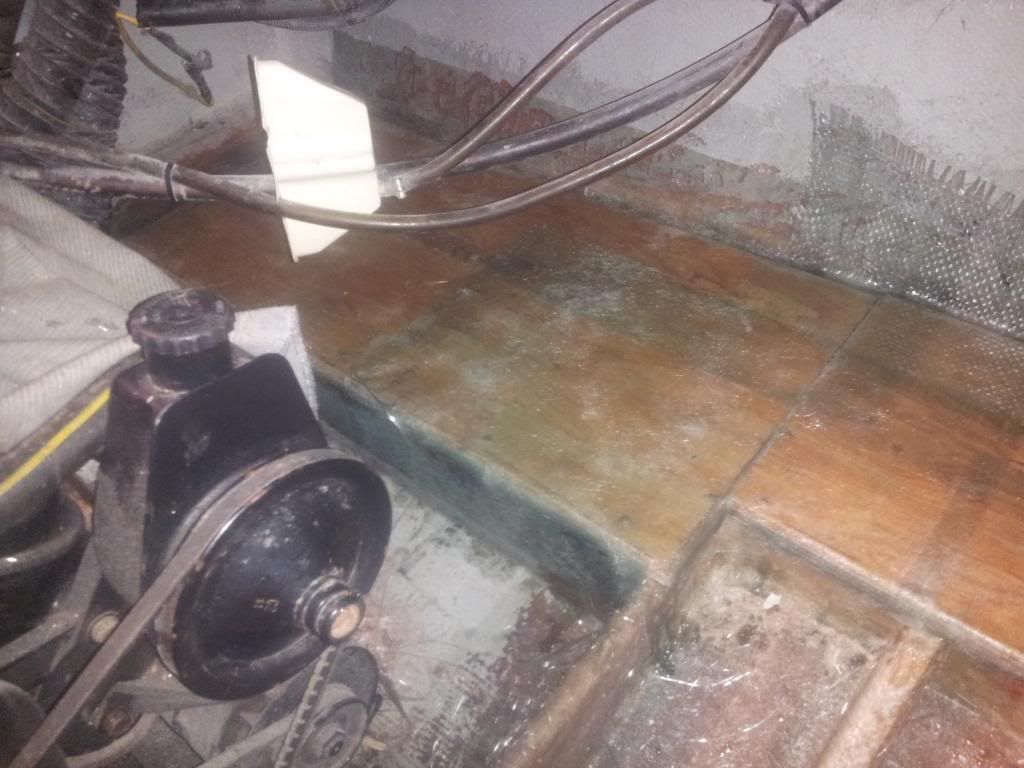
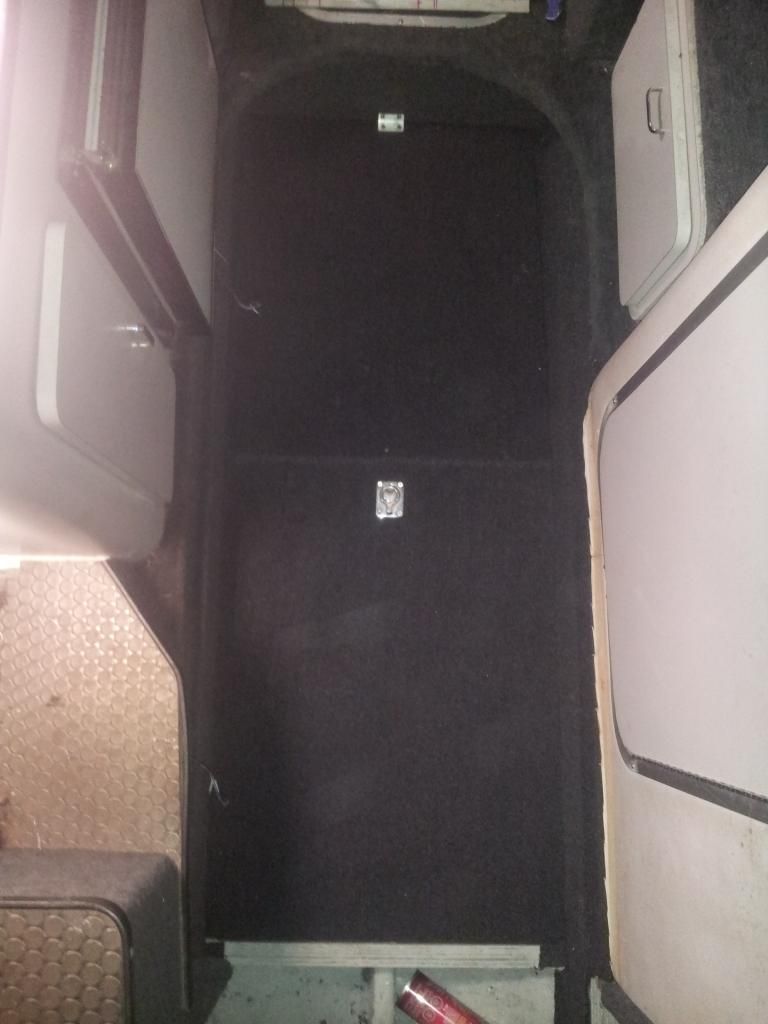
Got the cracked manifolds off, raw water impeller done, bent pulley fixed, all new belts, plugs, just waiting on a new water hose (the bent raw water pully has chewed the main hose almost all the way through.) and my distributor cap/rotor are on order as well... After the motor is back together, I need to re-attach the deck/aft cabin windows but that should be a quick few days of work, and then its some electrical do over and throw everything back in it... and the weather has been great here the last week, so i figured id take advantage of it... Got the canvas top sprayed/water proofed, installed the cabin floor panels with new carpet;


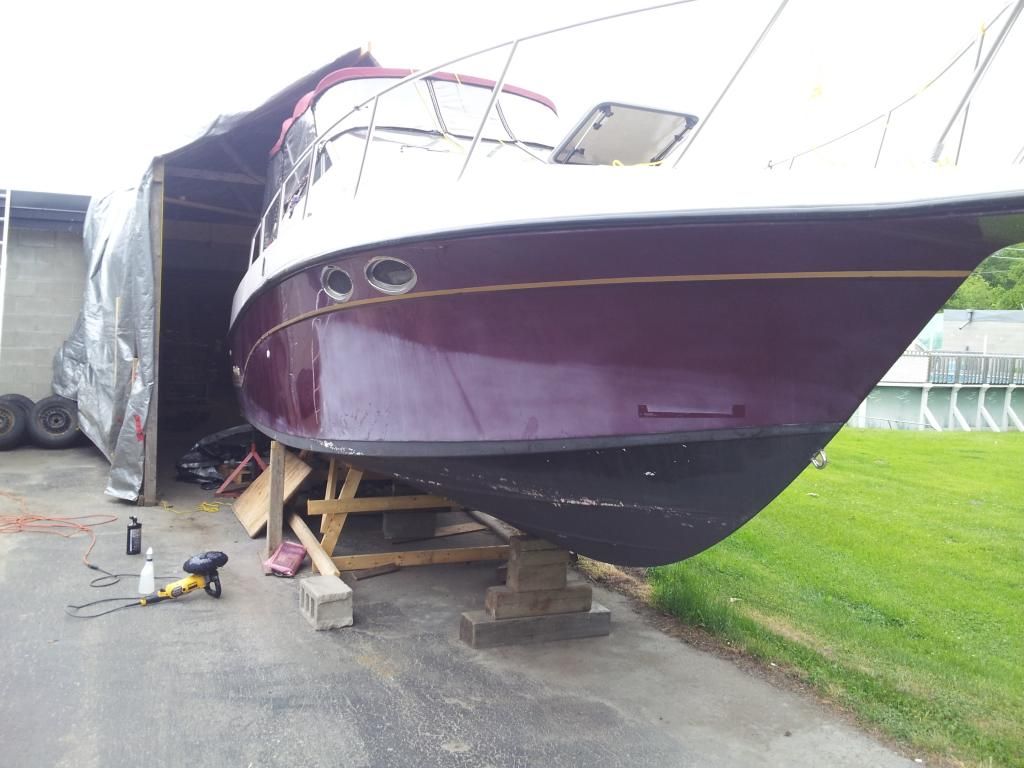
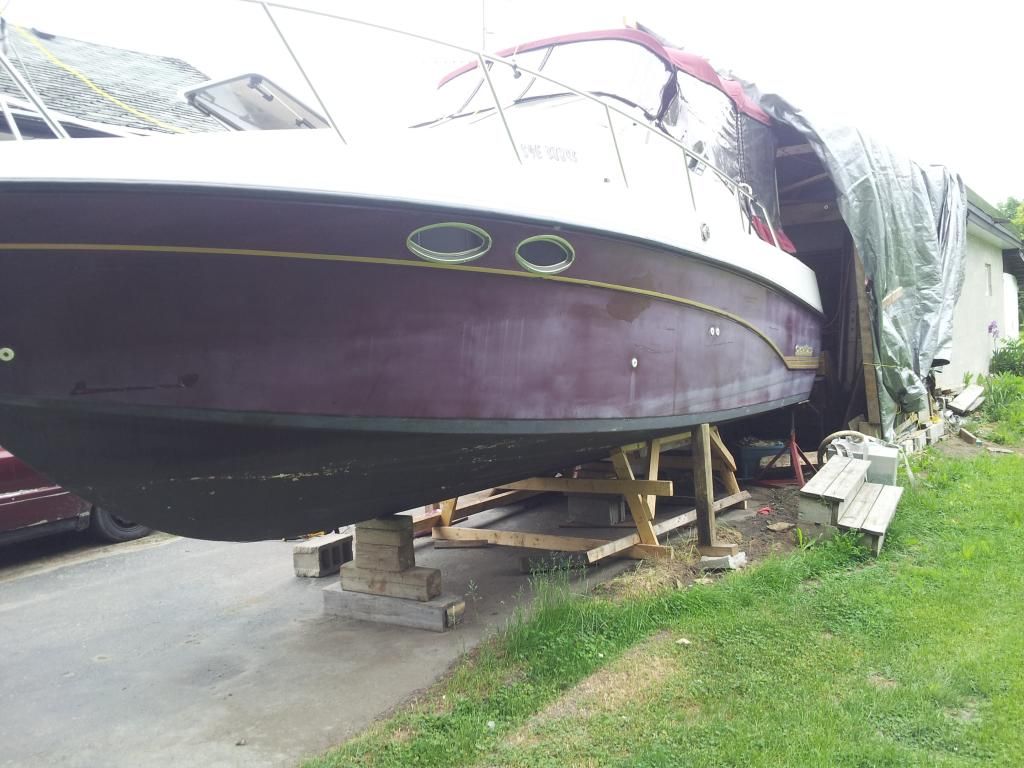
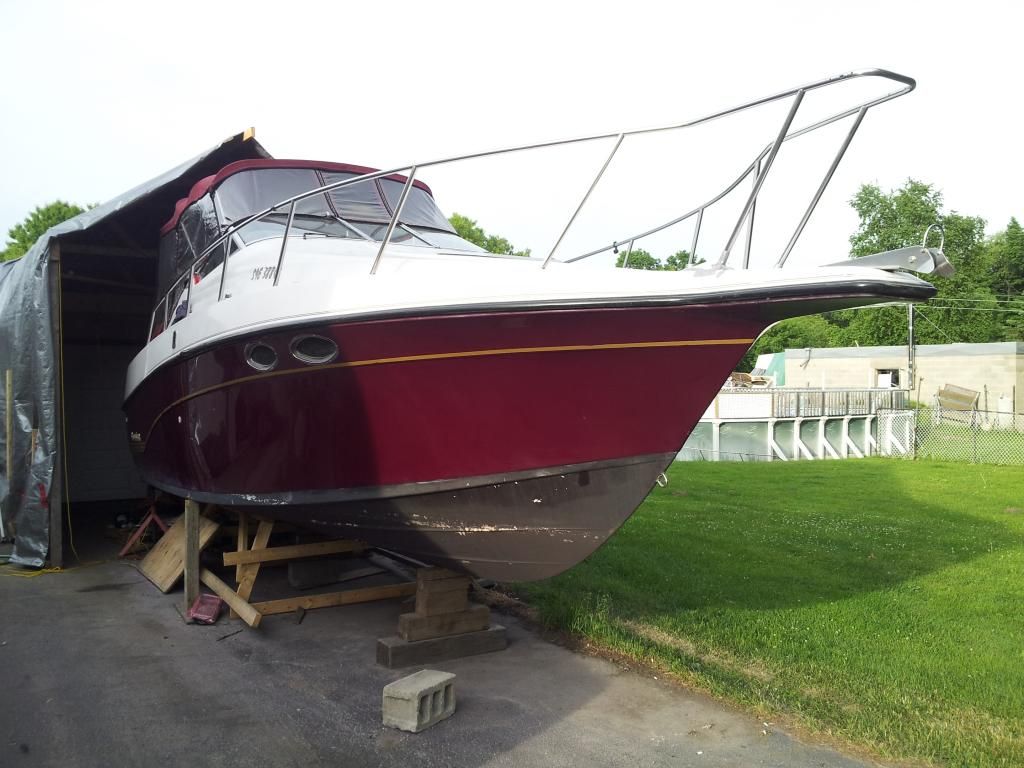
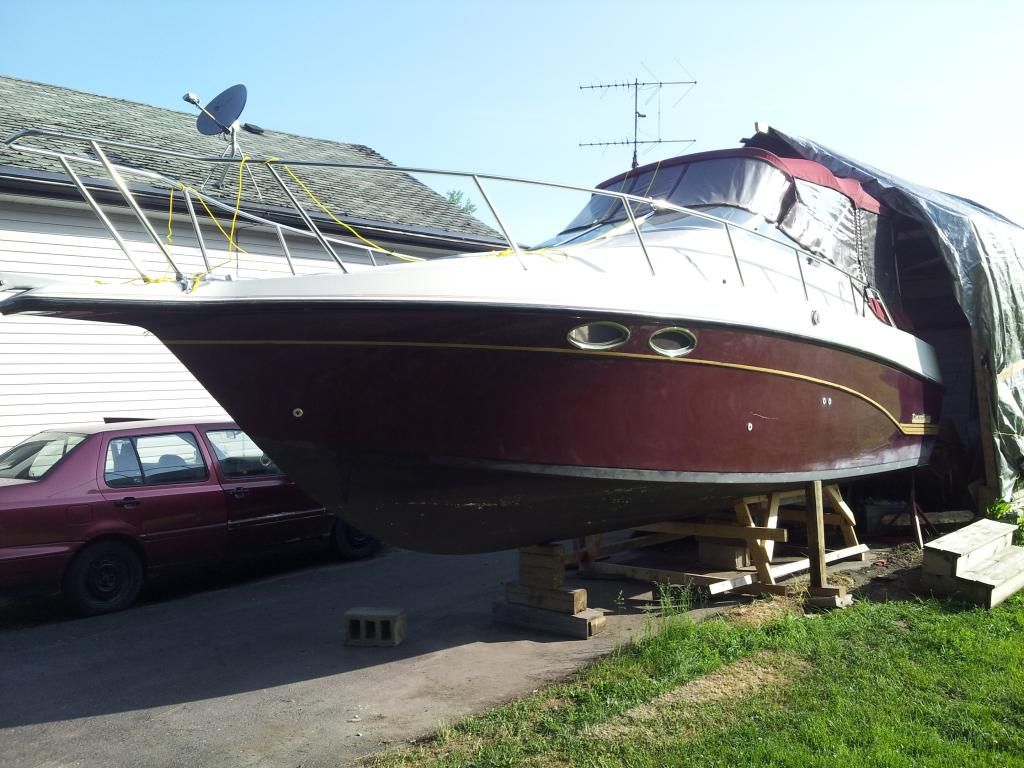
Then I spent the last few nights turning my arms to spaghetti, and making the ol girl shiny red again. :) Still needs a bit in spots, and need to do the top side/white but its WAY better than it was.. started with this;


Got it to this now;


(no, thats not photoshoped)
 

tpenfield

Moderator
Staff member
Joined
Jul 18, 2011
Messages
18,040
Wow, an impressive amount of work done. You are setting a new speed record (I believe) for fastest turn-around of a major restoration.


I might try your idea of creating/editing new posts in notepad or something similar and then do a quick cut & paste.
 

Scott Danforth

Grumpy Vintage Moderator still playing with boats
Staff member
Joined
Jul 23, 2011
Messages
49,548
Its looking good. And yes, the difference in color does looked photo shopped
 

Fastatv

Petty Officer 1st Class
Joined
Sep 28, 2013
Messages
258
Got the cracked manifolds off, raw water impeller done, bent pulley fixed, all new belts, plugs, just waiting on a new water hose (the bent raw water pully has chewed the main hose almost all the way through.) and my distributor cap/rotor are on order as well... After the motor is back together, I need to re-attach the deck/aft cabin windows but that should be a quick few days of work, and then its some electrical do over and throw everything back in it... and the weather has been great here the last week, so i figured id take advantage of it... Got the canvas top sprayed/water proofed, installed the cabin floor panels with new carpet;

That is a tremendous difference in the shine of your boat. What did you use....the type of compound that is..and what type of polisher. I am soon to buff out my boat with hopes of an out come like yours. Thanks, Rick
 
Top