88 Sunray- Deck Transom and Stringers oh my!!

Jbasham

Petty Officer 3rd Class
Joined
Apr 10, 2017
Messages
84
Thanks Grub I agree!

Yeah Chuck I thought I should tab the top but others said I shouldn't glass over the seam. But I really have no choice because the Transom is so close to the seam.
 

Woodonglass

Supreme Mariner
Joined
Dec 29, 2009
Messages
25,927
As I stated previously the top edge of the transom core needs to be Sealed with Resin and CSM to water proof it. Tabbing to the existing outer hull glass is not required. the PB will secure it to the outer hull just fine. when the PB oozes out around the top edge, fillet it in place and you'll be good to go. With the LIP the way it is I'm guessing The transom will be installed either short of the lip or inserted under it. If Under it PB the top edge so it will completely fill in the seam. Hope this makes sense.
 

Jbasham

Petty Officer 3rd Class
Joined
Apr 10, 2017
Messages
84
As I stated previously the top edge of the transom core needs to be Sealed with Resin and CSM to water proof it. Tabbing to the existing outer hull glass is not required. the PB will secure it to the outer hull just fine. when the PB oozes out around the top edge, fillet it in place and you'll be good to go. With the LIP the way it is I'm guessing The transom will be installed either short of the lip or inserted under it. If Under it PB the top edge so it will completely fill in the seam. Hope this makes sense.

Thanks Wood. What do you mean by "short of the lip or under it"?

Also, out of curiosity why does the transom need to be tabbed into the sides and bottom but not the top?
 

Jbasham

Petty Officer 3rd Class
Joined
Apr 10, 2017
Messages
84
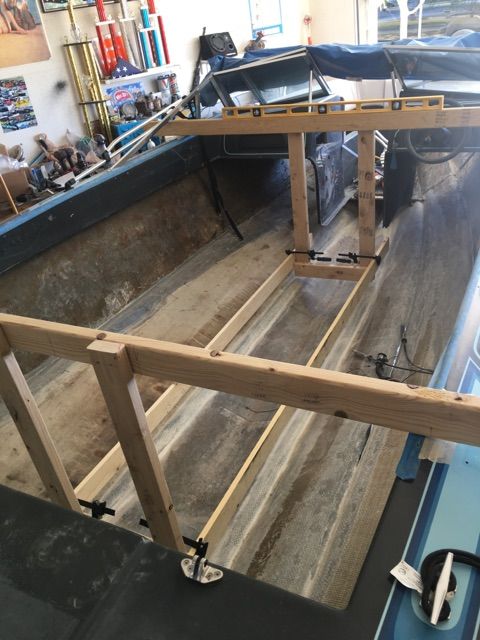
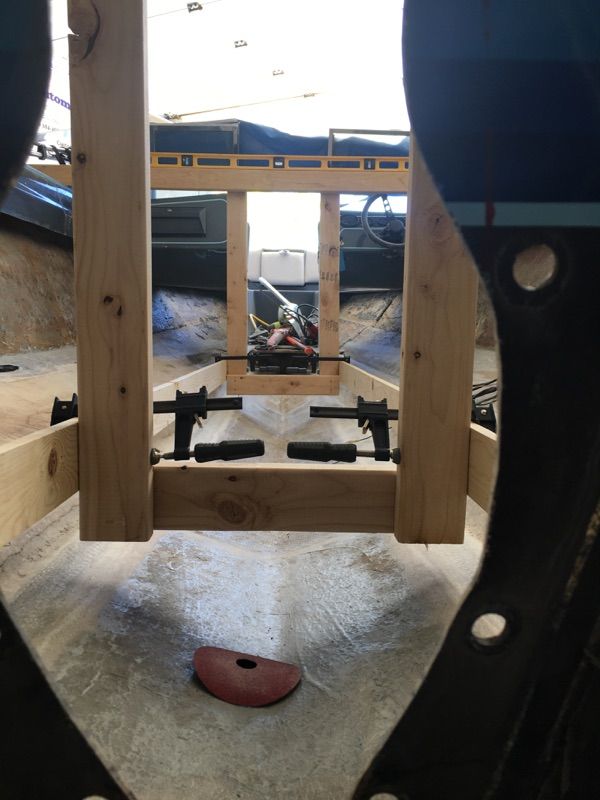
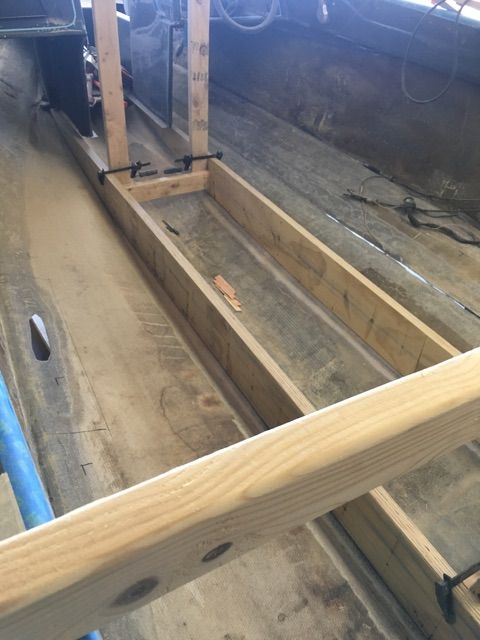
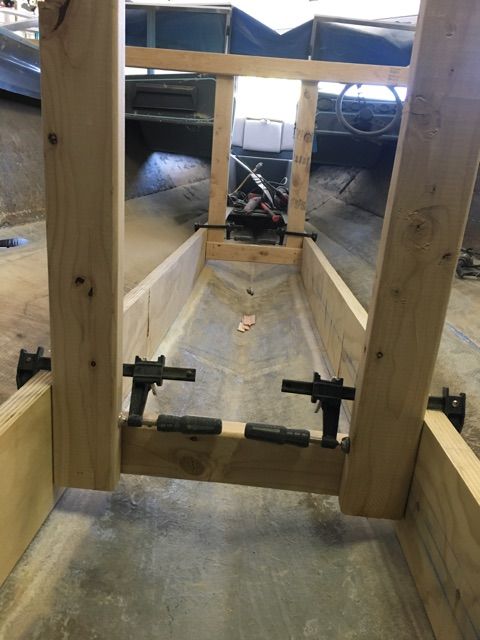
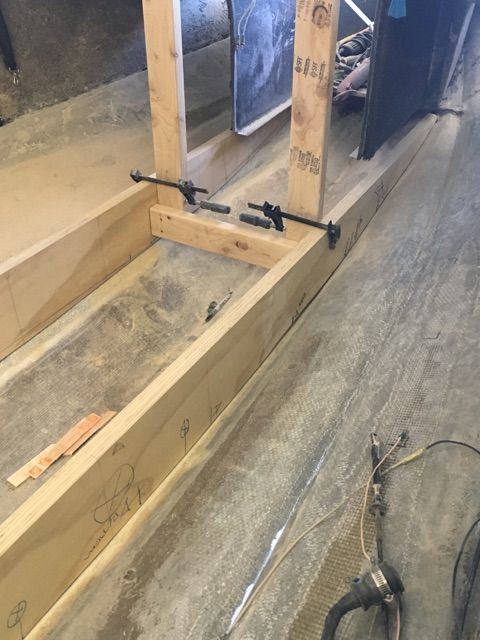
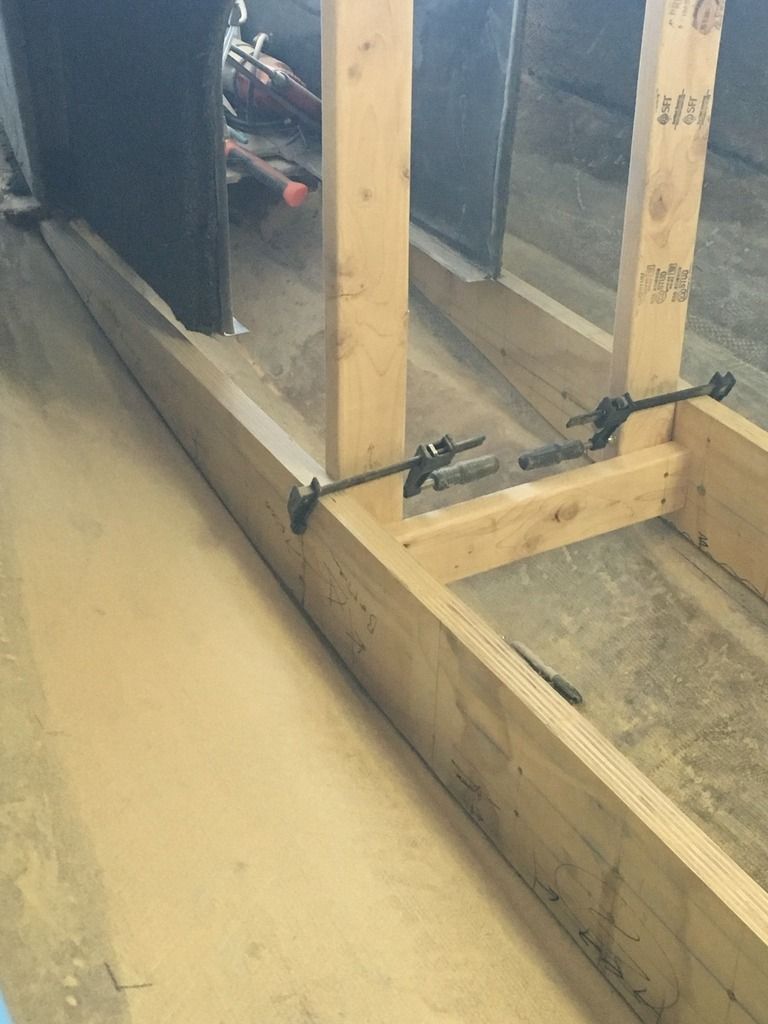
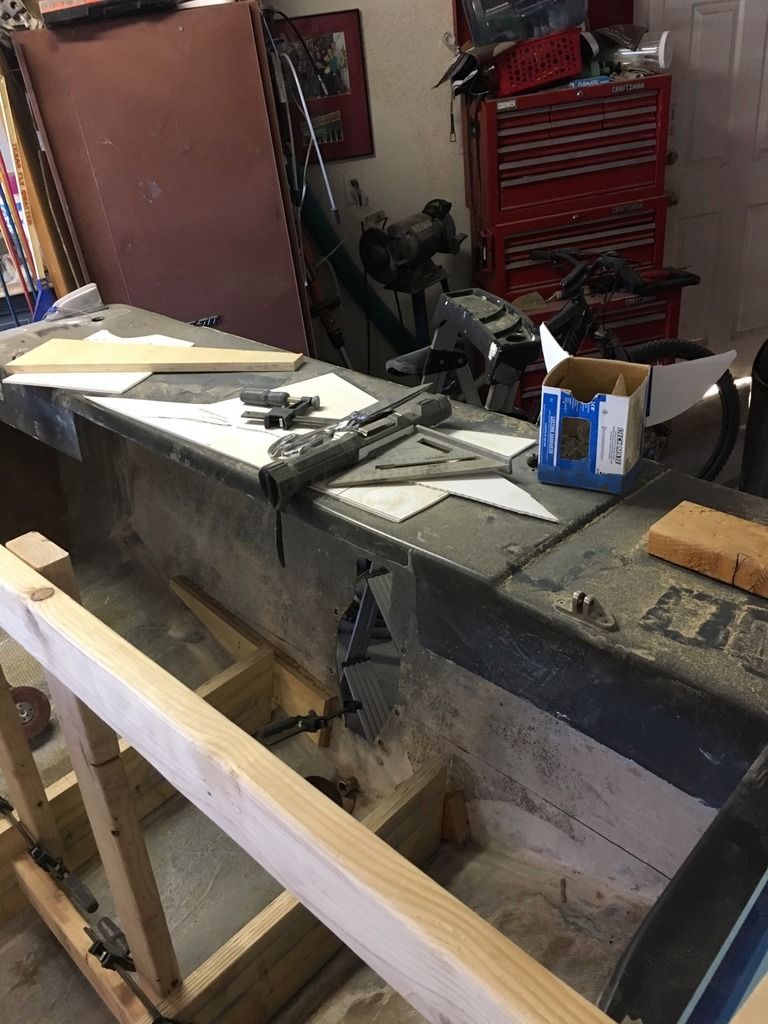
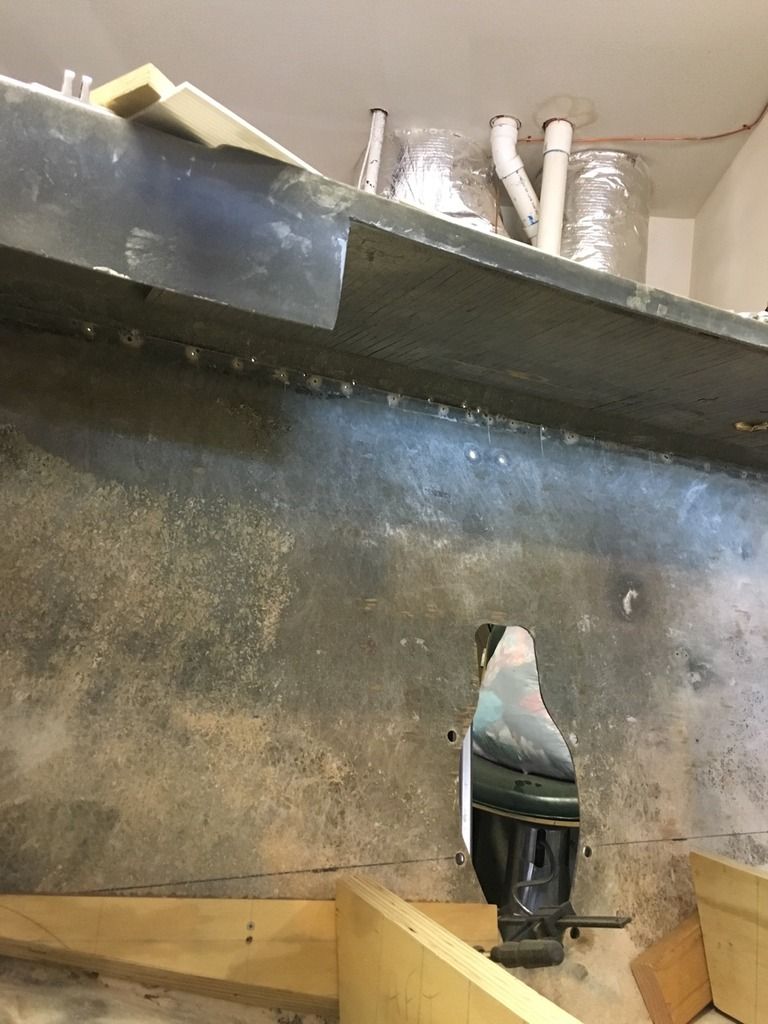
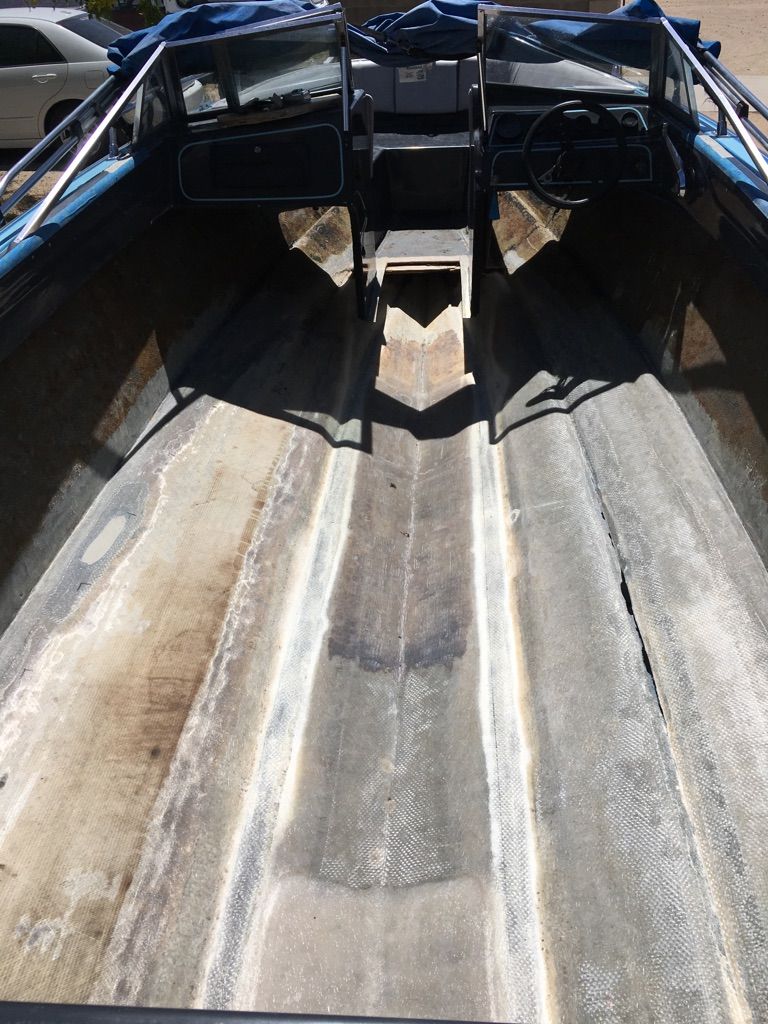
It took me pretty much all weekend but I managed to get the stringers cut and fitted. Here is a few pics of the process. I used the same method that nurseman did in his rebuild. Thanks Nurseman!

Luckily I took measurements before I removed the old stringers, so I knew what height to set the new ones. First I built a jig front and rear so I could suspend makeshift stringers to and get measurements.


I don't have pictures of the measuring process but I basically did the same as Nurseman did... took measurement every 12" and transferred them to my stringers and cut them out. I tried taking measurements every 3" up front where the hull rapidly slopes up but that wouldn't work for me because of the compound angle and slope. So I just traced templates the last 36" and transferred over to the stringers. After that the stringers were in and out of the boat about 20 times cutting and grinding to get them perfect.


Right now they are at deck height and fitted to the hull. I just need to cut a 1/4" gap off the top and that will give me the gap for the bottom.

Hopefully start glassing my transom and stringers this weekend!
 

Jbasham

Petty Officer 3rd Class
Joined
Apr 10, 2017
Messages
84
Quick question. What should I use to seal the brass bilge drain to the hull with before I glass in my transom?
 

Woodonglass

Supreme Mariner
Joined
Dec 29, 2009
Messages
25,927
Thanks Wood. What do you mean by "short of the lip or under it"?

Also, out of curiosity why does the transom need to be tabbed into the sides and bottom but not the top?

Yourtransom.jpg

Your transom will be approximately 2-21/4" thick. As the picture shows the top of it is covered by the fiberglass shell of the boat. The PB will adhere it to the hull and the the tabbings on the sides and the bottom will more than adequately hold it in place. I'm assuming the wood will extend ALL the way to the top of the shell Under the circled area . With enuf PB on the back of the wood some should ooze out around the edges in order for you to fillet it all in place. As I said. I'd seal the top edge with resin and CSM prior to installing in the boat to ensure adequate sealing Transoms normally rot from the bottom up. The top is NOT as critical but...I'd do it just to make sure.

As for the tube I like to drill the hole for it Over size and then let the PB fill the hole entirely during the install. After it's cured, I redrill the hole for the tube to it's proper size and then coat the tube with 5200 This way even it it does leak around the tube it's protected by the PB.
 

Attachments

  • Yourtransom.jpg
    Yourtransom.jpg
    140.2 KB · Views: 1
  • Yourtransom.jpg
    Yourtransom.jpg
    140.2 KB · Views: 1

nurseman

Lieutenant Junior Grade
Joined
Jun 2, 2013
Messages
1,045
Looks good! Glad that worked out for you! The 20 times in and out of the boat sounds about right...
 

Baylinerchuck

Commander
Joined
Jul 29, 2016
Messages
2,726
My bilge drain was below the transom in my Chap. I merely used 3M 5200 to seal it to the glass and 3 screws. Follow WOG's instructions if yours goes through the transom wood. The key in transom longevity is not getting it wet....ever.
 

Jbasham

Petty Officer 3rd Class
Joined
Apr 10, 2017
Messages
84
I did notch the bottom of my transom so the drain will not go through any wood and I plan to fill the void around it with PB. The drain is flared on both sides so it won't come out unless I cut it out, but it does slide back and forth so I guess I'll coat it in 5200 on the outside and shove it in flush.
 

Jbasham

Petty Officer 3rd Class
Joined
Apr 10, 2017
Messages
84
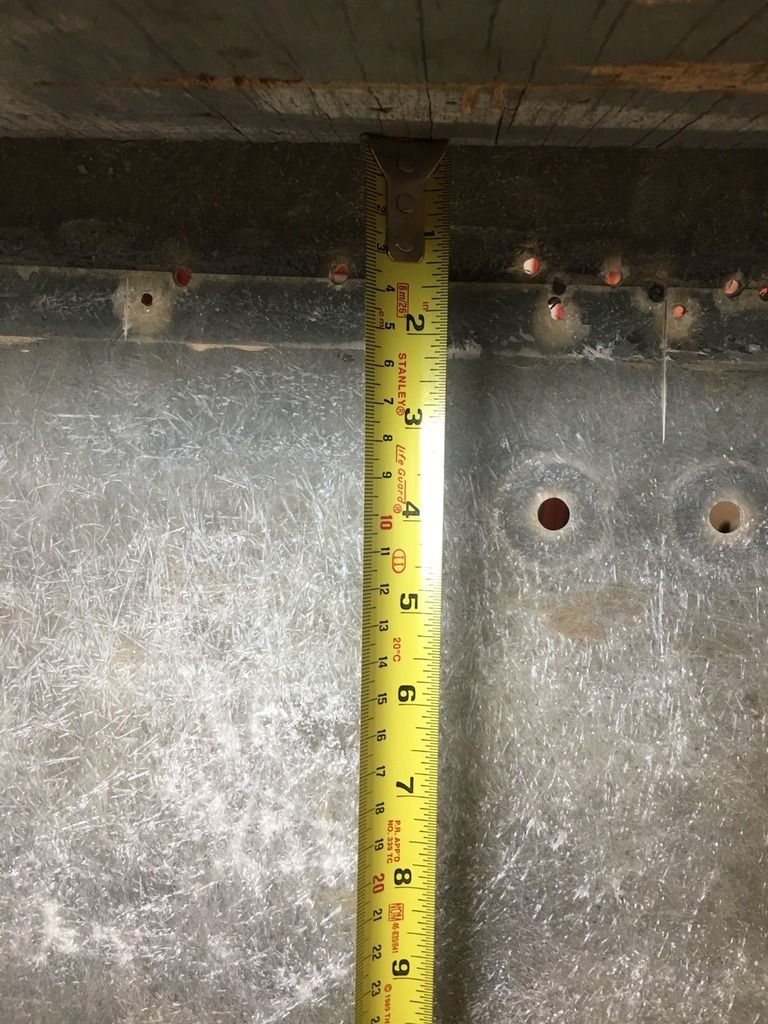
Woodonglass that lip is about an 18" overhang. The transom originally stopped about 1/2" from the seam where the cap joins the hull that's why I was asking before about glassing over the seam. But it sounds like I don't need to tab it all up there.
 

Woodonglass

Supreme Mariner
Joined
Dec 29, 2009
Messages
25,927
Ahhh, Ok gotcha. Nope no tabbing. When the PB oozes out just make a nice coved fillet and you're good!!! Again make sure and use resin and glass on the edge before you install. The sides and bottom will be sealed withe the fillet and the tabbings.
 

Carpenter2486

Petty Officer 2nd Class
Joined
May 14, 2011
Messages
144
Looks good! takes some time but feels great when its all glassed in!

Keep up the good work,

following along.
 

Jbasham

Petty Officer 3rd Class
Joined
Apr 10, 2017
Messages
84
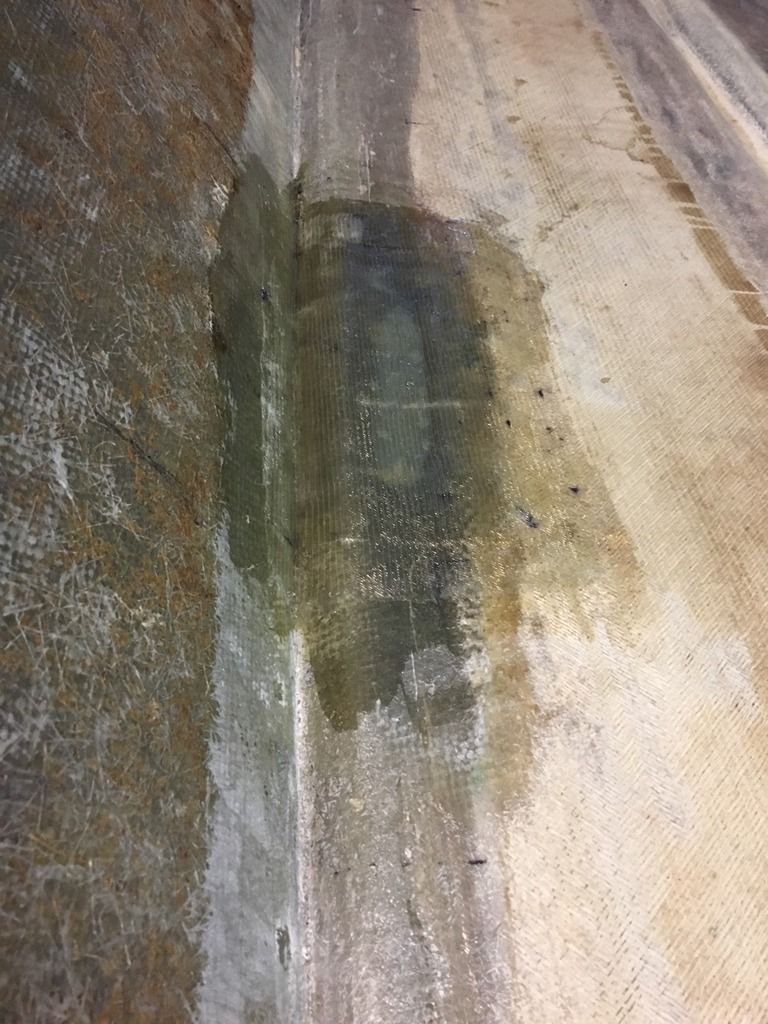
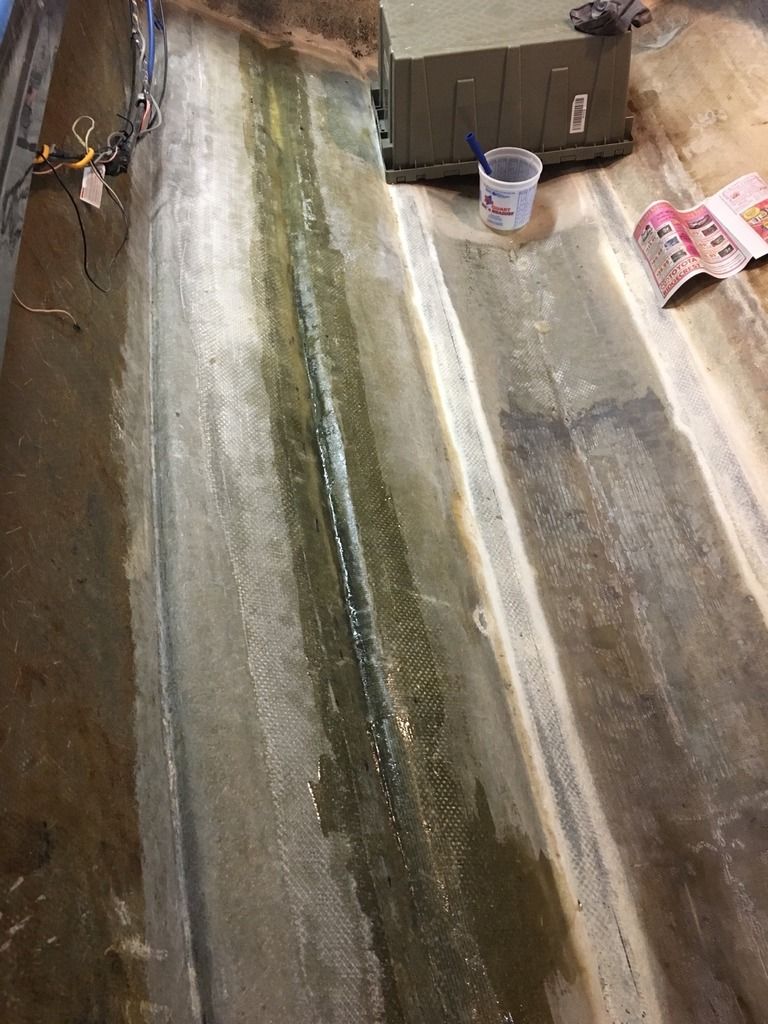
Finally got to lay some glass!!

I got the crack and hole sealed up... On the hole I started with a 4"x10" 1708 and went bigger each layer and now it's at 4 layers.

The cracked strake so far has 2 layers of 1708 but now I'm thinking of filling the strake level with PB and then a final layer of 1708.. That's how the opposite side strake was repaired in the past. Thoughts?


Jbasham

Petty Officer 3rd Class
Joined
Apr 10, 2017
Messages
84
Also whats the time frame that I can continue to do layups without prepping? The last layup was about 12 hours ago and it already feels hard. As far as prep goes, just hand sand with 36 grit and then wipe with acetone?
 

Baylinerchuck

Commander
Joined
Jul 29, 2016
Messages
2,726
As long as your resin is unwaxed, you can keep laying without prep. No sanding needed. Just wipe with acetone or MEK if it gets dusty or dirty prior to the next layup.
 

Jbasham

Petty Officer 3rd Class
Joined
Apr 10, 2017
Messages
84
As long as your resin is unwaxed, you can keep laying without prep. No sanding needed. Just wipe with acetone or MEK if it gets dusty or dirty prior to the next layup.

Thanks Chuck!

The resin im using is unwaxed laminating resin. But I remember reading something on another thread about a 19 hour window between layups... Have you heard of this?
 

Baylinerchuck

Commander
Joined
Jul 29, 2016
Messages
2,726
Nope, never heard of that. As soon as the resin kicks and firms up you can put down another layer. Resin without wax will stay tacky and slightly soft. Surfacing wax seals the resin from air to fully cure it. This layer will need to be lightly sanded off prior to additional layup.
 

Jbasham

Petty Officer 3rd Class
Joined
Apr 10, 2017
Messages
84
Strange. This is unwaxed laminating resin from a reputable shop but after 2 days with no surface agent added it is hard as can be, definitely not still tacky. I guess I'll call the shop I bought it from and ask them.
 

Woodonglass

Supreme Mariner
Joined
Dec 29, 2009
Messages
25,927
Laminating resin will harden with out adding wax. The amount of time that is takes has a lot of variables. Temp, Humidity, etc.. It won't hurt anything to give it a light scuff and wipedown with acetone prior to applying the next layer. Filling the strake with PB is fine. Not required but it won't hurt.
 
Top