88 Sunray- Deck Transom and Stringers oh my!!

Jbasham

Petty Officer 3rd Class
Joined
Apr 10, 2017
Messages
84
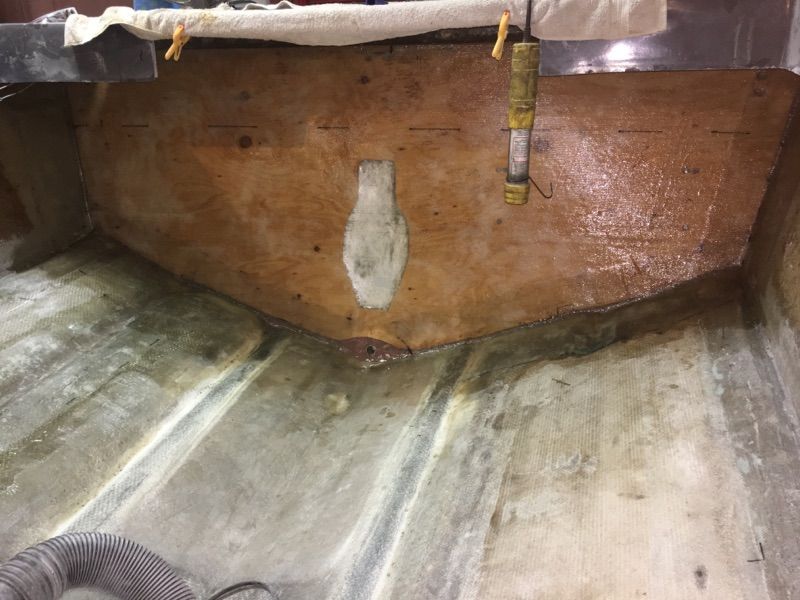
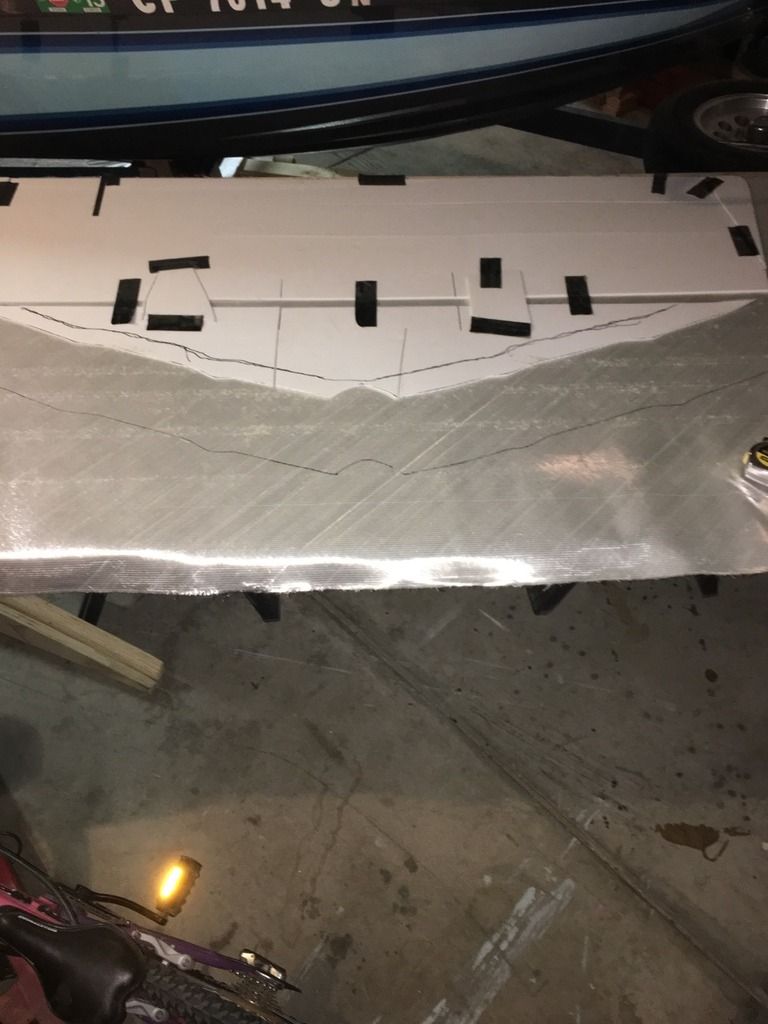
So my layup plan for the transom is 8in tabbing 1708, 1 full layer 1708 extending 4in past the tabbing, then 1 full layer of 1.5oz CSM just for the texture. Does this sound ok?? I know its recommended to do 2 full layers of 1708 but I forgot and tabbed it first.

Also im kinda stressing about doing the full 1708 layer because that's a ton of area to cover on a vertical surface!! Wish I would have did the 1708 when the transom was on the sawhorses. Any pointers would be greatly appreciated. Thanks guys!
 

kcassells

Fleet Admiral
Joined
Oct 16, 2012
Messages
8,715
hey I just came back from the eye doc with new glasses...guess what that work looks Great!
 

kcassells

Fleet Admiral
Joined
Oct 16, 2012
Messages
8,715
Tape or clamp off the top of the transom glass. Then it will sit in place. Fit it, mark out the corners with a markerker, let it rest to fit. That way you can see where it was and want to be. The glass will stretch out a little as you roll it. Use a 6" roller for the face, have some brushes ready to poke air out of the corners, Cut those brushes tips into a "V". So the become like daggers actually piercing the bubbles ifthe form. Some guys use fresh bondo spreaders to move the air and gliue around. Like doing sheetrock/plaster. They all work and are handy.
You'll do just fine ;)
 

Baylinerchuck

Commander
Joined
Jul 29, 2016
Messages
2,726
I like to use a bubble buster roller to smooth everything out. Just have patience, it'll work out fine!
 

Jbasham

Petty Officer 3rd Class
Joined
Apr 10, 2017
Messages
84
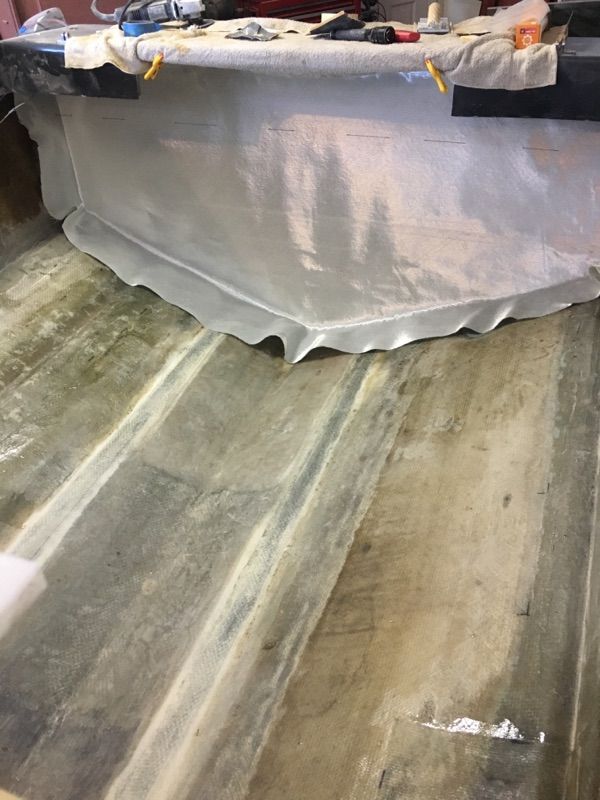
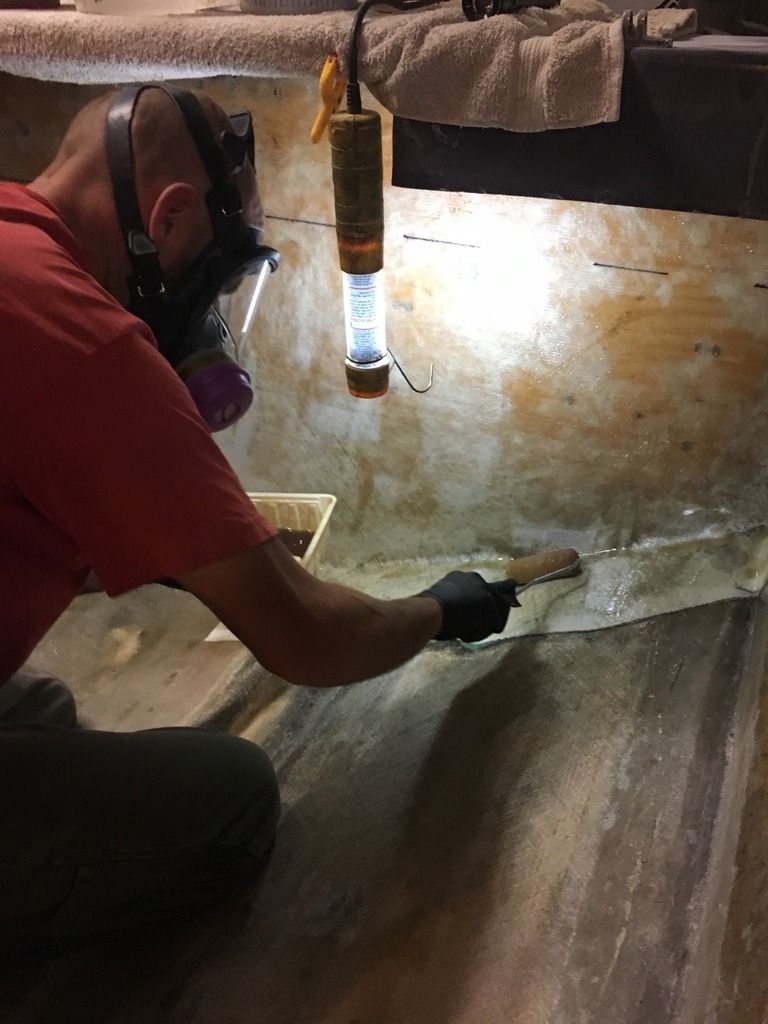
The first full layer of 1708 on the Transom is in! I started with 1qt mixed at 1% with another quart on standby. Halfway through my wife mixed the second batch but I only used about half of it....I ended up with a lot of air bubbles so tonight ill have to grind them out and do another layer.I tried every tool in my arsenal (bubble buster, bondo spreader, foam roller and a brush) to get the air out, but no go. The largest areas of air were there from the very beginning. I thought adding more resin and rolling them would help but finally I had to let it be.


Woodonglass

Supreme Mariner
Joined
Dec 29, 2009
Messages
25,927
Next time do this...Roll an ample amount of resin on the substructure first. Then apply the fabric onto the wet surface and start in the middle an roll it out with a bubble buster to all 4 sides. Add just a bit of resin to the areas that need it. I think you'll find you get very few air pockets using this method.;)
 

Jbasham

Petty Officer 3rd Class
Joined
Apr 10, 2017
Messages
84
Next time do this...Roll an ample amount of resin on the substructure first. Then apply the fabric onto the wet surface and start in the middle an roll it out with a bubble buster to all 4 sides. Add just a bit of resin to the areas that need it. I think you'll find you get very few air pockets using this method.;)

Thanks Wood! Should I use that method on the stringers as well?
 

kcassells

Fleet Admiral
Joined
Oct 16, 2012
Messages
8,715
At some point you will just roll out the glass, wet it out, do double lay ups and feel much more comfortable about the work. I was as most of us in the same boat...so to speak.;) Looking Great! Listen to Yoda! I mean WOG. lol
 

Woodonglass

Supreme Mariner
Joined
Dec 29, 2009
Messages
25,927
You should ALWAYS put down resin first and then apply the glass on top of it. This ensures and makes it much easier for all the fibers to be soaked in resin all the way thru. It also makes it easier to keep the glass in place. Wear latex gloves and use your hands and fingers. Heck most of the time I do a Heck of a lot of smoothing, tugging and pulling with my hands. I then remove the gloves put on a new pair and get to work with the bubble buster and this forces the resin up thru the backside of the glass. I then just add a bit more resin to the spots that haven't been totally soaked.and gone clear.
 

Jbasham

Petty Officer 3rd Class
Joined
Apr 10, 2017
Messages
84
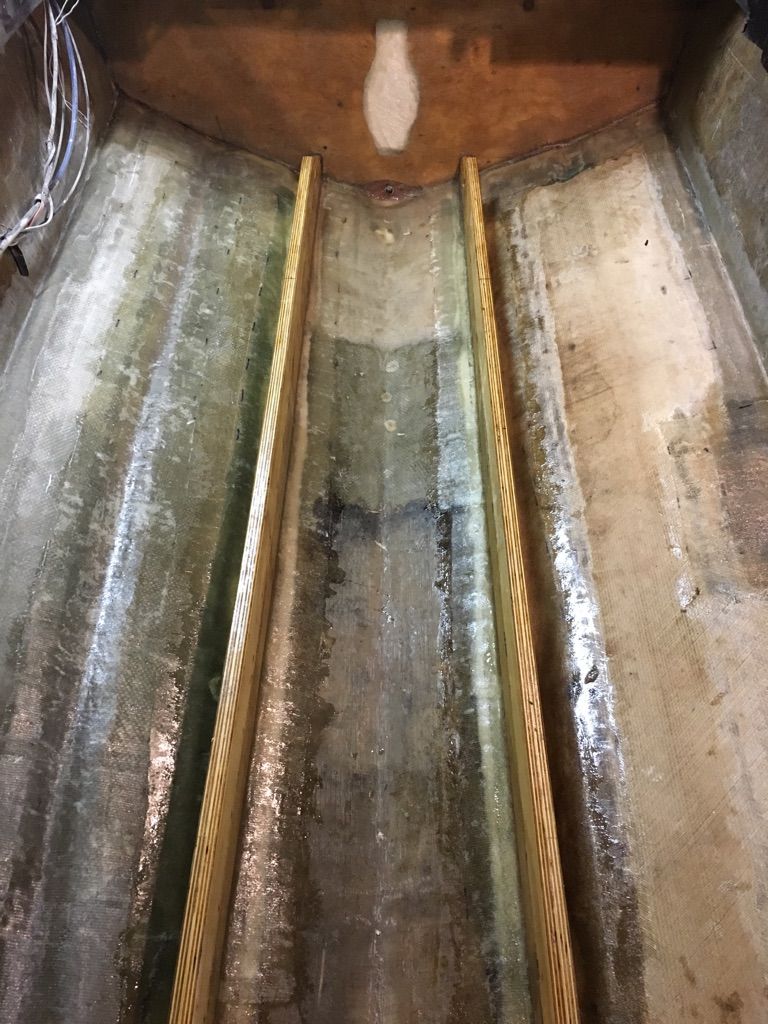
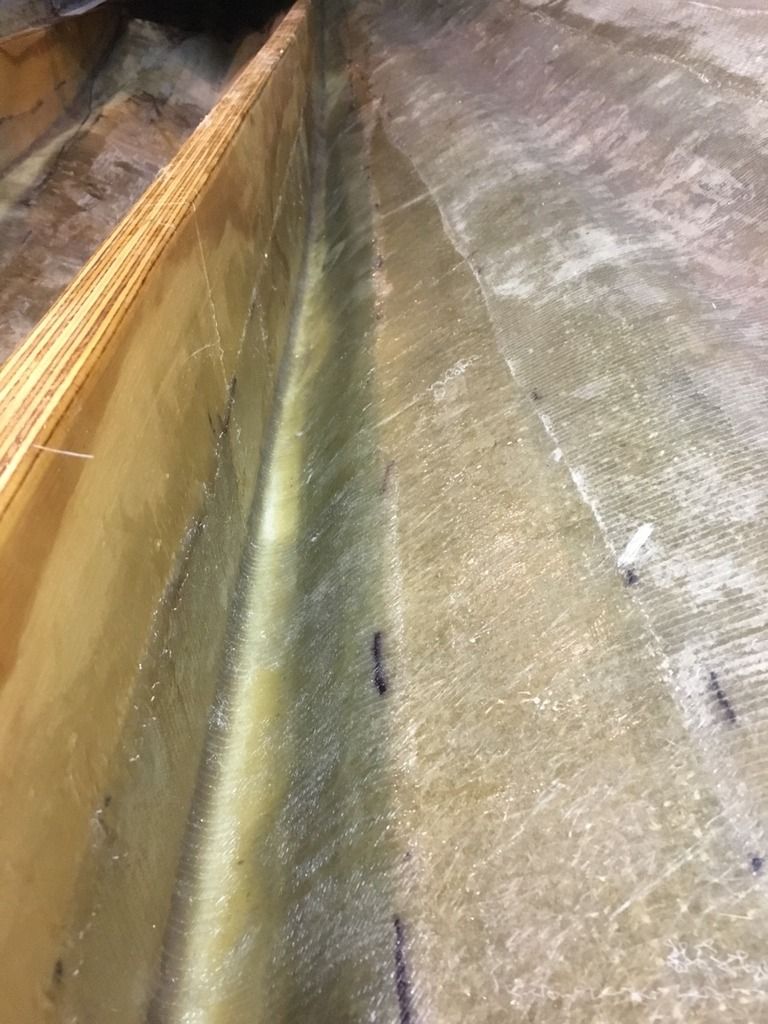
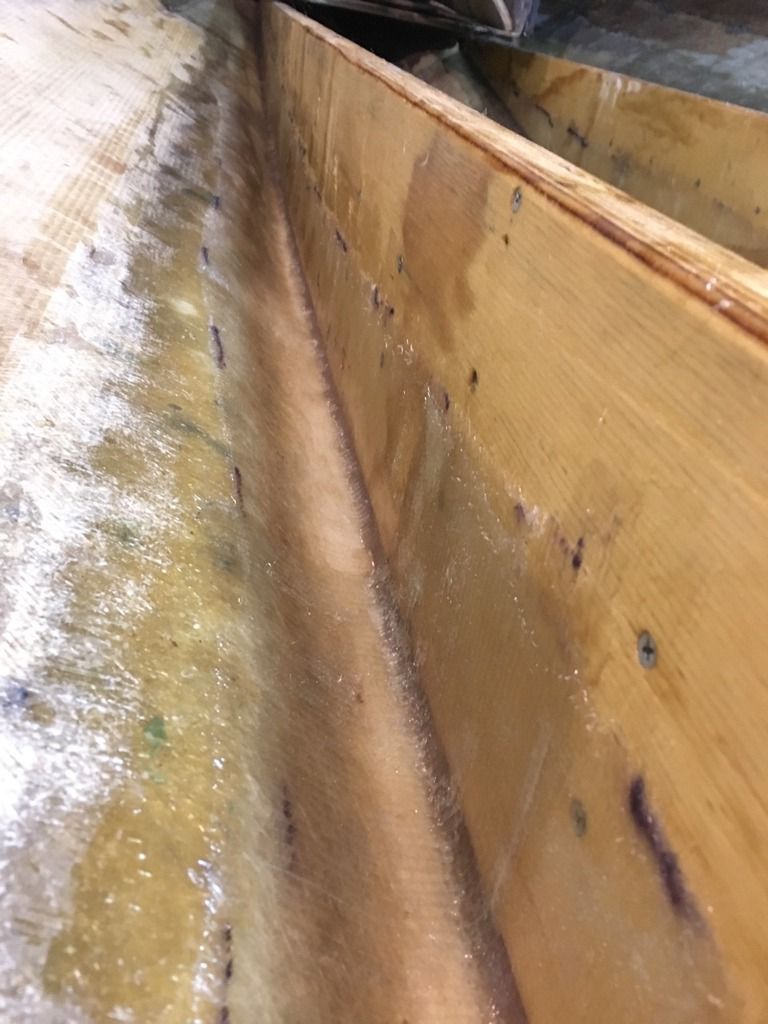
We got stringers!! It was a long hot day so I didn't get many pictures. StRted mixing PB around noon and got all the filets done, it took almost a gallon of resin! They came out really nice though.

We got the first layer of 1708 down with very few air pockets. The next layer is cut and ready to go. Tomorrow after work I'll grind out a few spots and get the final layer down.


Jbasham

Petty Officer 3rd Class
Joined
Apr 10, 2017
Messages
84
Thanks a lot guys! If everything goes as planned ill be glassing a deck this weekend!
 

kcassells

Fleet Admiral
Joined
Oct 16, 2012
Messages
8,715
Very nice!! But listen, next time cut out 2 pcs, one to layer over the other. If it's for tabing make it 3" wider. After you roll out your first pc. Smoke a butt, crack a beer, mix up some ready to go measured pol..poll poly. Whew that was hard to spell. I'm so use to EEEEEEEEEEEEEpooooxxyyyyy!
Lay your next glass, do the same process. Now you have what is called wet on wet and it's a better mechanical/chemical bond. Either way works though. Just seems to me to make the whole job go faster ya see.:eyebrows::eyebrows:
 

Jbasham

Petty Officer 3rd Class
Joined
Apr 10, 2017
Messages
84
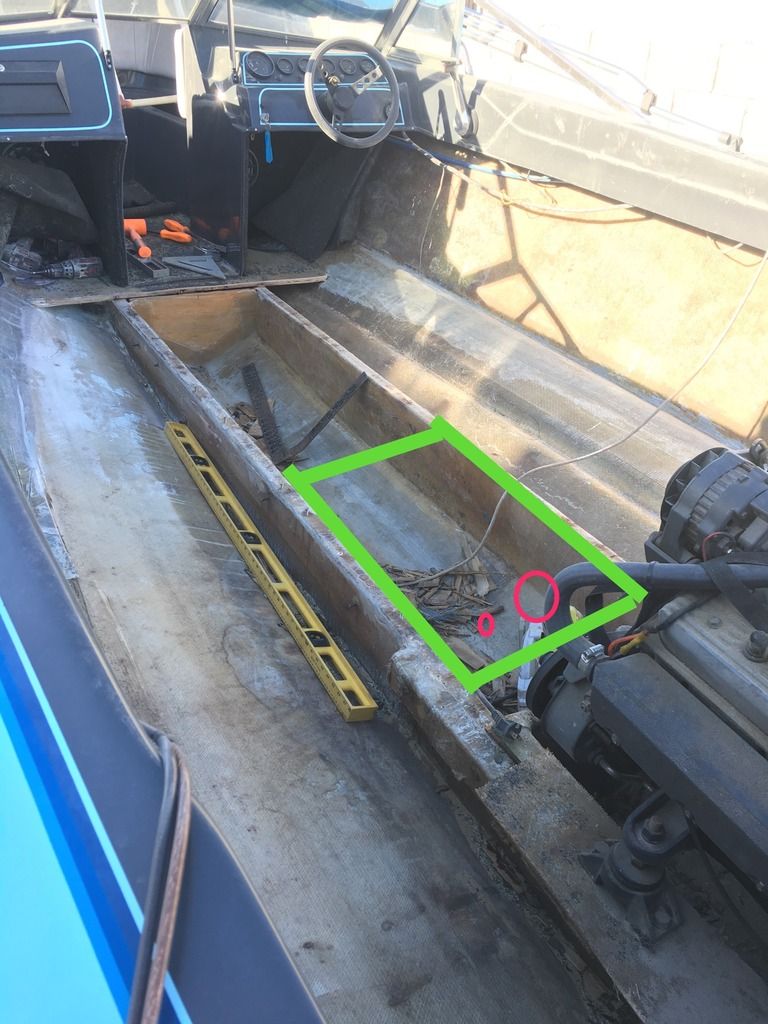
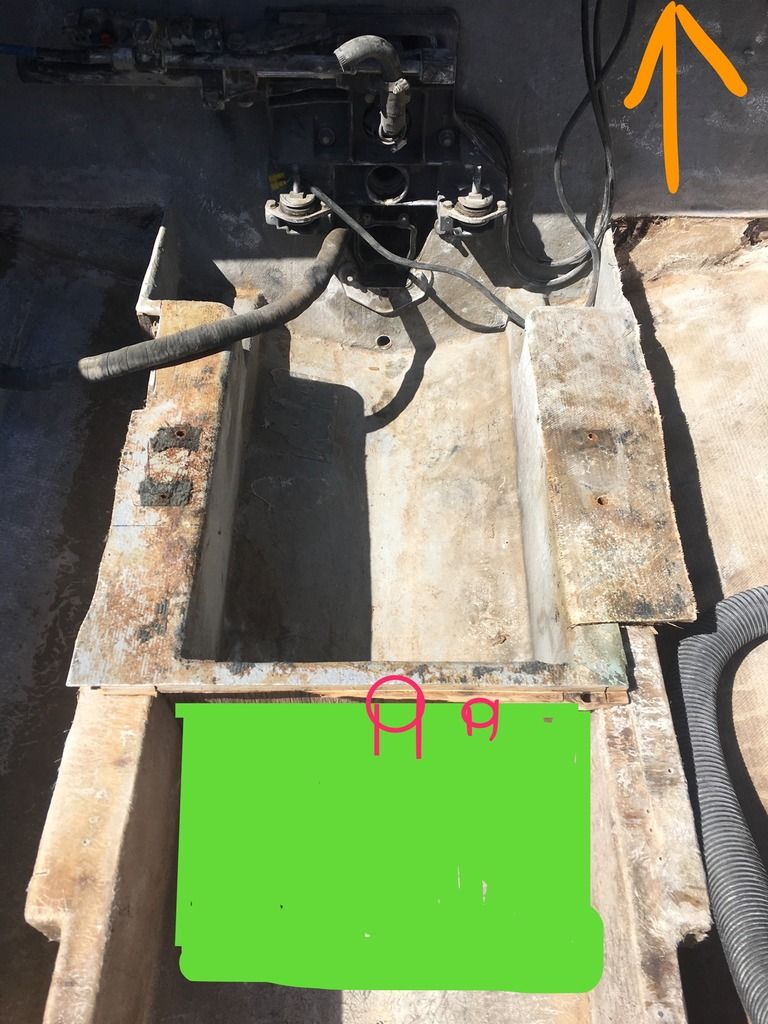
I've decided to put a fuel tank under the deck directly in front of the bilge. My old tank is 22 gal and sat on the port side of the deck next to the engine. That's a lot of added weight on the stern and the new one being about centered should help the boat handle a lot better.

Only tank I could find that would work was a plastic moeller 18gal. I'm losing 4 gallons of capacity but I think the pros outweigh the cons. The fill and vent ports on the tank will end up right in front of the engine behind the rear bench seat.

Now my question. I want to use the original fill and vent which were directly above the old tank but it's going to be bout a 36" run through the engine compartment (or under the engine in the bilge)and then up 24". Is there straight filler neck pipe I can utilize or should I do the whole run in hose? Any ideas guys?
 
Top