86 Sea Ray Restoration [Splashed Oct 2017]

Goldie627

Lieutenant Junior Grade
Joined
Oct 28, 2013
Messages
1,010
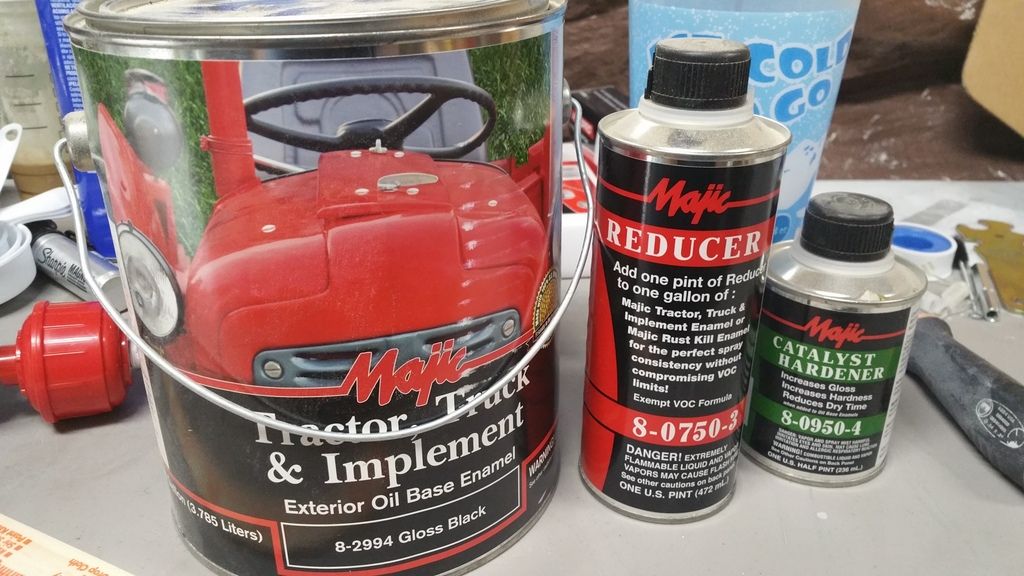
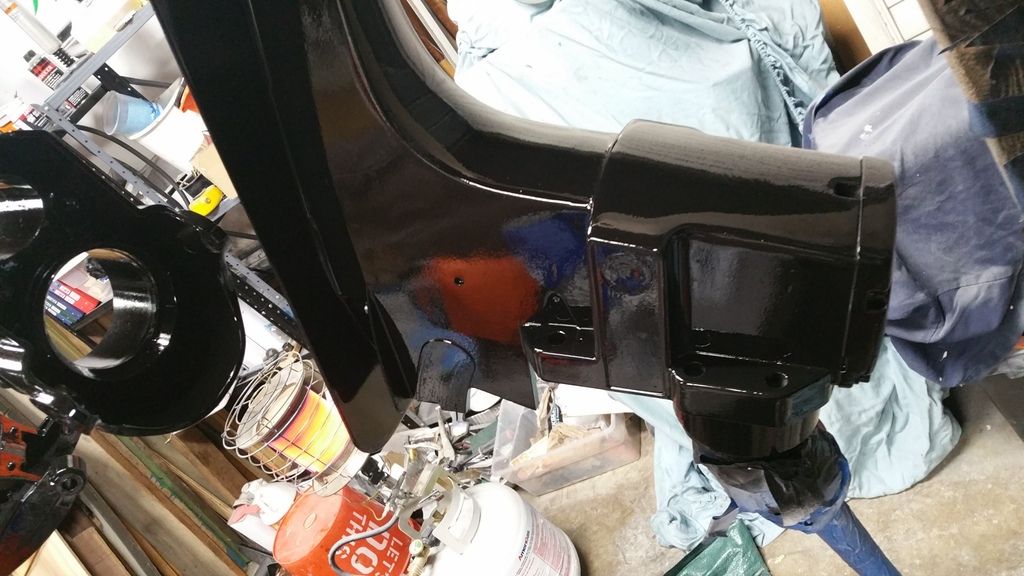
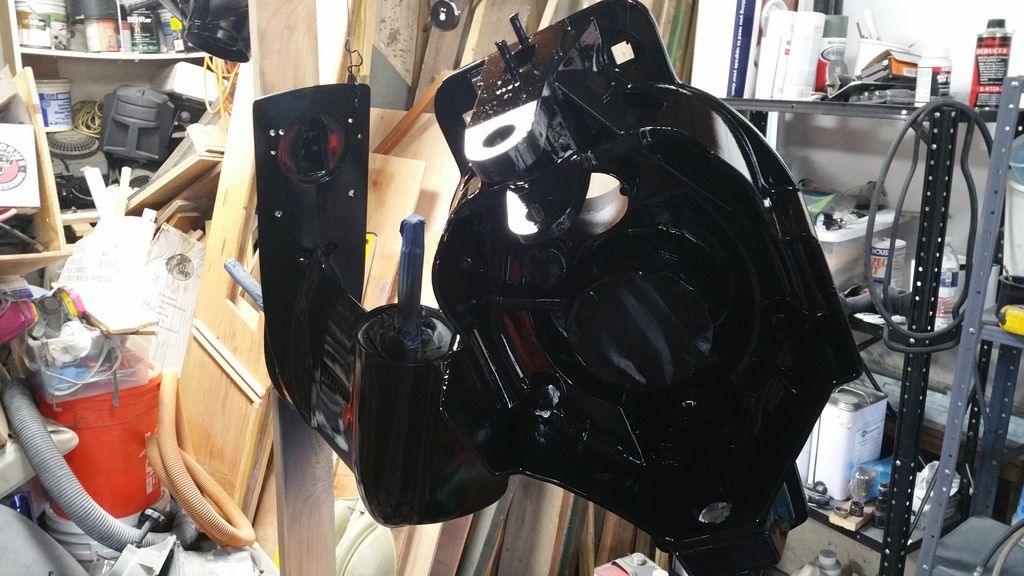
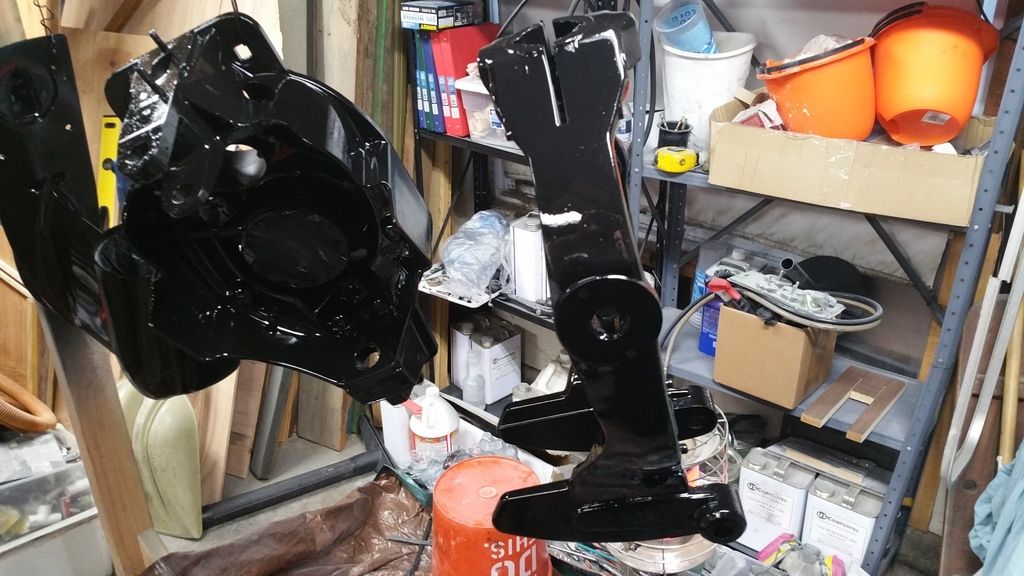
the good....
20160116_135007_zpsgb4j9hnf.jpg


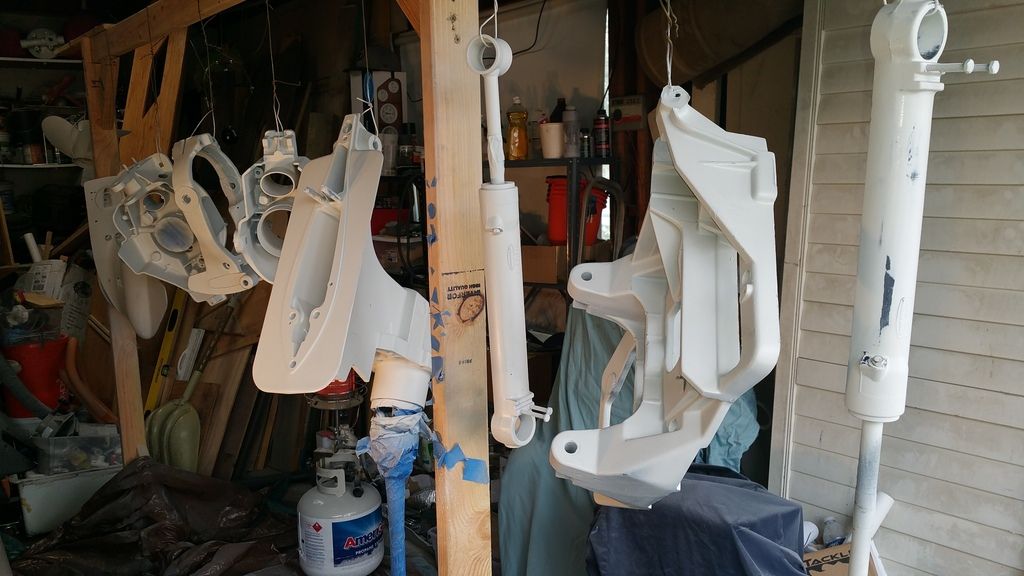
the bad...
20160116_144625_zpsaed3xvb0.jpg


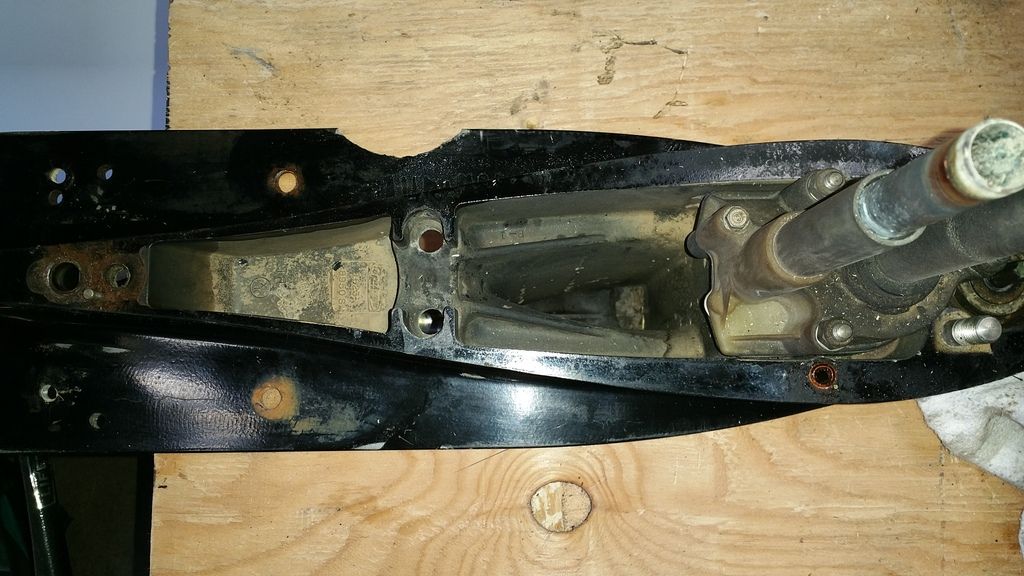
the ugly.... i love clint eastwood westerns :D
20151128_124832_zpse6bitoiy.jpg
 

Goldie627

Lieutenant Junior Grade
Joined
Oct 28, 2013
Messages
1,010
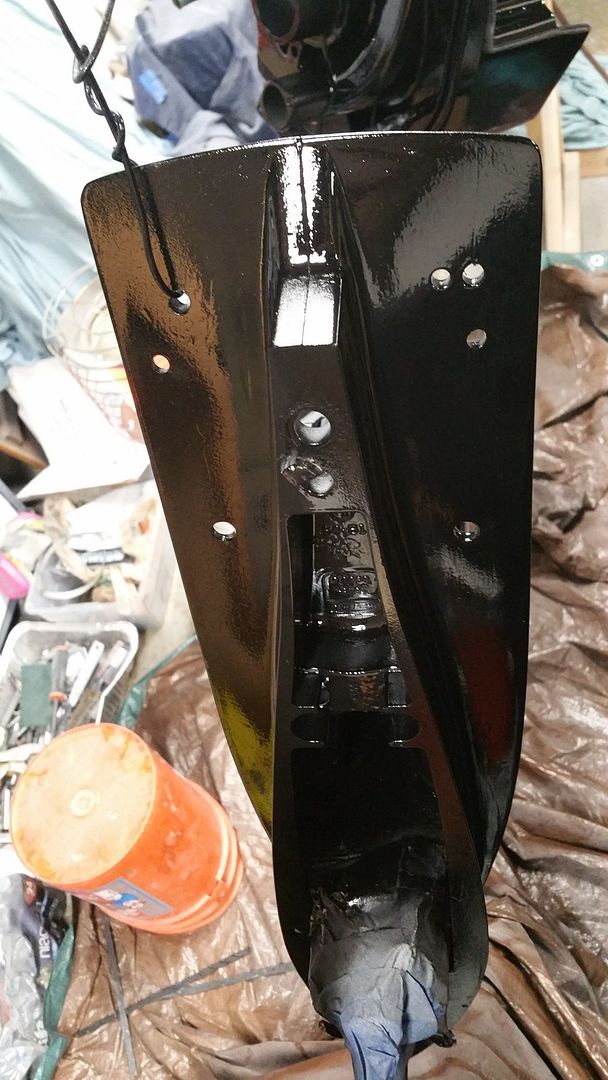
...
20160116_170430_zpsxt7yuci2.jpg


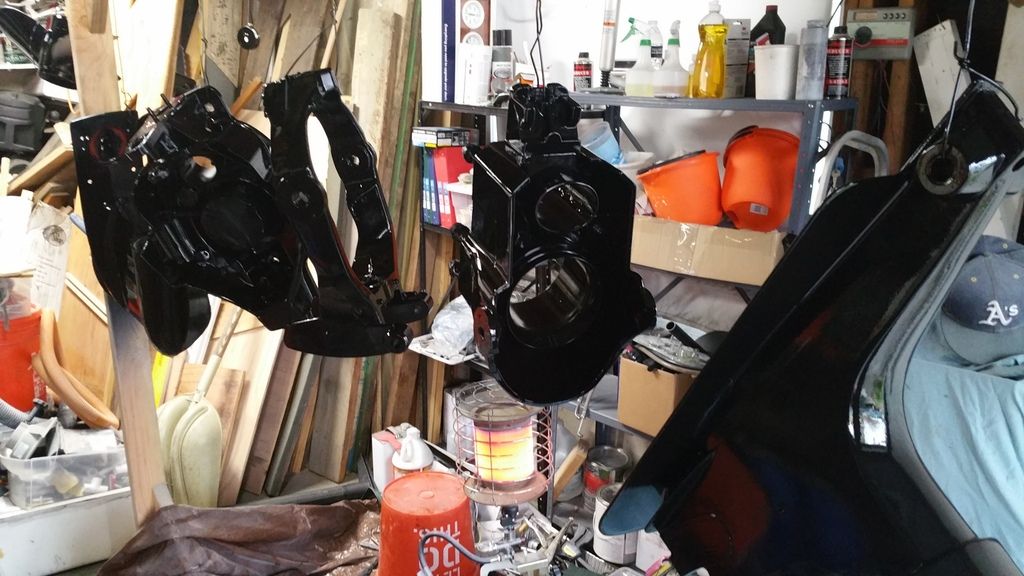
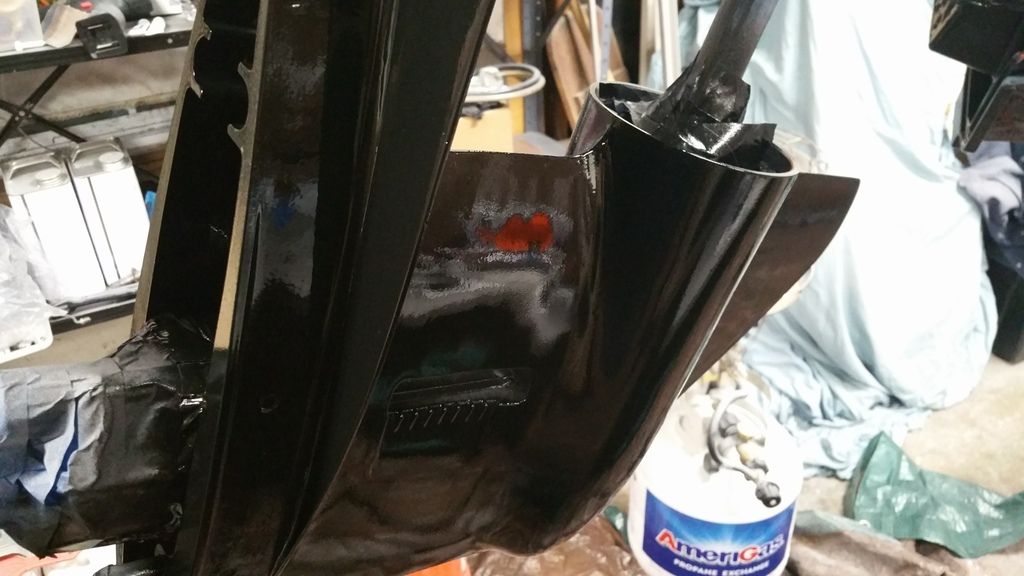
my avengers phone case in the reflection, to bad the lighting was bad would have made a awesome photo
20160116_170615_zpsgeepbmsf.jpg
 
Last edited:

Goldie627

Lieutenant Junior Grade
Joined
Oct 28, 2013
Messages
1,010
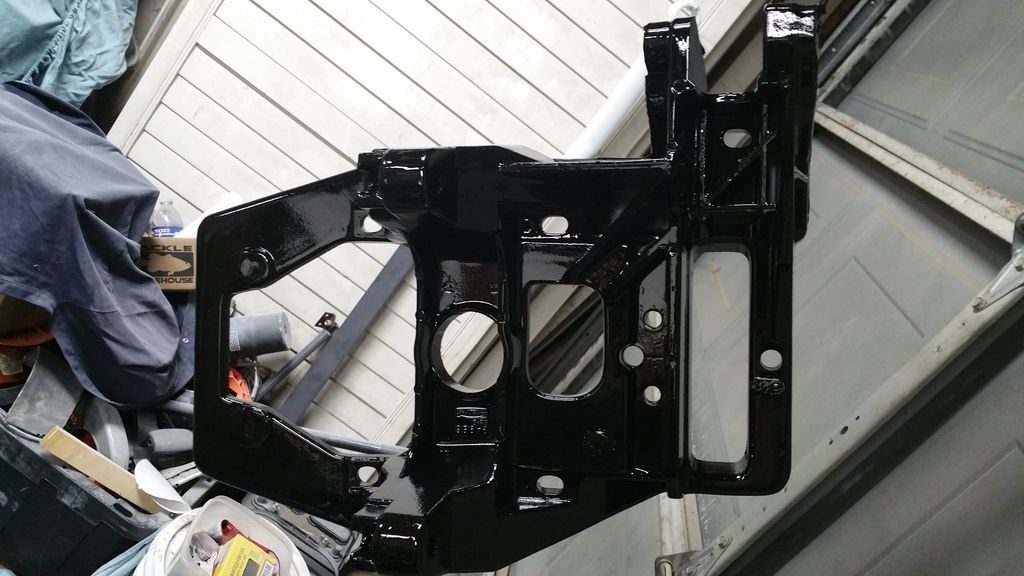
20160116_170324_zpstst5wpdl.jpg


20160116_165059_zpshy9fdpoc.jpg


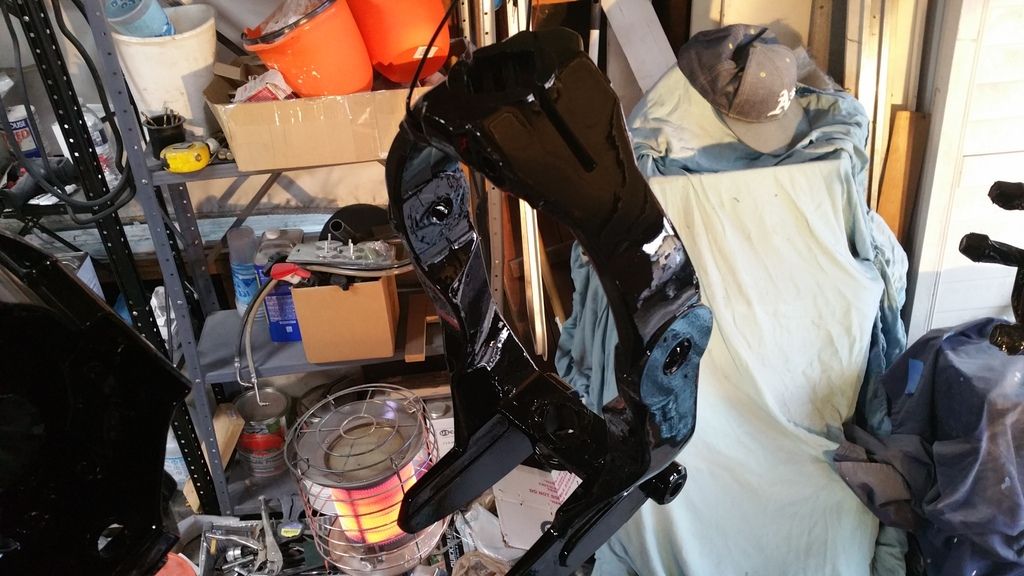
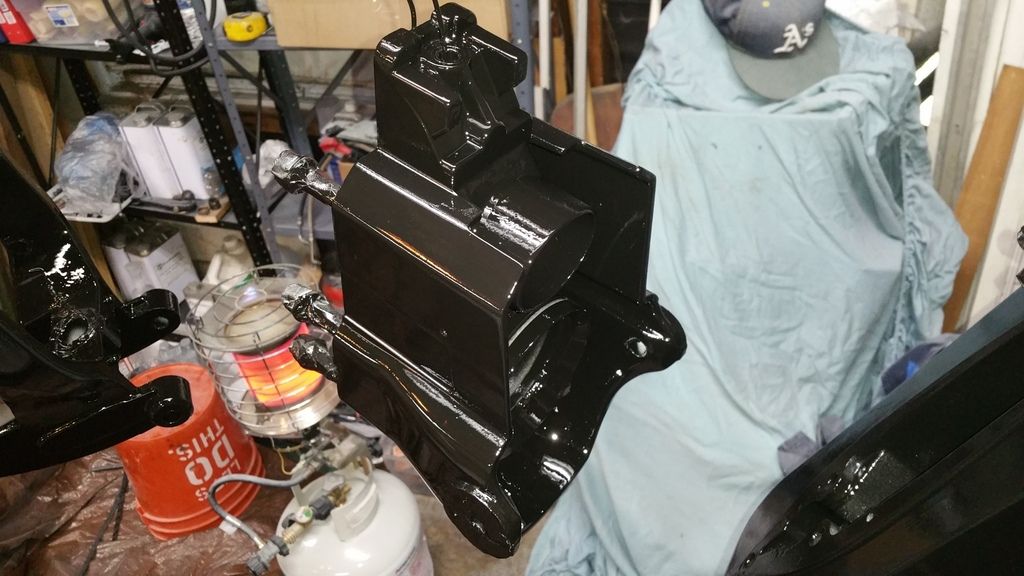
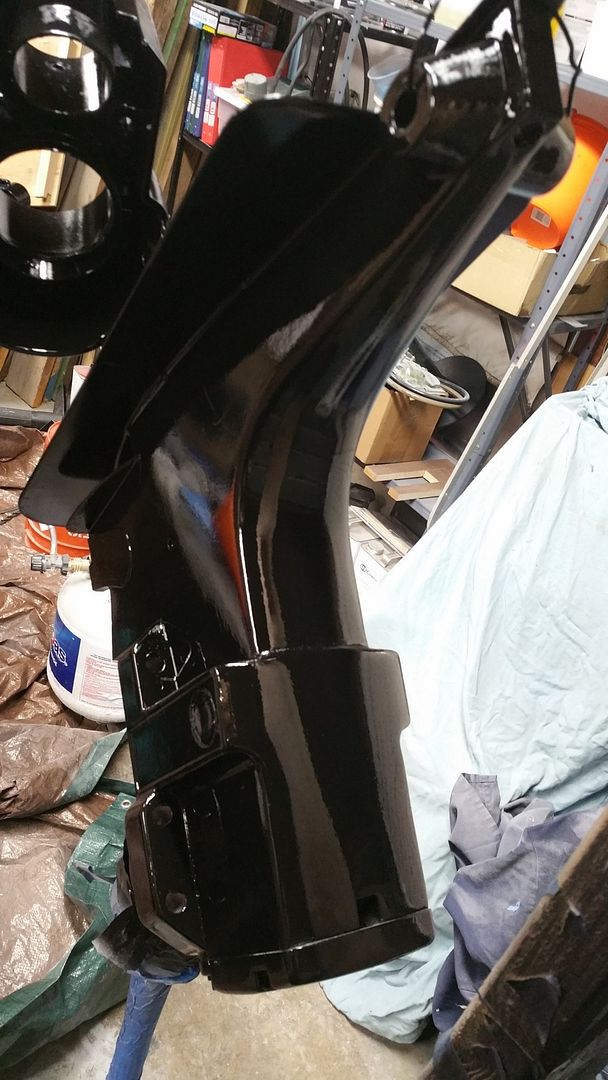
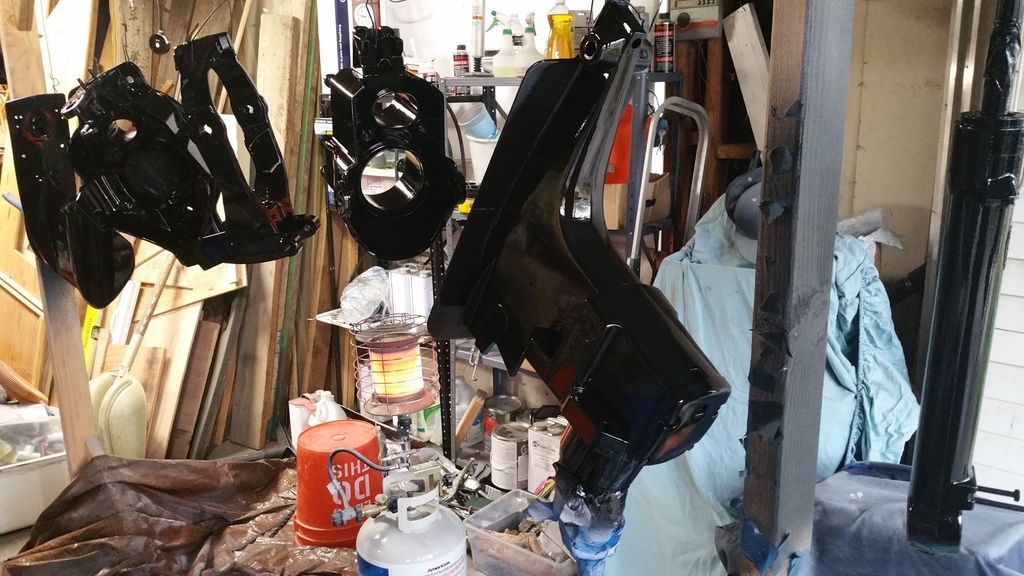
second coat coming soon.... to a restoration thread near you.... :D
 

Goldie627

Lieutenant Junior Grade
Joined
Oct 28, 2013
Messages
1,010
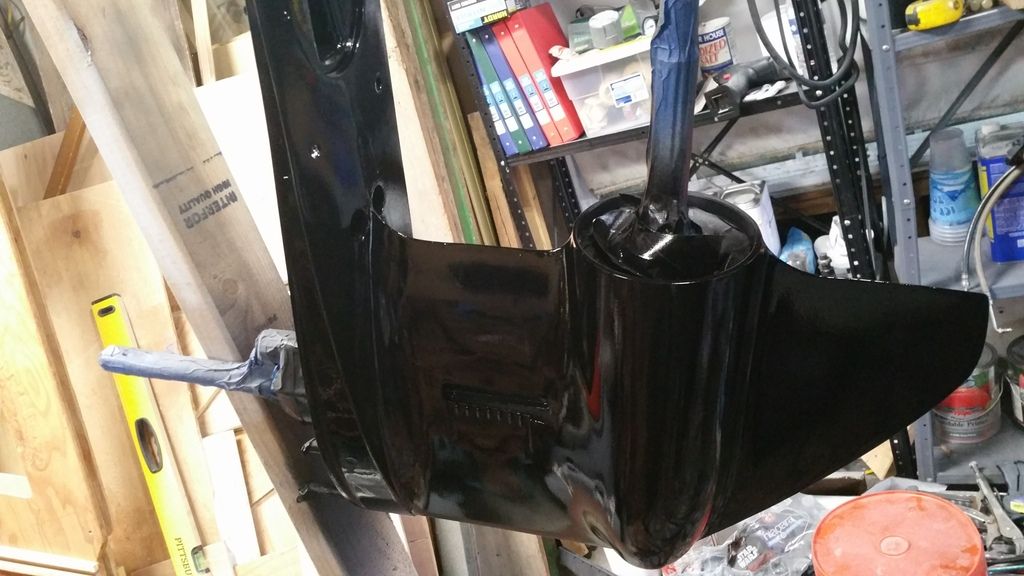
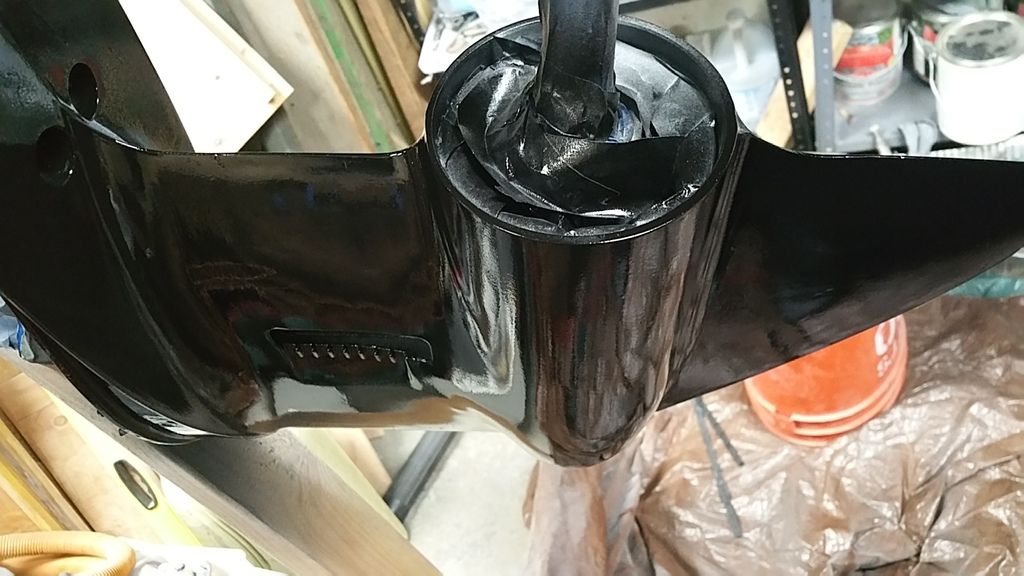
had a few small runs, nothing major, gonna sand them out before the second coat
 

Rick Stephens

Admiral
Joined
Aug 13, 2013
Messages
6,118
Wow, nice job. That is hard stuff to paint. All those nooks and crannies make it easy to get a run.

Found a new career?
 

Goldie627

Lieutenant Junior Grade
Joined
Oct 28, 2013
Messages
1,010
Wow, nice job. That is hard stuff to paint. All those nooks and crannies make it easy to get a run.

Found a new career?
Thanks Rick!! Yeah all those nooks and crannies you gotta keep it moving but i was lucky and had very few runs, im not gonna quit my day jobs :D atleast not yet, lets see how the second coat goes :D

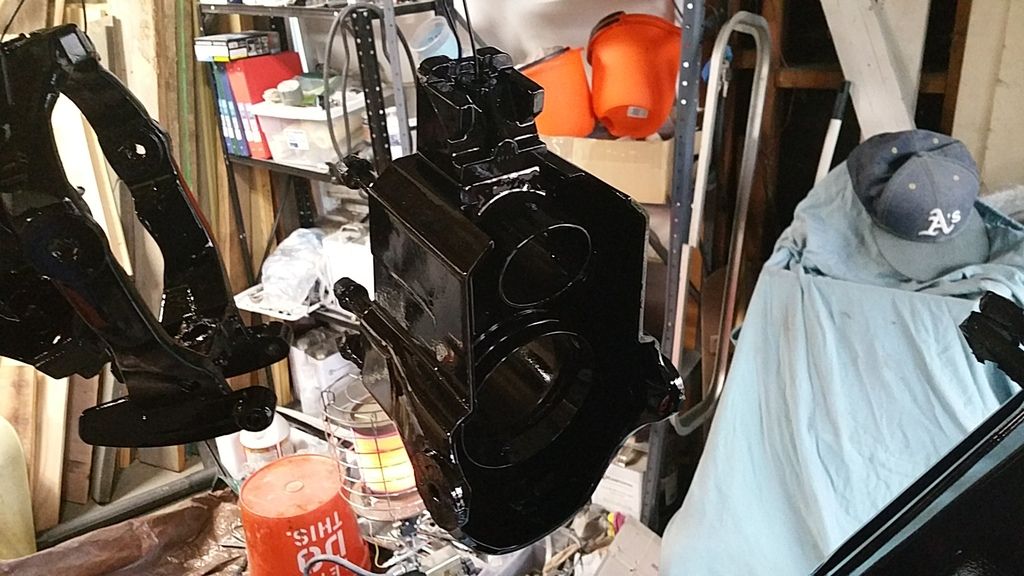
caught up in the moment i some how forgot to paint one of my trim cylinders :eek: i think what happened is the rack was kinda cozy so to make a lil extra room i moved it off the rack temporary to shoot the transom plate, i forgot to hang it back up doh! :faint2: it wasnt so bad tho because i ran short on paint and only got half of the prop covered (prop was the last piece shot)

Im heading out now to refill the propane and start prepping for round two
 
Last edited:

Goldie627

Lieutenant Junior Grade
Joined
Oct 28, 2013
Messages
1,010
i wish we had a way of editing posts after the hour or so time expires, atleast the origninal poster should have the ability. it would be nice for those like me who make mistakes or those who just wanna keep their thread clean
 

Goldie627

Lieutenant Junior Grade
Joined
Oct 28, 2013
Messages
1,010
(from a noob....) the tcpglobal gun shoots like a dream! i really liked it, smooth smooth smooth! kinda makes me wonder how the expensive high end guns shoot??
 

Rick Stephens

Admiral
Joined
Aug 13, 2013
Messages
6,118
(from a noob....) the tcpglobal gun shoots like a dream! i really liked it, smooth smooth smooth! kinda makes me wonder how the expensive high end guns shoot??

Big difference is the attention to tolerances on expensive guns means the meter pins and nozzles are perfectly concentric and aligned to each other. You can turn the pressure up and down further and still maintain a beautiful full pattern You can barely put out any paint and still have droplet consistency be maintained. Pretty amazing. I still have my DeVilbiss paint guns from the 1980's and they still flow like hot butter. Replaced more than a few nozzles and needles over the years as I either changed paint types or wore them out cleaning. No reason to own one really unless you paint a lot. The results from a decent inexpensive gun, with careful prep and keeping everything in the middle of the range (cleanliness, viscosity, pressure, temperature, etc), will give great quality.

Rick
 

Corjen1

Lieutenant Junior Grade
Joined
Aug 24, 2013
Messages
1,237
Great work Goldie!!! the parts look fantastic!! By the way, I have the same gun and absolutely love it!!
 

Goldie627

Lieutenant Junior Grade
Joined
Oct 28, 2013
Messages
1,010
Great work Goldie!!! the parts look fantastic!! By the way, I have the same gun and absolutely love it!!
Thanks man, i appreciate it. Your work has been very inspiring! When i paint my hull and cap if it comes out half as nice as yours ill be happy.

You're right about the gun, it had far exceeded my expectations and im thrilled with it and the results. Today I got most of everything scuffed down, just gotta blow it off and wipe with 50 50 mix to get it ready for the second coat.

I have most of the small parts (water pocket gasket, etc) to put it all back together but i need some odds and ends. They should be coming while the second coat dries.

My goal is to float test by feb 19th, my birthday :joyous:
 
Last edited:

Goldie627

Lieutenant Junior Grade
Joined
Oct 28, 2013
Messages
1,010
Hay everybody, i hope all is well. Im hooked on this game called Hay Day. I cant stop playing, i may need an intervention :)

We need the rain but it has really put a damper on my progress. I'm still at it though.

I have a few questions... I'm ready to put my parts back together after painting and was wondering on the transom plate, is any sealer used in the holes where the bolts go through the transom? Does any sealer go on the transom plate?

I dont belive it calls for any in the manual but was wondering what you guys thought.

I'll be recording and taking plenty of picks when the reassembly begins.

When i gelcoated the interior I didnt use any surfacing wax so i went to the boat today to put a coat of gelcoat with wax on the inner transom and bilge area so i can move forward with the motor and outdrive installation. At some point soon though I will need to do a full interior final coat of gelcoat with wax (so it can stop being sticky).

Any tips are welcome for the installation of the motor and outdrive.

I really hope i got my motor mount dialed in becasue i can move the motor up but i cant move the motor down while lining it up. worst case scenario would be lifting the motor out and grinding down the motor mount a bit. wish me luck!!!
 
Last edited:
Top