86 Sea Ray Restoration [Splashed Oct 2017]

Goldie627

Lieutenant Junior Grade
Joined
Oct 28, 2013
Messages
1,010
Now that the gimbal ring and gimbal bearing are off, I pressure washed everything again. A tip... dont leave the loctite rust remover on over nite! :facepalm: it's harder to get off than when u follow the directions on the bottle :D

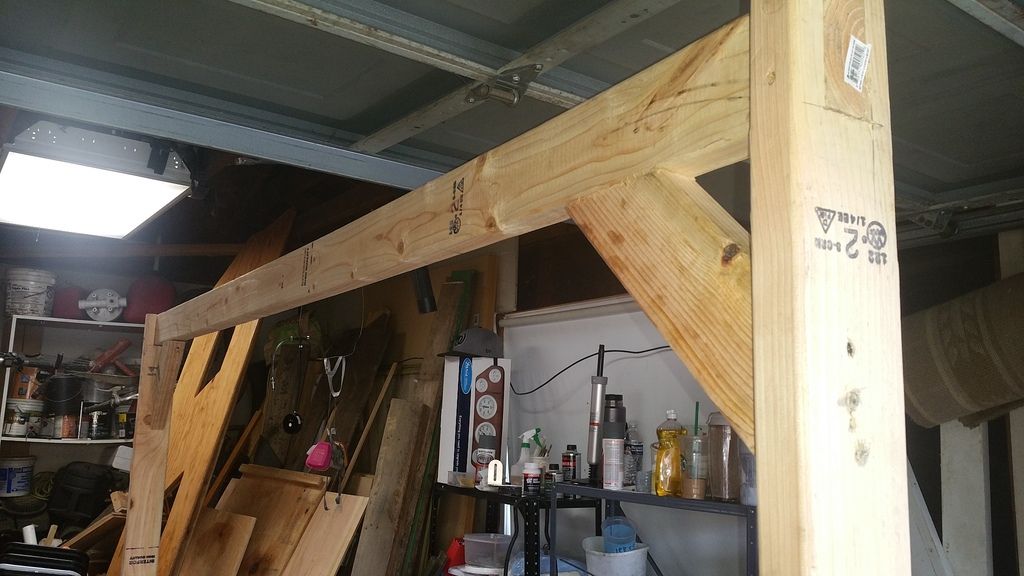
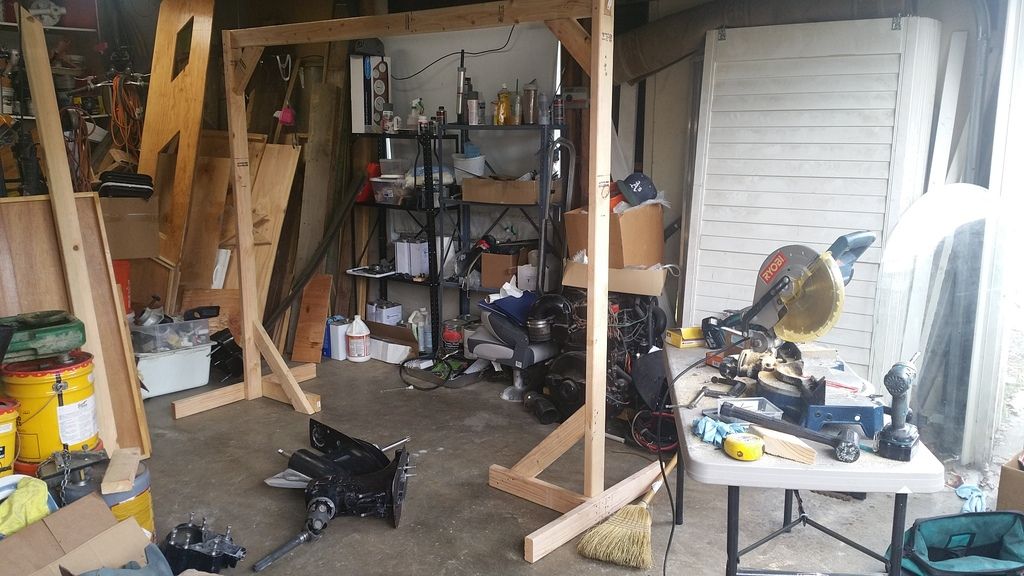
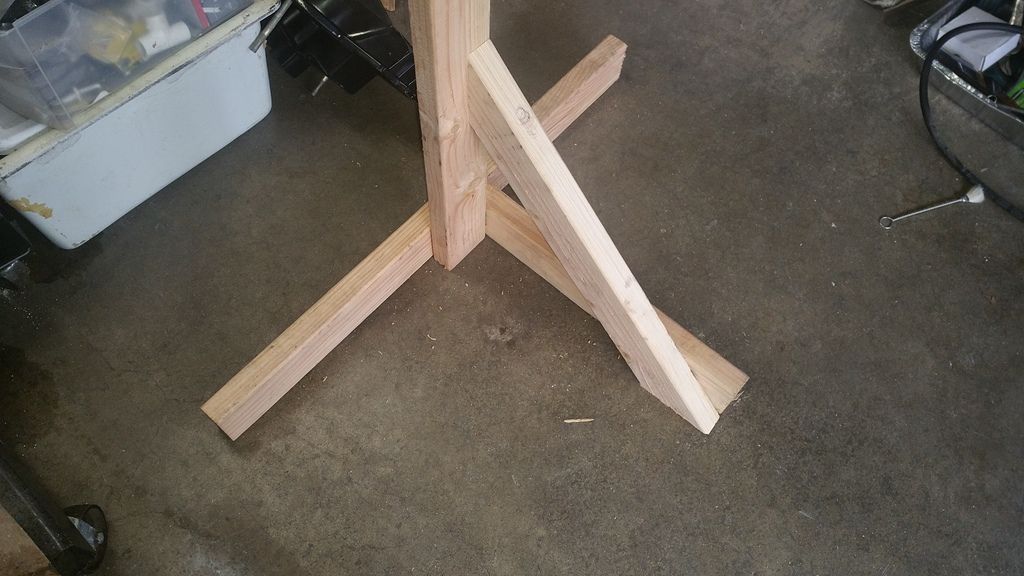
My nephew is out of college for Christmas break so he came and gave me a hand. He was a big help, we got alot accomplished working together. We stopped at HD and got to the boat ready to work. Started right in on the parts hanger....
20151227_140855_zpsmrqusf5r.jpg


20151227_140920_zpsevn9on2k.jpg


20151227_140952_zpsrsxjnz8o.jpg
 
Last edited:

tpenfield

Moderator
Staff member
Joined
Jul 18, 2011
Messages
18,090
It will be interesting to see how the naval jelly works on aluminum. There is a similar product called 'aluminum jelly' that removes the corrosion from aluminum. I used it on my fuel tank restoration, but I imagine it would be great for the outdrive as well.
 

Goldie627

Lieutenant Junior Grade
Joined
Oct 28, 2013
Messages
1,010
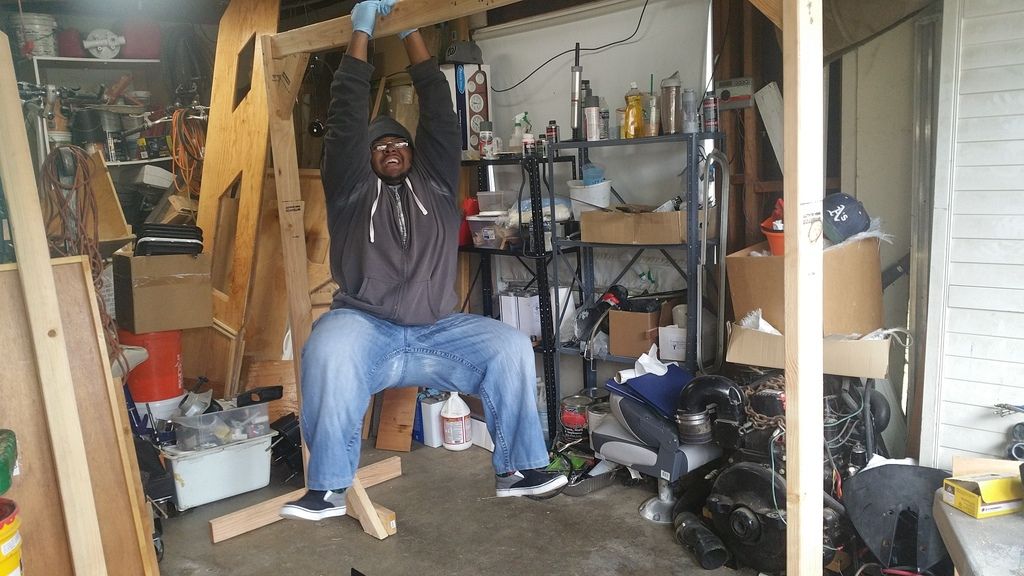
I had my back to my nephew and I was telling him... "I sure hope this stand holds all these parts" I turn around and he's hanging on it!!! LOL I was like oh yeah were good :D
20151227_140239_zpsdcd90bxw.jpg


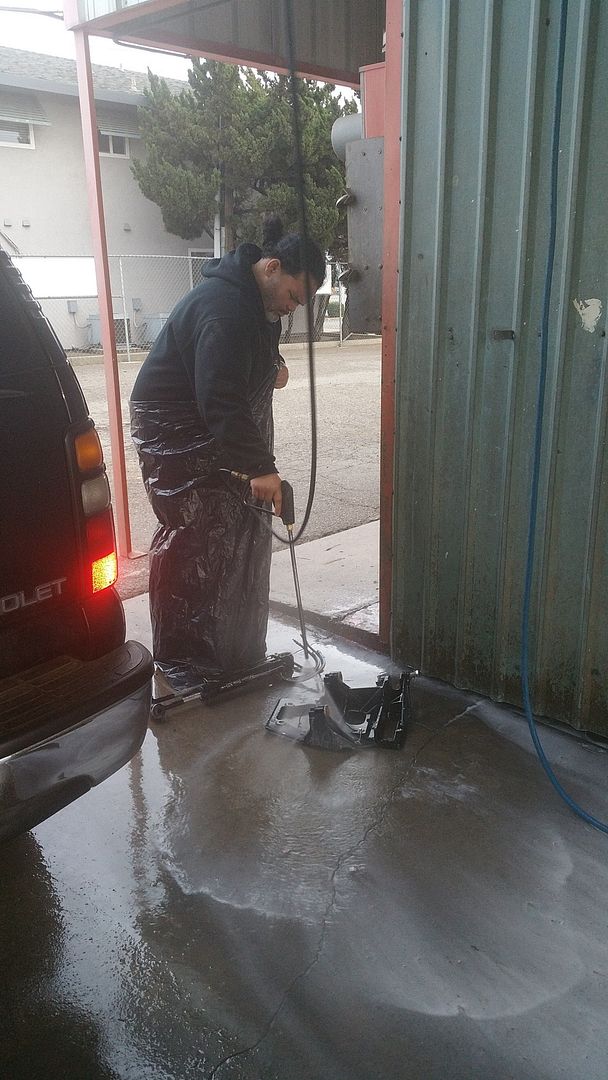
I didn't feel like going all the way home and digging out my pressure washer after doing that the day before, so we stopped at the car wash to blast the transom plate and trim cylinders that I forgot to wash.
20151227_160153_zps5im0ovsa.jpg


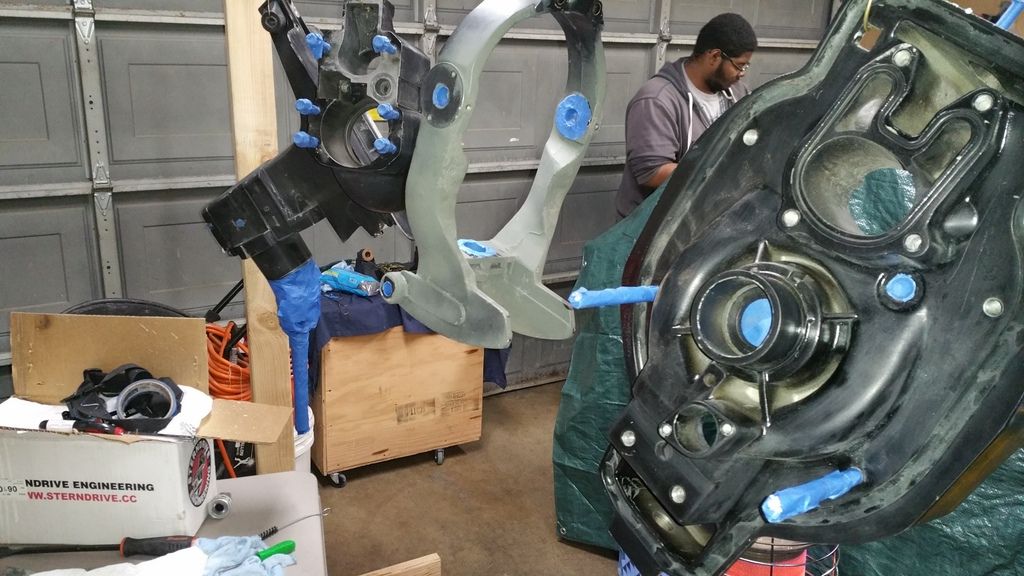
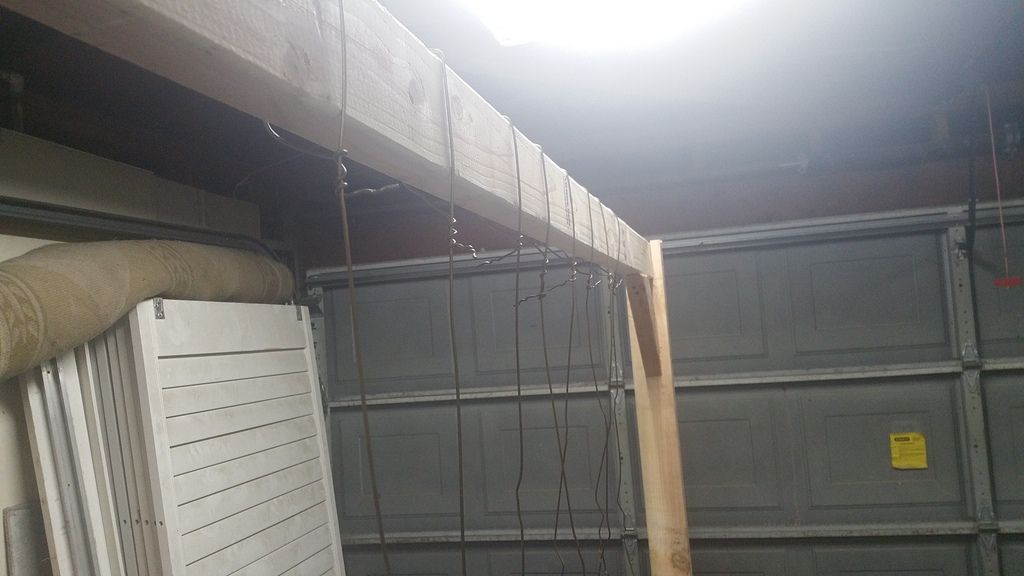
Got back from lunch and got the hangers up..
20151227_171401_zpsiai6gp4a.jpg
 
Last edited:

Goldie627

Lieutenant Junior Grade
Joined
Oct 28, 2013
Messages
1,010
We put the heaviest pieces towards the outside....
20151227_214449_zpsrnkojlsj.jpg


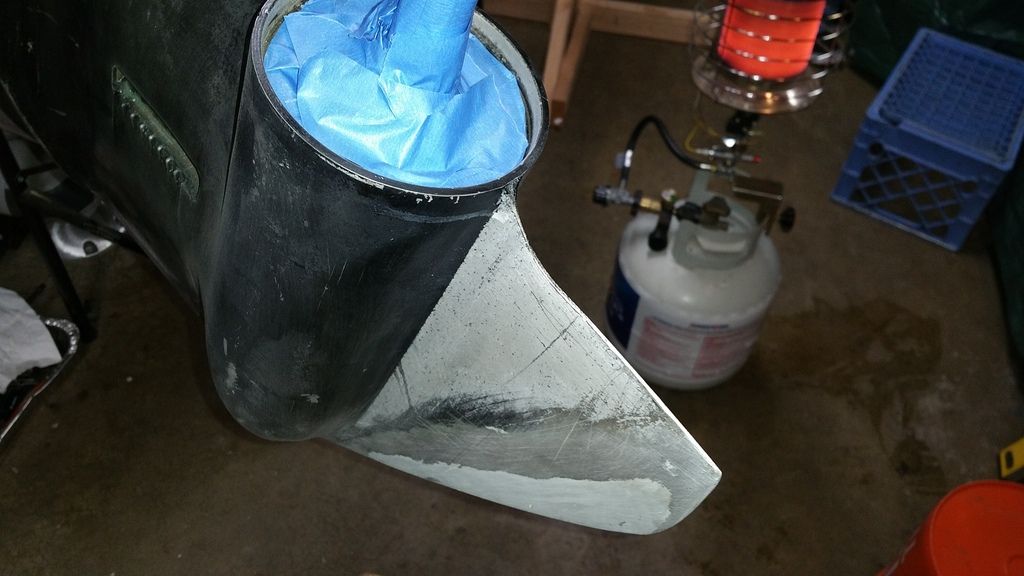
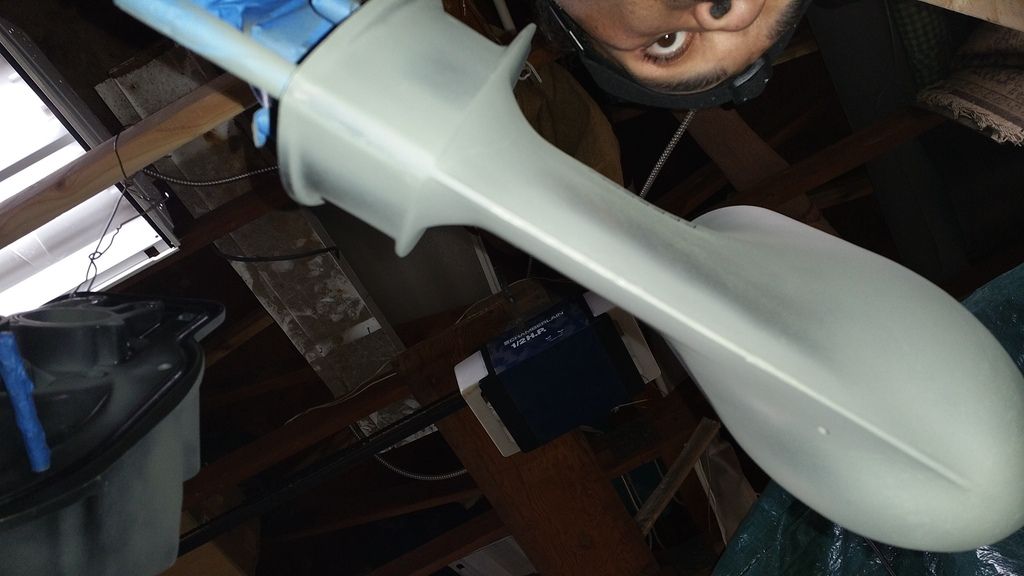
Quick shot of the skegaroonie...
20151227_214500_zps1czq8sdy.jpg


Other side...
20151227_214537_zpsuamqxwqc.jpg
 

Goldie627

Lieutenant Junior Grade
Joined
Oct 28, 2013
Messages
1,010
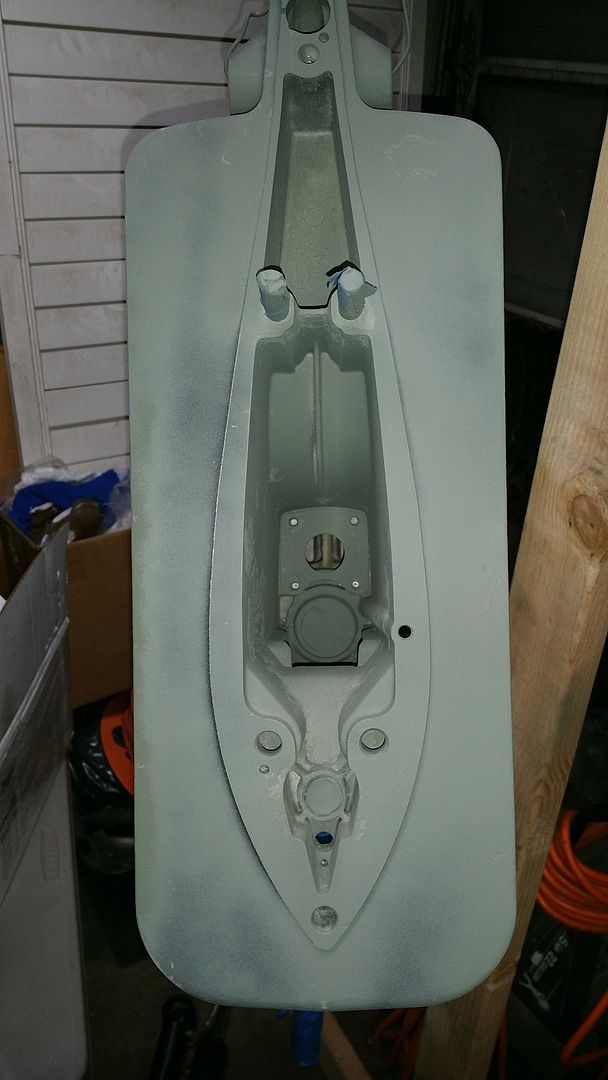
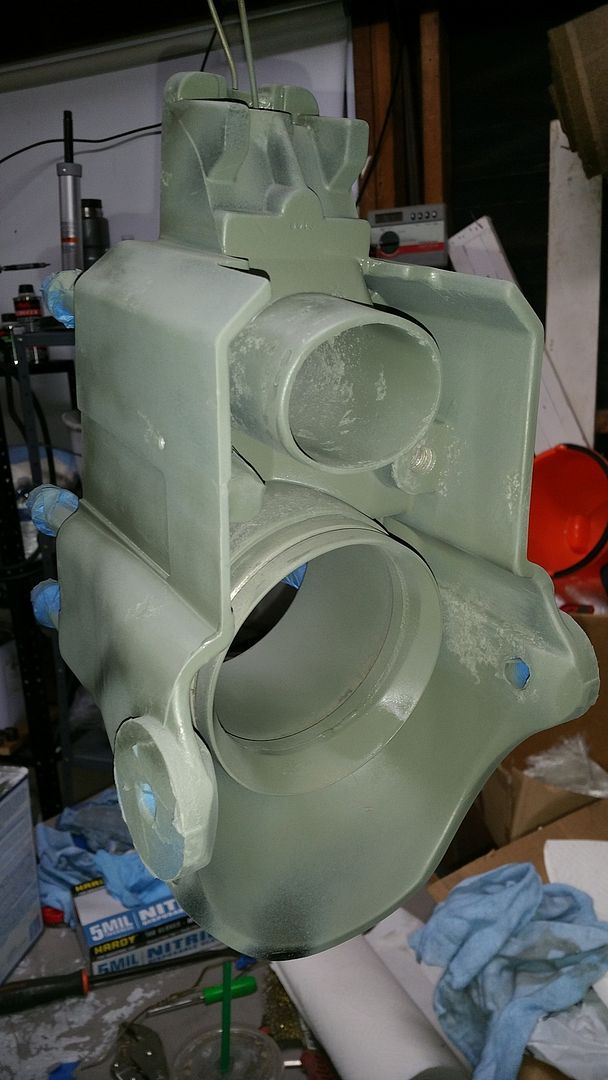
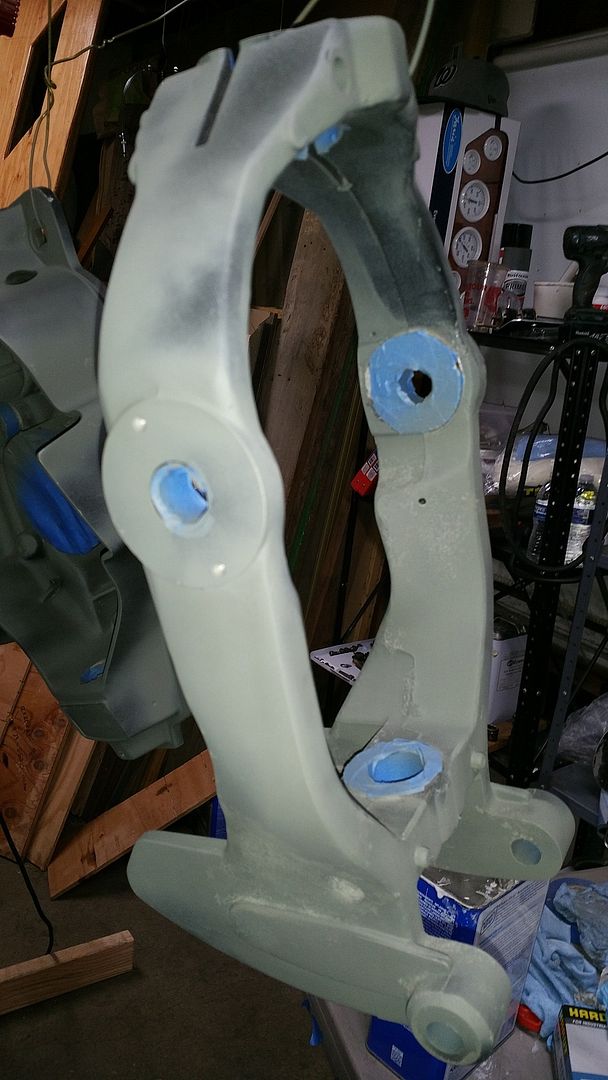
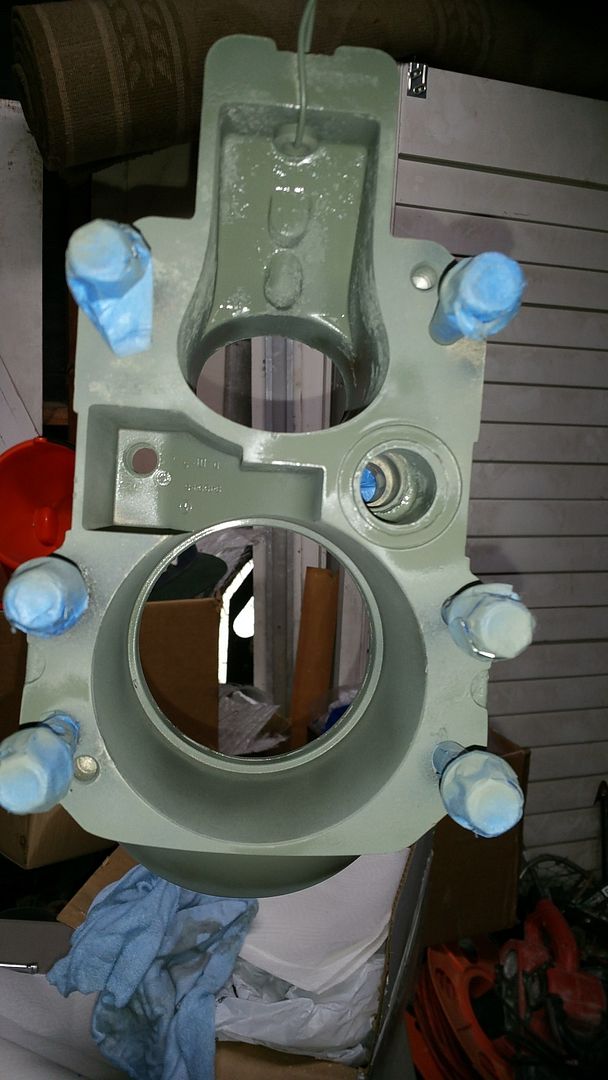
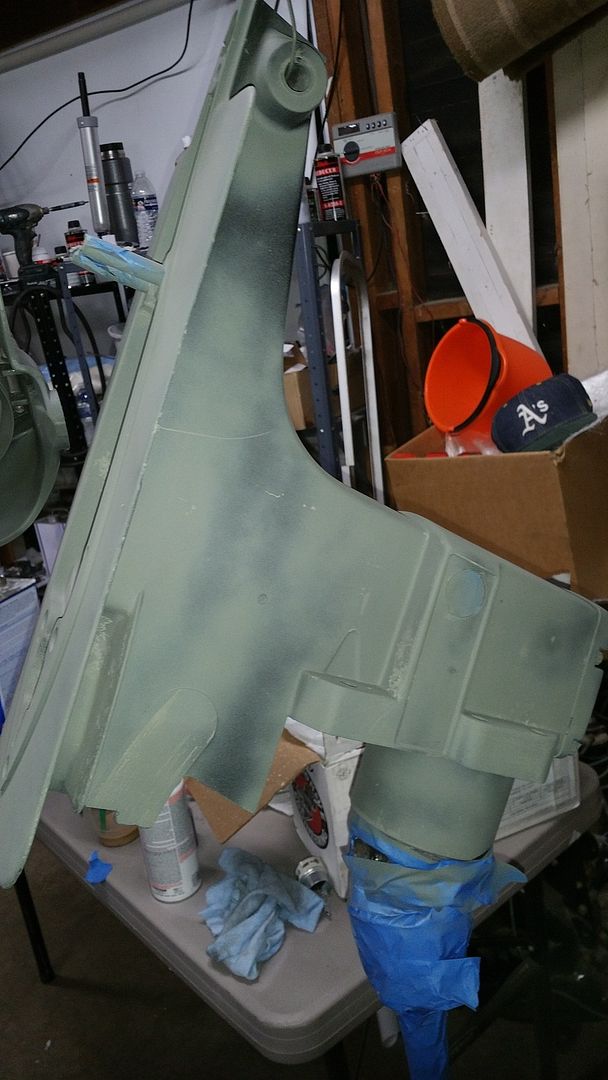
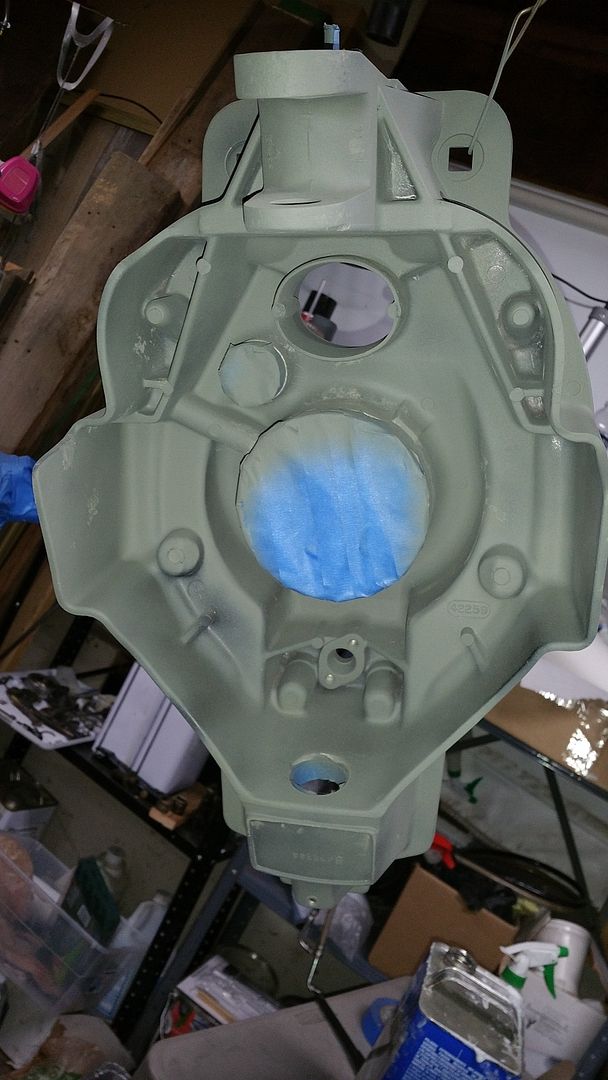
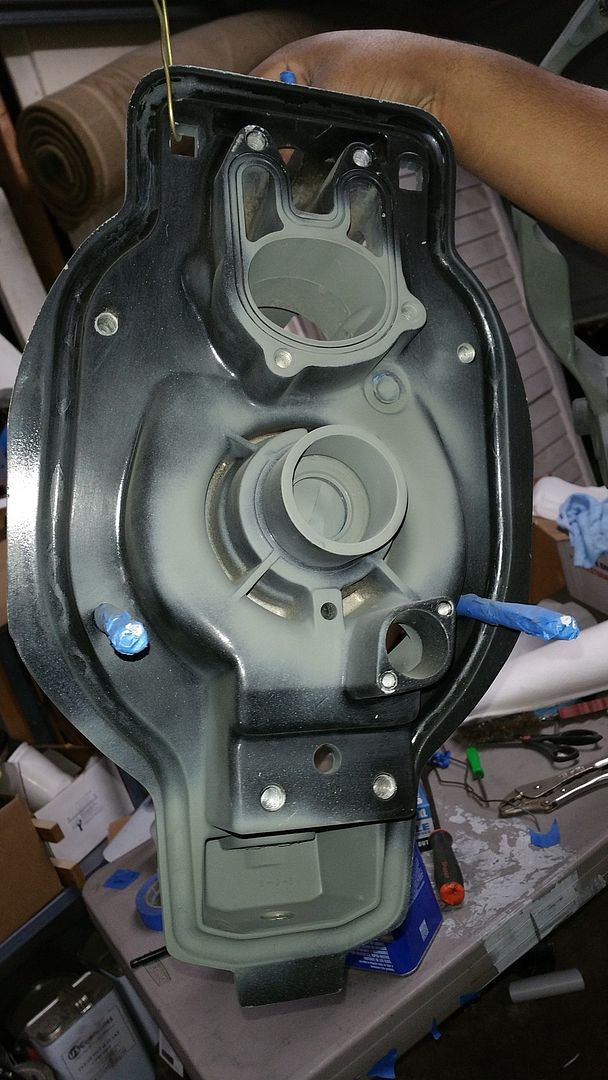
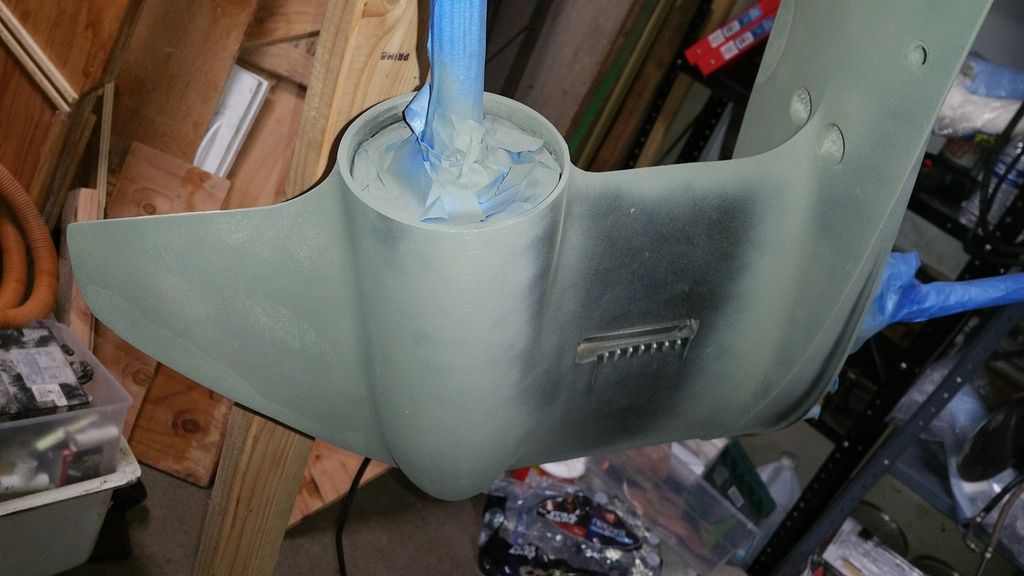
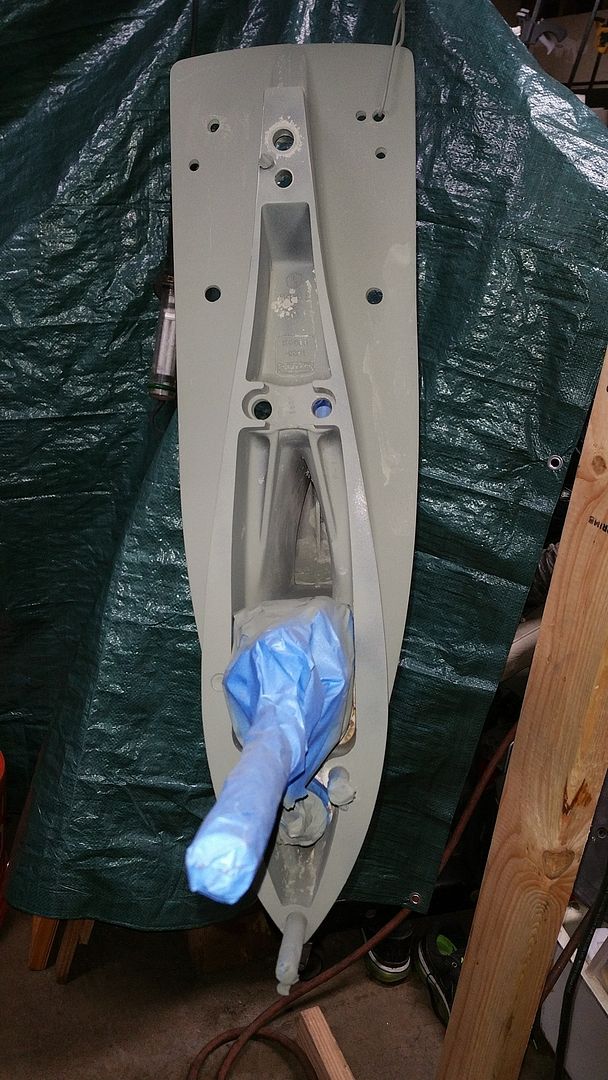
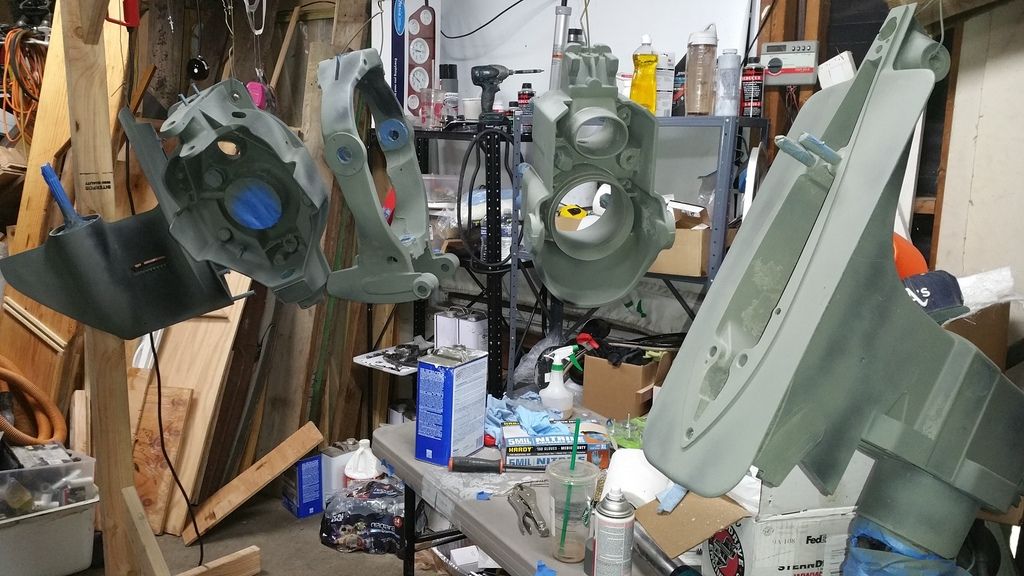
I tried to go light (coat) on this etching primer but i'm so dadgumbed heavy handed :eek: I did have alot of bear metal but im hoping ill be ok. This pocket cover gasket will be replaced...
20151227_224746_zpsrx2xex4h.jpg


20151227_224756_zpsnehy95qn.jpg


20151227_224803_zpsz3blfj7x.jpg


20151227_224813_zps4pwork25.jpg
 
Last edited:

Goldie627

Lieutenant Junior Grade
Joined
Oct 28, 2013
Messages
1,010
Hey guys, I'm not clear on the next steps... sand, acetone, primer? or acetone, primer? or just primer? Oh, that reminds me I gotta check my can of primer to make sure its good. Also gotta lean how to use my HPLV real quick. Next weekend will be exciting!!!
 

Goldie627

Lieutenant Junior Grade
Joined
Oct 28, 2013
Messages
1,010
Side note about pressure washing. The first time I washed all the parts at the car wash and it came out ok. The second time I used my own pressure washer and it came out way better. The public car wash just doesn't have the force of your personal washer, it works but just not as well. The third time I went to the car wash only to save time plus I only had three pieces that weren't bad.
 

Goldie627

Lieutenant Junior Grade
Joined
Oct 28, 2013
Messages
1,010
It will be interesting to see how the naval jelly works on aluminum. There is a similar product called 'aluminum jelly' that removes the corrosion from aluminum. I used it on my fuel tank restoration, but I imagine it would be great for the outdrive as well.
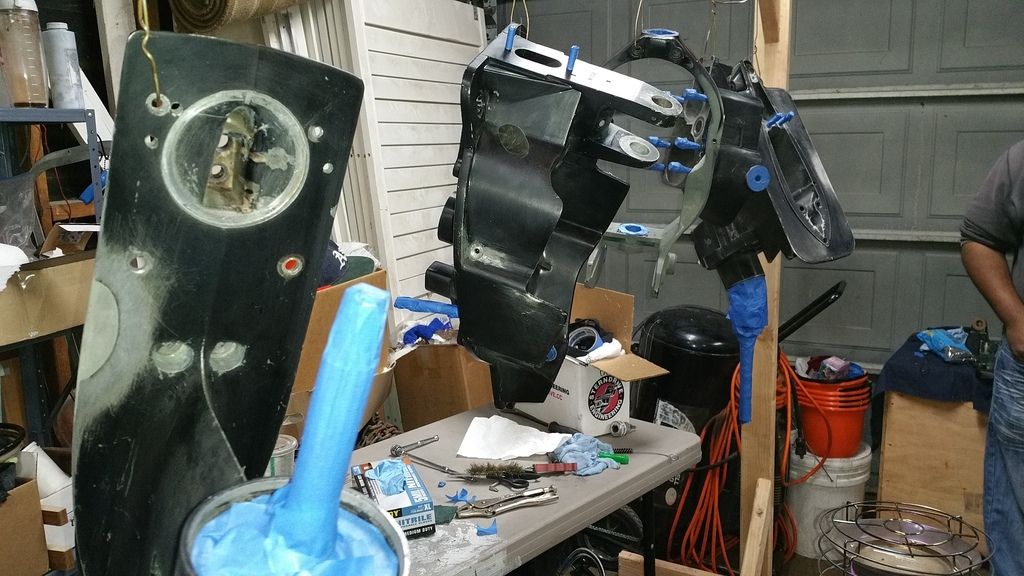
The loctite rust remover worked ok, but for me, out of all the things i tried, what worked the best was, elbow grease, sand paper (for rough spots only), scotch brite pads, assorted wire brushes, flat head screwdrivers, and a whole lot of patience.

I was able to get almost all of the corrosion off. I cant wait to paint!! :)
 

kramerpage

Chief Petty Officer
Joined
Jul 26, 2010
Messages
447
Hey that's Looking GOOD! I would suggest from my experience to place bolts in all your threaded holes to make them easier the chase when your finished. The water hose brass fitting can be tapped up leaving the last couple threads then screw it in. Here is mine. Keep up the great progress. You inspire me...
green ring_194817.jpg
 

Woodonglass

Supreme Mariner
Joined
Dec 29, 2009
Messages
25,928
Did you check the Majic primer yet? If it's Good to go then use it. If not then use the Rusty' Clean Metal Primer. Not more than you have to shoot it's easy to use out of the can and good stuff.
 

Goldie627

Lieutenant Junior Grade
Joined
Oct 28, 2013
Messages
1,010
Hey that's Looking GOOD! I would suggest from my experience to place bolts in all your threaded holes to make them easier the chase when your finished. The water hose brass fitting can be tapped up leaving the last couple threads then screw it in. Here is mine. Keep up the great progress. You inspire me...
Awwww, shucks... You inspire me! I grew up reading marvel comics! Bruce Banner - "you wouldn't like me when I'm angry" :D I'm trying to remember if he dropped that line in the movie? He used it alot in the tv series...

I would love to follow your progress, I'll search for your resto thread.

Thanks for the tips, I have to go by HD for some clean metal primer so ill pick up some dummy bolts to protect them threads. I didnt have a deep socket big enough for the water hose fitting :grumpy: so i taped it in place ;) I would have liked to remove it though. I might get my brother to bring one home from work.
 

Goldie627

Lieutenant Junior Grade
Joined
Oct 28, 2013
Messages
1,010
Did you check the Majic primer yet? If it's Good to go then use it. If not then use the Rusty' Clean Metal Primer. Not more than you have to shoot it's easy to use out of the can and good stuff.
I havent checked it yet but after thinking about it the time savings with rattle cans is worth it. Ill pick up the Clean Metal Primer.

Build up the primer with light coats until i can lightly sand it smooth, acetone then paint?

Woody, I want people to know the proper coverage for etching primer. I know a light coat so you can see the metal showing thorugh. Would you say more, less or like what is shown in the pics. I wanted to do less but I had bare metal showing sporatically all over each piece. The only piece that didnt have bare metal exposed was the transom plate (not shown in pics).
 
Last edited:
Goldie627

Lieutenant Junior Grade
Joined
Oct 28, 2013
Messages
1,010
If anybody has a pic of what an etching primer coat is supposed to look like please post it, I want people to know the right way if mine was too heavy.
 
Last edited:
Woodonglass

Supreme Mariner
Joined
Dec 29, 2009
Messages
25,928
I havent checked it yet but after thinking about it the time savings with rattle cans is worth it. Ill pick up the Clean Metal Primer.

Build up the primer with light coats until i can lightly sand it smooth, acetone then paint?

Woody, I want people to know the proper coverage for etching primer. I know a light coat so you can see the metal showing thorugh. Would you say more, less or like what is shown in the pics. I wanted to do less but I had bare metal showing sporatically all over each piece. The only piece that didnt have bare metal exposed was the transom plate (not shown in pics).


IMHO this...
20151227_224824_zpsrbbrahut.jpg

Pretty much shows how the SE primer should be applied. You can see the old surface kinda peeking through. Nice job!!!

For the Clean Metal primer, I lay down 3-4 light coats until I get good total coverage. About 10 minutes between coats. If you have a lot of parts you can pretty much just spray one coat and then when you're done shooting them all with one coat, go back and start over with the next one. Maybe wait just a few minutes but not a whole lot. Just depends on how long it takes. I then let em cure for a couple of hours and then use a scotch brite pad to knock down any nubs and then wipe it all down with a 50/50 mix of acetone and Mineral Spirits and then shoot the color coat with the hardener.

Just an FYI that I learned while surfing the Interweb the other day. You can buy a $10 Harbor Freight HVLP Purple Spray gun and then use a 5/64 drill bit to drill out the nozzle. this makes it big enuf to spray thick primer and GelCoat. Next time they put the gun on sale I'm gunna buy it and try it. What have I got to lose. The guy on Youtube make it look like it worked GREAT!!!! He was shooting the Double thick primer and it was going down GREAT!!!!
 
Top