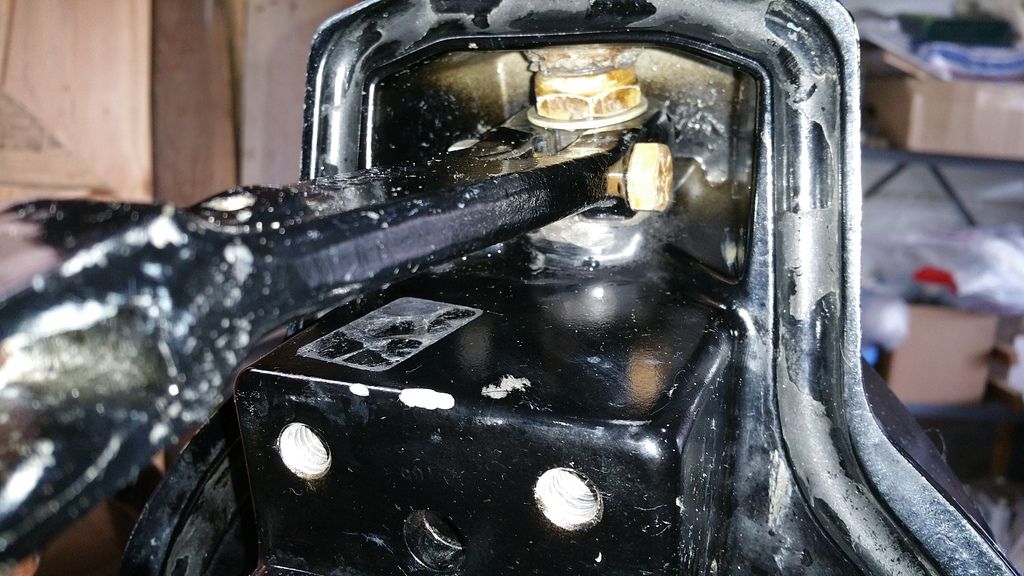
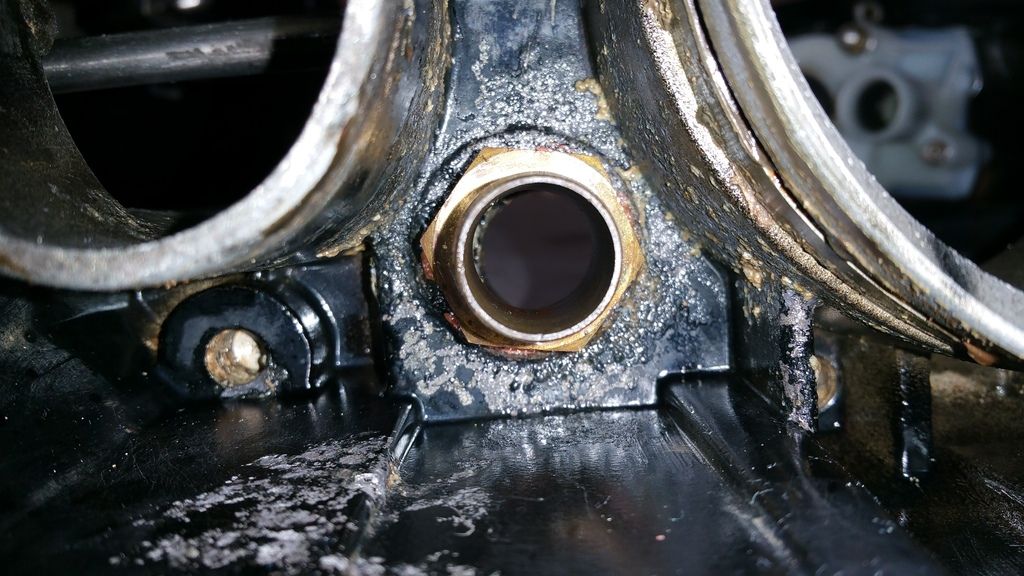
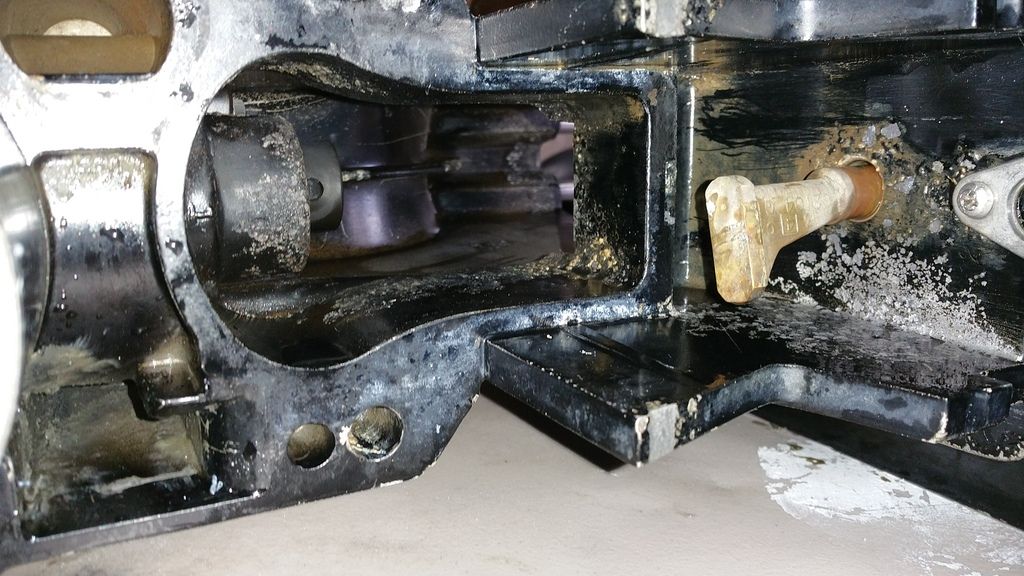
86 Sea Ray Restoration [Splashed Oct 2017]

Goldie627

Lieutenant Junior Grade
Joined
Oct 28, 2013
Messages
1,010
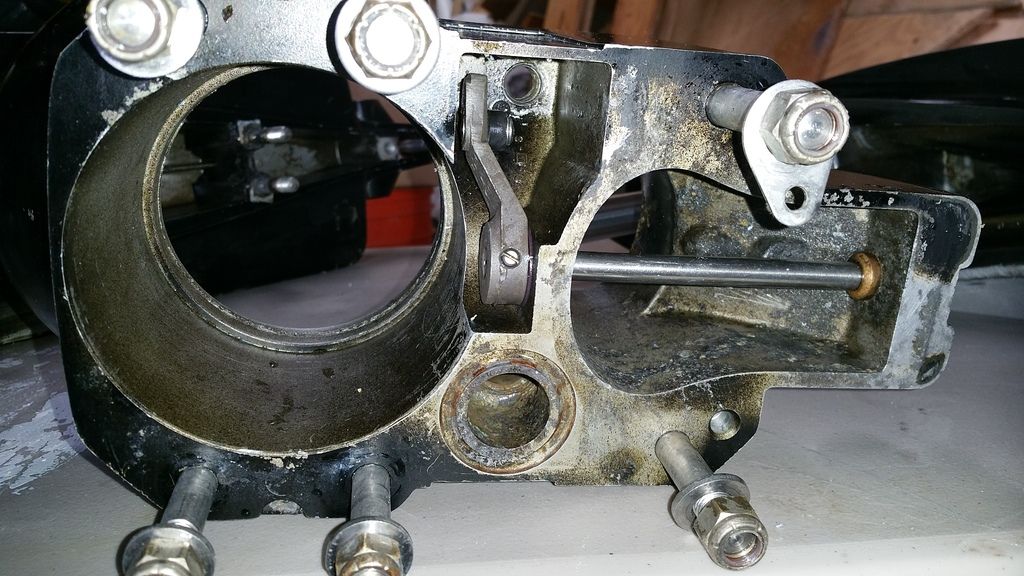
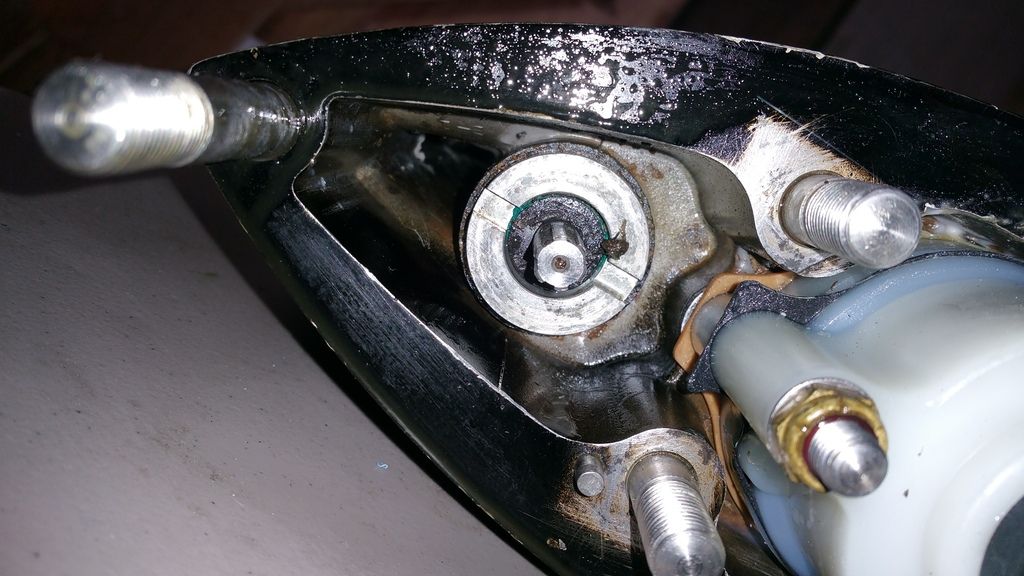
The three nuts on the water pump housing have a range of 60 to 80 lbs per inch, the screw is something like 30 to 40 lbs of tork per inch. My tork ratchet tool only goes as low as 60, do I have to buy a tork ratchet tool for that range or is there another way of knowing how to not over tighten?
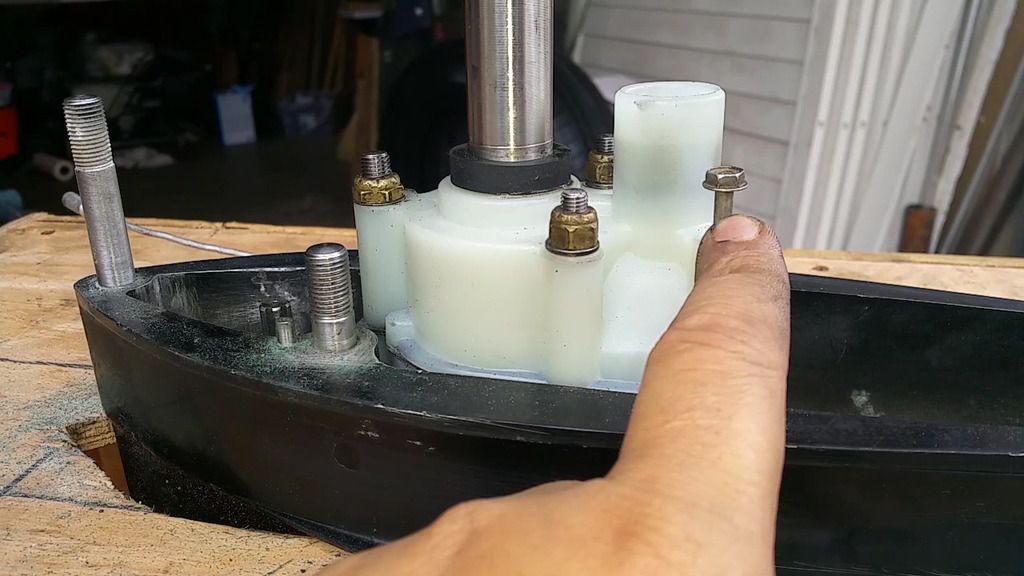
Sequence%2001.Still001_zpsb6thz31m.jpg
 
Last edited:
Rick Stephens

Admiral
Joined
Aug 13, 2013
Messages
6,118
Awesome - that all looks great! That screw, just give it 10 wrist pounds with a socket on a screwdriver handle. That is all it needs. All I do with any of the water pump nuts as well.

Do not bother replacing the anode. You are no where near salt water - it will outlast the heat death of the universe.

Seeing the forward cup of the hydraulic rams make me wonder what mine look like. Gotta all get brushed and sanded out before painting.

Rick
 

WOEISMEIGOTTA470

Petty Officer 1st Class
Joined
Aug 31, 2012
Messages
375
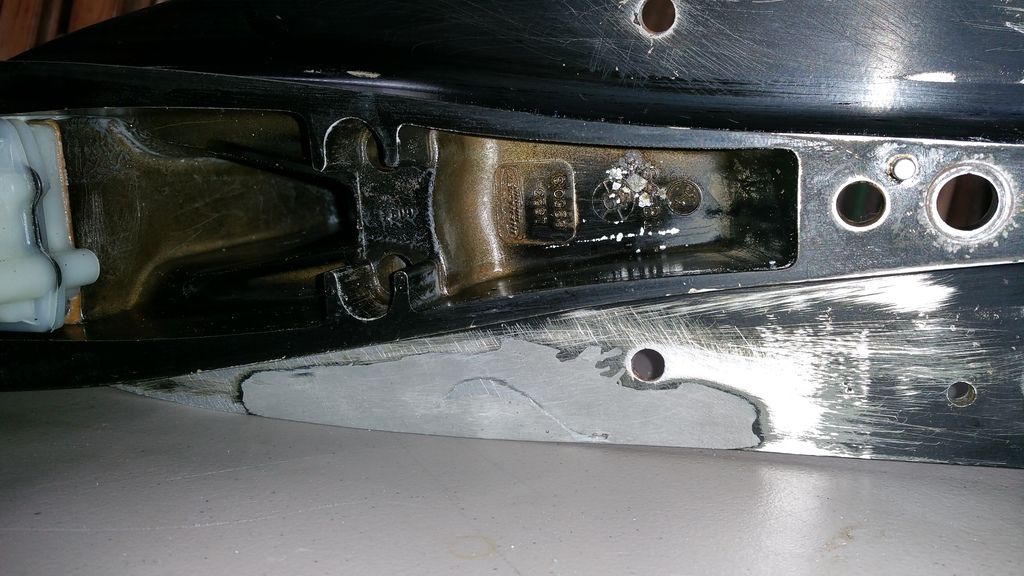
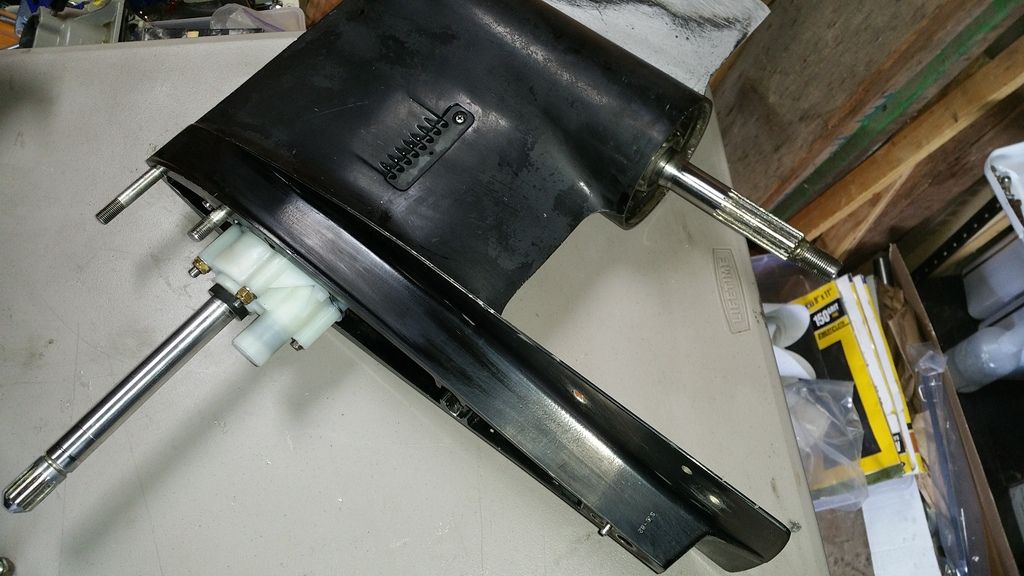
I second Rick, nothing wrong with those anodes at all. Also your drive is really clean man, nice pictures too. I'll likely be using 'em for reference when I get to doing the WP on mine (pretty sure I have all the parts stuffed in storage someplace, my garage/tent is a mess). The JB weld repair came out looking pretty great too, nice job! Moving forward!!!
 

Goldie627

Lieutenant Junior Grade
Joined
Oct 28, 2013
Messages
1,010
Awesome - that all looks great! That screw, just give it 10 wrist pounds with a socket on a screwdriver handle. That is all it needs. All I do with any of the water pump nuts as well.

Do not bother replacing the anode. You are no where near salt water - it will outlast the heat death of the universe.

Seeing the forward cup of the hydraulic rams make me wonder what mine look like. Gotta all get brushed and sanded out before painting.

Rick
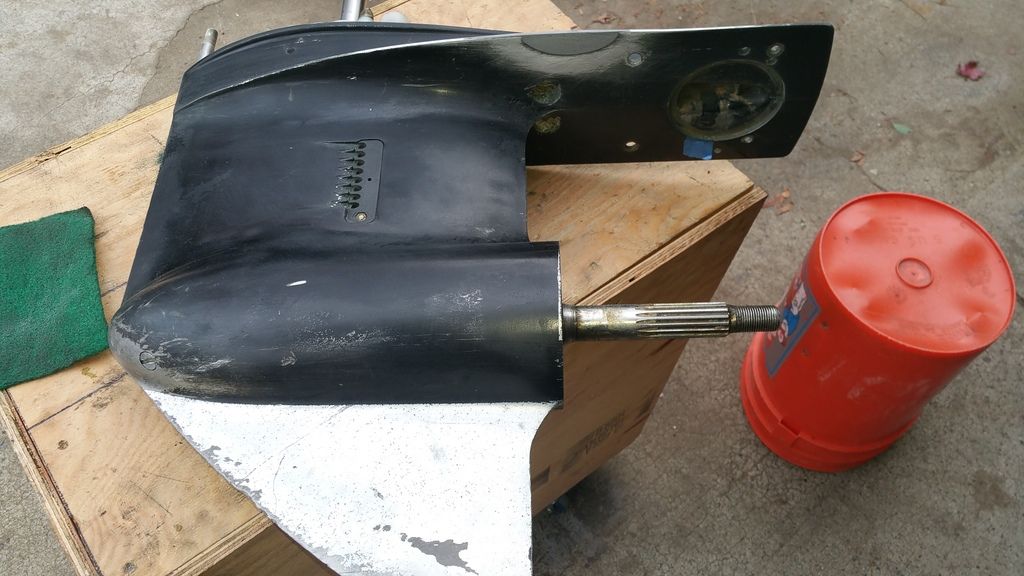
Thanks Rick, yea I think my trim cylinder bushings and cups had the most prominent corrosion on the entire out drive. Im gonna take my gimbal, bell housing, upper and lower to the pressure wash. First i'll spray everything down with engine cleaner / degreaser, brush everything, wet sand the worst spots then blast it with the pressure washer. I may try crudge cutter full strength or simply green too. I wish there was something you could just spray on corrosion for the areas that are not easy to sand. After its all dry i'll hit it again with scotch brite and do a final cleaning with acetone.

How does that plan sound?
 

Goldie627

Lieutenant Junior Grade
Joined
Oct 28, 2013
Messages
1,010
I second Rick, nothing wrong with those anodes at all. Also your drive is really clean man, nice pictures too. I'll likely be using 'em for reference when I get to doing the WP on mine (pretty sure I have all the parts stuffed in storage someplace, my garage/tent is a mess). The JB weld repair came out looking pretty great too, nice job! Moving forward!!!
Thanks WOE! yea its starting to come together lil bit by lil bit, it kinda feels like all the small victories are starting to add up. Hopefully by the end of this coming weekend I'll be all prepped and ready for primer :joyous:
 

Woodonglass

Supreme Mariner
Joined
Dec 29, 2009
Messages
25,927
Looks Like Goldie becoming quite the Mek-A-Nek!!!! Glad it's NOT ME!!!!:eek::laugh:
 

Goldie627

Lieutenant Junior Grade
Joined
Oct 28, 2013
Messages
1,010
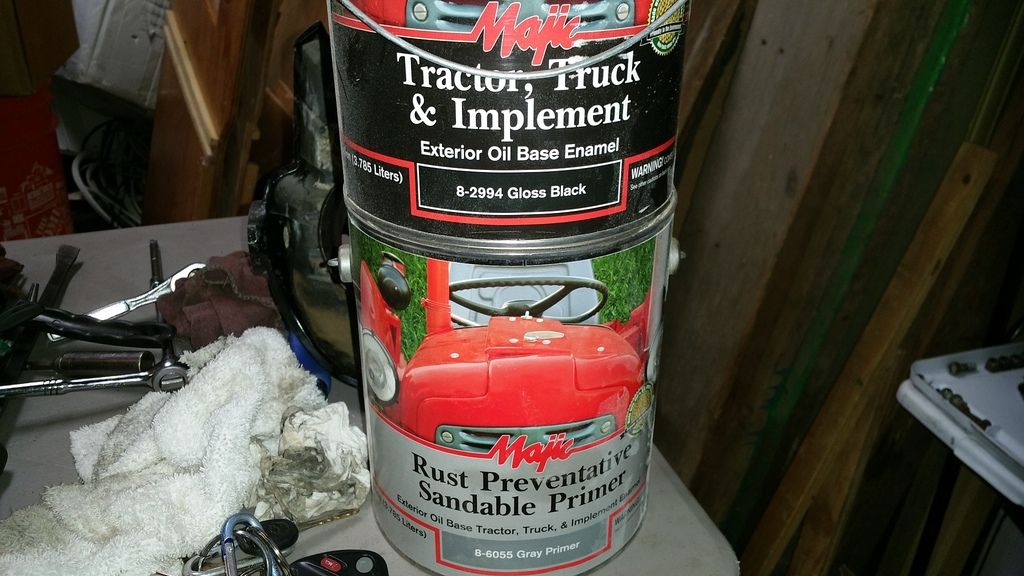
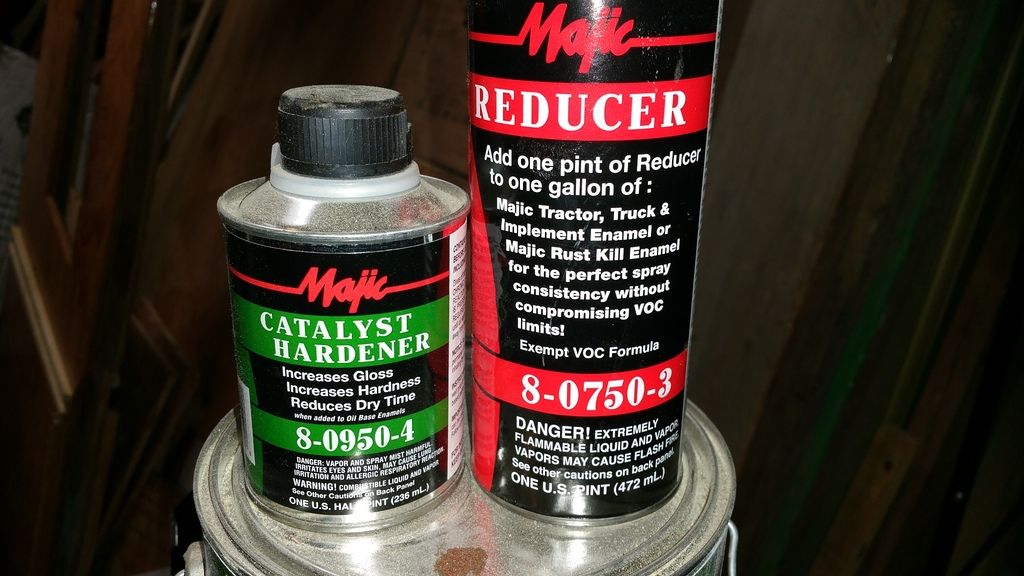
Heyall, can I use this for the out drive / gimbal painting? Do I have to use etching primer instead of what I have in the photo?

20151216_2158101_zpsootkphmp.jpg


20151216_2157511_zpscukvqzan.jpg
 

Woodonglass

Supreme Mariner
Joined
Dec 29, 2009
Messages
25,927
Yup SE primer required on ALL bare aluminum. IF you're going over Pre-Painted surface then you're good to go! After the SE then you also put down the normal primer and then paint. When you take the lid off that Majic Primer Make SURE all the solids aren't at the bottom of the can and all clunky lumpy it it is It's RUINED and CAN'T be used. Take it back and make them open the can in the store to ensure the solids haven't separated from the paint. I and others have had a LOT of problems with their primer. I only use the Rustoleum Clean Metal Primer now. I still use the Majic Paint with the Rustoleum Primer and they are totally compatible.
 

Goldie627

Lieutenant Junior Grade
Joined
Oct 28, 2013
Messages
1,010
Yup SE primer required on ALL bare aluminum. IF you're going over Pre-Painted surface then you're good to go! After the SE then you also put down the normal primer and then paint. When you take the lid off that Majic Primer Make SURE all the solids aren't at the bottom of the can and all clunky lumpy it it is It's RUINED and CAN'T be used. Take it back and make them open the can in the store to ensure the solids haven't separated from the paint. I and others have had a LOT of problems with their primer. I only use the Rustoleum Clean Metal Primer now. I still use the Majic Paint with the Rustoleum Primer and they are totally compatible.
Thanks Woody, how do you feel about the rustoleum SE in a rattle can? Just for the bare metal skeg and various spots where i had to take it down to metal. I would then follow with my magic primer shot through a HPLV gun for the complete coverage.

I bought my paint and primer about a year ago. Tractor supply had a crazy sale goin on and i jumped on it. I'll pop the top on that primer and make a video so everybody can see the difference between good and bad primer. Hopefully i'll be illustrating the good :D
 

Woodonglass

Supreme Mariner
Joined
Dec 29, 2009
Messages
25,927
Rusty SE in a Can work Perfect for small jobs like Outdrives. Get it and use it!!! Remember with SE a little goes a long way. A light coat is all that's needed. You should still be able to see the metal thru it. Then after about 30 minutes shoot the metal primer over it.
 
Last edited:
Goldie627

Lieutenant Junior Grade
Joined
Oct 28, 2013
Messages
1,010
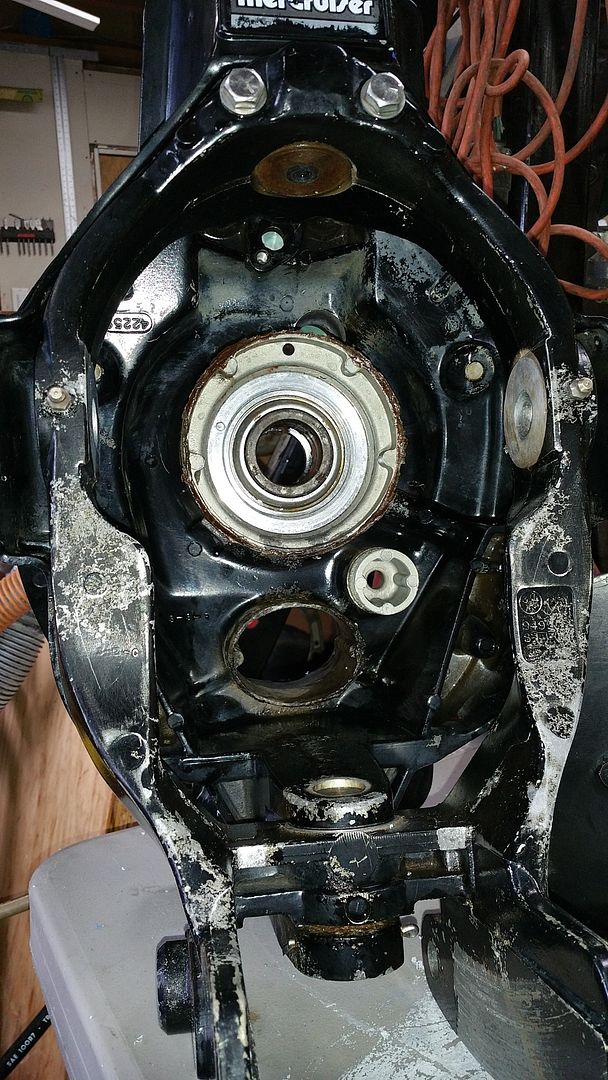
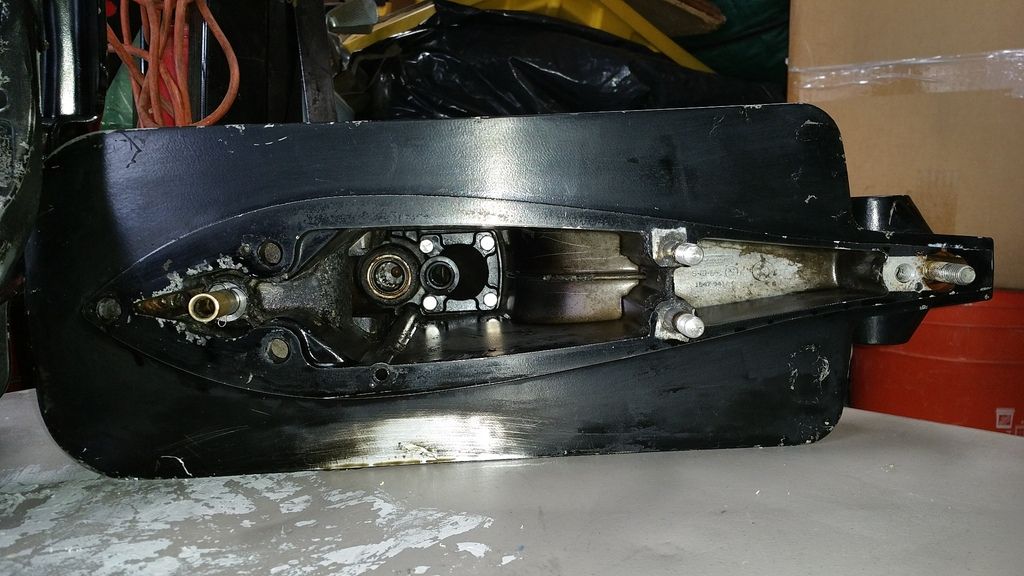
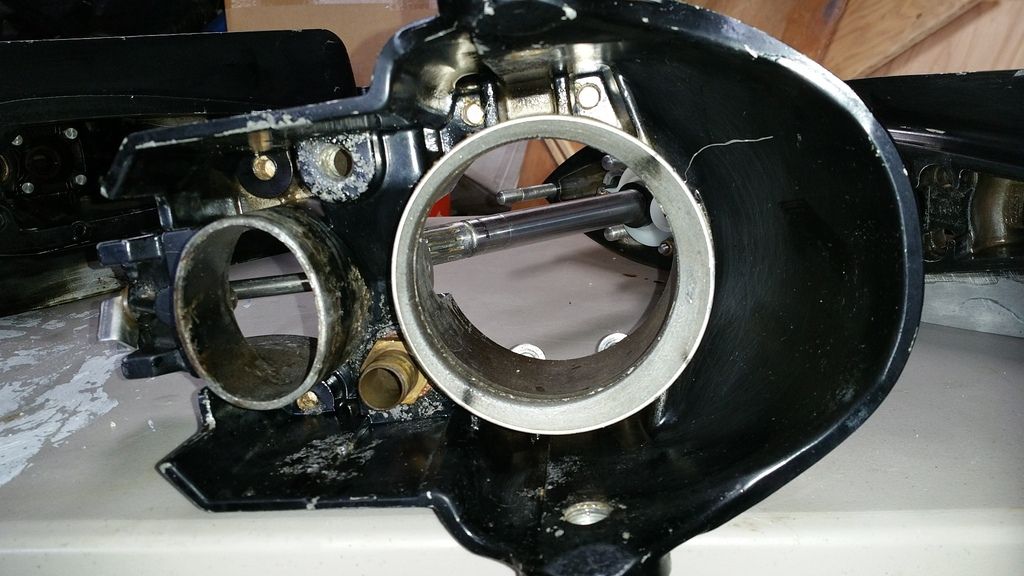
Pressure washing went pretty well... still have some more cleanup before primer but wayyyyy better than it was :joyous:

20151220_123928_zpsvnryxtil.jpg


20151220_123845_zpshqdumhha.jpg


20151220_123803_zpshfhswahc.jpg


20151220_123750_zps6q3l7pva.jpg


20151220_123711_zpsvwjokjga.jpg
 

Goldie627

Lieutenant Junior Grade
Joined
Oct 28, 2013
Messages
1,010
I still gotta do something with this left over corrosion.... I dont know how i missed all that....

20151220_123815_zpsenheeqjm.jpg


20151220_124104_zpsmzvofckq.jpg
 
Top