86 Sea Ray Restoration [Splashed Oct 2017]

Goldie627

Lieutenant Junior Grade
Joined
Oct 28, 2013
Messages
1,010
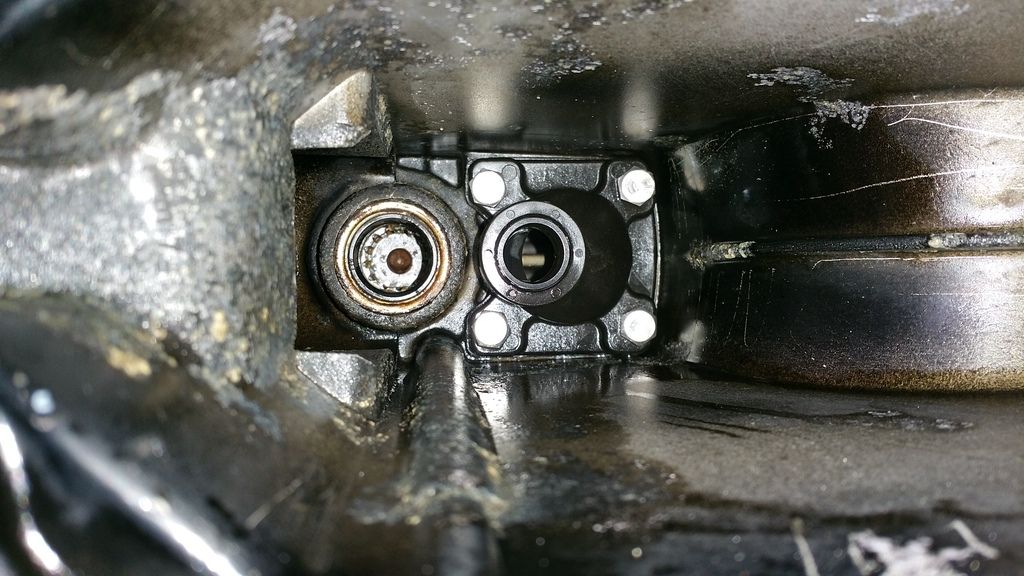
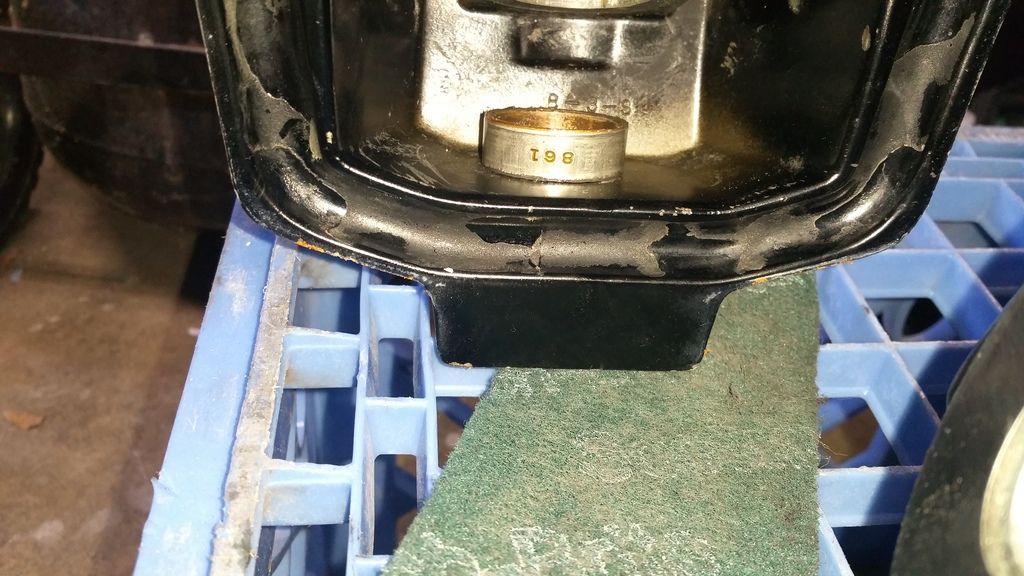
Does my water pocket cover look ok?

20151220_123857_zpszfeggg15.jpg
 

Goldie627

Lieutenant Junior Grade
Joined
Oct 28, 2013
Messages
1,010
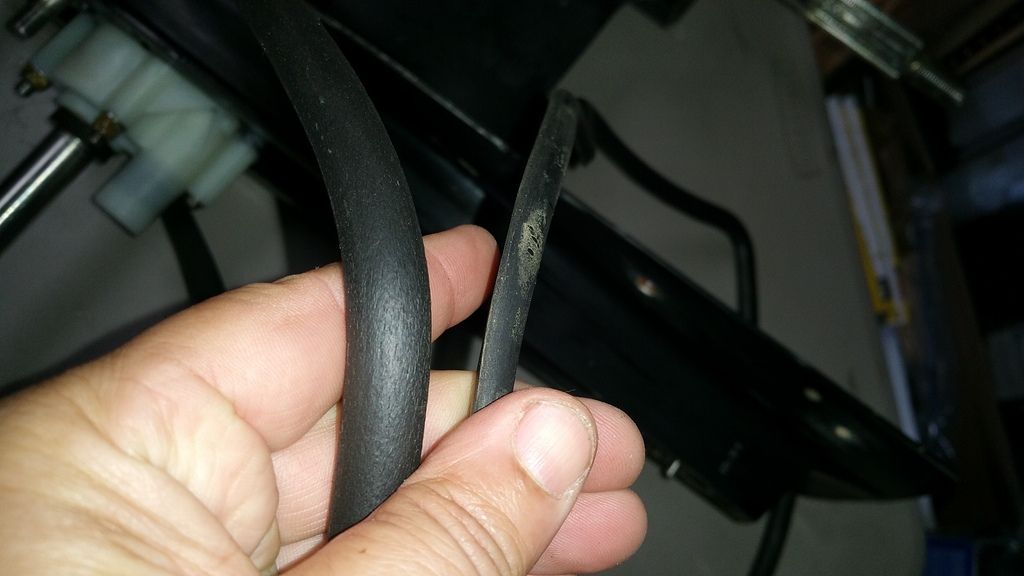
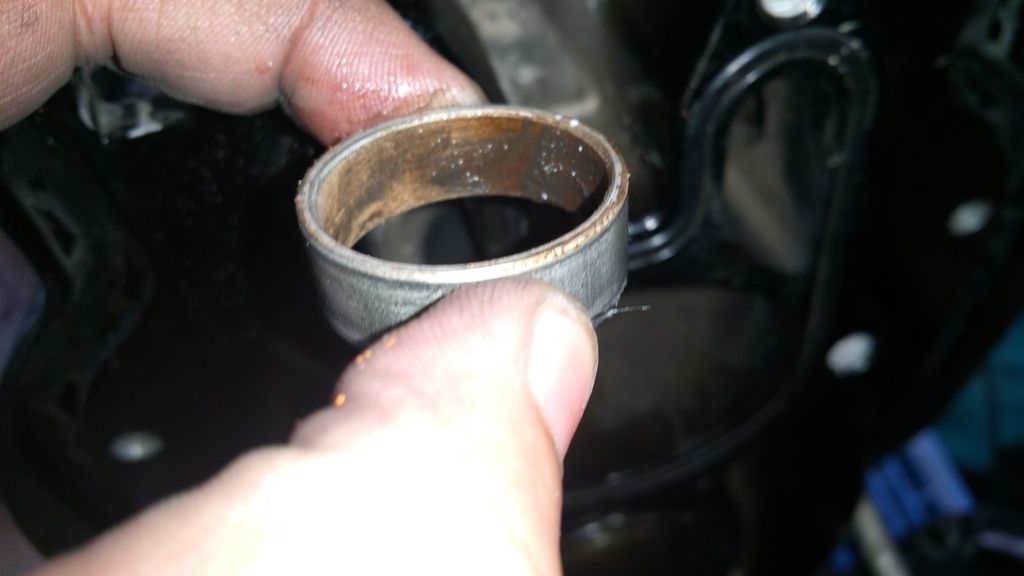
Does my transom seal look like its supposed to? Do they start round then flatten with age? The new one is on the left the old one is on the right....

20151220_123555_zpsfiq5dupi.jpg


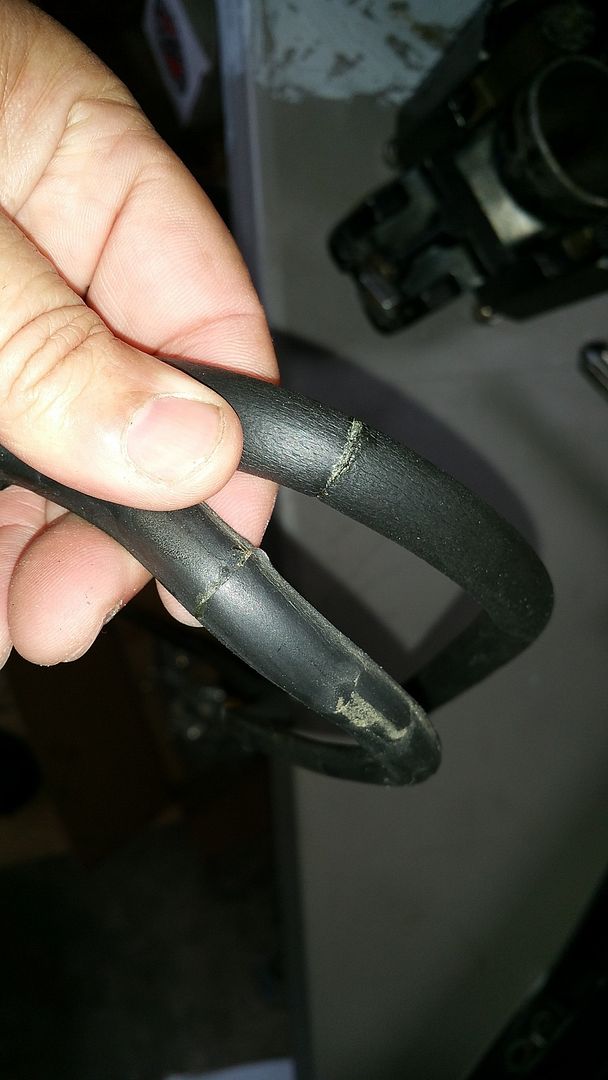
This seemed odd to me... them both being glued with a seem... new on top old on bottom...

20151220_123636_zpsinwykpdz.jpg
 

Goldie627

Lieutenant Junior Grade
Joined
Oct 28, 2013
Messages
1,010
Just incase I dont post again until next weekend

Merry Christmas to my iBoats family!!!

Have a wonderful and safe holiday, we need a smiley face with a Santa Hat!!! :D
 

Goldie627

Lieutenant Junior Grade
Joined
Oct 28, 2013
Messages
1,010
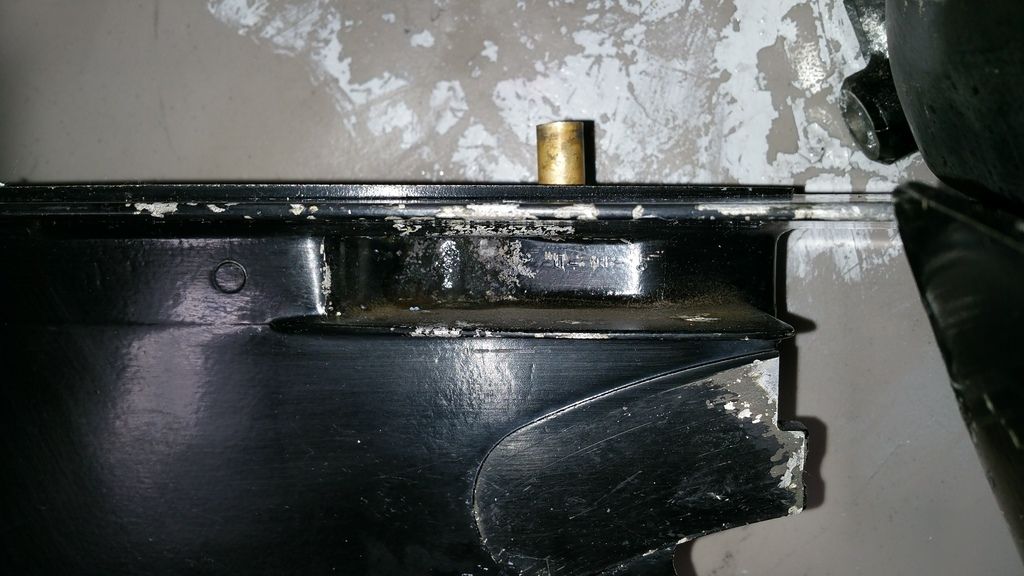
oops i forgot this pic, it was probably the worst corrosion on the drive where the nut goes that holds the upper to the lower, came real clean, im happy

20151220_123936_zpsqnhzfuaa.jpg
 

JASinIL2006

Vice Admiral
Joined
Feb 10, 2012
Messages
5,669
Does my transom seal look like its supposed to? Do they start round then flatten with age? The new one is on the left the old one is on the right....

20151220_123555_zpsfiq5dupi.jpg


This seemed odd to me... them both being glued with a seem... new on top old on bottom...

20151220_123636_zpsinwykpdz.jpg

The old seal I pulled out was a little flattened, too. The new one looks right. I thought it was odd that they just glued it together; seemed rather low-tech. But it works!

Nice work you are doing. I'm enjoying your pictures and seeing the progress.

Merry Christmas!
 

52FordF2

Petty Officer 1st Class
Joined
May 31, 2013
Messages
372
You may want to install the seal where its glued together at the top. That way if it fails it will be above the water line.
 

Rick Stephens

Admiral
Joined
Aug 13, 2013
Messages
6,118
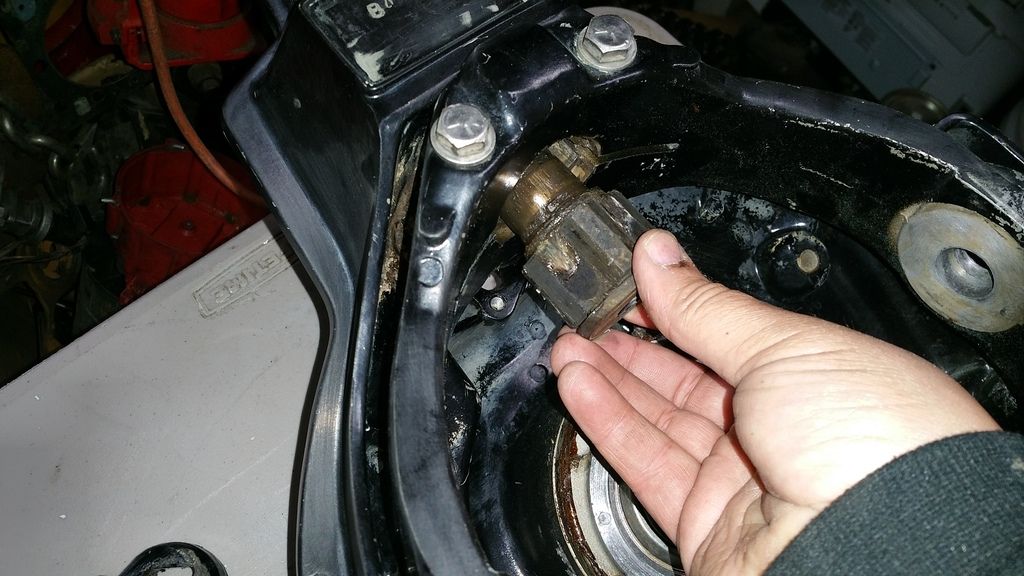
I can't believe how nice that came out in the wash. A little more clean up and you'll be set. That brass pipe fitting comes out easy enough. Shouldn't be to tough to turn as long as your socket fits it well.

I can't wait to see it with paint.
 

Goldie627

Lieutenant Junior Grade
Joined
Oct 28, 2013
Messages
1,010
I can't believe how nice that came out in the wash. A little more clean up and you'll be set. That brass pipe fitting comes out easy enough. Shouldn't be to tough to turn as long as your socket fits it well.

I can't wait to see it with paint.
Hey Rick, I had a small set back. I really wanted to leave the ring but I just could'nt. I had to take it off. Its very doable with the ring on but I could'nt prep the way I wanted to and grease from the swivel shaft and swivel pin kept reappearing :) I'd wipe it off and 5 minutes later it would be back, with friends! :facepalm:

Mostly I was just feeling guilty :D so I snatched the ring off. Was'nt that bad, tho the bottom swivel pin did kinda give me the blues. But in the end it came out :bounce:

I have to power wash again, scotch brite one more time, acetone, tape off everything, light mist the bear metal with etching primer, shoot primer, maybe hit it with 220 then paint. I cant wait to see it painted either!!! Especially the shark bite repair on the gear housing :cool:
 

Goldie627

Lieutenant Junior Grade
Joined
Oct 28, 2013
Messages
1,010
The old seal I pulled out was a little flattened, too. The new one looks right. I thought it was odd that they just glued it together; seemed rather low-tech. But it works!

Nice work you are doing. I'm enjoying your pictures and seeing the progress.

Merry Christmas!
Yeah Jas that seal tripped me out too! When I first saw it I was thinking "what kind of hokey stuff it this? a seal with a seem???" lol
 

Goldie627

Lieutenant Junior Grade
Joined
Oct 28, 2013
Messages
1,010
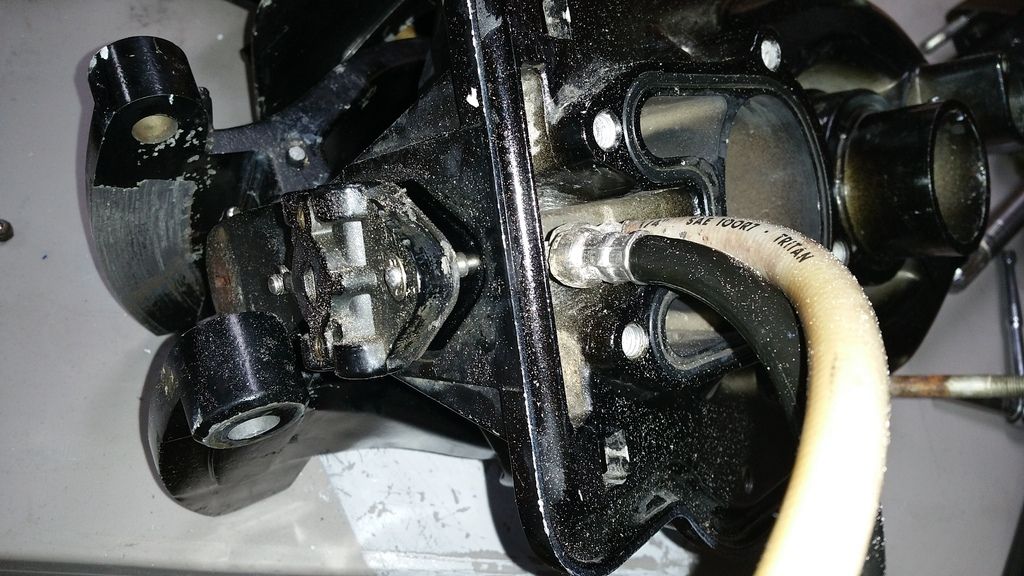
I was standing in the garage talking to myself. Trying to convince myself not to take off the gimbal ring.... and to stick to the plan! I lost the argument :D First the hydraulic lines and plate came off...
20151225_092016_zpsln3bobne.jpg


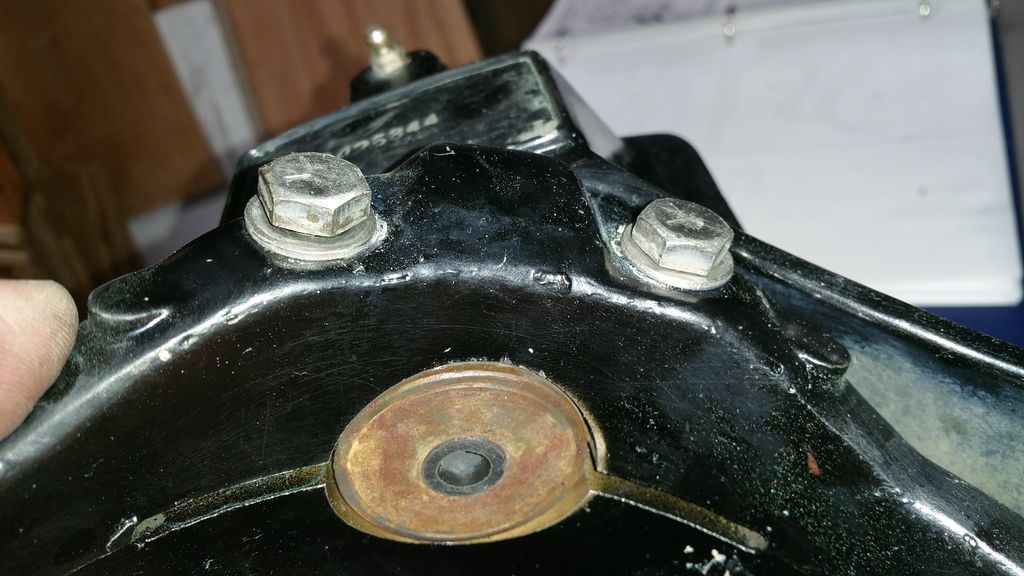
Then these two bolts get loosend..
20151225_101748_zpsdkbakgws.jpg


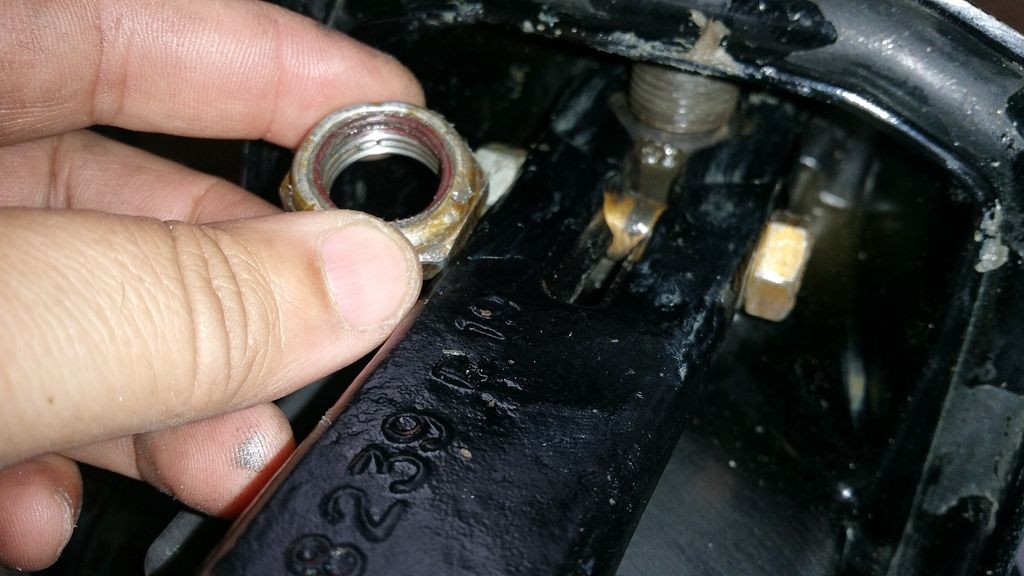
Next on the hit list is the steering lever nut
20151225_105013_zpsaw12kaos.jpg


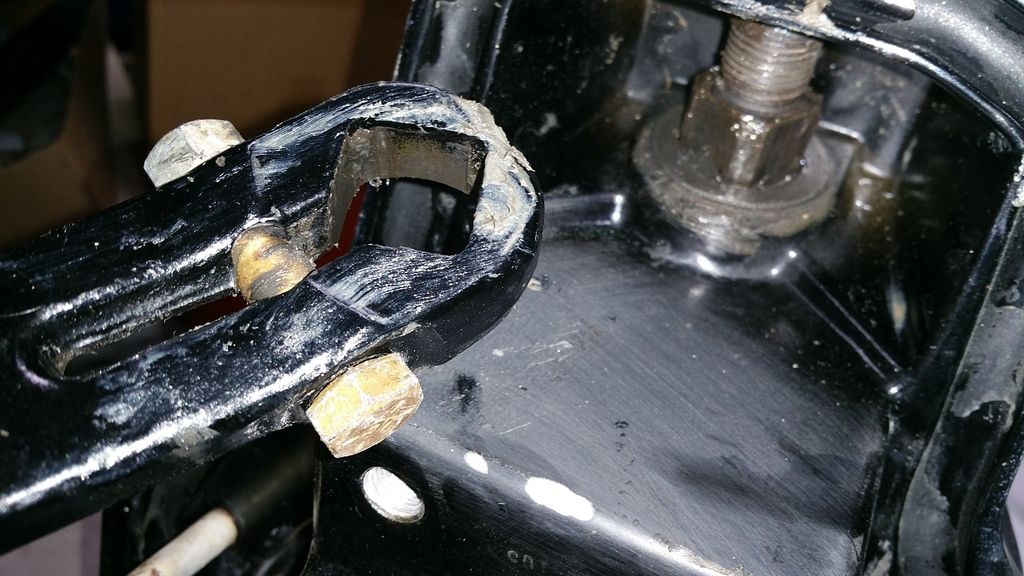
Then take the steering lever...
20151225_105123_zpsfrfm56oc.jpg
 

Goldie627

Lieutenant Junior Grade
Joined
Oct 28, 2013
Messages
1,010
Now the swivel shaft will drop out...
20151225_105210_zpsxm3ggysj.jpg


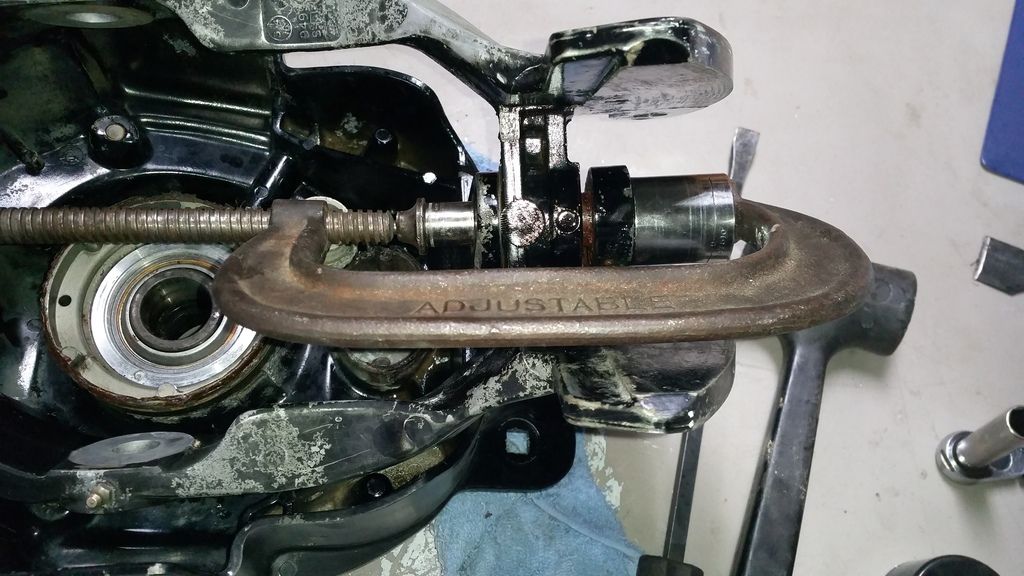
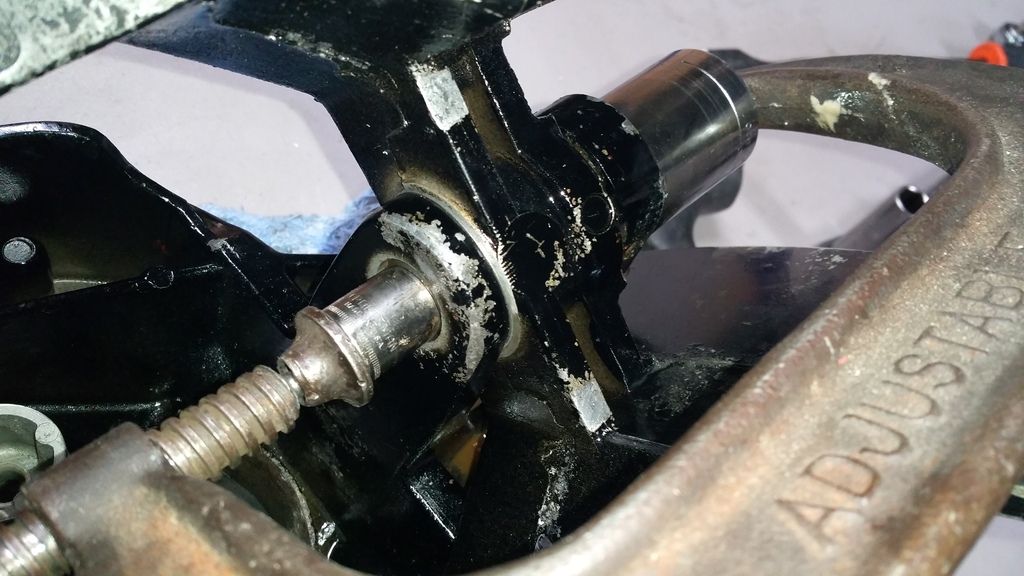
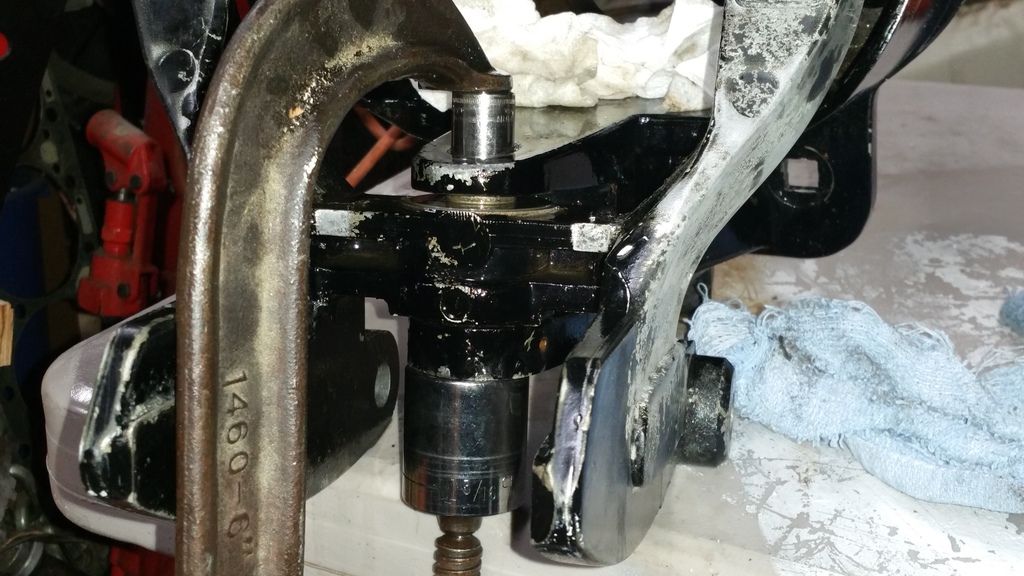
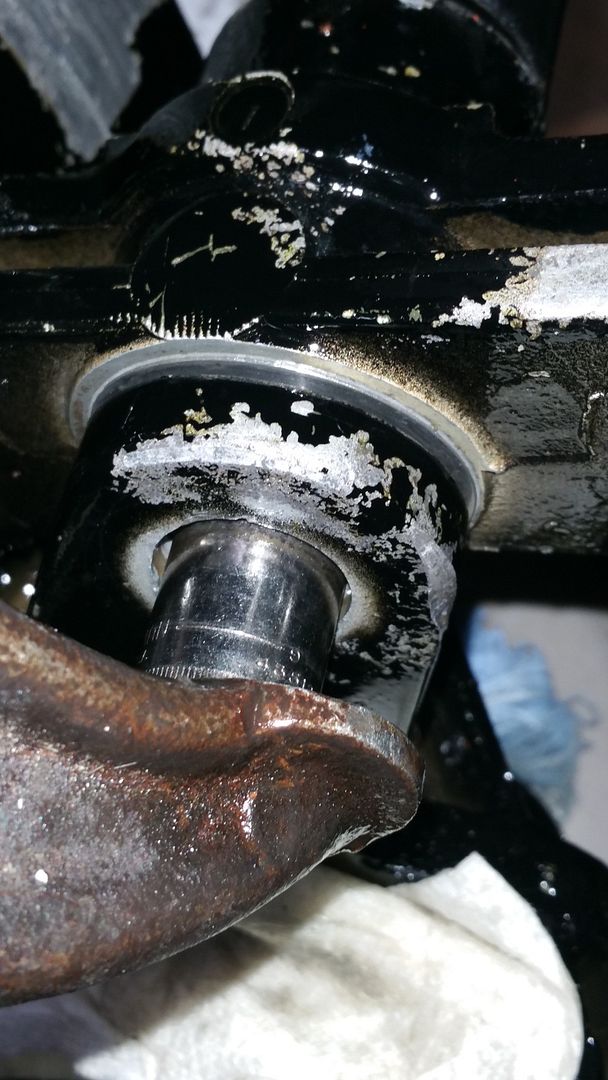
Now take a socket too big on one side and too small on the other end, the lil socket forces the pin through the big socket...
20151225_111533_zpseoroyfmc.jpg


Theres more room if you flip the clamp with the handle the other way, opposite of whats in this pic
20151225_111545_zpsgowuugiz.jpg


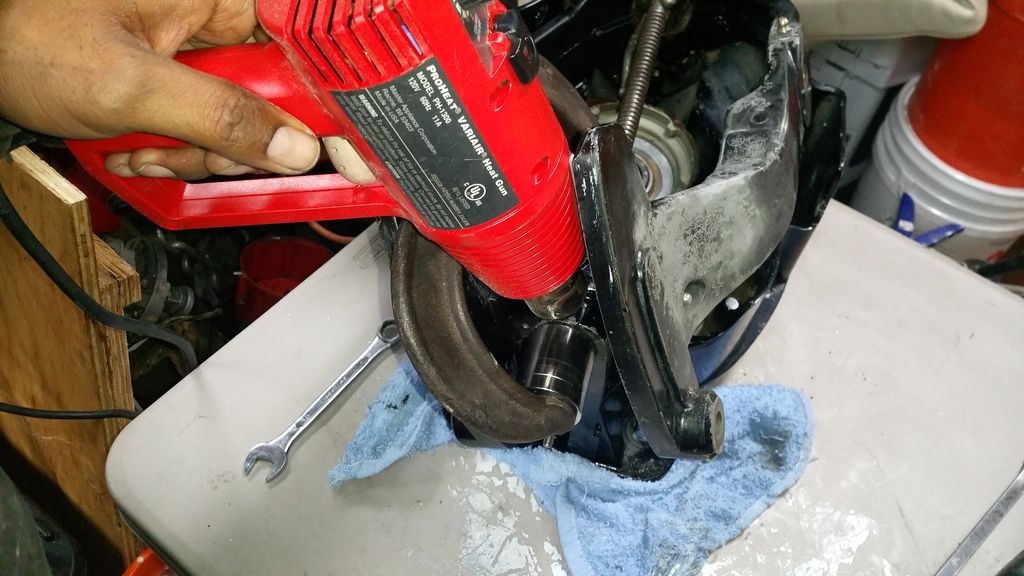
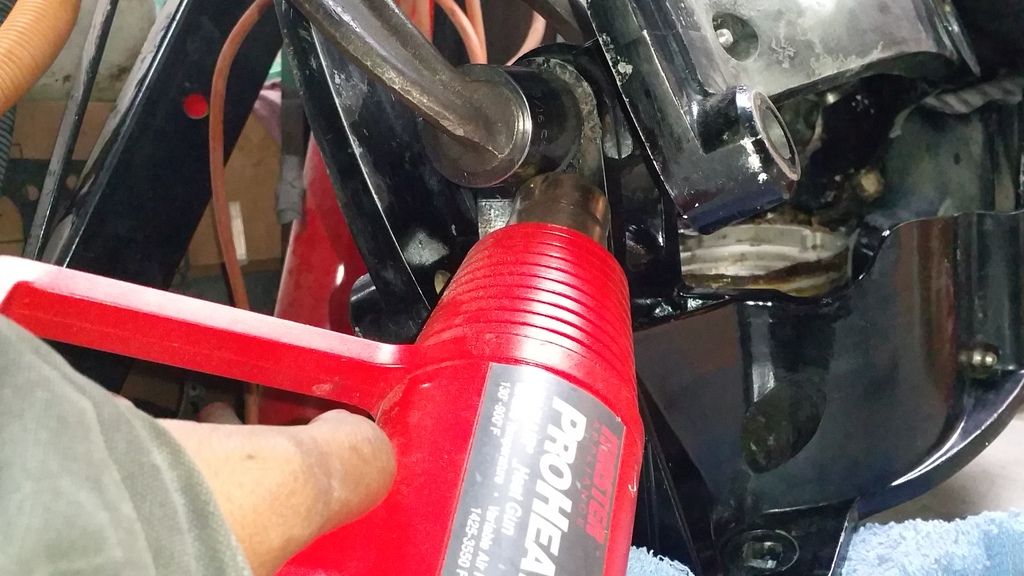
If that doesnt work, look at your friend, then back at the part, then back at you friend, then back at the park, then have your friends wife's loaded baked potato for lunch then apply a lil heat, not to the backed potato :D but to the metal around the pin and not the pin itself...
20151225_112318_zpsgswshipw.jpg
 

Goldie627

Lieutenant Junior Grade
Joined
Oct 28, 2013
Messages
1,010
Not that your desperate just yet.... go ahead and thro a lil heat on the bottom too :eyebrows:
20151225_112638_zps4emyjnkj.jpg


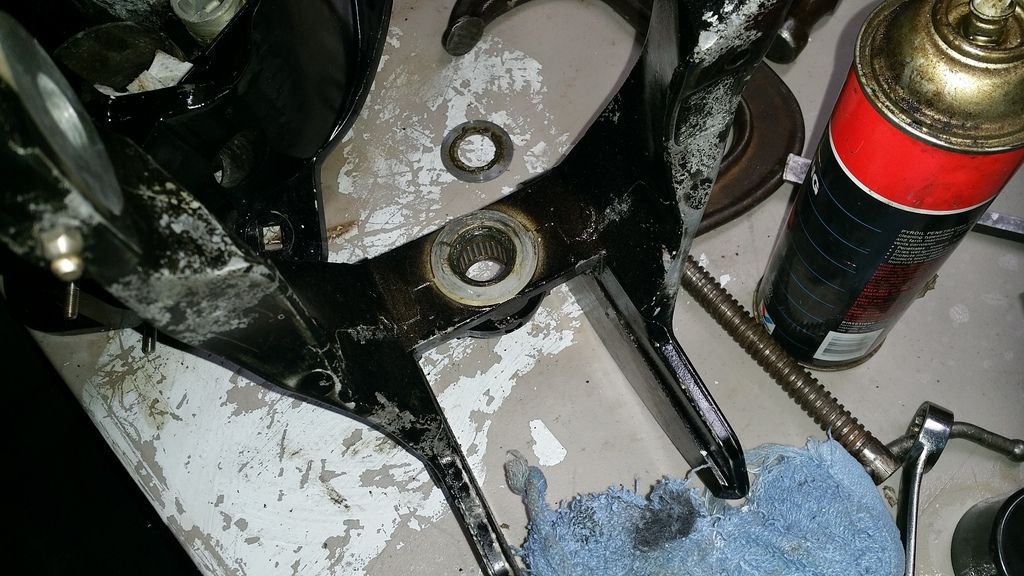
This is how the clamp should be positioned with the handle out... quarter turn, penatrating oil, quarter turn, penatrating oil, over and over and over and over...
20151225_125657_zps4j2ocitx.jpg


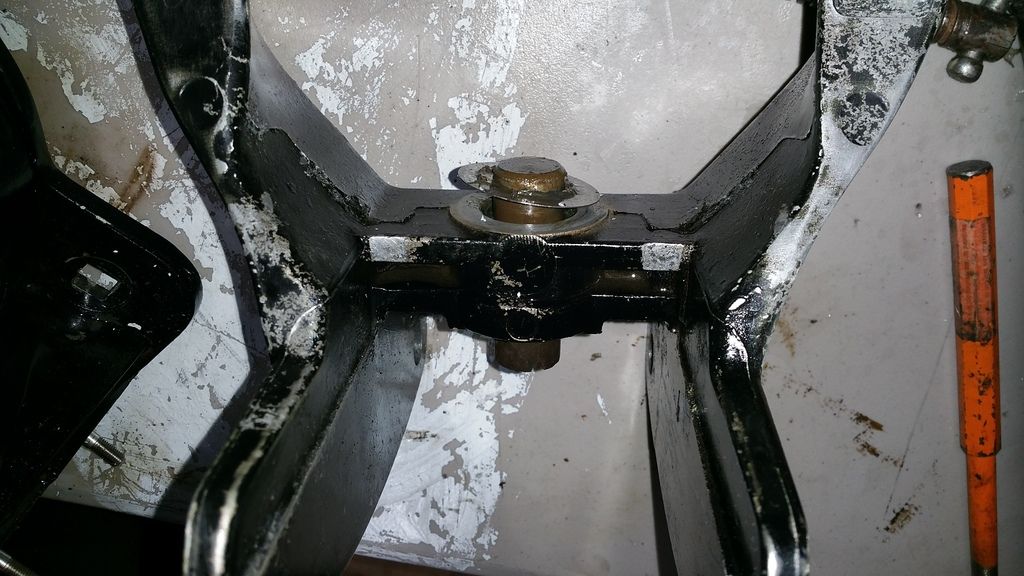
And over and over.... until.....
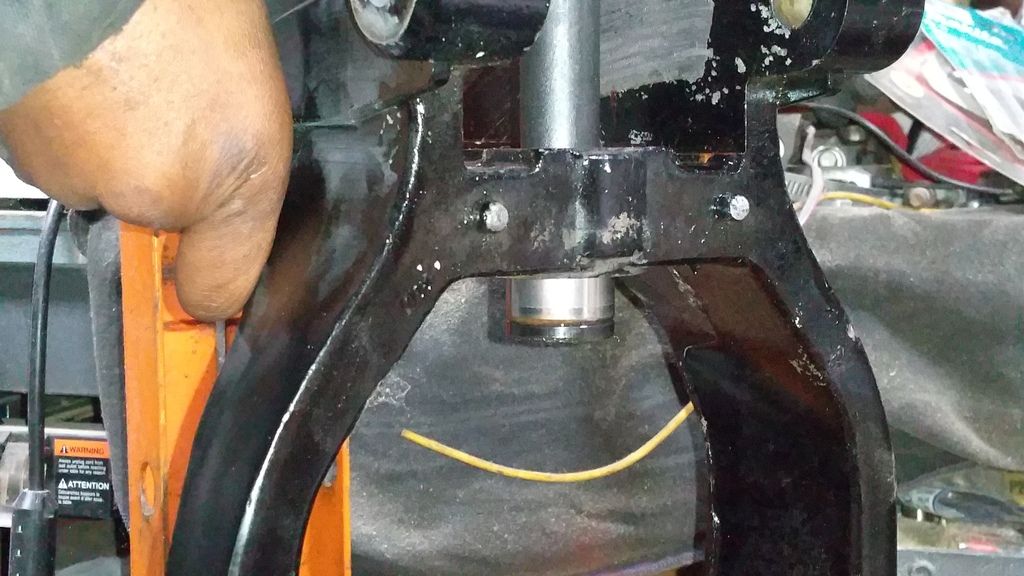
20151225_130137_zpse71v0vvf.jpg


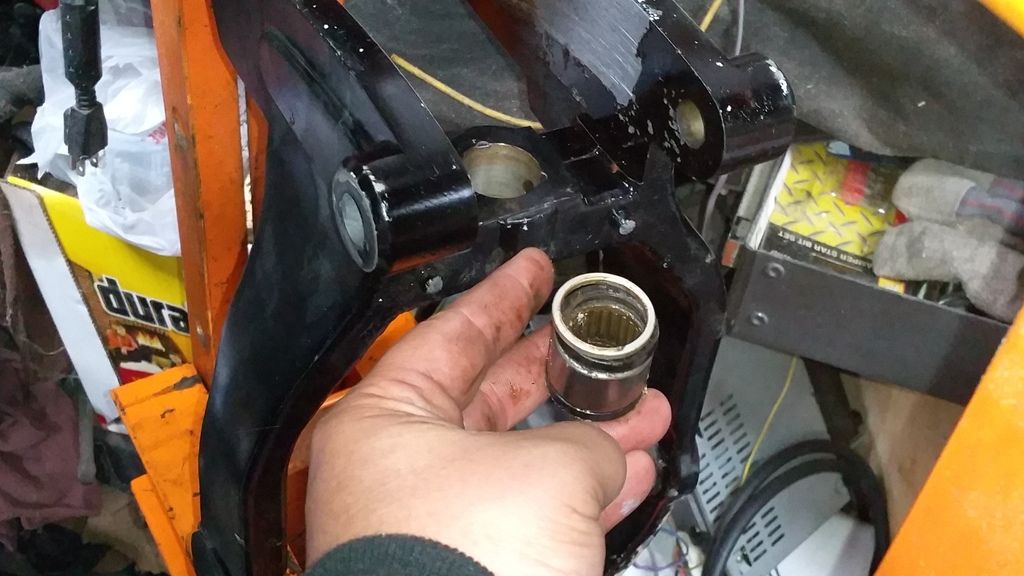
BINK!!! its outta there!!!!!
20151225_131226_zpsnowcr3jw.jpg
 

Goldie627

Lieutenant Junior Grade
Joined
Oct 28, 2013
Messages
1,010
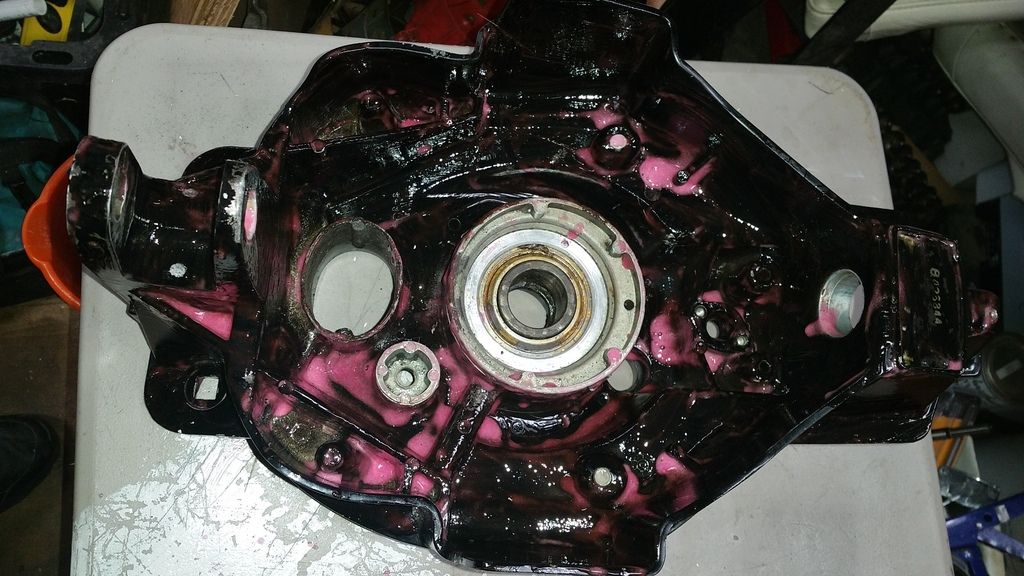
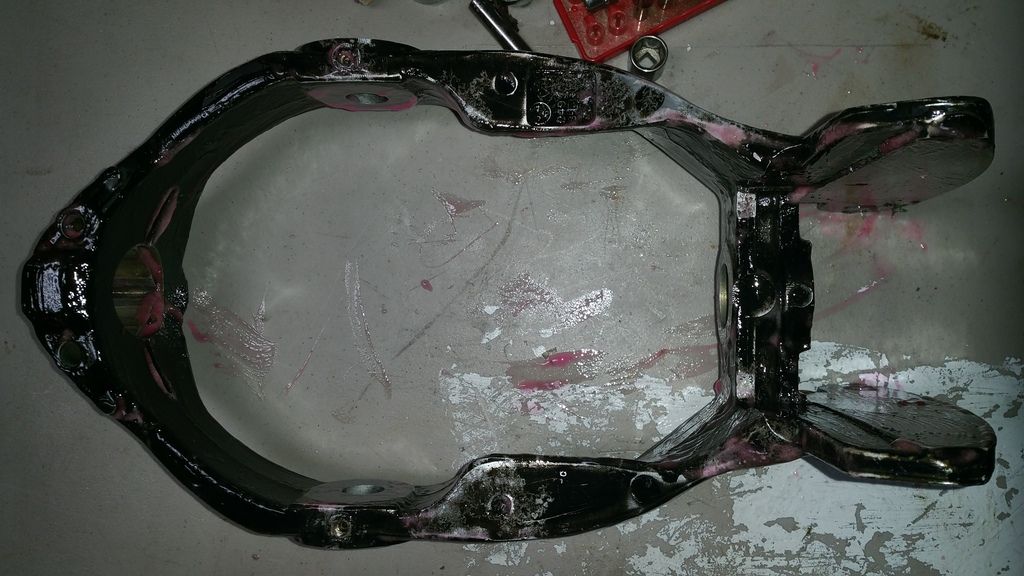
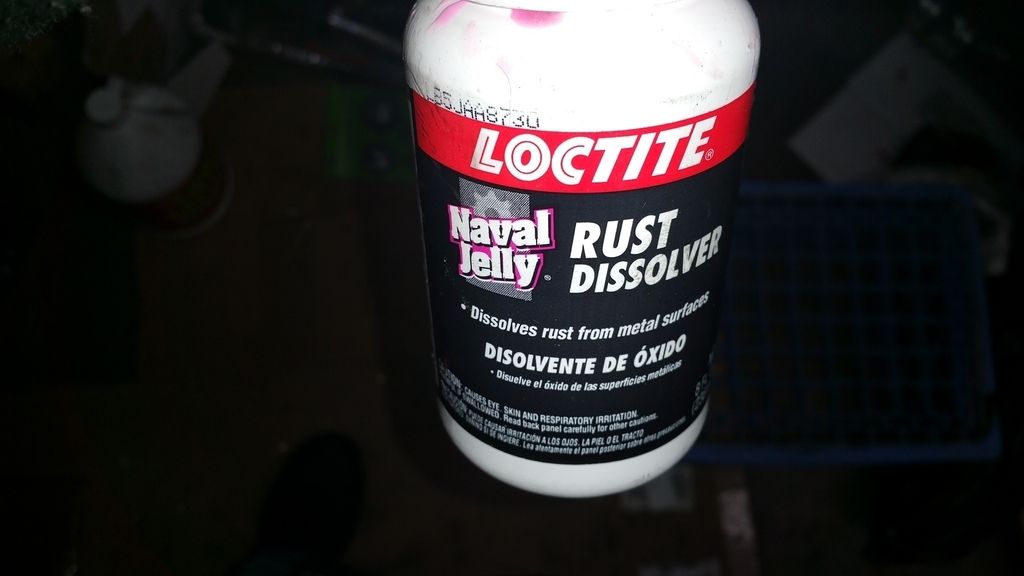
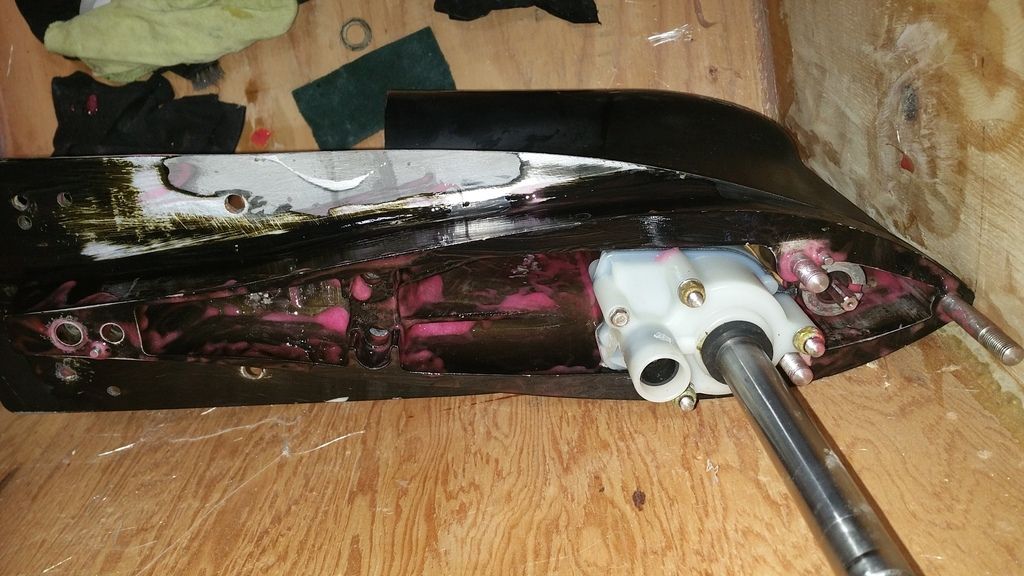
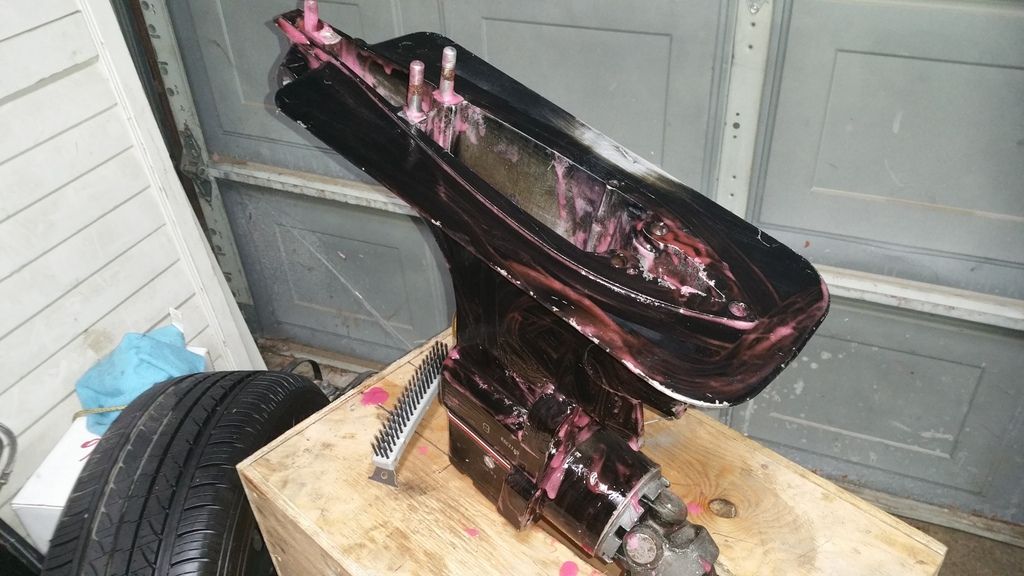
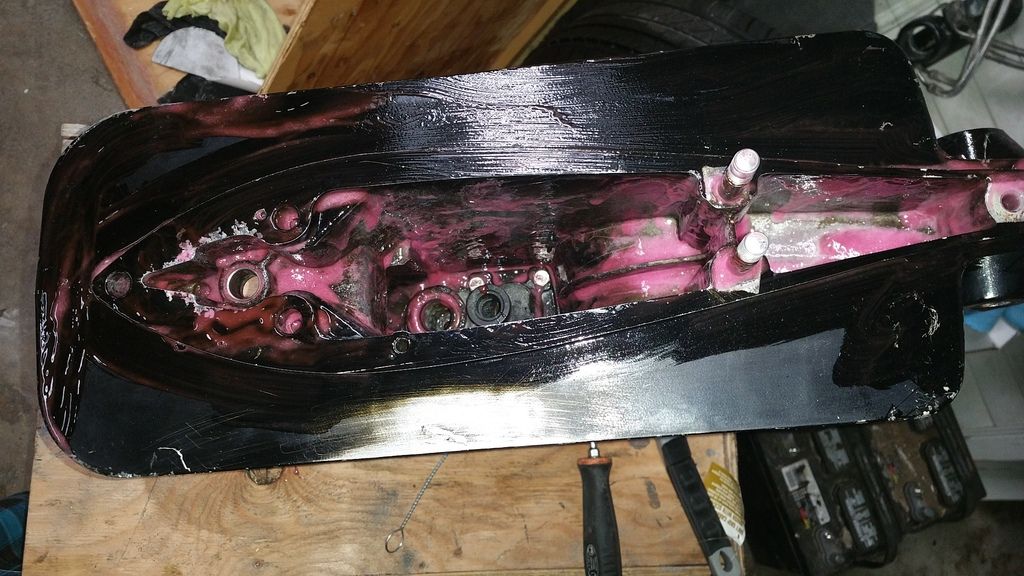
Final stages of cleanup.... hitting it with the loctite rust remover....
20151225_182140_zpsn1mwjvv9.jpg


20151225_182207_zpsj7vefnuk.jpg


a5604fd6-ec7b-4863-8552-38ff5a8a0f1b_zpsncshxckz.jpg


20151225_182237_zpsq1ekgyfb.jpg


20151225_182245_zpssa7sglu1.jpg
 
Top