'83 Lund "Sirius" total gut and rebuild

jigngrub

Fleet Admiral
Joined
Mar 19, 2011
Messages
8,155
The carpentry work looks outstanding.

That honeycomb transom however looks like it's going to be a mucking mess when it's installed with adhesive pushing out of all of those relief holes, I'd put tape over about 3/4s of those things... you really don't need that many, if any. Having the adhesive squeeze out on the sides and bottom of the transom to bed it into place is what you want... or it's what I want anyway.
 

sphelps

Supreme Mariner
Joined
Nov 16, 2011
Messages
11,460
It should not make that big a mess . A little may come out but a putty knife can clean that up in about 1 min. . If you tape over the holes that may keep air from escaping .. Maybe not idk just thinking ..:)
 

nurseman

Lieutenant Junior Grade
Joined
Jun 2, 2013
Messages
1,045
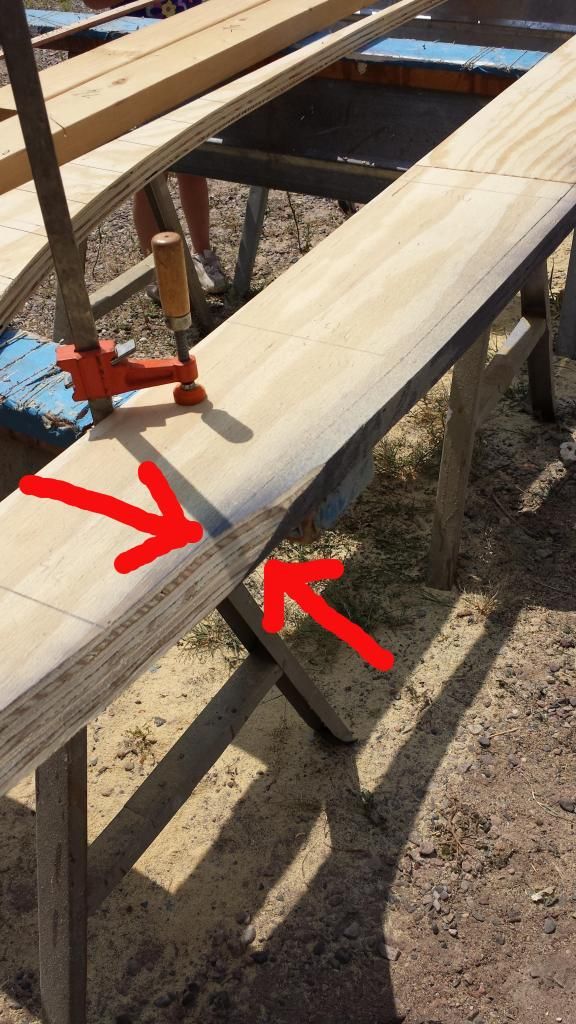
Hey nurseman. This is beginning to look like a masterpiece. There are some magic ways of doing this and I like yours. The beveled cut brilliant. One thing, how did the grey primer help you when you were grinding the bevel?
Cheers Kerry

The line on the top of the stringer is easy to see when grinding, but the bottom edge can be tricky, mainly because everything is the same color. The primer provides a contrast, and as the edge is ground away, the strip of primer gets smaller and smaller. When the grey is almost gone on the bottom side, then you know that you have ground enough. I drew some arrows to point out what I was watching while grinding, I hope it helps clarify the idea.
 

nurseman

Lieutenant Junior Grade
Joined
Jun 2, 2013
Messages
1,045
It should not make that big a mess . A little may come out but a putty knife can clean that up in about 1 min. . If you tape over the holes that may keep air from escaping .. Maybe not idk just thinking ..:)
That is what I was thinking as well.
 

nurseman

Lieutenant Junior Grade
Joined
Jun 2, 2013
Messages
1,045
The carpentry work looks outstanding.

That honeycomb transom however looks like it's going to be a mucking mess when it's installed with adhesive pushing out of all of those relief holes, I'd put tape over about 3/4s of those things... you really don't need that many, if any. Having the adhesive squeeze out on the sides and bottom of the transom to bed it into place is what you want... or it's what I want anyway.

Thanks jigngrub, I don't think the mess will be to bad, but even if it is, it can be scraped off with with a putty knife like sphelps said.
I am curious, (and don't take this the wrong way) but aren't you a tin can guy? I would be interested in seeing an example of any fiberglass transom work that you have done.
 

jigngrub

Fleet Admiral
Joined
Mar 19, 2011
Messages
8,155
No documentation of fiberglass work for me, yet. But there will be, and possibly before you finish your build. Then you can see the way I do it and you can comment as you please.

Maybe you have a different game plan than I would have for installing that transom, but the way I see it the adhesive will be dropping through those holes when troweling it on. Then depending on the viscosity of the adhesive I can see it running out of the holes down onto the transom inside face. I also don't see all of those holes filling completely during installation and squeeze-out. Leaving you with quite a few holes to inject in a vertical position... or just daubing over the top with filler and leaving a void behind the filler.

... but like I already said, maybe you have it fingered out better than I can understand right now and you won't have to deal with any of the above.

IMO you don't need any relief holes, you'll have plenty of relief on all 4 sides. Start squeezing in the middle and work your way out to the edges and you'll have a solid void free bond and you'll have plenty of adhesive to make your cove fillets on the sides and bottom.

I may not have documented f'glass work on this forum... but I am a master commercial carpenter, construction supervisor, and have 40 yrs. experience in the general contracting trade.

... keep an eye out for my upcoming f'glass project, it's going to involve a fair quantity of OSB plywood and lots and lots of Boiled Linseed Oil!!!
 

sphelps

Supreme Mariner
Joined
Nov 16, 2011
Messages
11,460
Nothing wrong with jigs plan . There have been a gazzilion transoms done with no ooze holes and I have not heard of any problems relating to not having them . My understanding this was done by a lot of the old school guys .. To me it has 2 objectives . To release air and to make like a thickened resin bond from the outside skin to the inside skin . A fiberglass through bolt sort of . I'm no expert I have only so far replaced 2 transoms . One was seacast the other was wood . I did put a few ooze holes in the wooden one . The seacast one was all ooze !:lol: ..
This is an iboats restoration so it's already done better than most !
Btw jig , ya got me beat by 8 years in the construction business ...I offer my condolences .. :facepalm: It sure ain't as fun as it used to be ! :)
 

friderday

Chief Petty Officer
Joined
Apr 1, 2012
Messages
463
I've done 2 transoms (wood). On the first, no holes, the second a few holes but not as large or many. I don't think either was wrongly constructed nor installed. My PB was very thick & full of fibers...super PB so to speak, extra hairy. I had pretty good clampage on both, but nothing like our new resident clamp hog here...just kidding nurseman. (send me your address-I have your secret santa gift picked out for this year...hint...it might be a clamp!). On both transom installs, there was no way any PB would have easily just leaked out of the holes. Upon clamping, yes, there was some oozing around the edges & thru the holes on the 2nd one, but it was more the resin(liquid part) of the PB that leaked, ie..the thinner part of the mixture. The more fibrous, thicker portion actually did its job and filled the majority of the voids. Until the whole thing kicked, only thin fluid leaked, kind of squeezing out that which flow with least applied pressure. Anyway...just my experience..don't make it right or better than anybody elses. Oh, and I'm not in construction, but I always loved playing with construction paper in kindergarten! BTW nurseman...your skills are...well.....droolable! Can't wait to see the progression!
 

friderday

Chief Petty Officer
Joined
Apr 1, 2012
Messages
463
...sorry my phone was ringing...Harbor Freight, Home Depot, and Lowes called....they want some of their clamps back!!
 

friderday

Chief Petty Officer
Joined
Apr 1, 2012
Messages
463
We better be careful, Sam...nurseman may just be a descendent of the Beverly Hillbillies..(Clampett's) bahahahahaha!!!
 

sphelps

Supreme Mariner
Joined
Nov 16, 2011
Messages
11,460
Yeah , he'll be the most prepared nurse in the OR when the surgeon hollers out for .. "Clamps "!! :lol: :drum:
 

nurseman

Lieutenant Junior Grade
Joined
Jun 2, 2013
Messages
1,045
...sorry my phone was ringing...Harbor Freight, Home Depot, and Lowes called....they want some of their clamps back!!
Nurseman ,aka , The Mayor of Clampville ...

Ha, Ha, Ha, you guys are REALLY funny...(or jealous?):rolleyes:


No documentation of fiberglass work for me, yet. But there will be, and possibly before you finish your build. Then you can see the way I do it and you can comment as you please.

Maybe you have a different game plan than I would have for installing that transom, but the way I see it the adhesive will be dropping through those holes when troweling it on. Then depending on the viscosity of the adhesive I can see it running out of the holes down onto the transom inside face. I also don't see all of those holes filling completely during installation and squeeze-out. Leaving you with quite a few holes to inject in a vertical position... or just daubing over the top with filler and leaving a void behind the filler.

... but like I already said, maybe you have it fingered out better than I can understand right now and you won't have to deal with any of the above.

IMO you don't need any relief holes, you'll have plenty of relief on all 4 sides. Start squeezing in the middle and work your way out to the edges and you'll have a solid void free bond and you'll have plenty of adhesive to make your cove fillets on the sides and bottom.

I may not have documented f'glass work on this forum... but I am a master commercial carpenter, construction supervisor, and have 40 yrs. experience in the general contracting trade.

... keep an eye out for my upcoming f'glass project, it's going to involve a fair quantity of OSB plywood and lots and lots of Boiled Linseed Oil!!!

jigngrub, looking forward to seeing what you do and how you do it! Like I have said before, the fiberglassing is new to me, so I am learning and figuring things out as I go. It would seem that the ooze holes are somewhat controversial here, so I will offer my thread as a learning experience, for good or bad. At best, it will work like I have it planned out, and everything will be awesome, and at worst, I will have an oozy mess! But either way, it will be a good time!
 

zool

Captain
Joined
Aug 19, 2012
Messages
3,432
Hey Nurseman, nice clean progress you have going. Though I didn't bother with weep holes on the wood itself, I had plenty of screw holes and some 3/4 " holes in the outer skin from transducers, trim tabs, ect, I just let the resin ooze out of those, so the new screws can grab. I don't see a problem one way for the other, when its all said and done, you get a moon pie of wood, glass, and resin that becomes one ;). I guess at some point in the ratio you would reach diminishing returns tho.

carry on soldier...
 

nurseman

Lieutenant Junior Grade
Joined
Jun 2, 2013
Messages
1,045
Hey Nurseman, nice clean progress you have going. Though I didn't bother with weep holes on the wood itself, I had plenty of screw holes and some 3/4 " holes in the outer skin from transducers, trim tabs, ect, I just let the resin ooze out of those, so the new screws can grab. I don't see a problem one way for the other, when its all said and done, you get a moon pie of wood, glass, and resin that becomes one ;). I guess at some point in the ratio you would reach diminishing returns tho.

carry on soldier...


Thanks zool, appreciate the input! It is nice to get to hear from others with more experience.
 

Woodonglass

Supreme Mariner
Joined
Dec 29, 2009
Messages
25,926
NM, your stringer and Transom work is "Spot ON"!!! Just make sure when you install the transom to use a backer board on the outside with some plastic. Some Plastic Cabinate top Laminate would be Ideal. If you make your PB the consistency of Peanut Butter (thus the reason we call it PB) you won't have any problems with it running out of the holes, in fact you'll probably need to finish filling the holes from the front inside. These will act kind of like "Resin Rivets" and that transom will Never have any bonding issues. You might consider cutting a 2" hole at the base where your drain tube will be an allowing the PB to fill that area as well and then you can drill the hole for the drain tube when the time comes and it will be total glass and you'll never have to worry about leaking around the tube. If you know where the Tow Eyes will be located you can do the same at those locations as well and then use a large stainless steel washer as a backup when you install them. If your Glass work is as good as your Carpentry skills this build will be "One for the Books" for future reference in iBoats!!! Keep up the good Work!!!;)
 

nurseman

Lieutenant Junior Grade
Joined
Jun 2, 2013
Messages
1,045
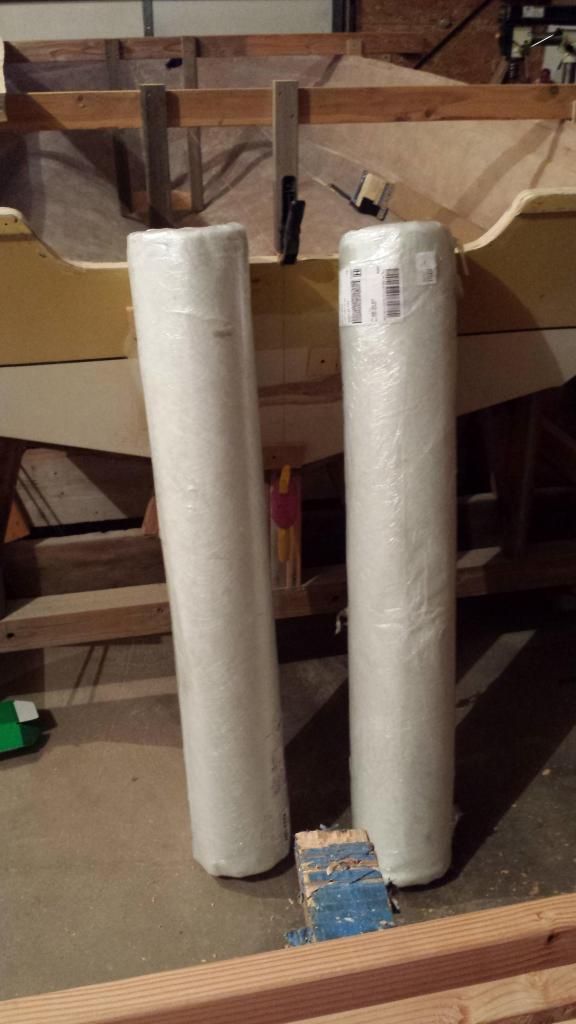
Didn't get to work on the boat last weekend, but I did get my glass ordered last week (delivered on Wednesday!)


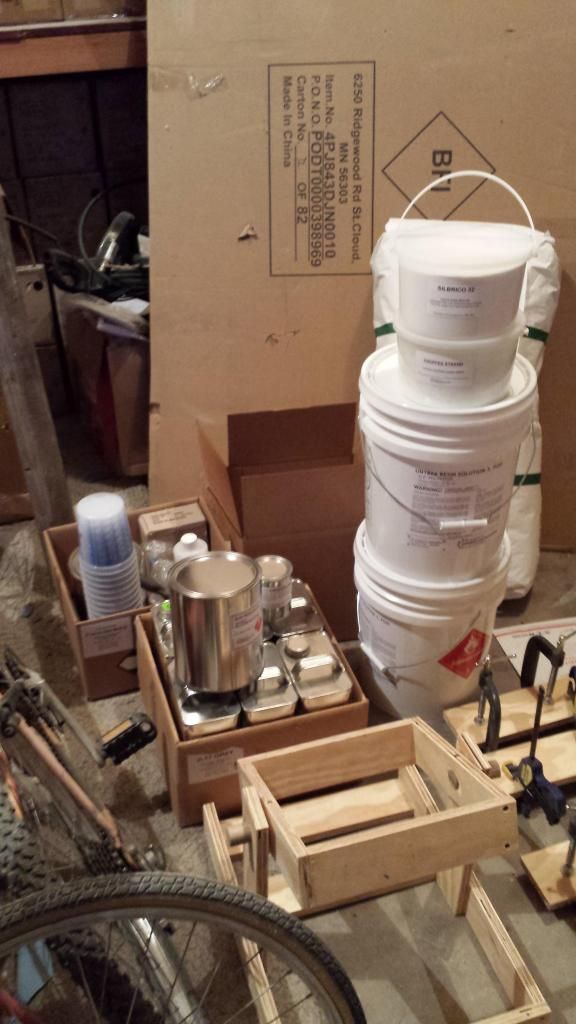
and found a supplier locally to get resin and everything else from. It was nice to avoid the shipping and hazmat charges.


During the week, I managed to get some more of the prep work done.
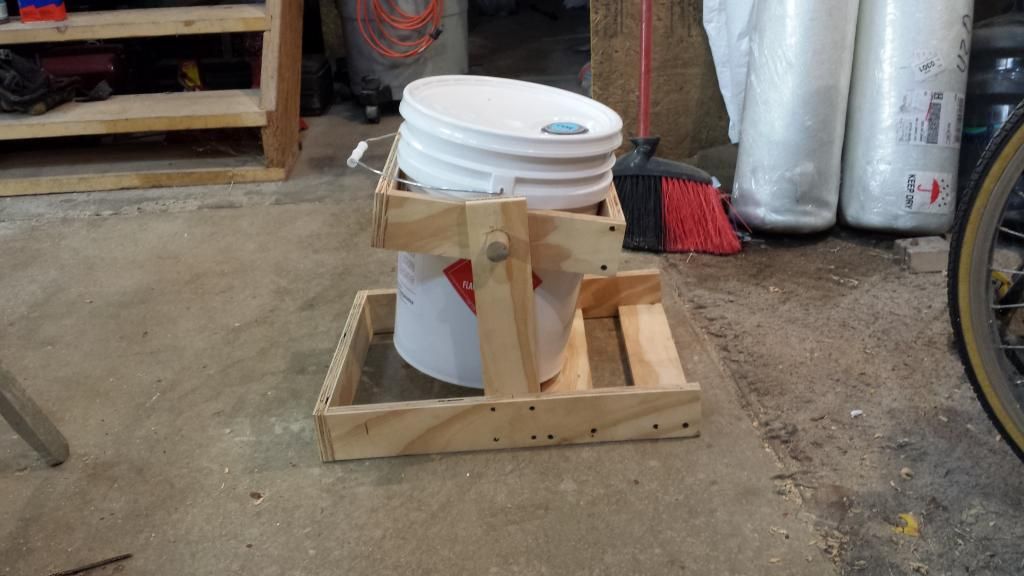
I made a holder/tipper for the resin bucket. I would give credit to whoever thought this up, but I can't remember who's thread I saw it in!!!


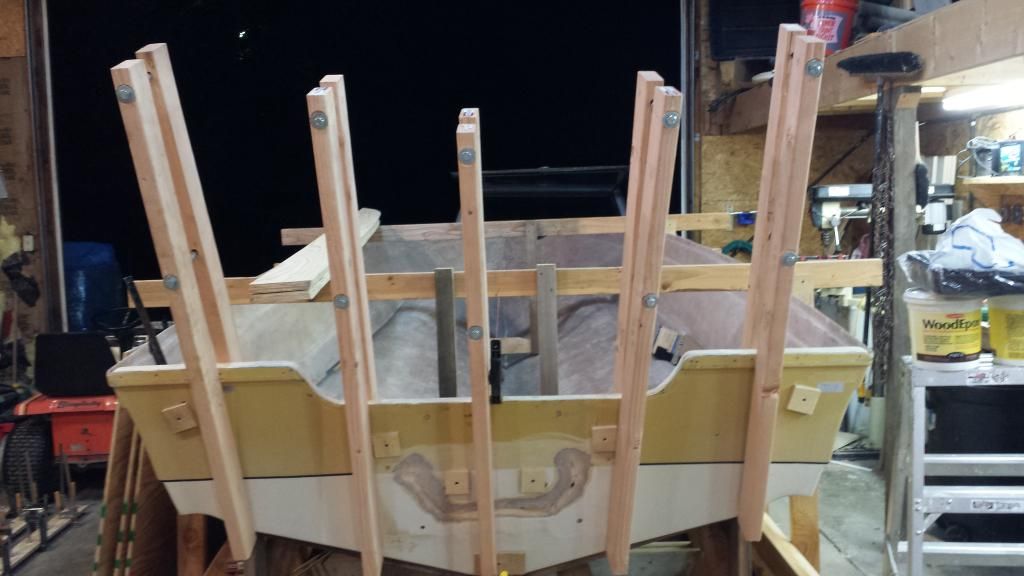
I made some WoGs famous transom clamps


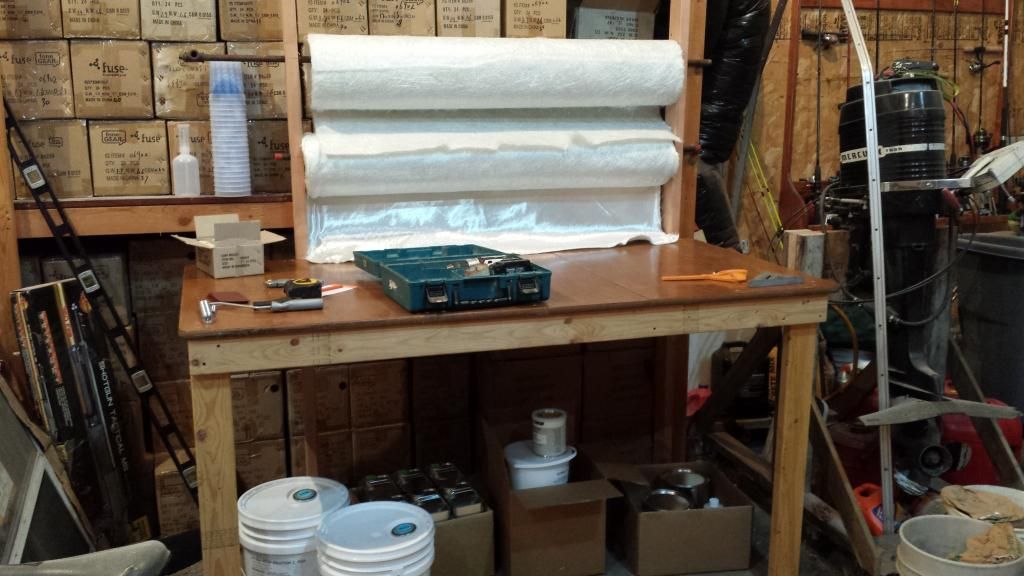
And converted an old table that has been sitting in my shop for about 5 years into a glass cutting table/work station.


Tomorrow I plan to get the rest of the carpentry done and have a trial at mixing some PB!! (But that is after I get back from fishing). My dad is coming to visit for Labor day, so my plan is to have him help me get the transom installed. Assuming of course that I can have everything ready. Will post more tomorrow as progress happens
 
Last edited:

Barramundi NQ

Petty Officer 1st Class
Joined
Jul 3, 2014
Messages
342
Awesome work and planning nm, looking forward to see the progress. I reckon carpentry might be your profession, but boat restoration might be your calling. Keep up the good work
Kerry
 

friderday

Chief Petty Officer
Joined
Apr 1, 2012
Messages
463
Good to see you back at it...looking forward to more stellar updates...oh, and did you get any more clamps?...just kidding..can't wait to see the transom installed. You will do fine with PB and as I said, the fibrous/strong goodies will go/stay right where they need to and the extra resin will slowly ooze out as it kicks..all will be right in the world! Whoa...wait......did you say "fishing"? Jealous!
 

sphelps

Supreme Mariner
Joined
Nov 16, 2011
Messages
11,460
All coming together now ! I think I saw the bucket tipping contraption over on Deckers deck boat restore ..
 
Top