'83 Lund "Sirius" total gut and rebuild

Rickmerrill

Senior Chief Petty Officer
Joined
Mar 13, 2014
Messages
686
One of these days, Nurseman, I'm gunna come up with something useful for ya but I got that feeling I'll learn ten times that from you!
 

sphelps

Supreme Mariner
Joined
Nov 16, 2011
Messages
11,468
Just going through your rebuild Nurseman .. I have to say you are doing an incredible job ! Love the grinding tent . Looks like it worked well and with a helper like you have keeping things straight, how can ya mess up ! As for the transom repair before the wood goes back in . My take is I kinda agree with Woody and jig .. I know thats kinda taking both sides . It.s probably not really needed but ya got it ground down and tapered back so well on your prep work I think I would at least put a layer or two of csm on it That way you won't have to worry about any pb oozing out the back . I am by no means an expert at anything so any advise from me should not be taken as 100% accurate .. :lol:
Keep up the great work ! SP...
 

nurseman

Lieutenant Junior Grade
Joined
Jun 2, 2013
Messages
1,045
One of these days, Nurseman, I'm gunna come up with something useful for ya but I got that feeling I'll learn ten times that from you!
Thanks for the vote of confidence Rickmerrill, but don't forget that I am a boating noob, so I'm sure that you will catch me on something before too long!
 

nurseman

Lieutenant Junior Grade
Joined
Jun 2, 2013
Messages
1,045
Just going through your rebuild Nurseman .. I have to say you are doing an incredible job ! Love the grinding tent . Looks like it worked well and with a helper like you have keeping things straight, how can ya mess up ! As for the transom repair before the wood goes back in . My take is I kinda agree with Woody and jig .. I know thats kinda taking both sides . It.s probably not really needed but ya got it ground down and tapered back so well on your prep work I think I would at least put a layer or two of csm on it That way you won't have to worry about any pb oozing out the back . I am by no means an expert at anything so any advise from me should not be taken as 100% accurate .. :lol:
Keep up the great work ! SP...


Thanks SP! We are having a ton of fun doing this! (well, except for the grinding part, that pretty much sucked). I really appreciate all the information that everyone on this forum has shared, sure helps when you're a boating noob like me!
 

nurseman

Lieutenant Junior Grade
Joined
Jun 2, 2013
Messages
1,045
what wood are you using for the transom, stringers, and deck?

jones5050, I am using a double layer of 3/4" BCX for the transom, 1/2" BCX for the floor, and I WAS going to laminate two layers of 3/8" for the stringers, but because the plywood actually measures 11/32", two layers only adds up to 11/16", which is kinda skinny for glassing over. SO, I just added a third layer to my build up, which makes my stringers 1[SUP]1/16[/SUP] wide. I am also using Titebond III for my wood laminating.
 

nurseman

Lieutenant Junior Grade
Joined
Jun 2, 2013
Messages
1,045
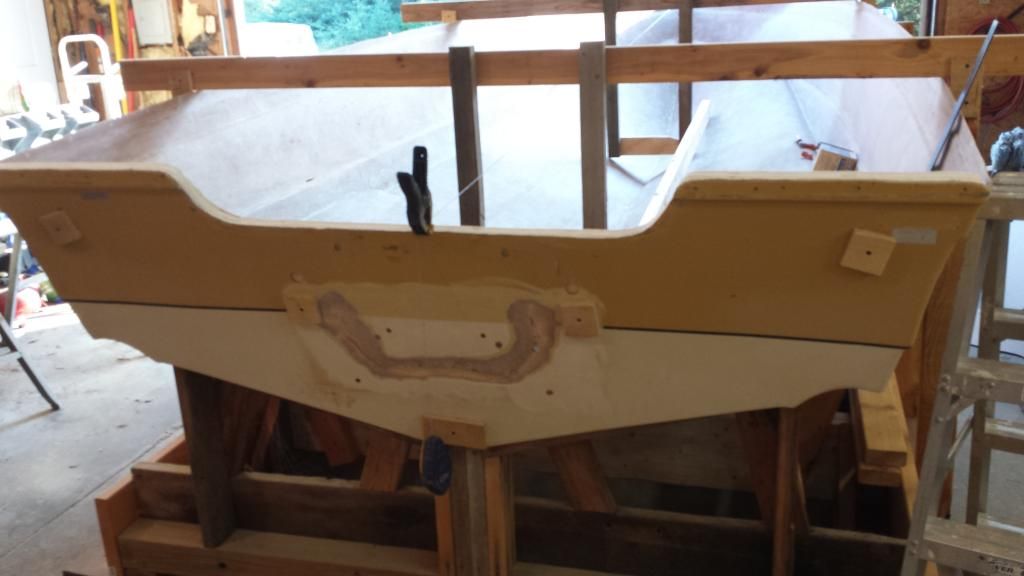
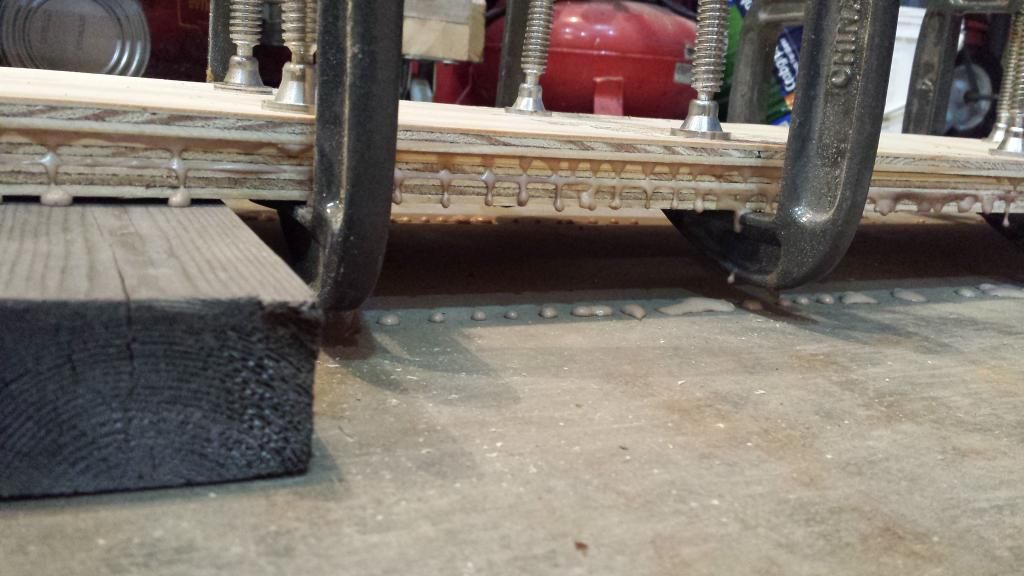
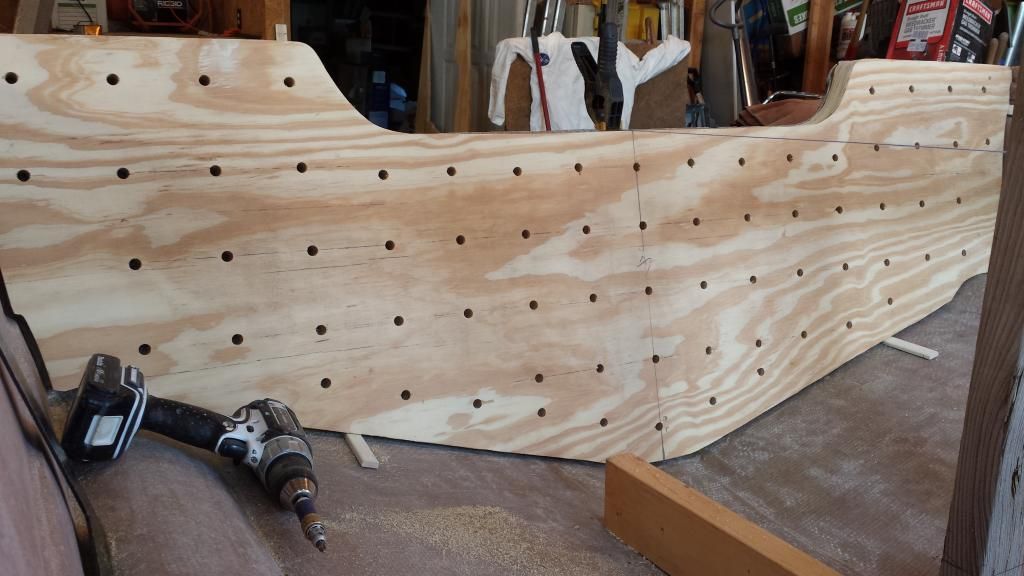
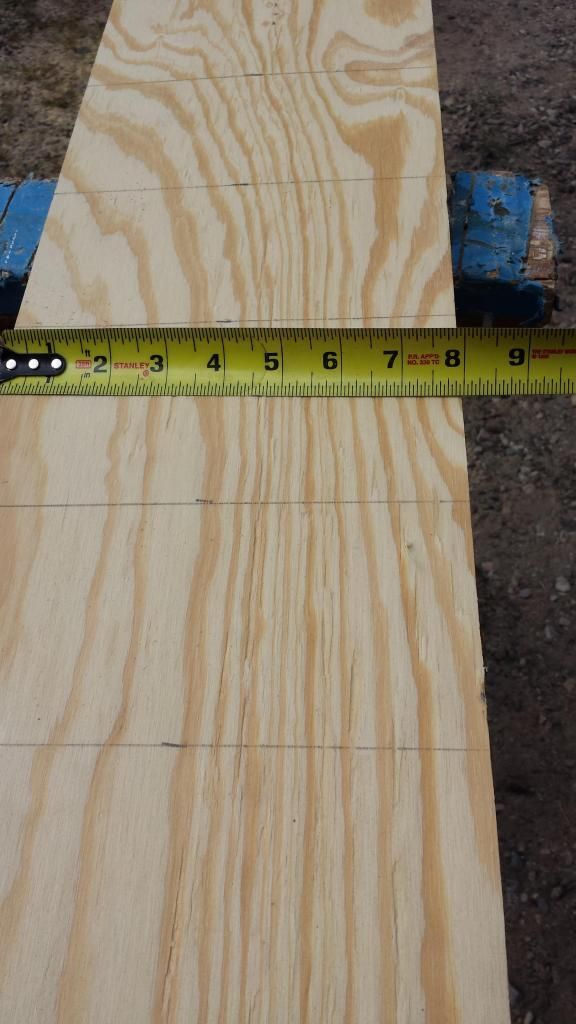
Ok, got some more progress to show. I got the final prep done on the transom, I drilled some "ooze" holes, smoothed up the edges, and gave both sides a good belt sanding (with 36 grit). I temporarily fastened it to the transom skin with some screws so that I could figure out the stringers.


My plan was to laminate the plywood for stringers last night. I had everything laid out and ready to go...


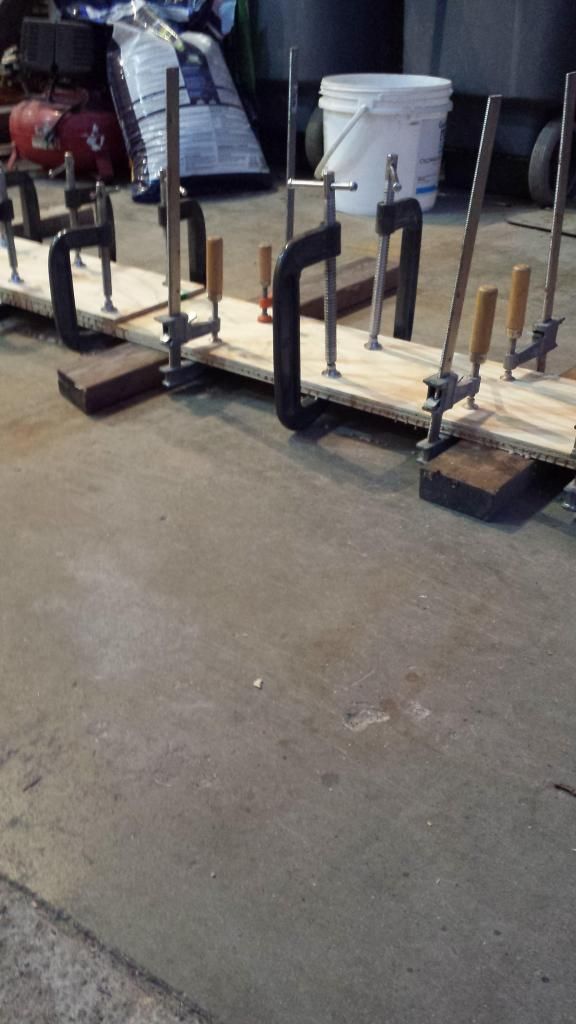
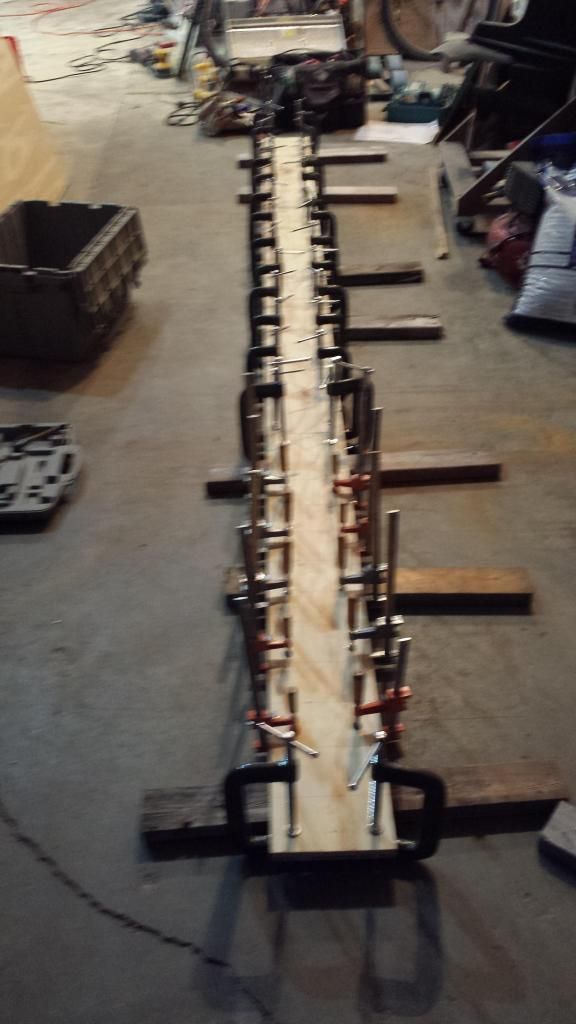
but I ran out of glue!!! I thought I had enough to do one stringer, but no. Thankfully, I made it to a plywood joint, so I was able to get most of it clamped and then make a quick trip to Lowes to grab a gallon jug of glue, and then back home to finish the stringer.


nurseman

Lieutenant Junior Grade
Joined
Jun 2, 2013
Messages
1,045
Couldn't fit this pic in the previous post, here is the finished stringer, all clamped and drippy. (Sorry for the blurry pic)


I was intending to take pics of the process of cutting and fitting the stringer, but I got on a roll and forgot! So here is the finished stringer. I will make sure that I take pics tomorrow while I am doing the second one. In these two pics, I had just cut the height and got it fitted to the hull.


I had cut them to the exact height when building and fitting them, and then when I had the shape correct, I cut 1/4 off of the top to allow for the bedding material.


Last edited:

nurseman

Lieutenant Junior Grade
Joined
Jun 2, 2013
Messages
1,045
Tomorrow I am planning on doing the second stringer and starting on the floor. I am still trying to decide if I want to put some sort of center storage in it, or just foam the whole bottom. This boat had big foam blocks in the back that sat on top of the floor, but I don't want to put those back, because I want to change the back of the cap, so there won't be room for the foam blocks. To offset this, I was thinking of foaming the center section as well as the sides. Originally there was nothing in the center.
 
Last edited:

Rickmerrill

Senior Chief Petty Officer
Joined
Mar 13, 2014
Messages
686
First stringer looks great. How many layers of what thickness did you end up using? That is yet another disgusting display of clamp wealth!
 

Barramundi NQ

Petty Officer 1st Class
Joined
Jul 3, 2014
Messages
342
Wow nurseman, looks really impressive. Clearly your years of working as a carpenter are showing. Your stringers look fantastic and well shaped for consistent gap for PBing to the hull. If you dont mind I'll tag along for the ride as I'm doing that same thing very soon.

Gidday from Australia
Kerry
 

sphelps

Supreme Mariner
Joined
Nov 16, 2011
Messages
11,468
Outstanding fabrication ! The ooze holes should make for a really strong bond ...
Top notch stuff ! :thumb:
 

nurseman

Lieutenant Junior Grade
Joined
Jun 2, 2013
Messages
1,045
First stringer looks great. How many layers of what thickness did you end up using? That is yet another disgusting display of clamp wealth!

I used three layers of what they call 3/8 inch ply, it is only actually only 11/32, so three layers came to 1 inch thick. I could have done the same thing with 2 layers of 1/2, but I like to have more than 2 layers when laminating long beams/stringers. Probably overkill, but we like overkill.

As for the clamp wealth, "if you got it, flaunt it!"
 
Last edited:

nurseman

Lieutenant Junior Grade
Joined
Jun 2, 2013
Messages
1,045
Wow nurseman, looks really impressive. Clearly your years of working as a carpenter are showing. Your stringers look fantastic and well shaped for consistent gap for PBing to the hull. If you dont mind I'll tag along for the ride as I'm doing that same thing very soon.

Gidday from Australia
Kerry


Welcome aboard Kerry, glad to have you along!
 

nurseman

Lieutenant Junior Grade
Joined
Jun 2, 2013
Messages
1,045
Outstanding fabrication ! The ooze holes should make for a really strong bond ...
Top notch stuff ! :thumb:

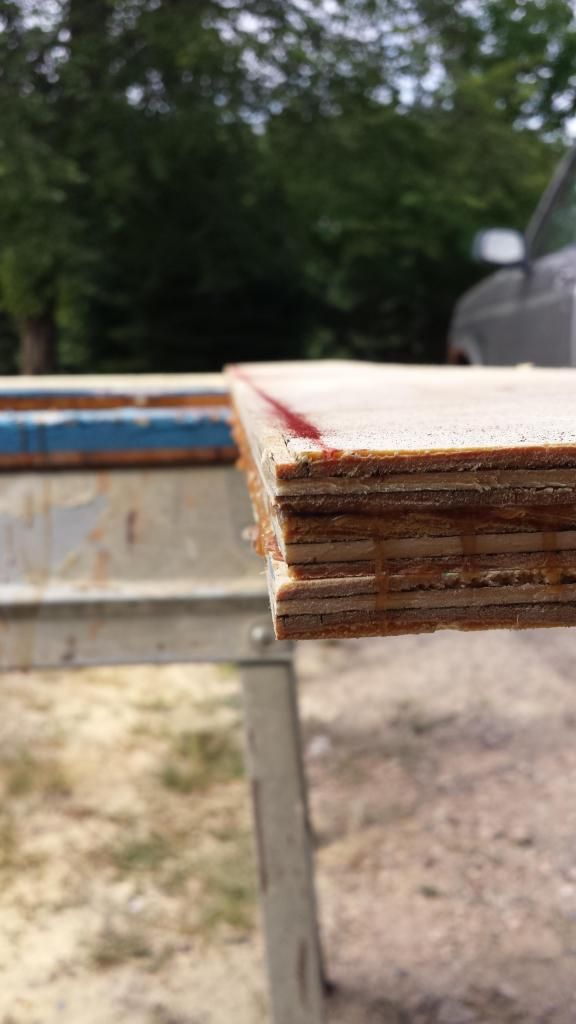
Thanks sphelps!! The ooze holes are from WOG's transom and stringers instruction page.
 

nurseman

Lieutenant Junior Grade
Joined
Jun 2, 2013
Messages
1,045
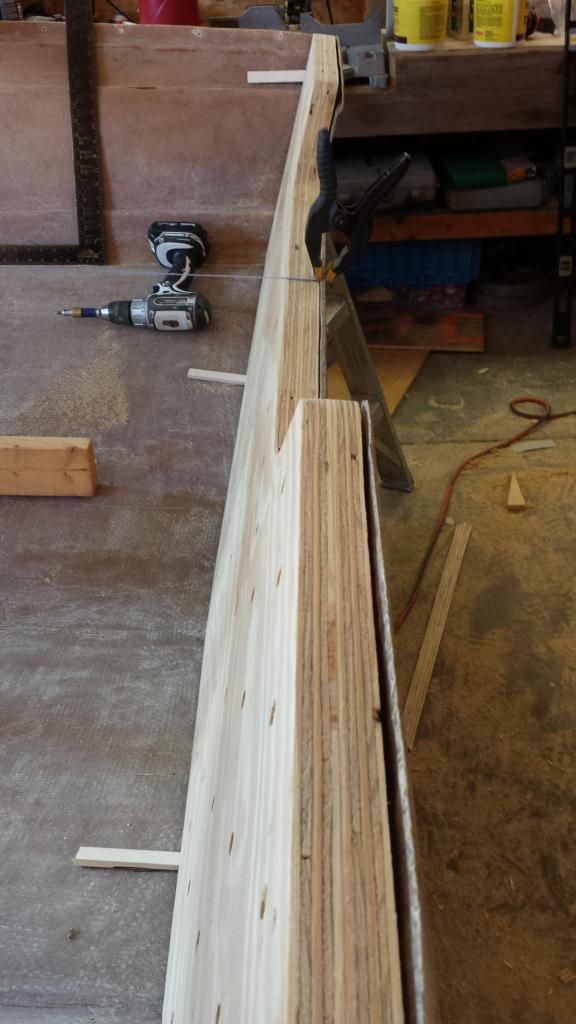
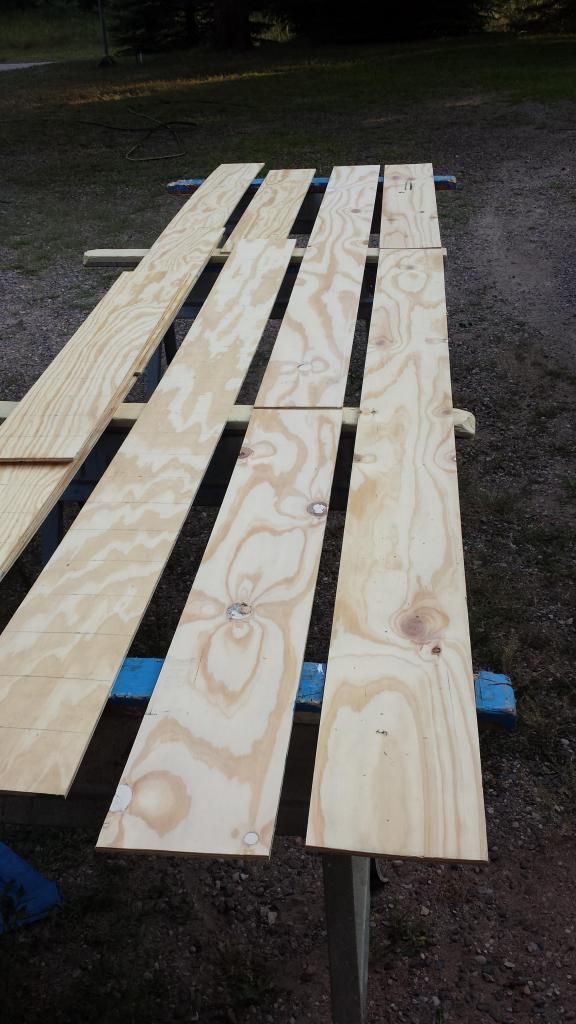
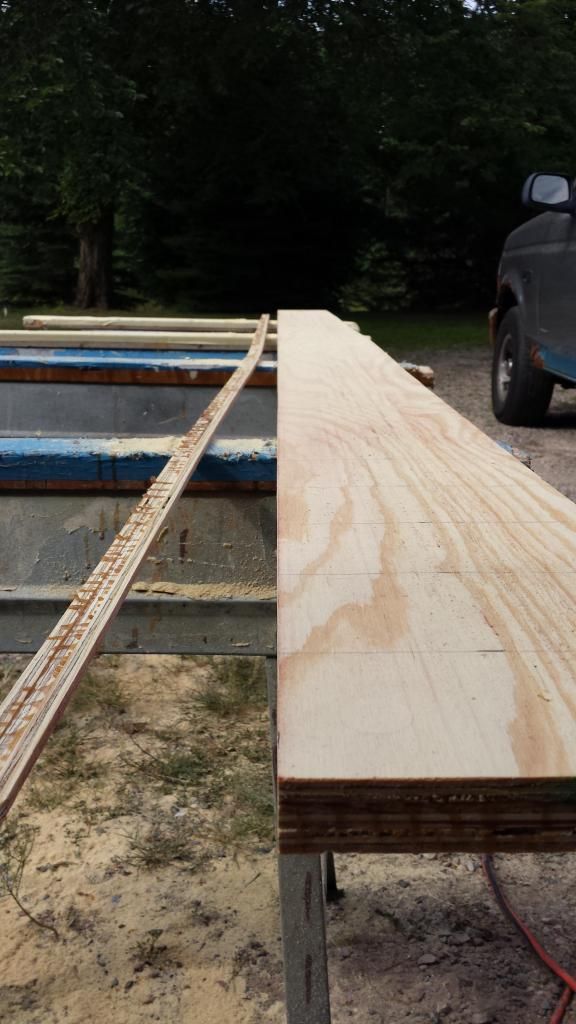
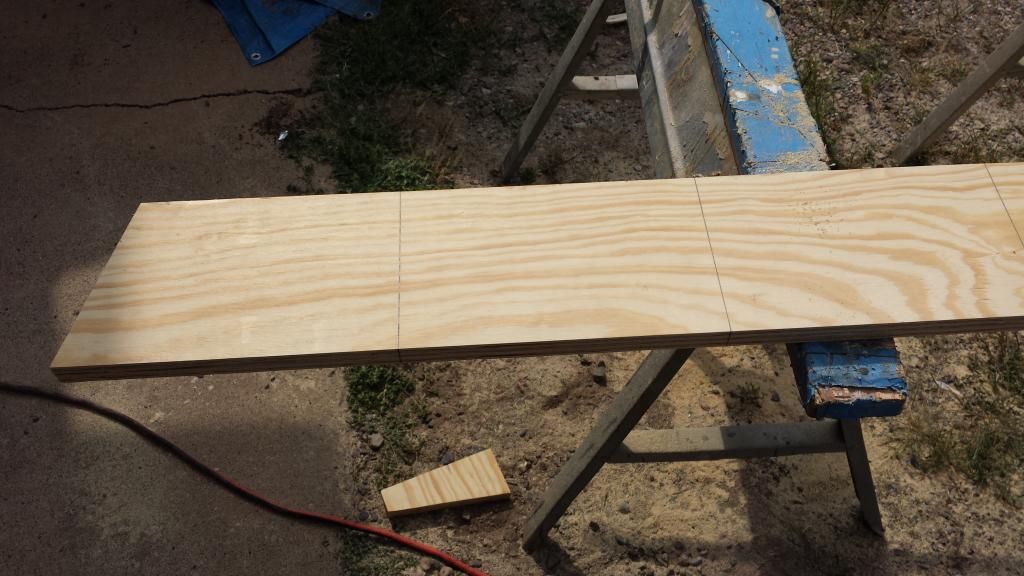
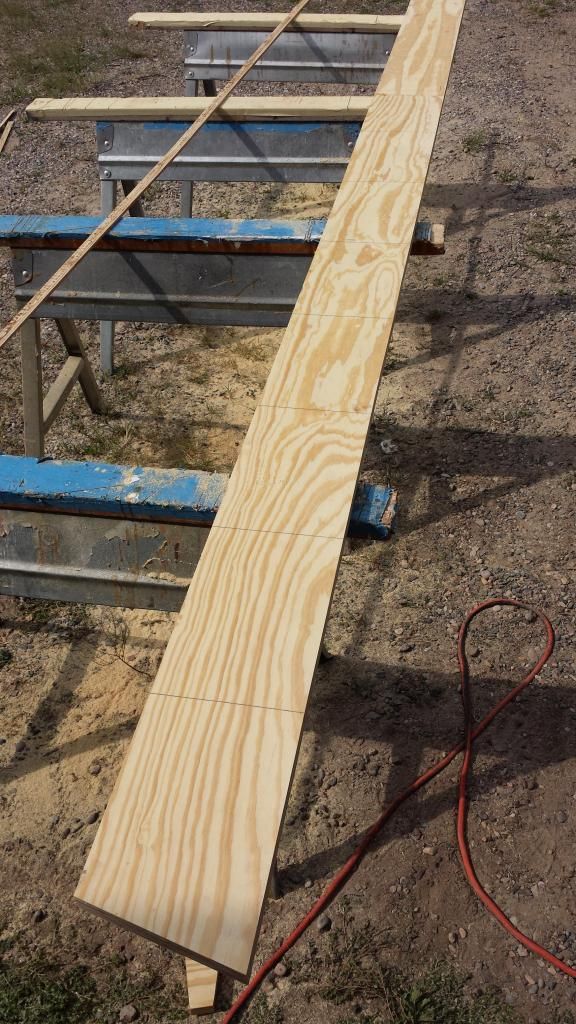
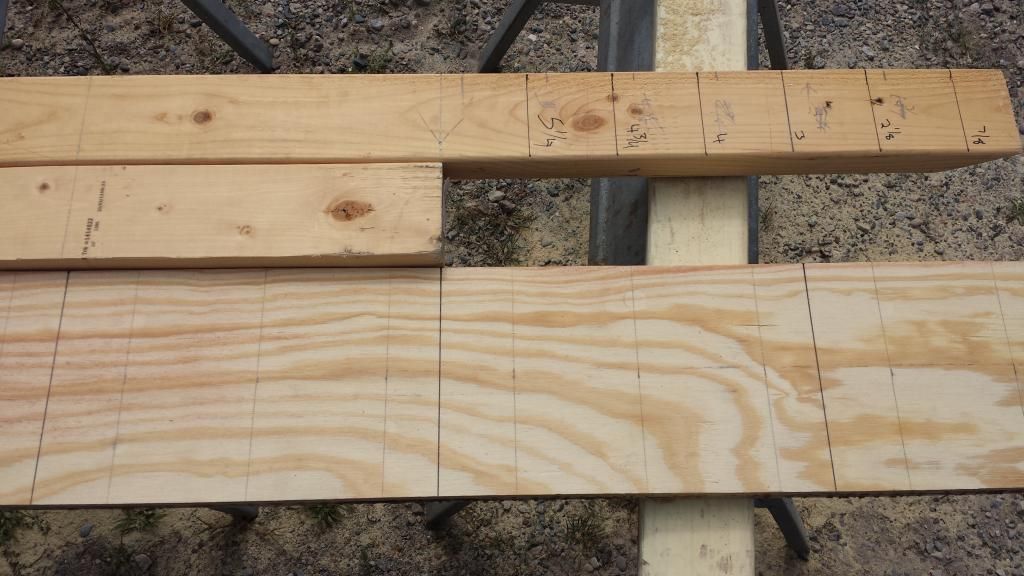
Got the second stringer done today. I remembered to take pictures during the process, so here it is. I am sure that there is more than one way to cut and fit a stringer, but this is how I did it. I started by making my blanks slightly oversized, to allow for trimming. I needed just over 7 inches, so I started with 8 inch pieces.


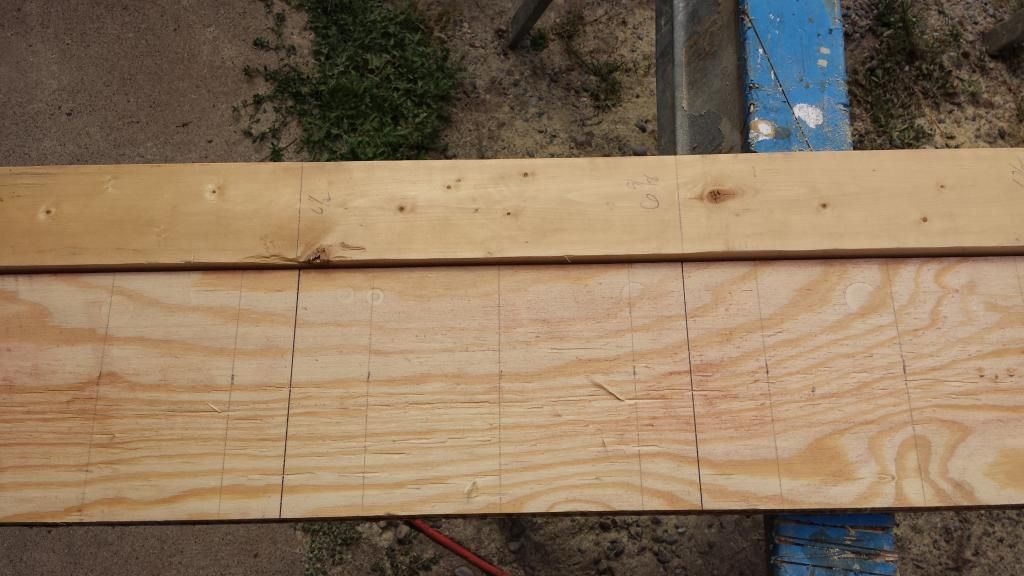
I snaped a chalk line about 1/4 inch from one edge so I could get rid of the uneven glue edge.


leaving me a nice clean, square edge to work from.


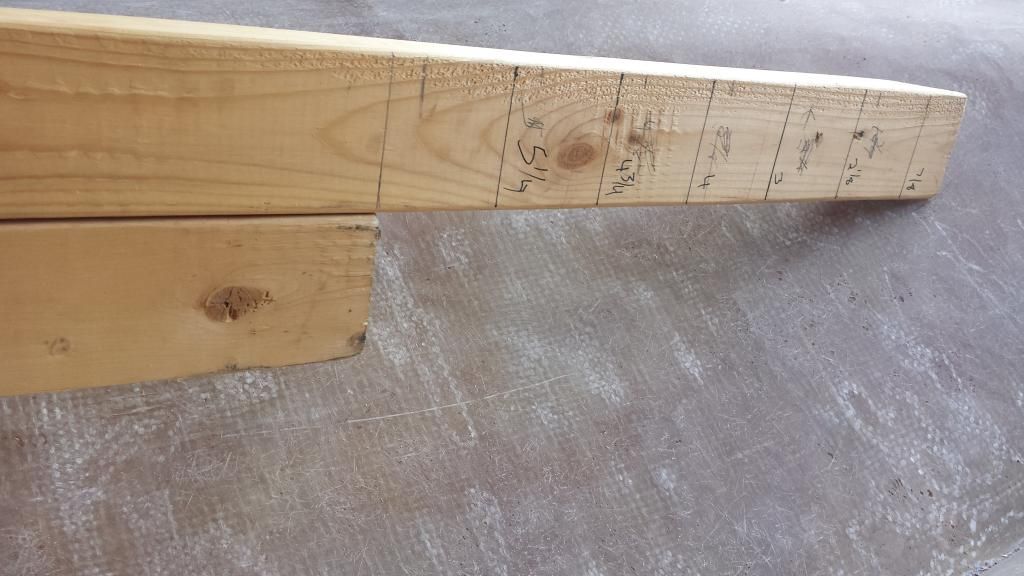
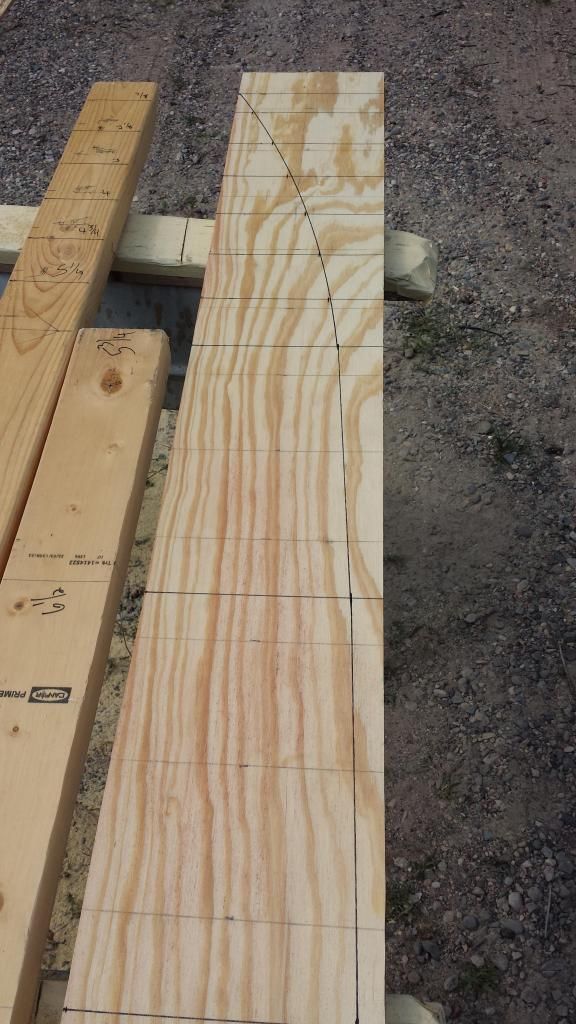
Next, I cut the angle for the transom into one end. After that, I made marks every 12 inches down the length of the stringer to provide reference points for measuring.


nurseman

Lieutenant Junior Grade
Joined
Jun 2, 2013
Messages
1,045
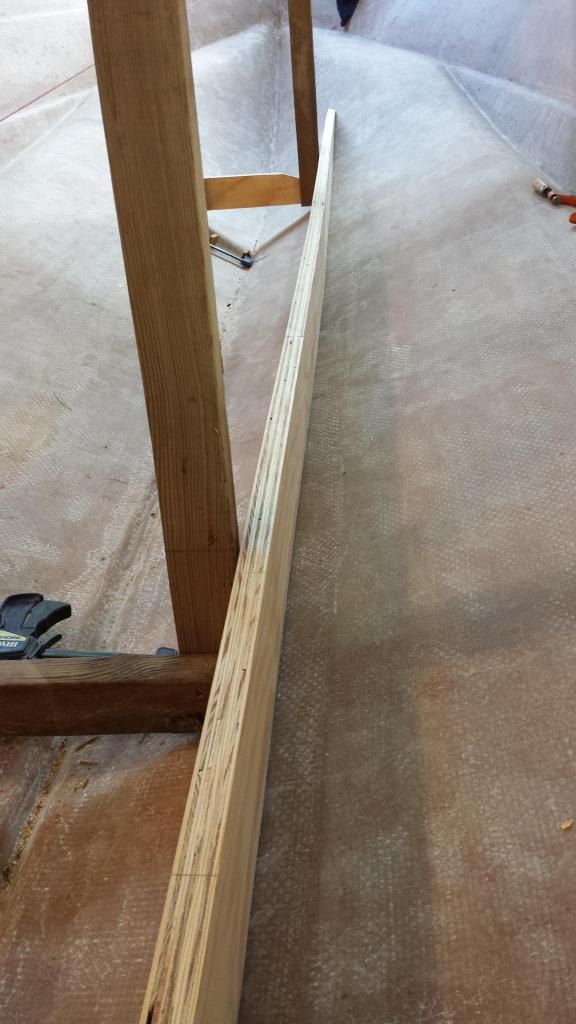
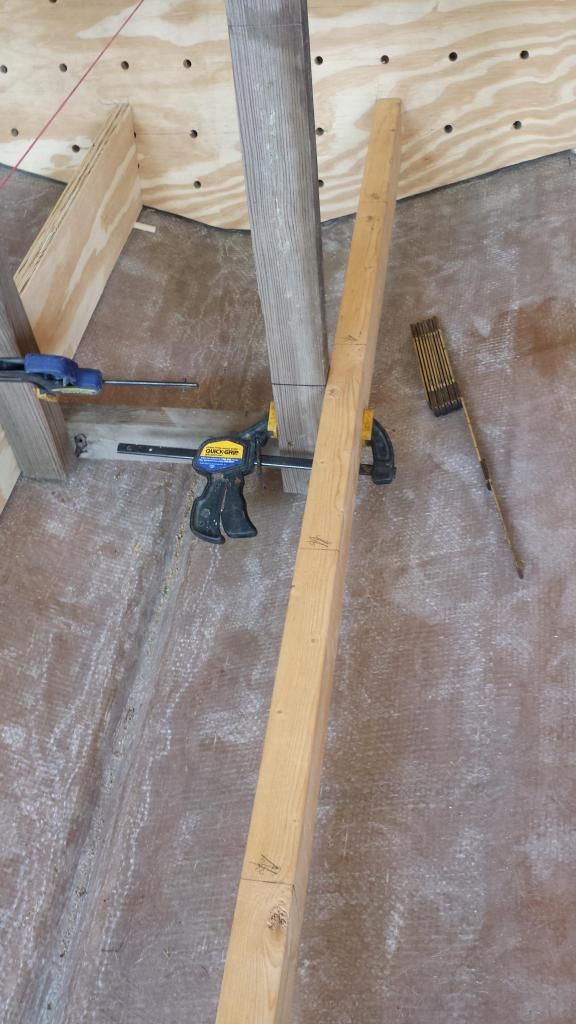
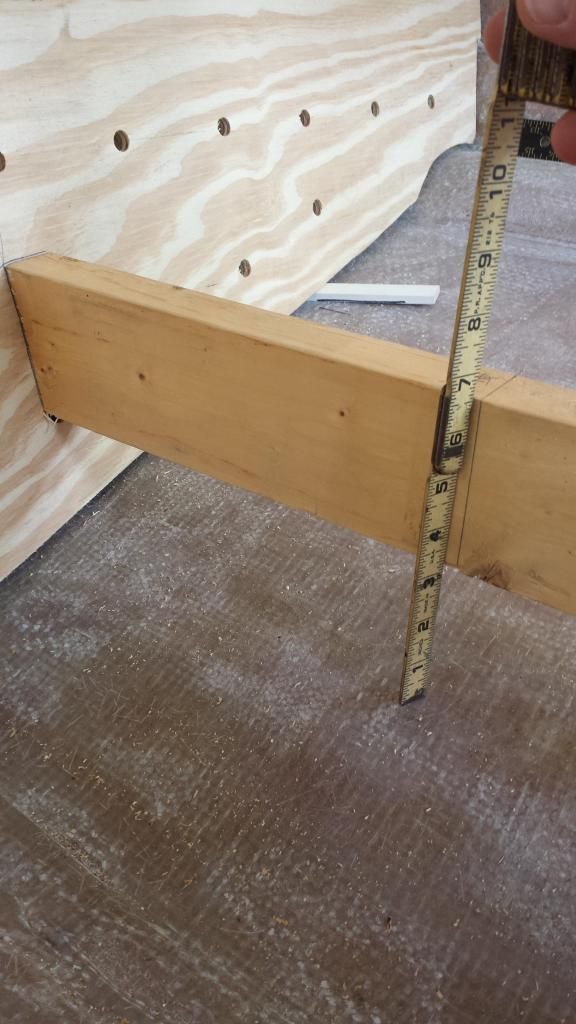
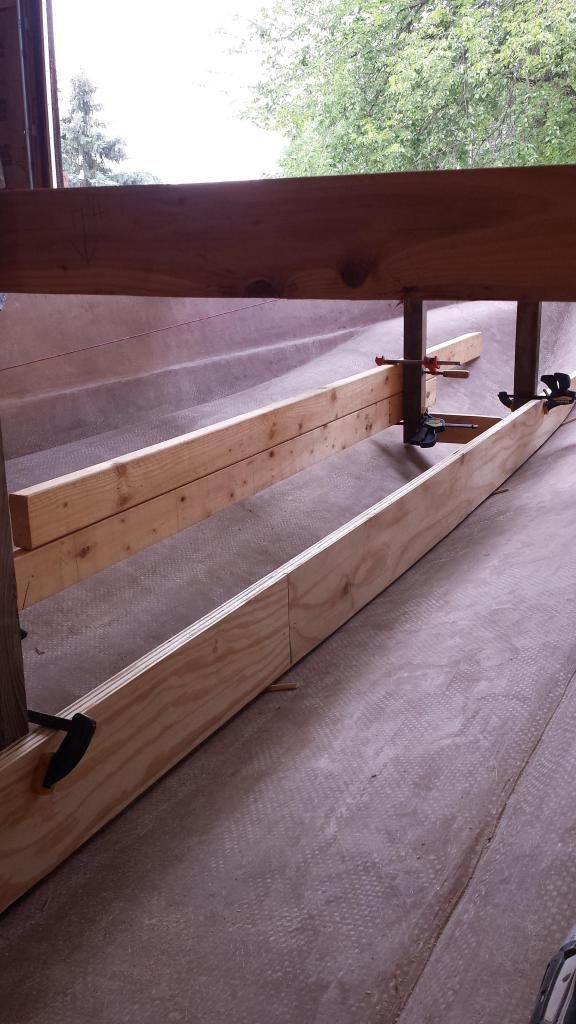
I used a 2x4 with the same angle and 12inch markings as a guide for measuring the stringers.


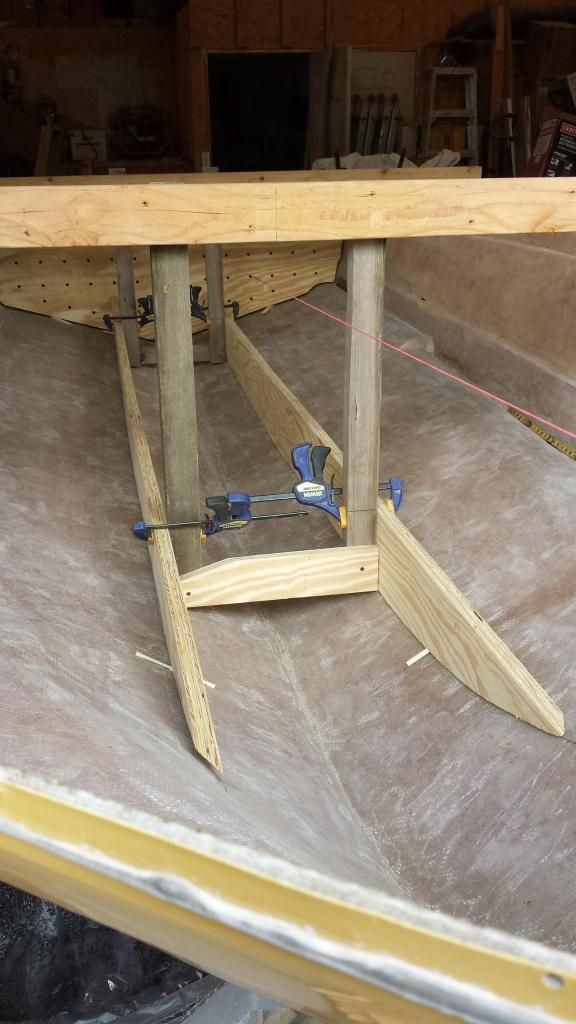
I clamped the 2x4 to the temporary braces, and then measured to the top of the 2x4 at every 12 inch mark.


When I got to the bow, and the hull began to slope sharply upward, I set a shorter 2x4 on top of the first one, and then measured to the bottom of the second 2x4. For this section, I took a measurement every 3 inches.


After getting all the measurements, I took the 2x4 out and set it next to the stringer and transferred the measurements.


nurseman

Lieutenant Junior Grade
Joined
Jun 2, 2013
Messages
1,045
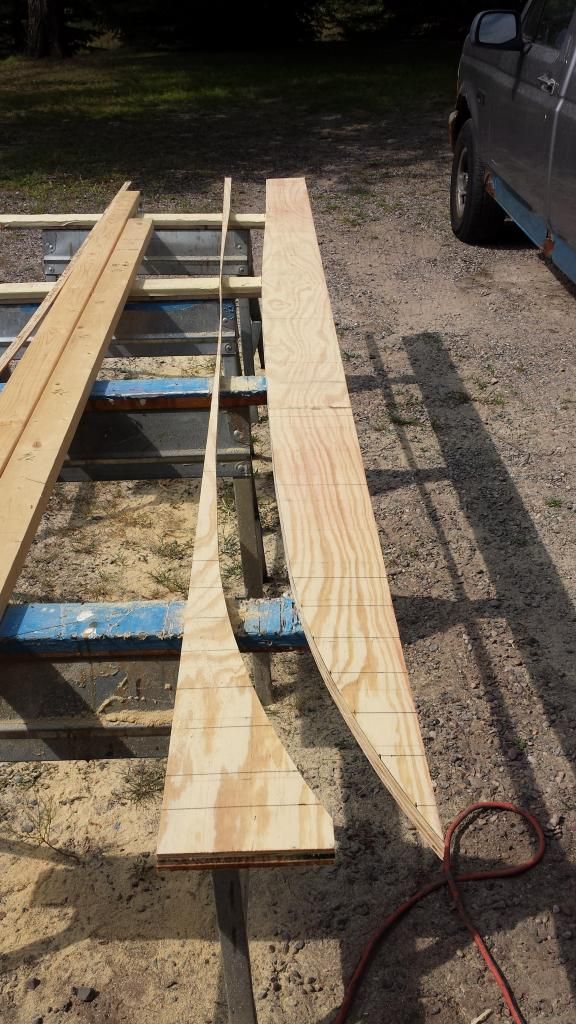
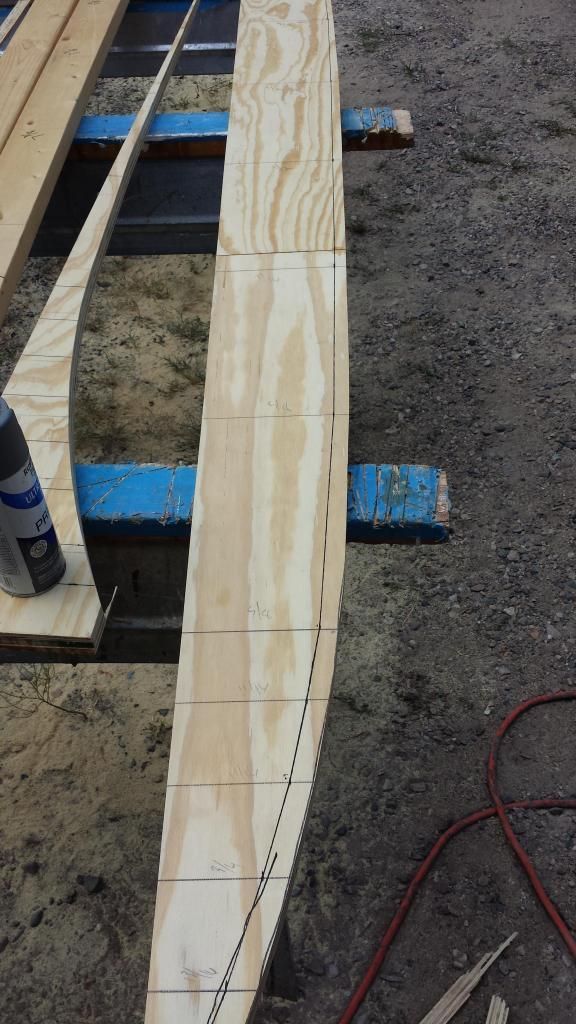
Here is the stringer all marked out and ready to be cut.


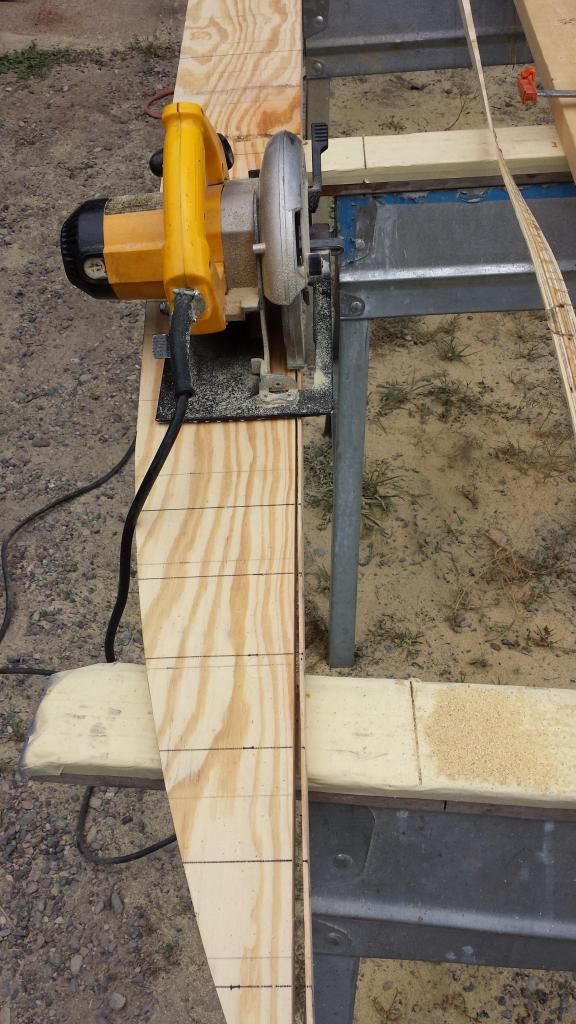
And cut out. I used a skill saw to do this cut, (yes, even the curve!)


Then, back into the boat to check the fit and measure / mark the bevel for the bottom.


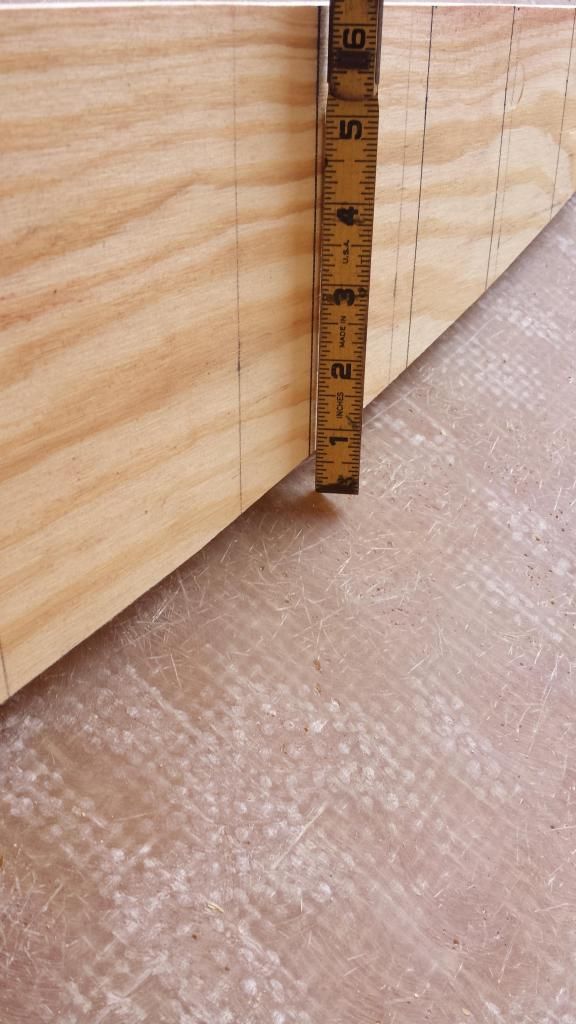
I just measured the gap that was on the keel side of the stringer, and then marked that amount on the outer side of the stringer. Again, I measured every 12 inches, and in the bow, every 3 inches.


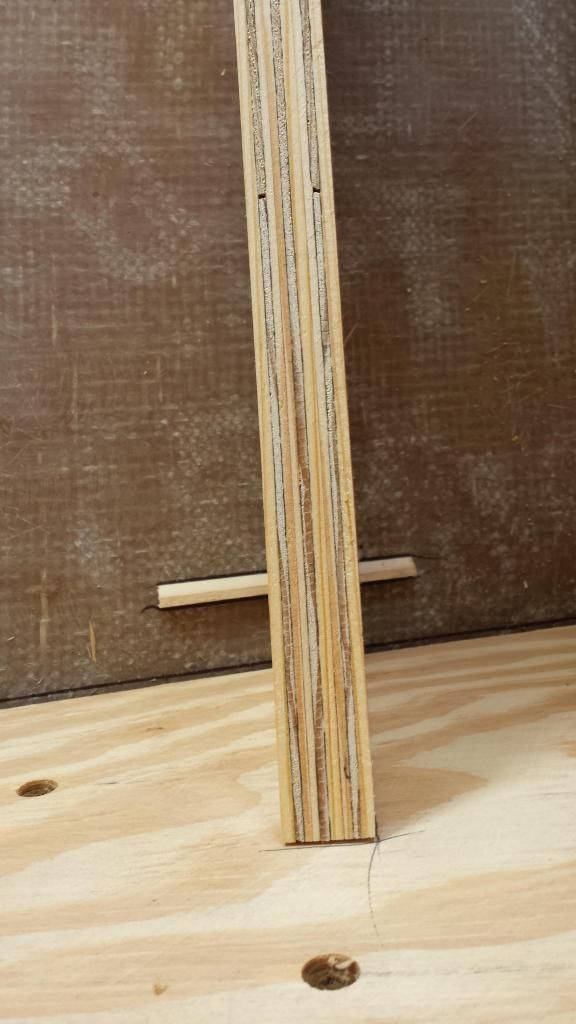
Then, back out of the boat, connect the dots, and presto, the bevel for the bottom of the stringer.

 
Last edited:

nurseman

Lieutenant Junior Grade
Joined
Jun 2, 2013
Messages
1,045
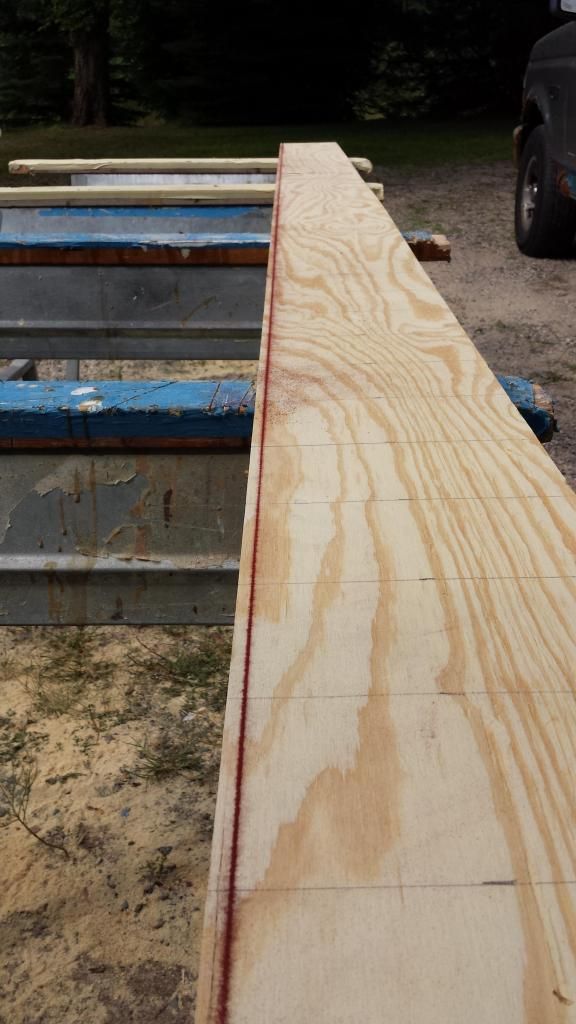
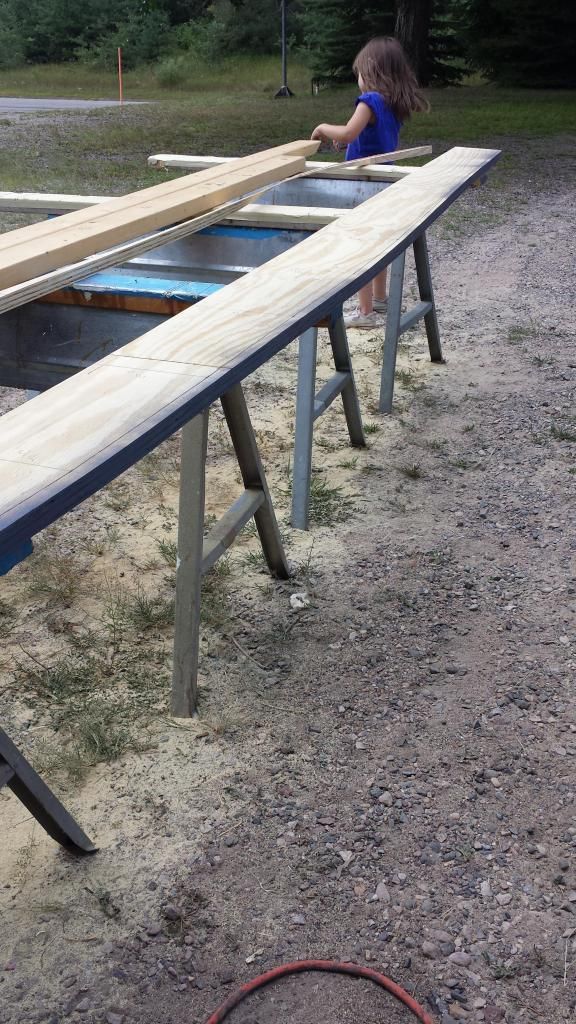
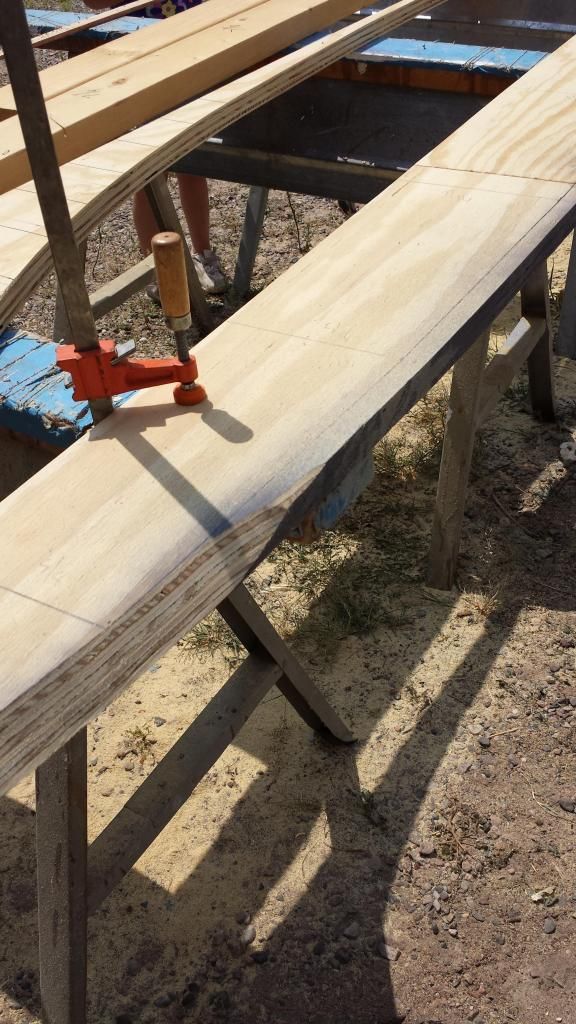
To cut the bevel, I used the angle grinder with the 24 grit resin disk. Before I started grinding, I shot a coat of grey primer on the edge so that I could see the edge easier while I was grinding.


As you can see, the primer gave a nice contrast with the wood, and allowed me to see the bottom edge and my line at he same time.


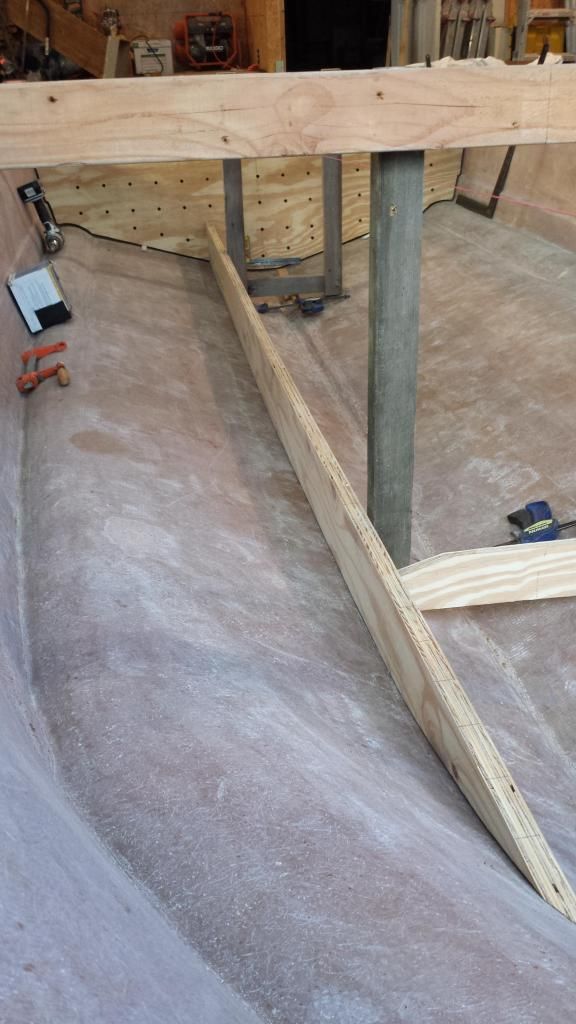
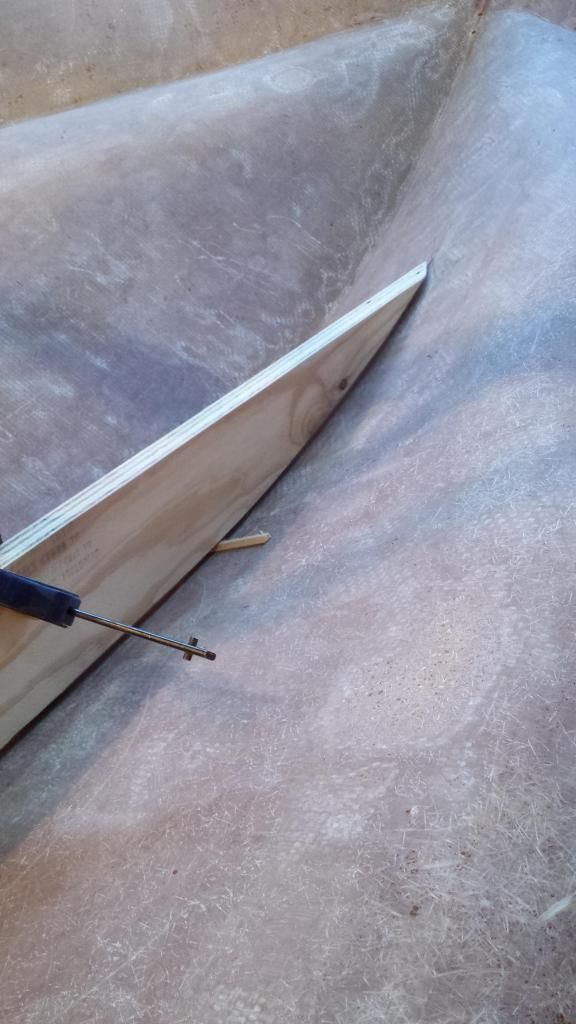
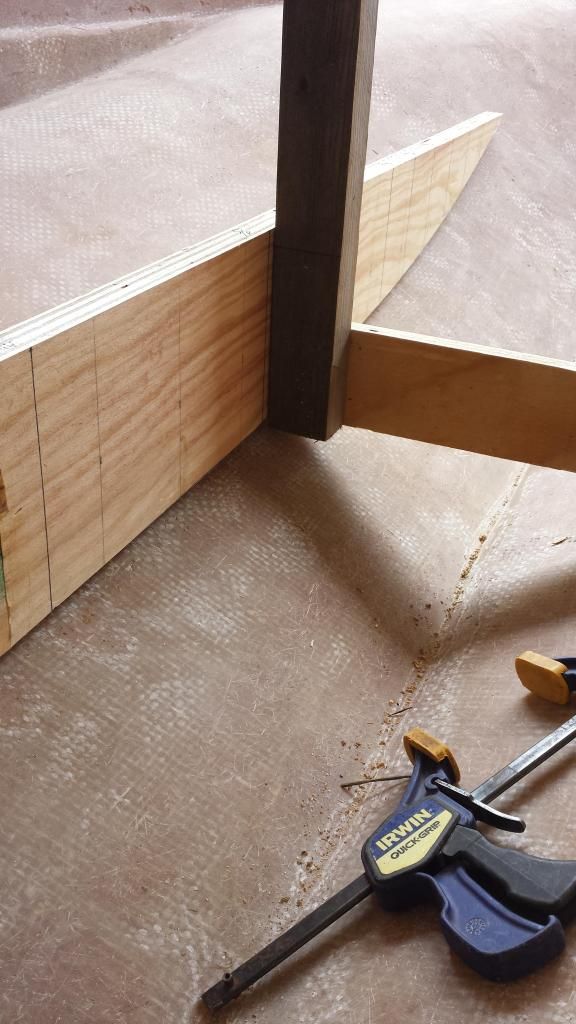
Then, back into the boat to make sure the fit was good. (it was) Then I cut 1/4 inch off of the top to create a gap under the stringer for PB.


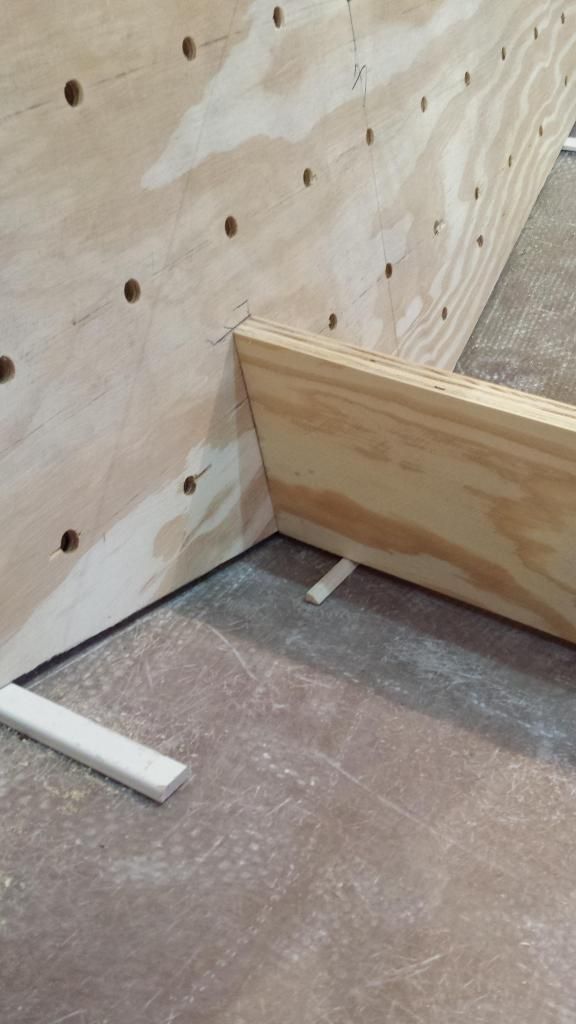
Both stringers cut and in place, with 1/4 inch shims underneath.


I marked where the shims go, so that I can get them back in the same spot when I do the install.


I also made a bulkhead for the bilge area and made some cardboard templates for the floor, but I didn't get pics of those today. I will take some pics during the week and post them up here. Also, I will be making a materials list for glass and resin and putting it up for those with more glassing experience to give a once over. Hope everyone had a great weekend!
 
Last edited:

Barramundi NQ

Petty Officer 1st Class
Joined
Jul 3, 2014
Messages
342
Hey nurseman. This is beginning to look like a masterpiece. There are some magic ways of doing this and I like yours. The beveled cut brilliant. One thing, how did the grey primer help you when you were grinding the bevel?
Cheers Kerry
 
Top