'83 Lund "Sirius" total gut and rebuild

Woodonglass

Supreme Mariner
Joined
Dec 29, 2009
Messages
25,924
Well, Actually, No you don't really have to fix that hole in the transom any more than you have to fix the other holes in the transom. Let me explain. When you use PB on the wood core and outer skin it will fill the hole quite nicely during the clamp up process. All you need to do is tape a piece of plastic over the hole on the outside and any others you want to fill and then use some 1/4" plywood to back it up during the clamp up. When you remove the clamps and the backer board and plastic you'll find that all the holes are smooth and have been perfectly filled. It will be fairly easy then to do the final cosmetic work finish the transom and make it look like new again. We can cover the methods needed for the final finish work when the time comes. That's how I've done it, and how I've seen it done in the PRO repair shop's. But..It's your boat so you can do it as you see fit.
 
Last edited:

Rickmerrill

Senior Chief Petty Officer
Joined
Mar 13, 2014
Messages
686
Dooh! I didn't see that one coming. That Wood is a crafty old soul, me I'm just old.
 

jigngrub

Fleet Admiral
Joined
Mar 19, 2011
Messages
8,155
Last edited:
Rickmerrill

Senior Chief Petty Officer
Joined
Mar 13, 2014
Messages
686
Hey Nurseman, either way, be sure to use plenty of PB when you glue that transom in. I didn't and wished I had more squeeze out. Better to use too much than too little.
 

nurseman

Lieutenant Junior Grade
Joined
Jun 2, 2013
Messages
1,045
Well, Actually, No you don't really have to fix that hole in the transom any more than you have to fix the other holes in the transom. Let me explain. When you use PB on the wood core and outer skin it will fill the hole quite nicely during the clamp up process. All you need to do is tape a piece of plastic over the hole on the outside and any others you want to fill and then use some 1/4" plywood to back it up during the clamp up. When you remove the clamps and the backer board and plastic you'll find that all the holes are smooth and have been perfectly filled. It will be fairly easy then to do the final cosmetic work finish the transom and make it look like new again. We can cover the methods needed for the final finish work when the time comes. That's how I've done it, and how I've seen it done in the PRO repair shop's. But..It's your boat so you can do it as you see fit.

Wood, I like your thoughts here! Since the strength of the transom comes from the plywood and the inside tabbing, if the outer skin is completely bonded to the plywood, then all should be good. (?) Plus it solves the issue of keeping things flat and true on the outer skin. At any rate, I have some time to mull it over before install time!
 

Woodonglass

Supreme Mariner
Joined
Dec 29, 2009
Messages
25,924
This ^^^ is absolutely correct!!! That's why it's so important to be able to do the transom install from the inside. The structural strength does come from the inside tabbings to the hull sides and bottom with some added strength from the corners of the hull. 1 1/2" of plywood with the layers of CSM and 1708 will do the trick and the rest will be purely cosmetic
 

nurseman

Lieutenant Junior Grade
Joined
Jun 2, 2013
Messages
1,045
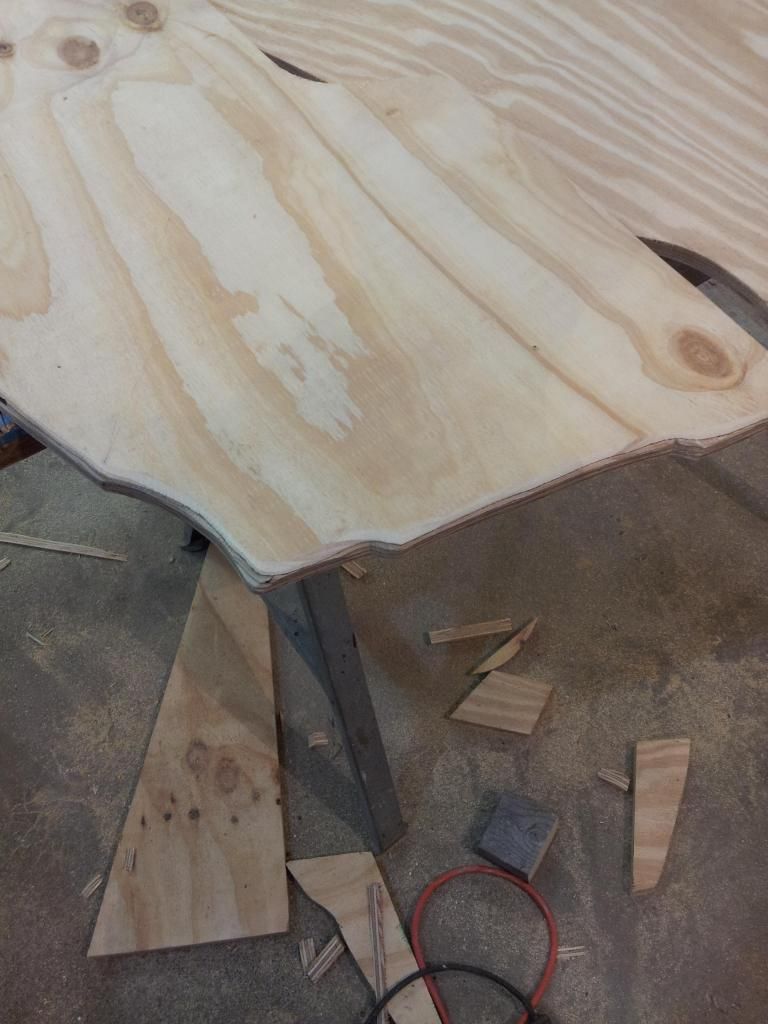
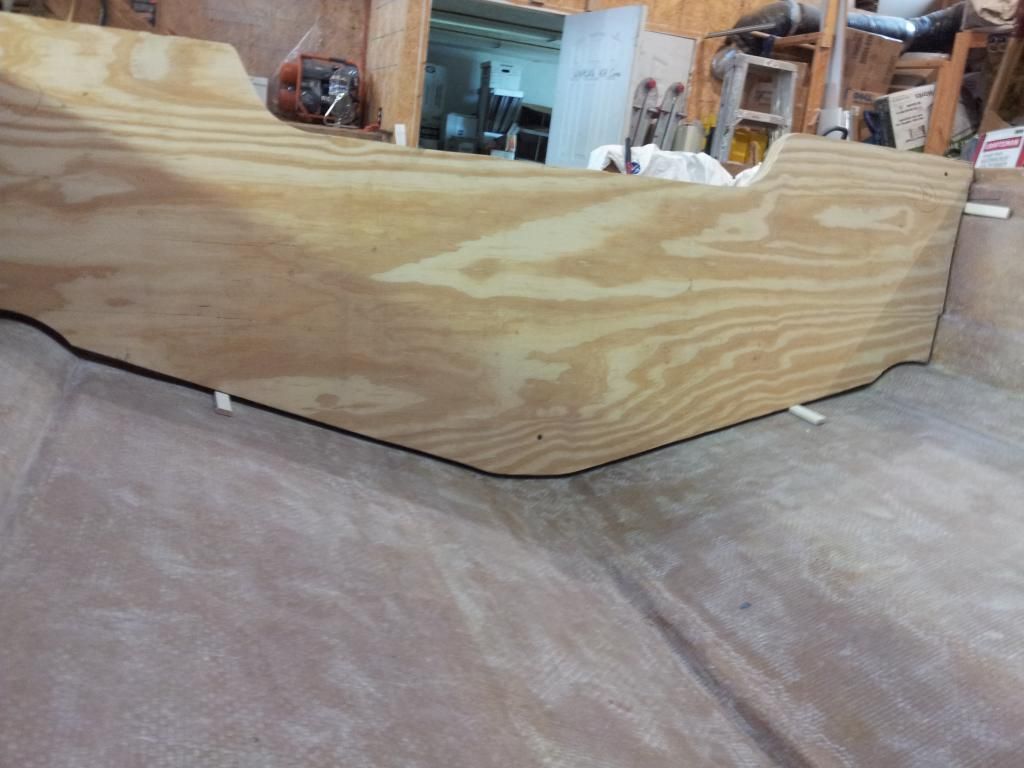
As promised, some pictures of the transom construction. Cut it out with the jigsaw, then used the grinder and a 24 grit disk to ease the corners a bit.


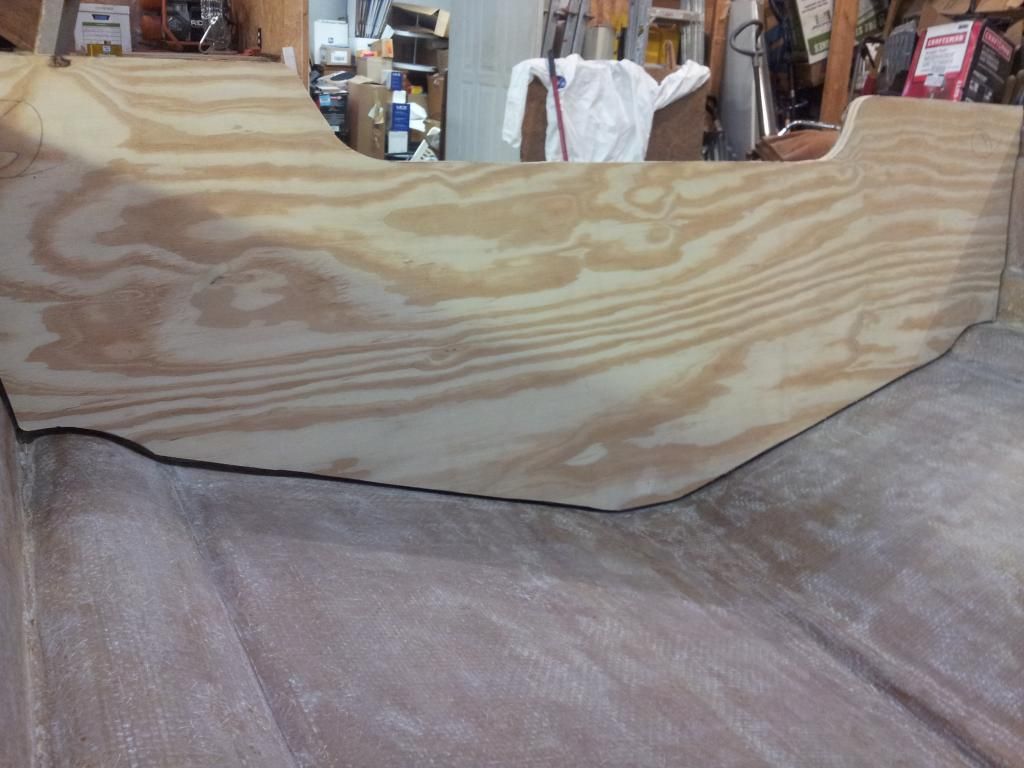
The first piece fitted and scribed to the hull


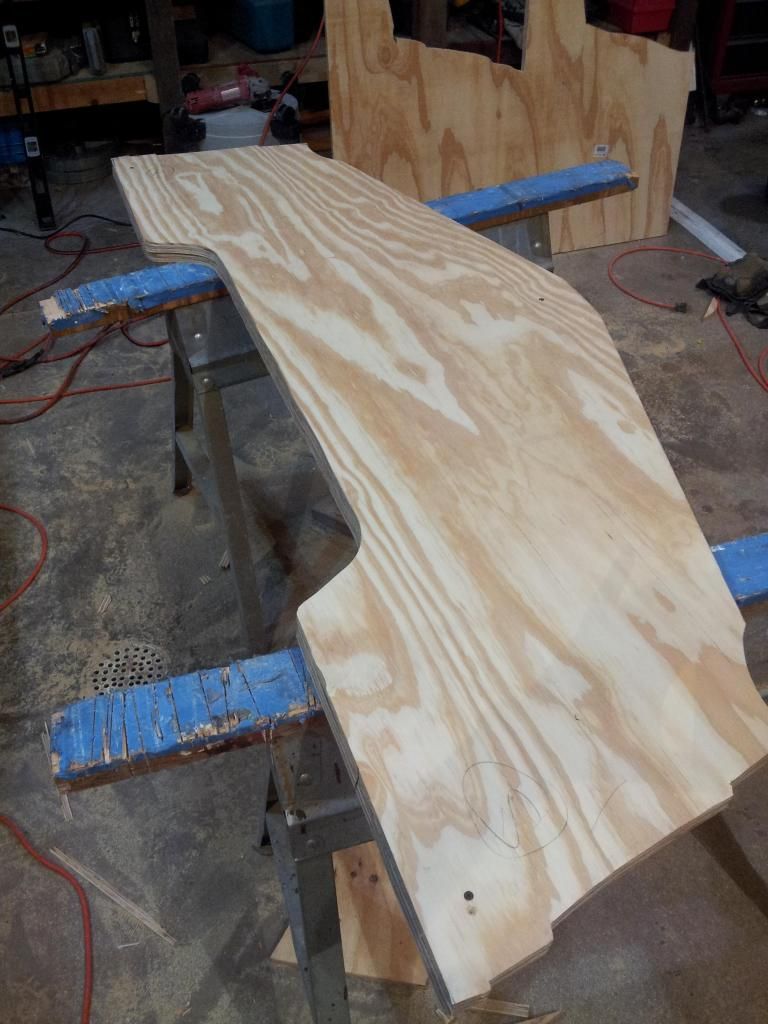
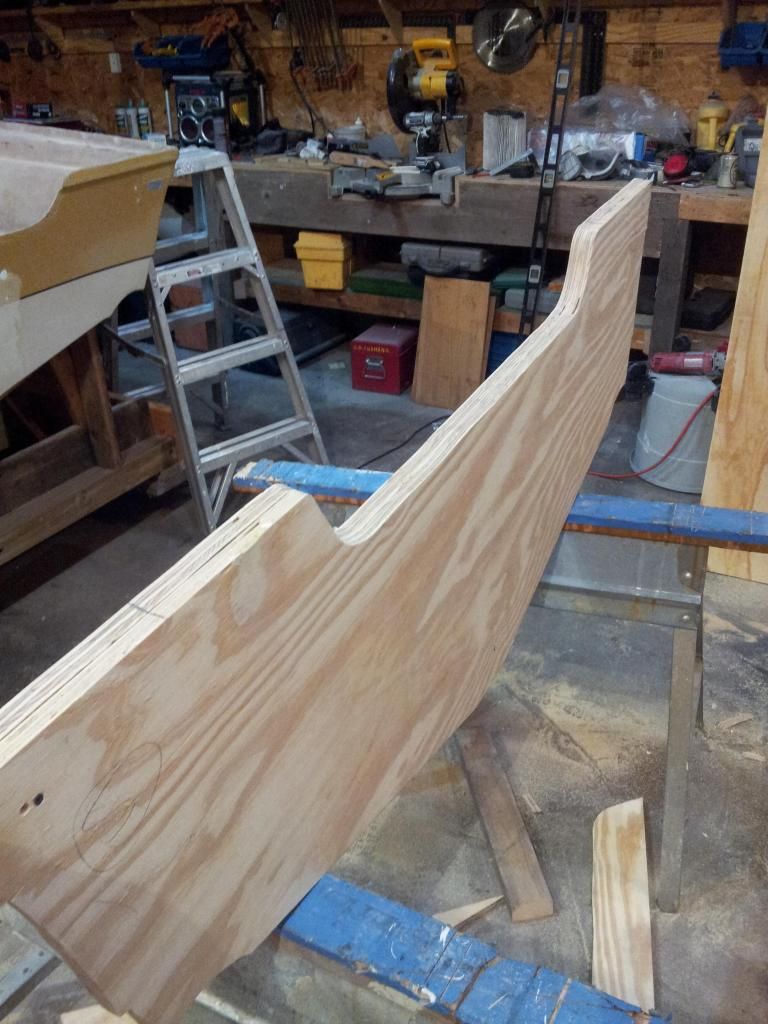
Piece number 2 cut and fitted to the first piece


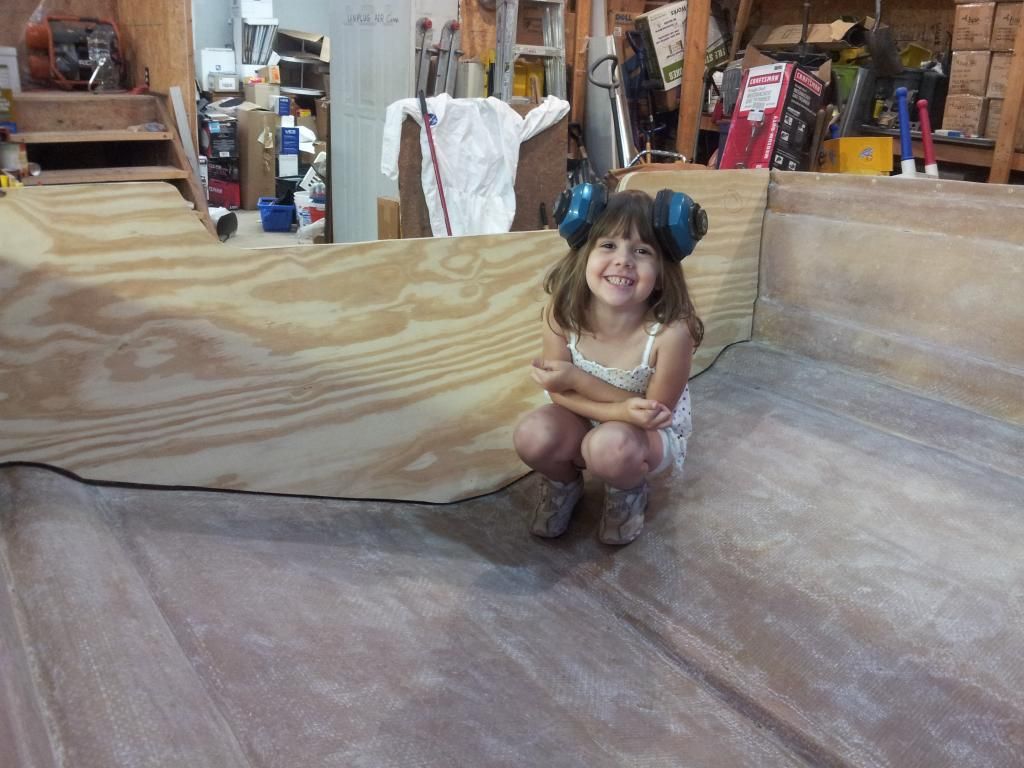
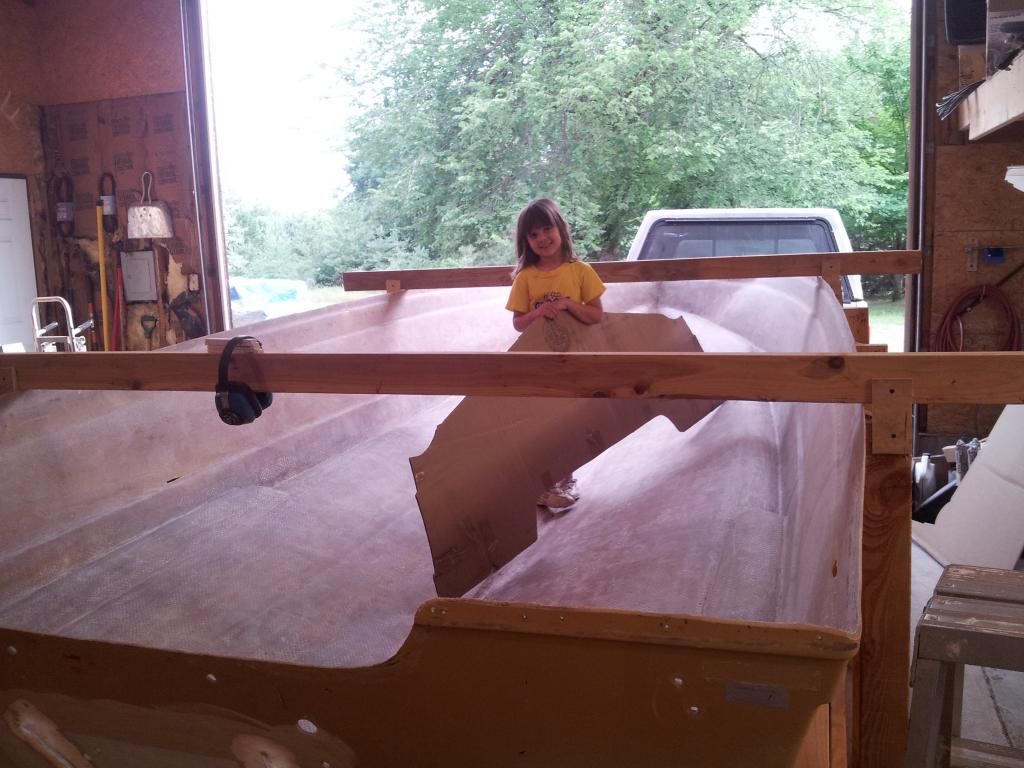
I had an excellent helper!


nurseman

Lieutenant Junior Grade
Joined
Jun 2, 2013
Messages
1,045
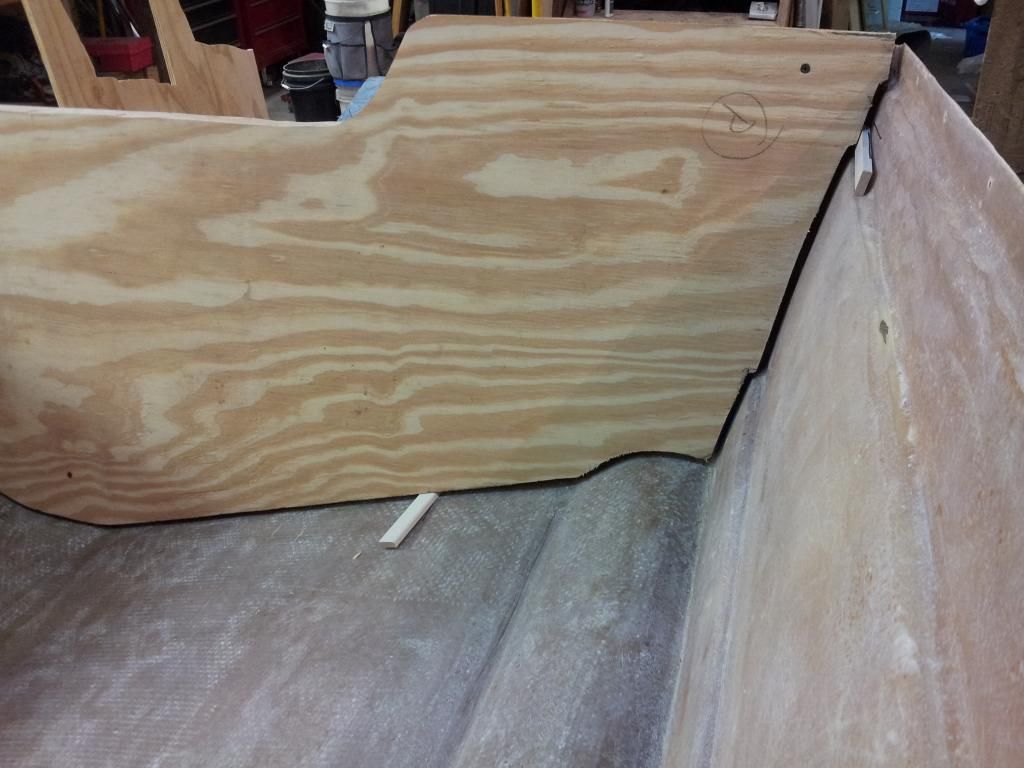
Todays work was gluing the transom pieces together and getting started on stringer layout. First, a final fitting and scribing to the hull, I was using some 5/16 shims to maintain a constant gap around the hull.


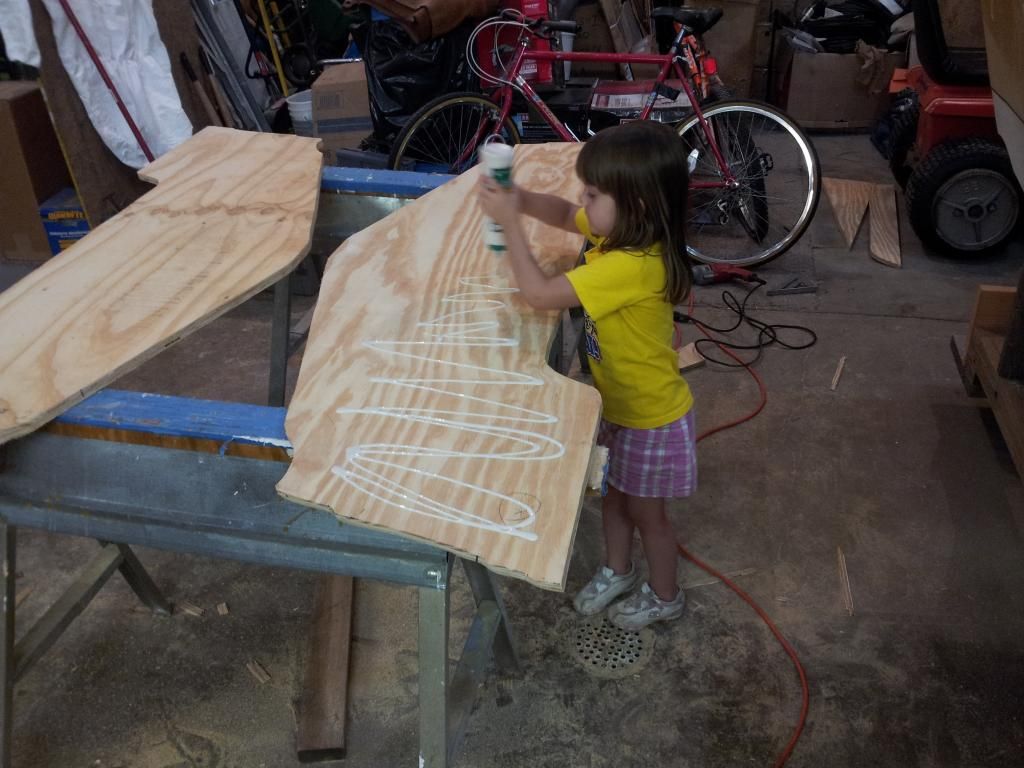
More excellent help with the gluing, I used a 1/16 V-notched trowel to spread the glue.


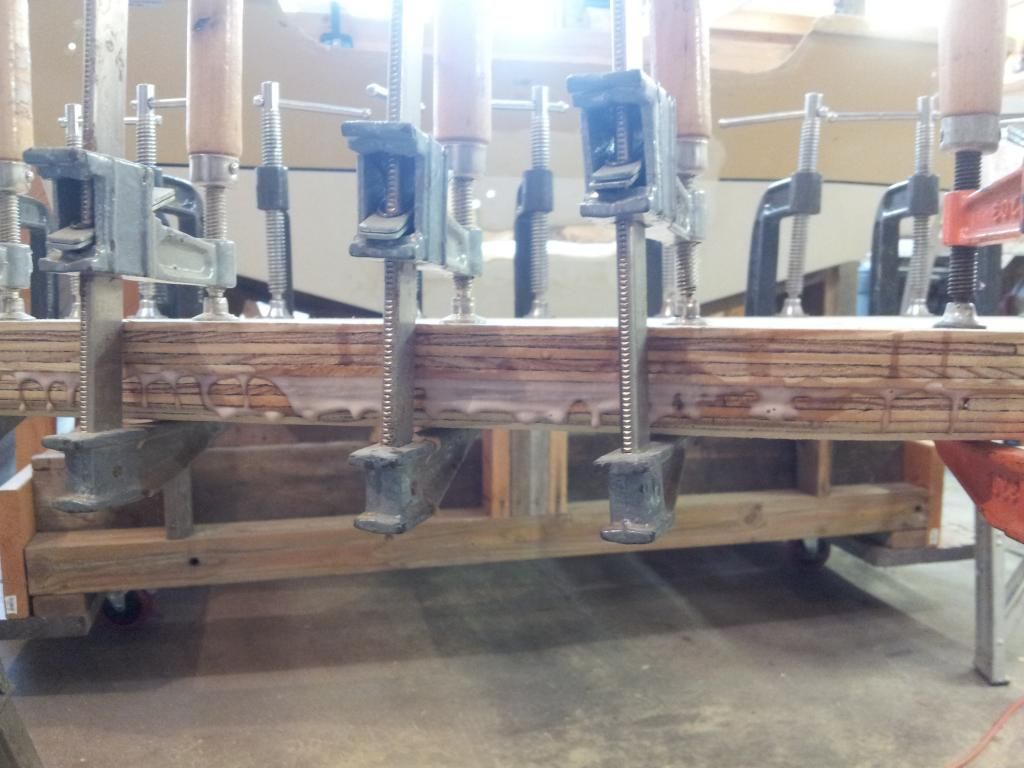
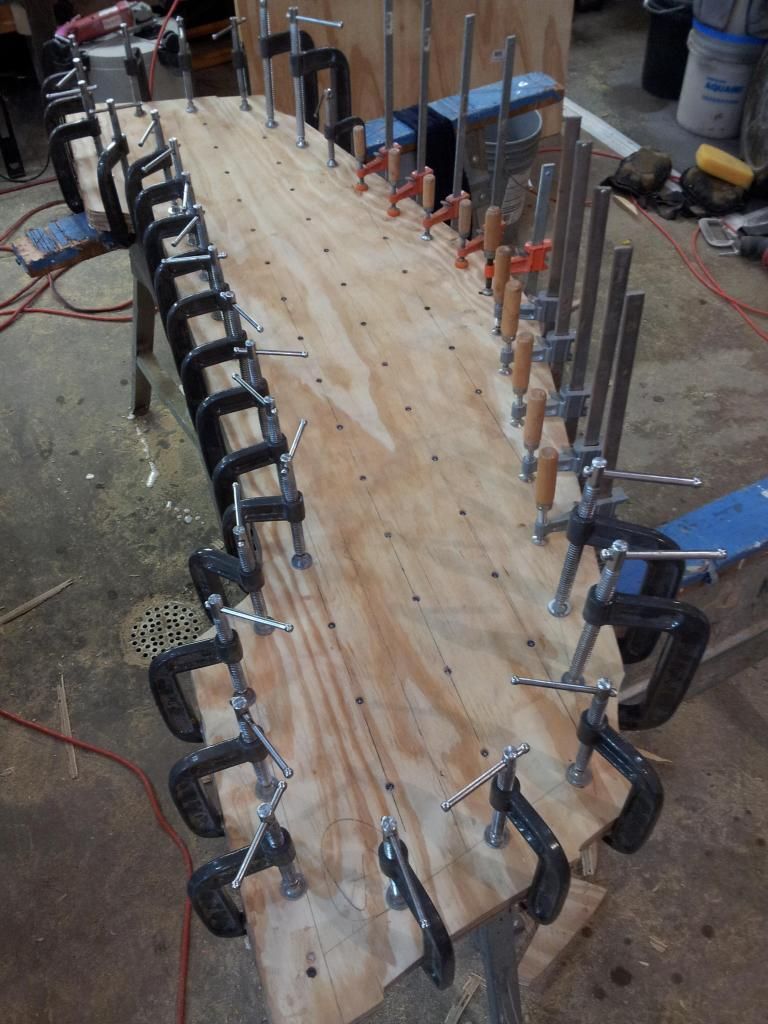
Here it is! All glued, screwed, and drippy!


I ALMOST used all of my clamps on this!


nurseman

Lieutenant Junior Grade
Joined
Jun 2, 2013
Messages
1,045
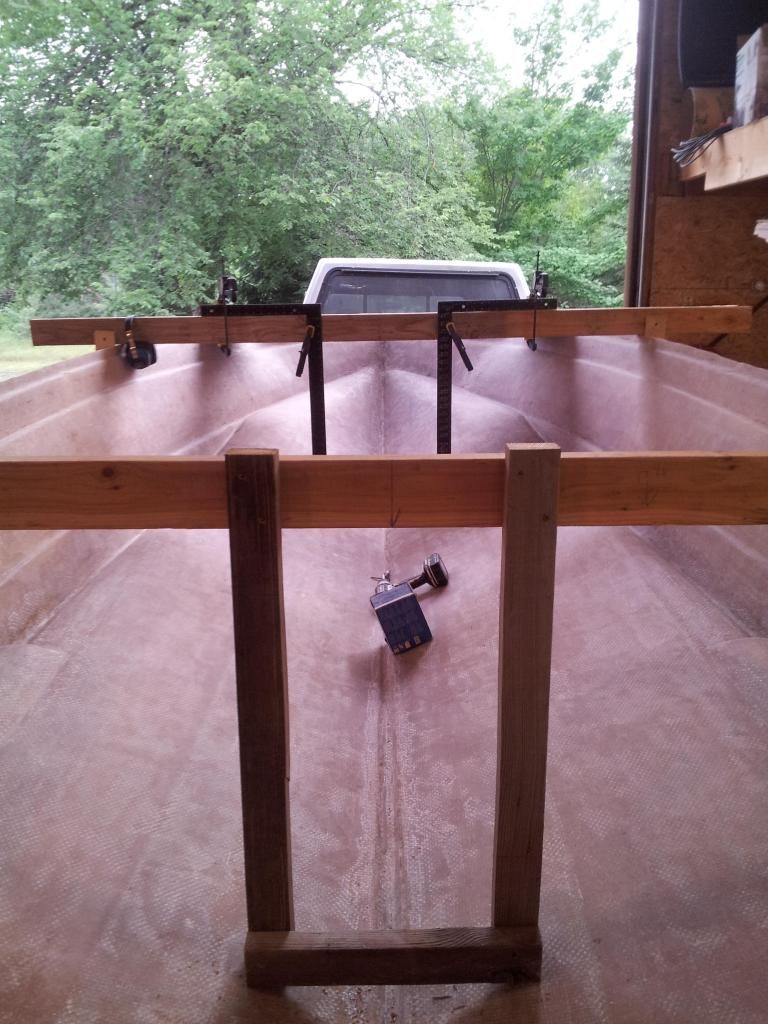
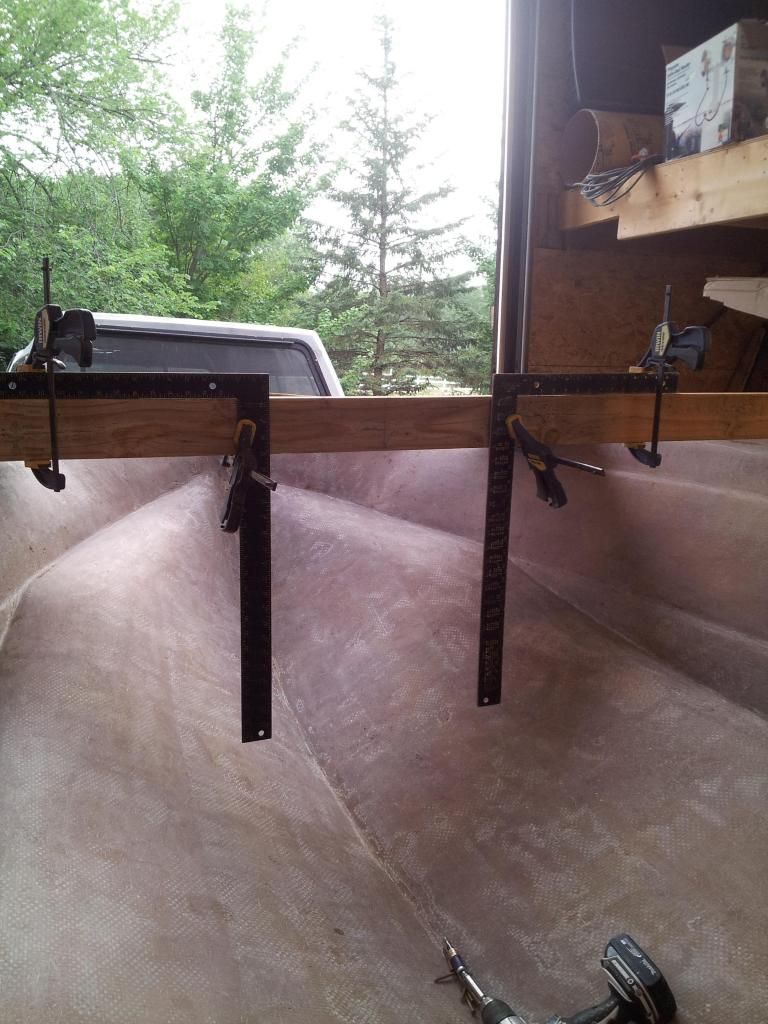
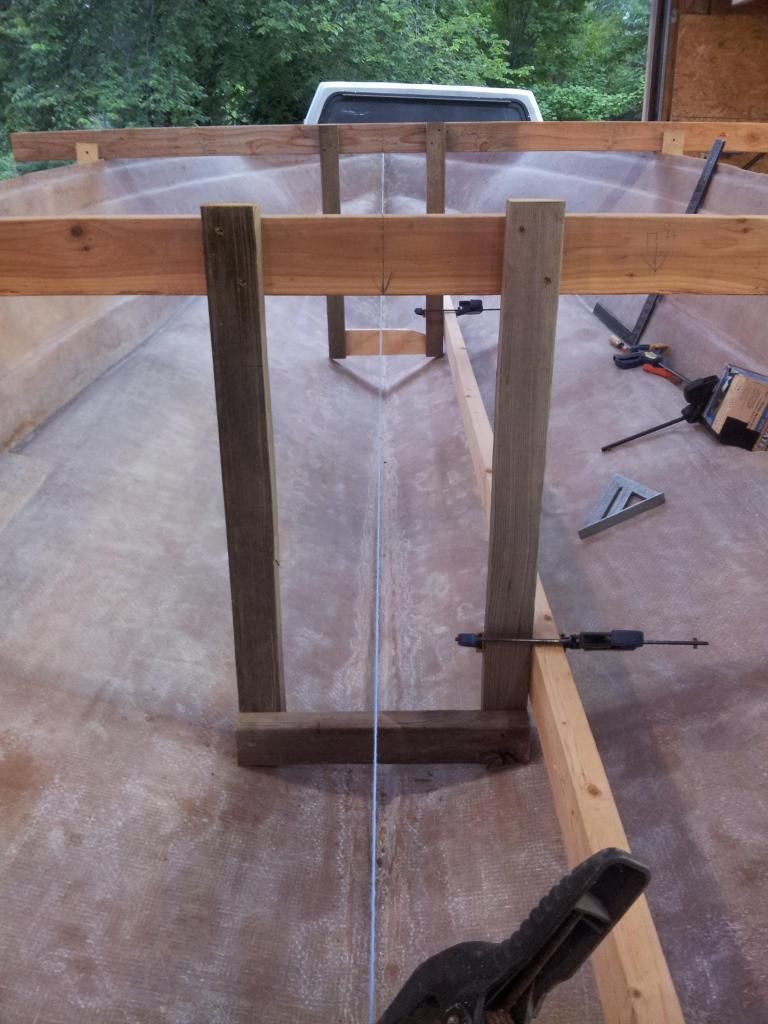
For the stringers, when I was tearing things apart, I made note of the height of the stringers as measured from the top of the hull down at the front and back cradle braces. That way I am using the top of the hull as my reference point, rather than trying to keep everything spot on level. (because my cradle is on wheels and I move it around the shop as needed.)


I am starting to think that she is just photo-bombing...

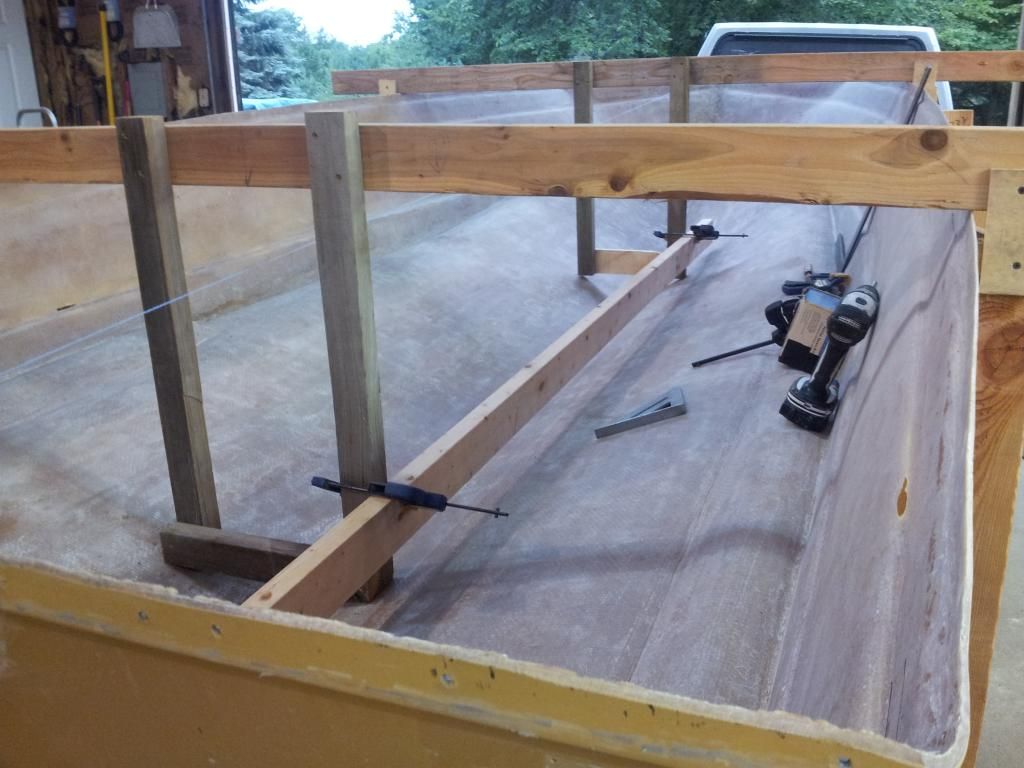
I found the center line of the boat (I think), and the vertical pieces will hold the stringers while I scribe them to the hull


Some make-shift guides for attaching the vertical pieces.


So here the top of the 2x4 is at the height that the stringer will be. I did that so that I could get a rough idea of the length of the stringers.


wilkboater

Petty Officer 3rd Class
Joined
Jun 19, 2009
Messages
95
Maybe I just don't get out enough.....but the transom clamp picture is truly impressive!
 

jigngrub

Fleet Admiral
Joined
Mar 19, 2011
Messages
8,155
Since the strength of the transom comes from the plywood and the inside tabbing, if the outer skin is completely bonded to the plywood, then all should be good. (?) Plus it solves the issue of keeping things flat and true on the outer skin. At any rate, I have some time to mull it over before install time!

I tend to err on the side of caution.

It would really suck to find out that your transom has developed hairline cracks around that gash where there is PB only and no cloth and have the old damage outlined by cracks at the fiberglass skin and PB only joint. That damage occurred there because that's where the main force/pressure from the motor is.

It's your boat, build it the way you think is best... but I personally would reinforce that area with 1708 on the inside at least.
 

nurseman

Lieutenant Junior Grade
Joined
Jun 2, 2013
Messages
1,045
It would really suck to find out that your transom has developed hairline cracks around that gash where there is PB only and no cloth and have the old damage outlined by cracks at the fiberglass skin and PB only joint. That damage occurred there because that's where the main force/pressure from the motor is.

You are right about one thing in that comment jigngrub, the damage was from the motor pushing on the hull. BUT, (and it is a big but) the crack is there because the transom was rotted and not replaced. The strength of the transom was never intended to depend on the fiberglass alone, 1/4 inch of fiberglass was never intended to absorb the force of the motor, that is why there is a wooden transom bonded to the hull. The way I see it, Woods method will produce an excellent transom. The PB will bond the glass and the wood into one solid piece, the only way that the crack will telegraph through is if the transom rots again.
 

Woodonglass

Supreme Mariner
Joined
Dec 29, 2009
Messages
25,924
Nurseman,

Transom work looks GREAT!!! Fill any/all voids with PB and then Soak it well with Lots of resin. Really "Pool" it on and use about a .75% to 1% MEKP ratio so the Resin will have ample time to soak in. TIP: Take 2 - 1x4 strips and Put a Nail thru each end. Lay the strips across saw horses and lay the transom on the nail points. Coat one side of the transom and then flip it on the nail points so you can coat the other side. Nail points won't matter. Once the Resin Tacks up you're ready for the CSM .;)

R U considering drilling any OOZE holes?
 

jigngrub

Fleet Admiral
Joined
Mar 19, 2011
Messages
8,155
You are right about one thing in that comment jigngrub, the damage was from the motor pushing on the hull. BUT, (and it is a big but) the crack is there because the transom was rotted and not replaced. The strength of the transom was never intended to depend on the fiberglass alone, 1/4 inch of fiberglass was never intended to absorb the force of the motor, that is why there is a wooden transom bonded to the hull. The way I see it, Woods method will produce an excellent transom. The PB will bond the glass and the wood into one solid piece, the only way that the crack will telegraph through is if the transom rots again.

Okey dokey, if you don't mind having an exterior skin comprised of PB on raw plywood in the void area of the damage have at it. Not a build I'd want on my boat, but... it's not my boat.

You may want to keep an eye on that area just in case I'm right though.

Edited:

If it was just a small ding or scratch I wouldn't think much about what you're going to do, but that is substantial damage in a critical area and that PB patch is going to feel it every time you shift into forward or reverse.

Have fun!
 
Last edited:
nurseman

Lieutenant Junior Grade
Joined
Jun 2, 2013
Messages
1,045
WOG, yes I am considering drilling 1/2" ooze holes where all of the screws in the field are now located. Thanks for the input!
 

Rickmerrill

Senior Chief Petty Officer
Joined
Mar 13, 2014
Messages
686
Nurseman you probably already know about the 19 hour window to achieve a primary bond, that's my only comment.
 

nurseman

Lieutenant Junior Grade
Joined
Jun 2, 2013
Messages
1,045
Rickmerril, are you referring to the window of time that you can add a layer of glass without having to rough & scuff?
 

Rickmerrill

Senior Chief Petty Officer
Joined
Mar 13, 2014
Messages
686
Yep. Just thought this area was critical enough that I'd prefer the chemical bond. See, you already knew!
 

nurseman

Lieutenant Junior Grade
Joined
Jun 2, 2013
Messages
1,045
Yea, I have read about it, but it is always good to be reminded. Thanks for looking out!
 
Top