'76 MFG Fishin Caprice II Center Console Rebuild

gm280

Supreme Mariner
Joined
Jun 26, 2011
Messages
14,604
Not sure exactly what it is. Its not sticky like glue, its really hard like PB. Its a white color. Will see how well stuck it is to the transom.

Stuff grinds down real slow, hoping to leave most of it.

I would most certainly grind it all off. And even to some fresh looking fiberglass so that the new transom will adhere to the original fiberglass. If you are covering your new transom wood before installing, the new PB will absolutely stick to both the fiberglass skin and the transom going in. It will not come off even with force. The only way to ever get that transom out again is grinding it out. But that IS exactly what you want! JMHO
 

Pusher

Lieutenant
Joined
Sep 2, 2014
Messages
1,273
I'd guess they used pressure treated plywood so the resin couldn't penetrate. The fiberglass shouldn't be white so yeah grind it dow. Like GM said. At the very least it should grind off easy not hard. I don't know much but that doesn't sound like the PO did it right which is probably why it didn't seal right.
 

Shakedownscott

Petty Officer 2nd Class
Joined
Jul 12, 2011
Messages
179
It turned out to be PB on the transom, it was really thick in some areas. I don't think it stuck well to the wood because the wood wasn't coated with resin first, just PB on dry wood.

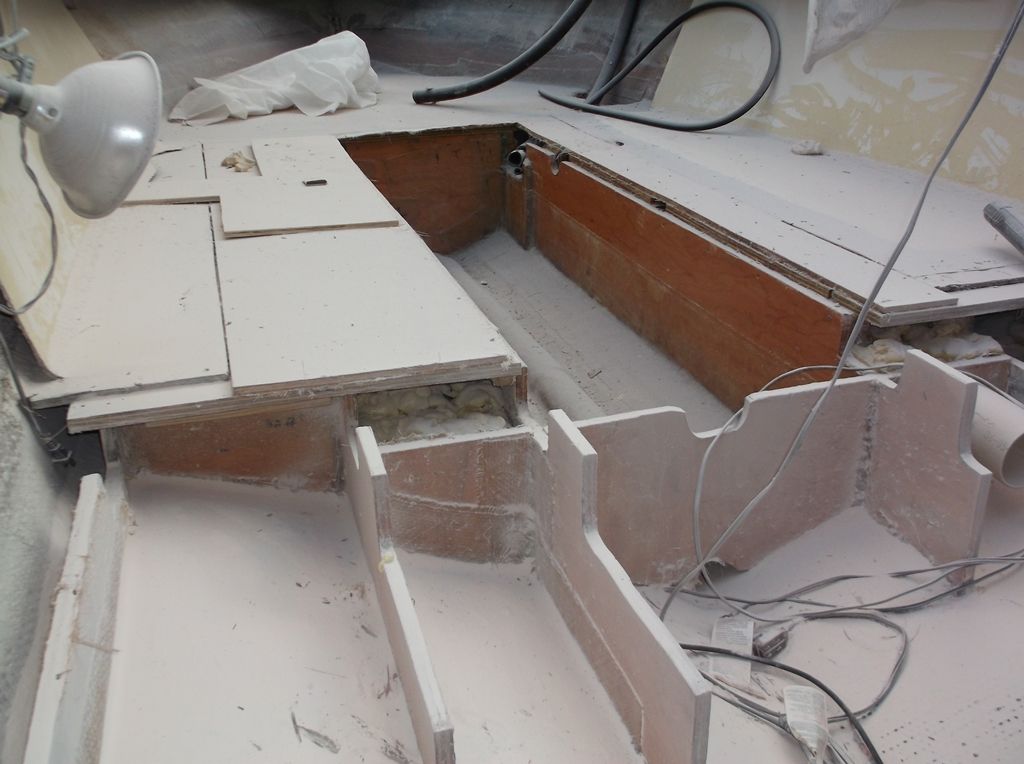
Pretty much what I found with the rest of the boat. None of the wood was coated with resin, just pieces of woven roving stuck to the wood and hull. It delaminated from the wood over time and the stringers and bulkheads were flopping around lose.

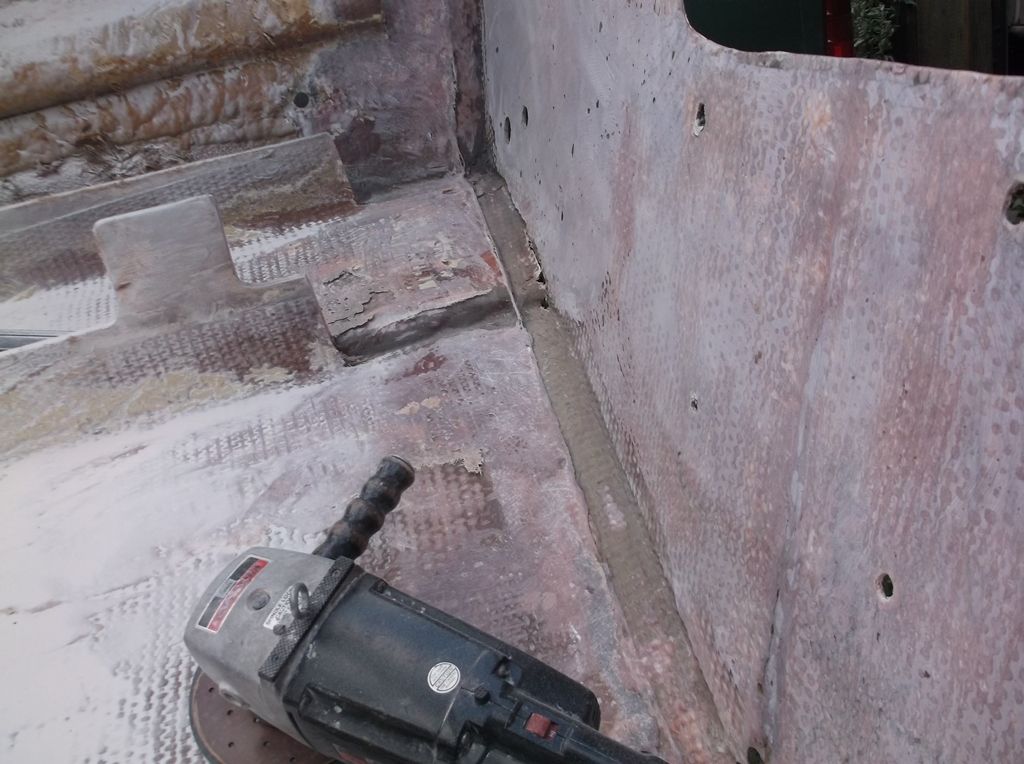
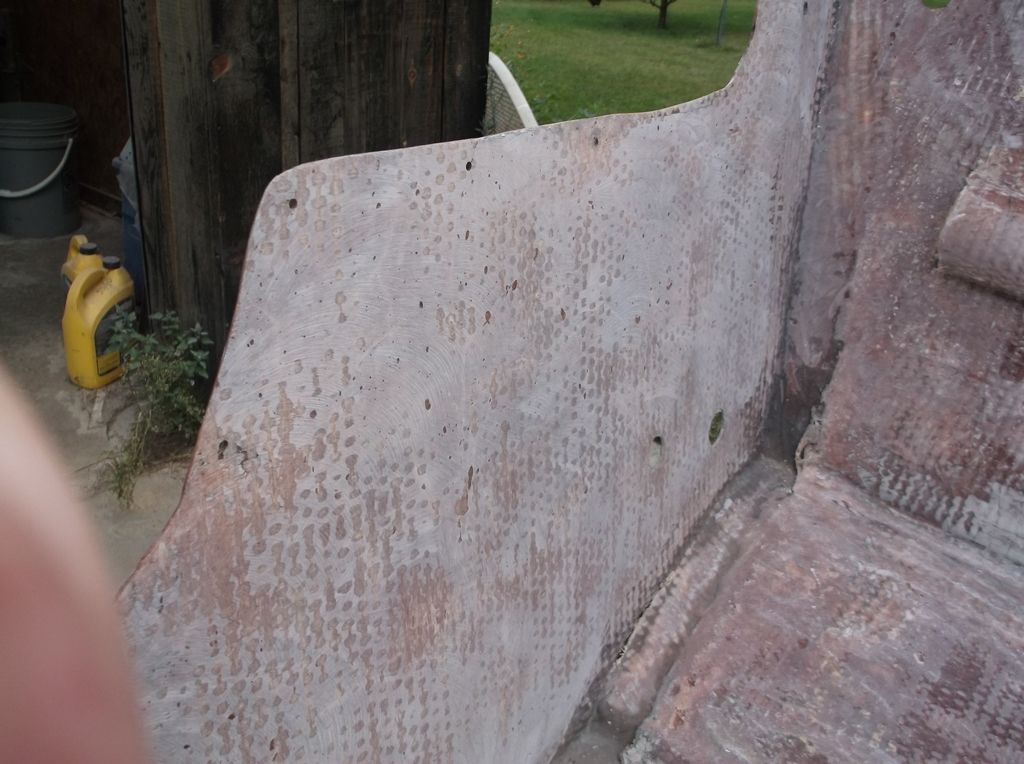
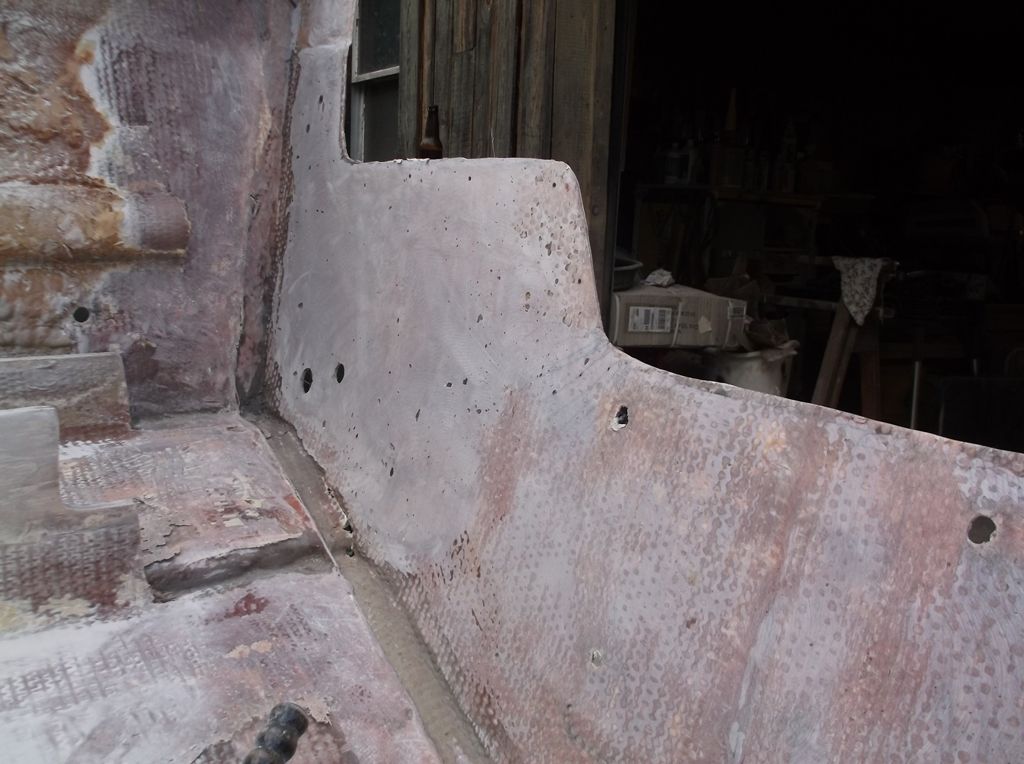
Ground most of the PB off the transom just to be on the safe side. I saw a lot of cracks in the PB and figured it would be good to get it all off. Gotta love 7" 24 grit discs for getting off a lot of material fast.


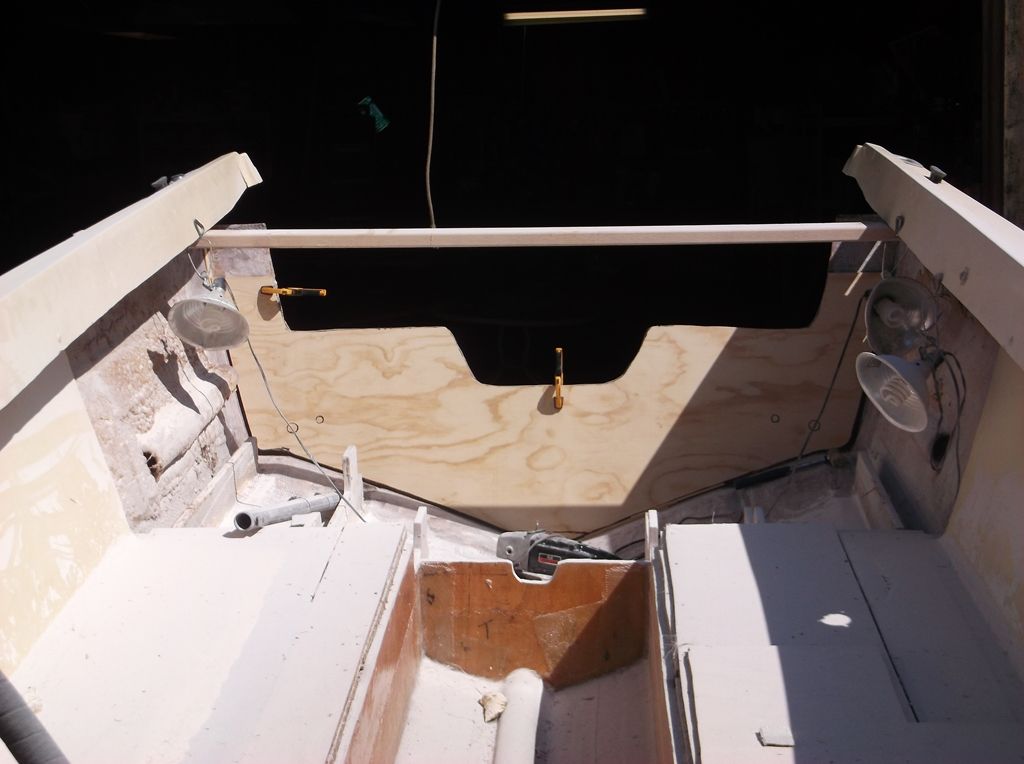
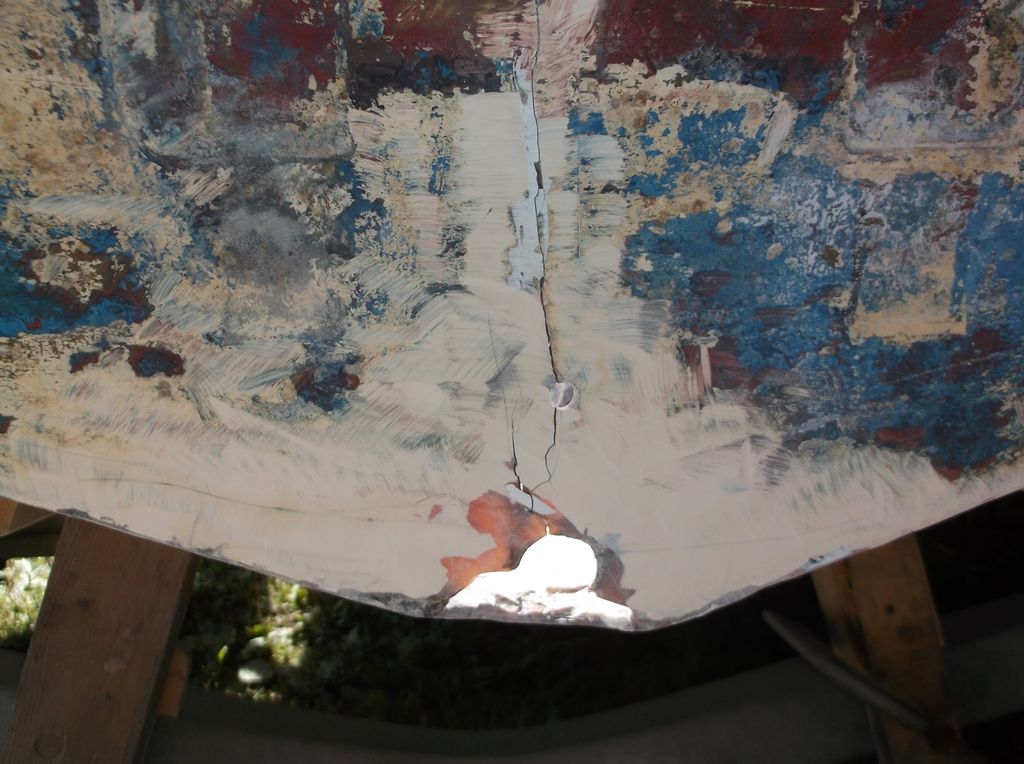
Got a bit more grinding to finish to get the PB off. Found a crack in the middle of the transom that goes top to bottom and right through all the layers of glass. Have to look at this closer.
 

sphelps

Supreme Mariner
Joined
Nov 16, 2011
Messages
11,462
. None of the wood was coated with resin, just pieces of woven roving stuck to the wood and hull. It delaminated from the wood over time and the stringers and bulkheads were flopping around lose.

Yep, that's the reason you should always use csm before using woven wet on wet with poly ...
 

Shakedownscott

Petty Officer 2nd Class
Joined
Jul 12, 2011
Messages
179
Have a little more grinding to compete on the inside of the transom and hull. Other than that I should be done with the heavy grinding.

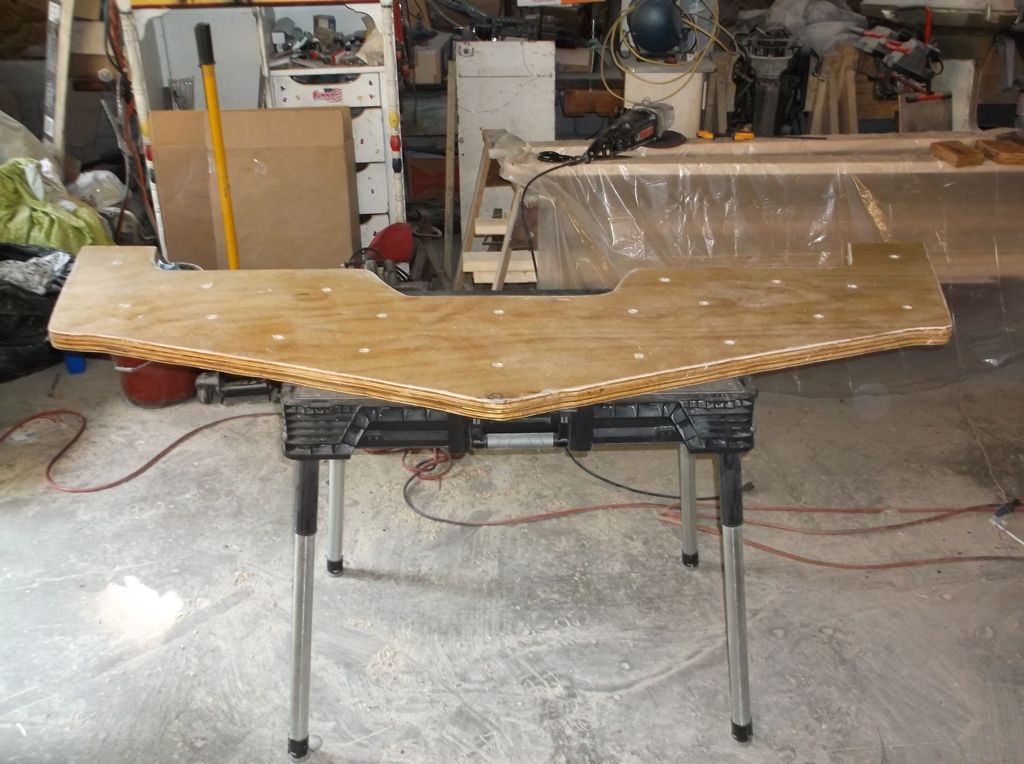
I cut out and fit the wood for the transom. I am working on screwing the pieces together and glassing them. Just test clamping that wood in there really stiffened the transom, should be good and strong when its done.


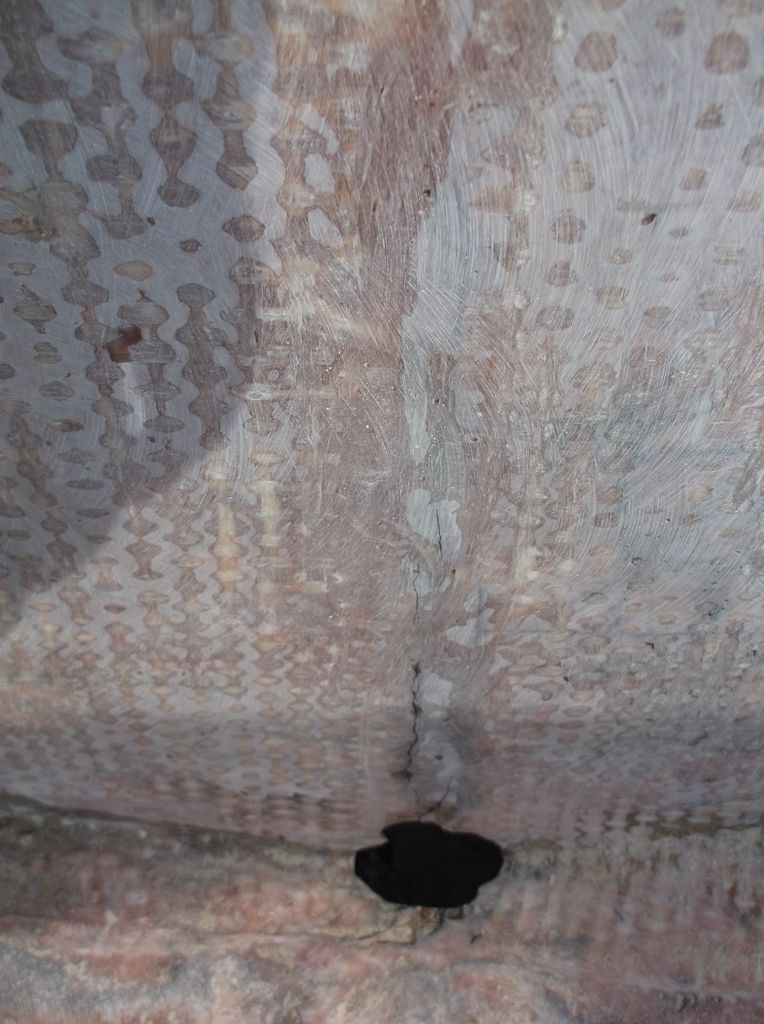
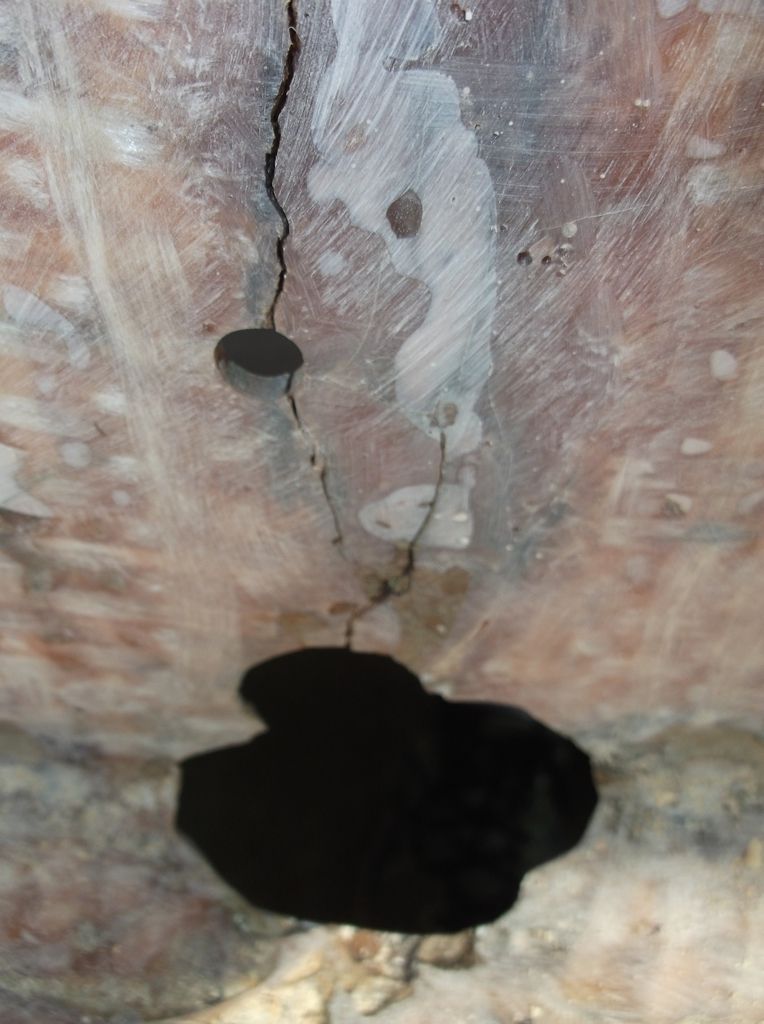
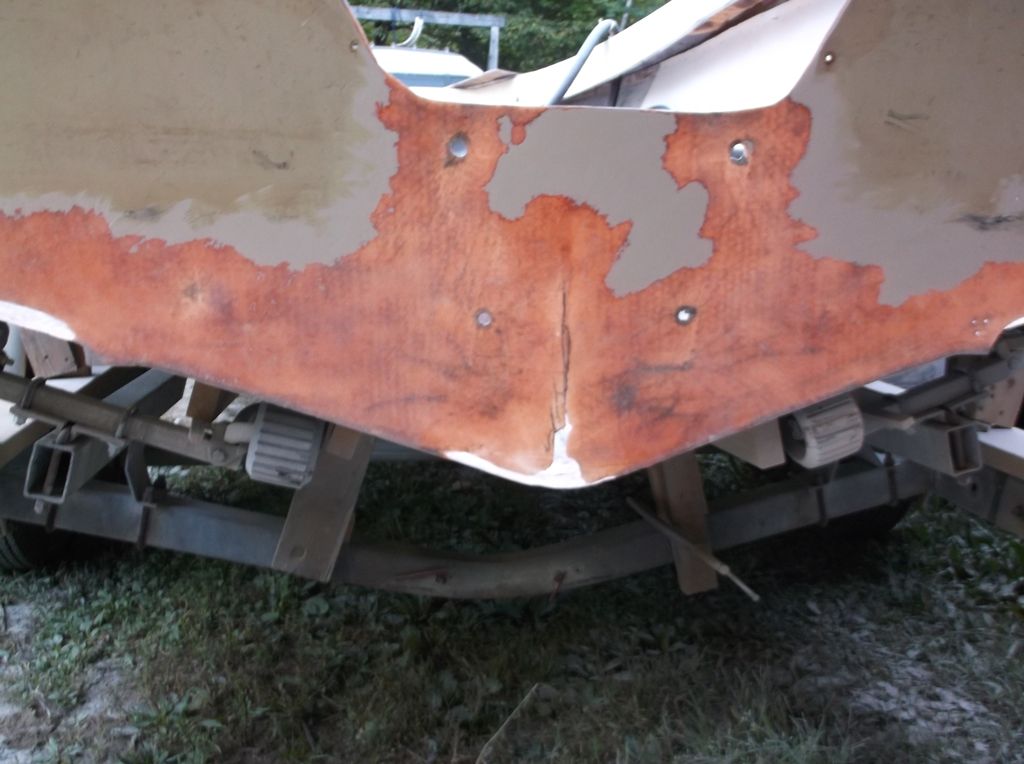
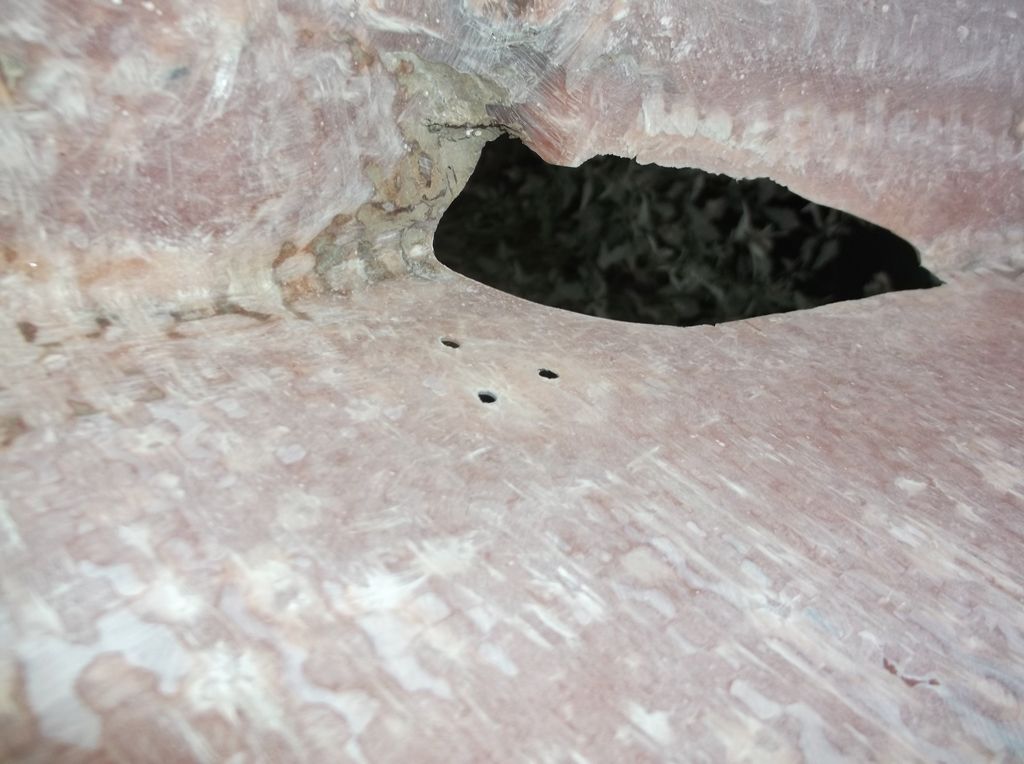
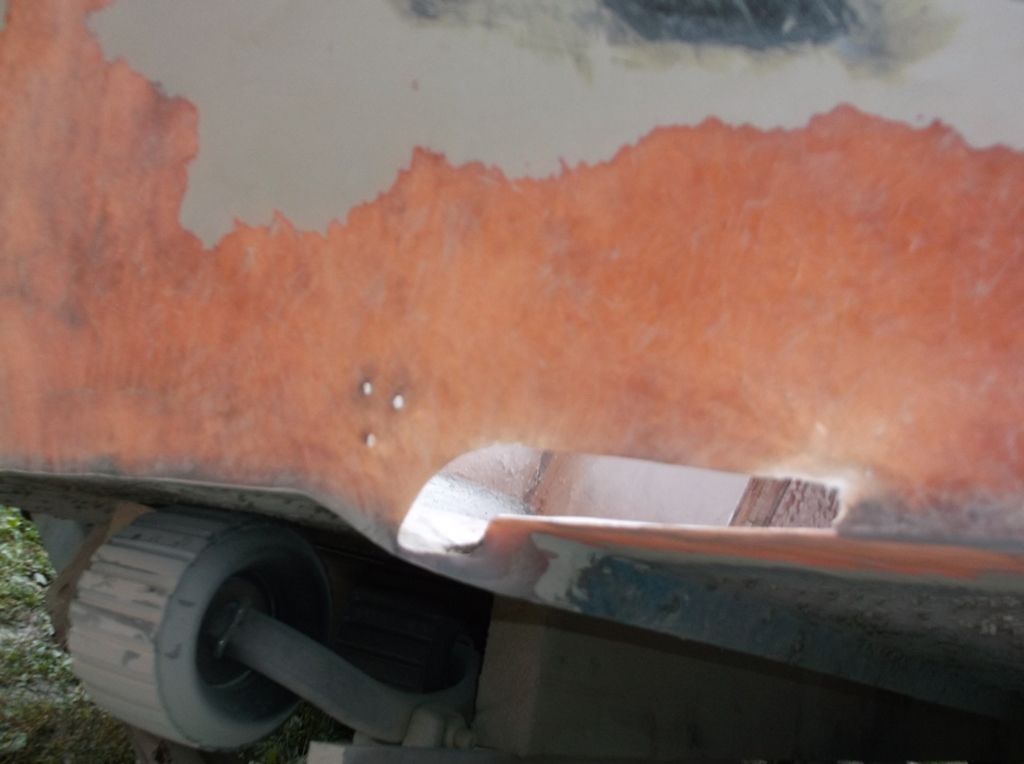
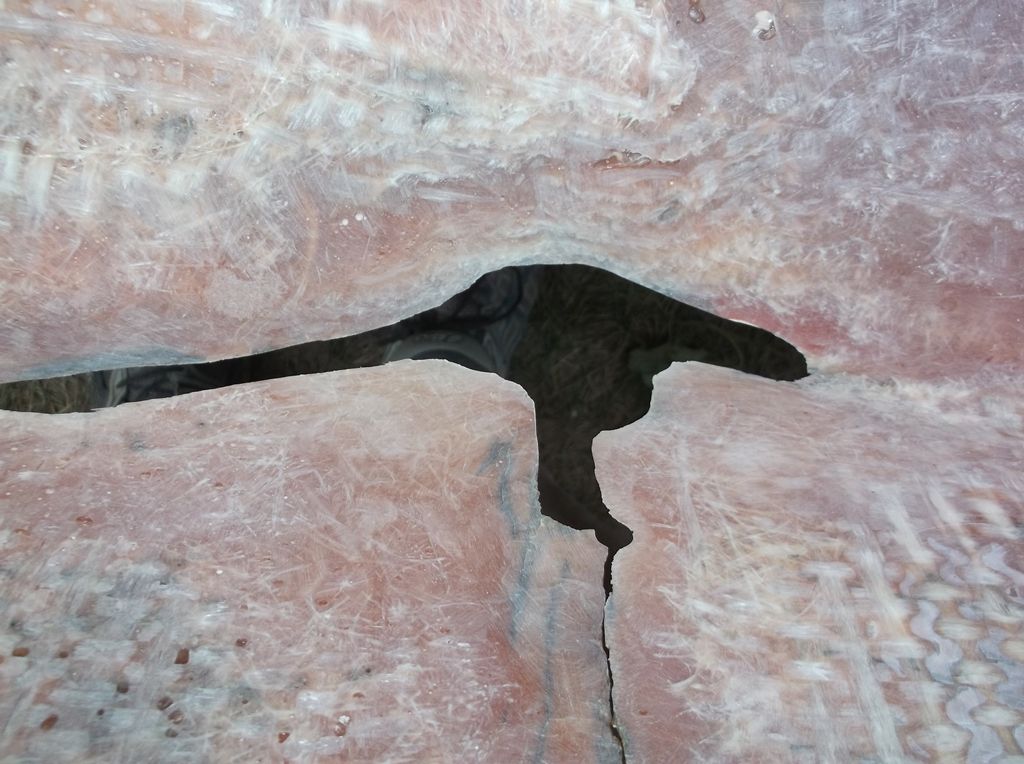
I found a big crack through the transom right around where the hole in the hull is. I am kinda stuck at this point because I don't know exactly how to fix this hole and crack.

Should I grind out the crack or just fill with PB and glass over it? Which side should I grind from?


I think in order to fix the hole I need to put some kind of backing on the outside of the hull, to get the shape right. Maybe a sheet of plastic or thin wood with wax paper on it to release it?
 

Pusher

Lieutenant
Joined
Sep 2, 2014
Messages
1,273
You could try glassing in the transom so everythings flusbed up and set in place, then tomorrow you could grind the crack down and fill it like you were thinking. That way you could sand everything smooth pretty easy using the outjde of the transom.
 

DeepBlue2010

Lieutenant
Joined
Aug 19, 2010
Messages
1,305
The first thing I would do is to determine if the crack extends all the way to the top of the transom. If this to be the case, the transom would be out of shape from side to side. In other words, it extends - ever so slightly, of course - port to starboard (on the x-axis) more than it should. Filling the crack on this position and glass over it will lock this deformed shape forever.

This is what I would do... I would cut two pieces of 2 x 4s around the outer edges of the transom as indicated in the picture; then wrap the entire perimeter with a strap clamp and tighten until the crack is eliminated. Only them, I will go inside and grind to a good later of fiberglass trying to dish around the crack at least 6 inches on either side. Then I would use 1708 to rebuild the thickness using 4, 8 and 12 inches wide starting with the narrow layer then the wider then the wider.

I would do the same from the outside as well specially that the transom will need to be repainted from the outside anyway.

Regarding the drain hole, grind to thin layer of fiberglass and build back the thickness from inside and outside using successively wide layer as described above. After you are done glassing, take a hole saw and re drill the drain hole.

Crack in the transom.png
 

Woodonglass

Supreme Mariner
Joined
Dec 29, 2009
Messages
25,927
DB is SPOT ON!!! grind the outside and trace the crack down. If it does NOT go all the way to the top then I seriously doubt the hull is deformed. If you find where it stops then drill a 3/8" hole at the end of the crack to prevent further cracking. To fix it, grind on both sides about 3-4 inches and feather towards the crack. Do this on Both sides. Then apply resin and two stripsof 1708 first one 3" final one 6". Do this on the Inside. DB gave good instructions for fixing the drain tube hole. The only thing I'd change is NOT drilling the hole until after the new wood core has been installed. That way you can get it all done with one drilling. I'd drill a 1 1/2" hole and fill it with PB. Then come back later and drill the 1" tube hole. that leaves the hole with 1/4" of PB all the way around and it will never rot out from any leaks.
 

Shakedownscott

Petty Officer 2nd Class
Joined
Jul 12, 2011
Messages
179
Thanks guys for the advice, it is greatly appreciated. I have a lot more confidence with you helping me through this, not sure where I would be without you.

I ground off a fare amount of gel coat last night. Looks like the crack stops a little more than half way up the transom. Also ground around the hole around the drain tube.

I found a bunch more cracks around where the motor bolts to the transom. Looks like this area became over stressed after the wood got soft. These cracks don't appear to go all of the way through. Will get pictures, if I can remember where I left my camera....

As I remove more and more glass from the hull the transom is getting more floppy. How do I support this to keep it straight before glassing the crack and holes?
 

DeepBlue2010

Lieutenant
Joined
Aug 19, 2010
Messages
1,305
You're welcome!


Will get pictures, if I can remember where I left my camera....

This is an iBoats deadly sin.. Get the camera, get the camera, get the camera :)


As I remove more and more glass from the hull the transom is getting more floppy. How do I support this to keep it straight before glassing the crack and holes?

Yes the transom will be more floppy but does it look deformed??

You are glassing in small sections, as opposed to the entire transom with a single piece of fabric. It is very unlikely that you will be locking in any deformation.

I am concerned that if you use any support on the back of the transom - from outside the boat - you might actually push too hard and deform it.

Was your transom straight before you started the demo or was there a slight curve to it?
 

Woodonglass

Supreme Mariner
Joined
Dec 29, 2009
Messages
25,927
As I stated before drill a "Stop" hole at the end of the crack. To ensure your transom is supposed to be Flat and Not curved put a straight edge on the outside at the very bottom of the transom. YOu'll soon find out if it's flat or curved. Report Back.
 

Shakedownscott

Petty Officer 2nd Class
Joined
Jul 12, 2011
Messages
179
The transom was pretty flat before demolition. When I placed the new transom wood in the boat and clamped it up, it looked good and was straight and flat. When I take the wood out the top middle section flops outward.

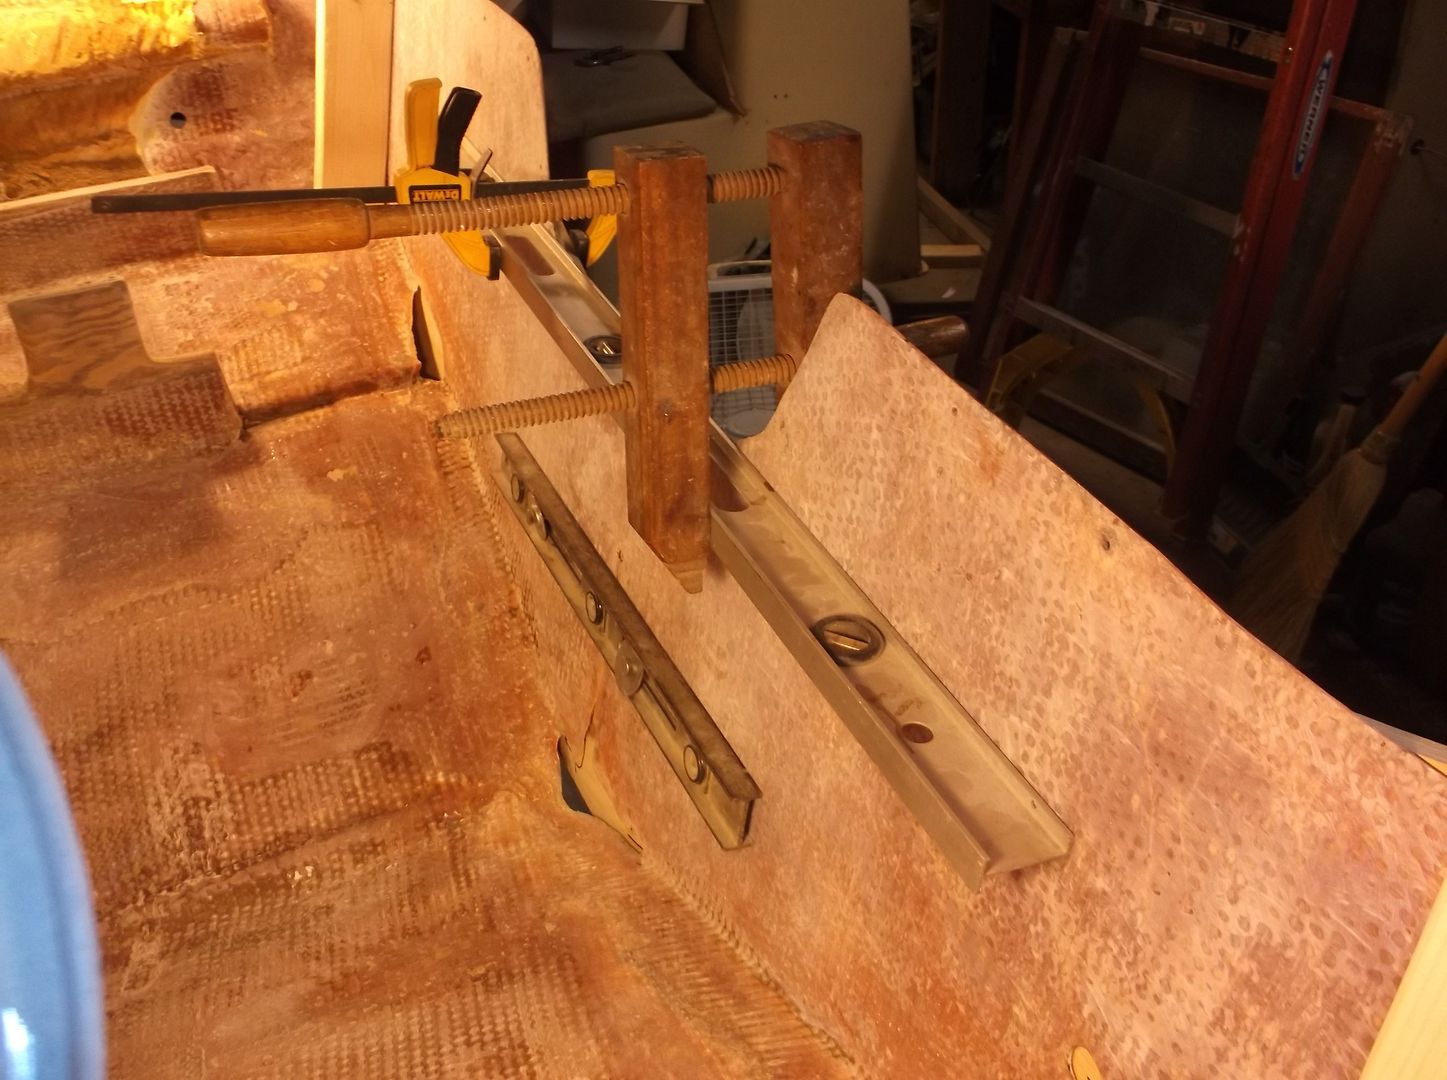
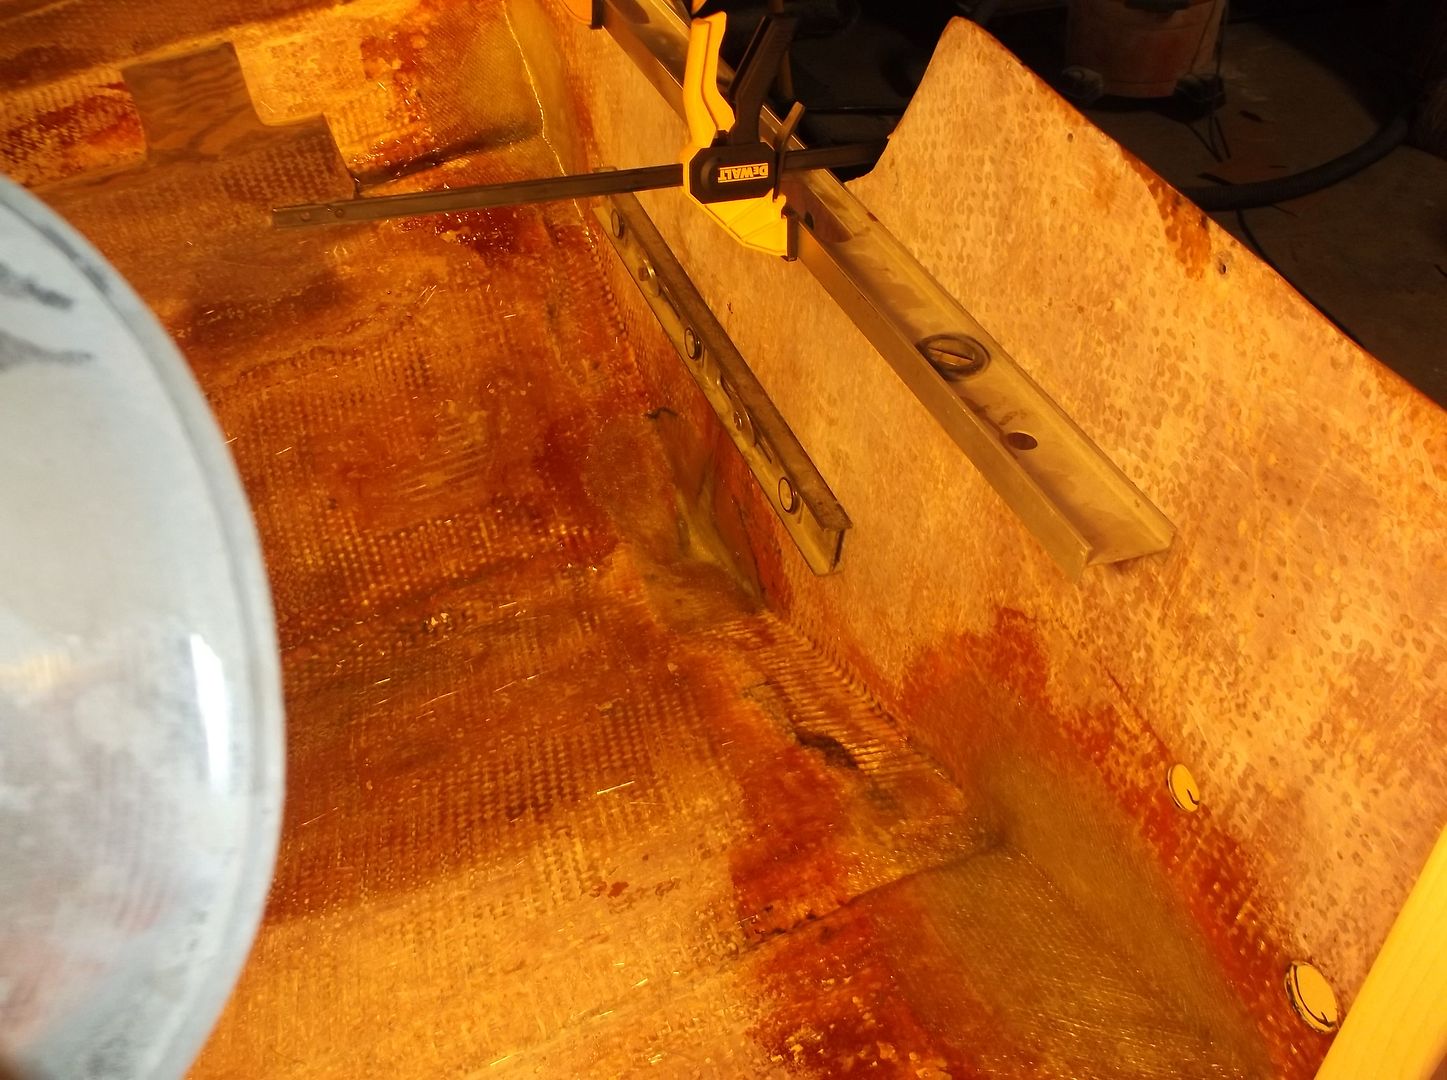
I clamped a straight edge across the top of the transom and it holds it pretty straight. I will double check at the bottom of the transom to ensure it is flat. Right now I am thinking about clamping a straight edge along the top and then put in a layer of csm in the holes to hold the position. After that put the transom back in and make sure it fits correctly. If its all good then add the 1708 to build up the repairs.

WOG, I will drill a hole at the end of the crack to stop its progress. What should I do about the other cracks, see pic below. Looks like a lot of stress cracks around the outboard bracket.


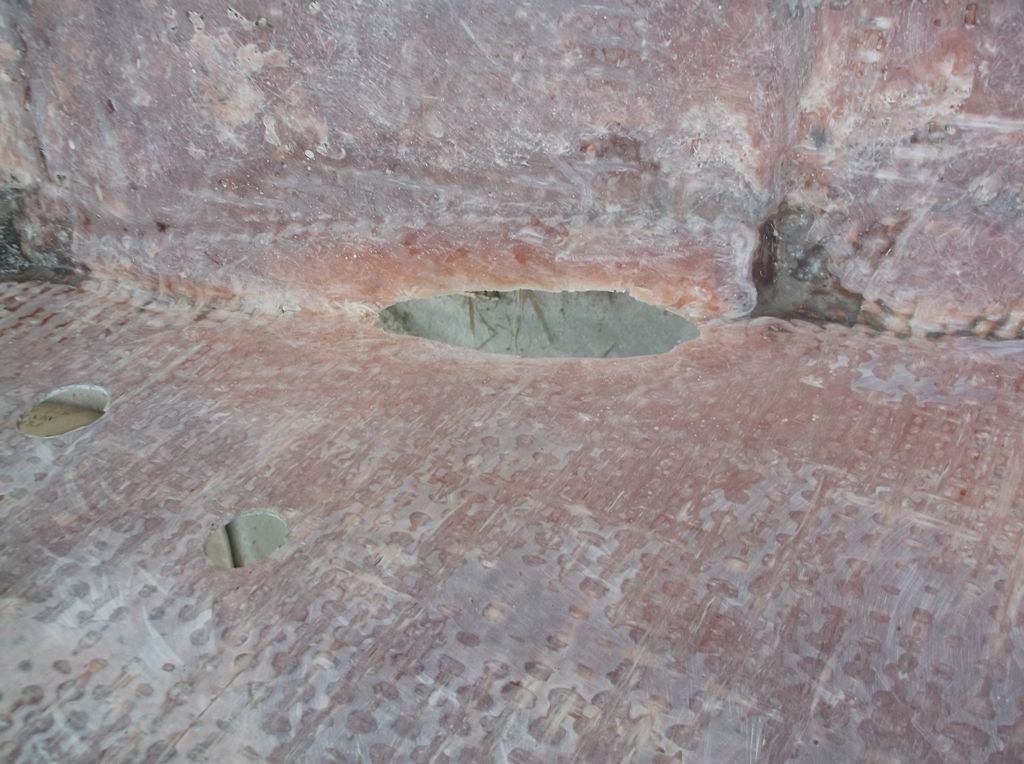
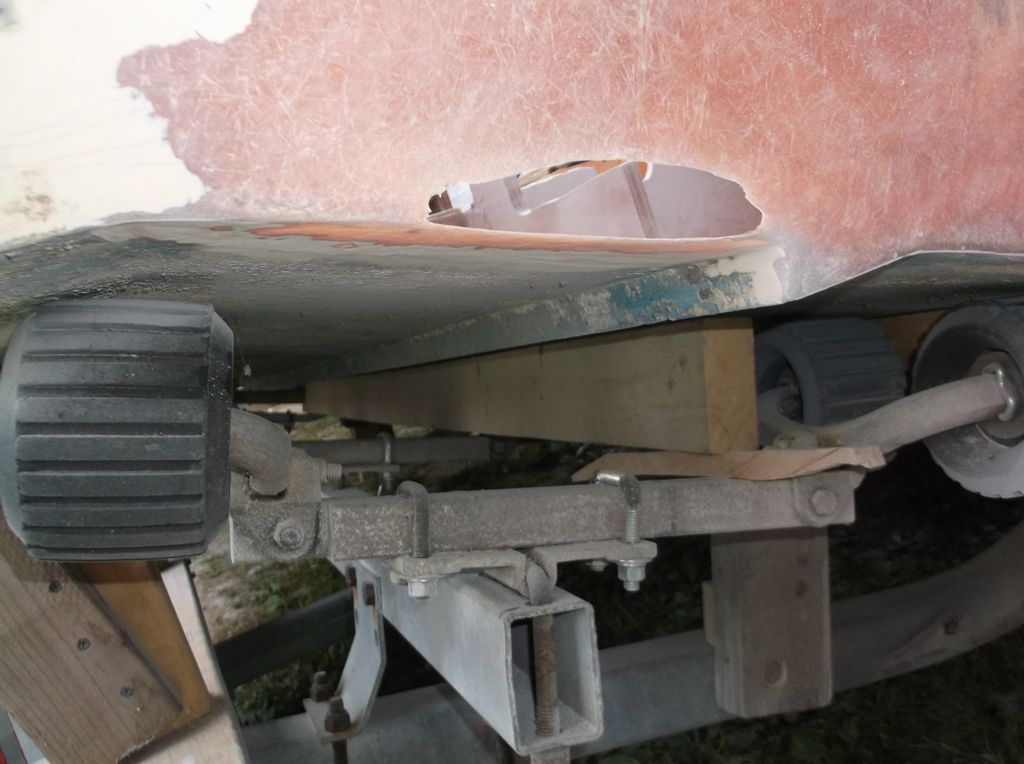
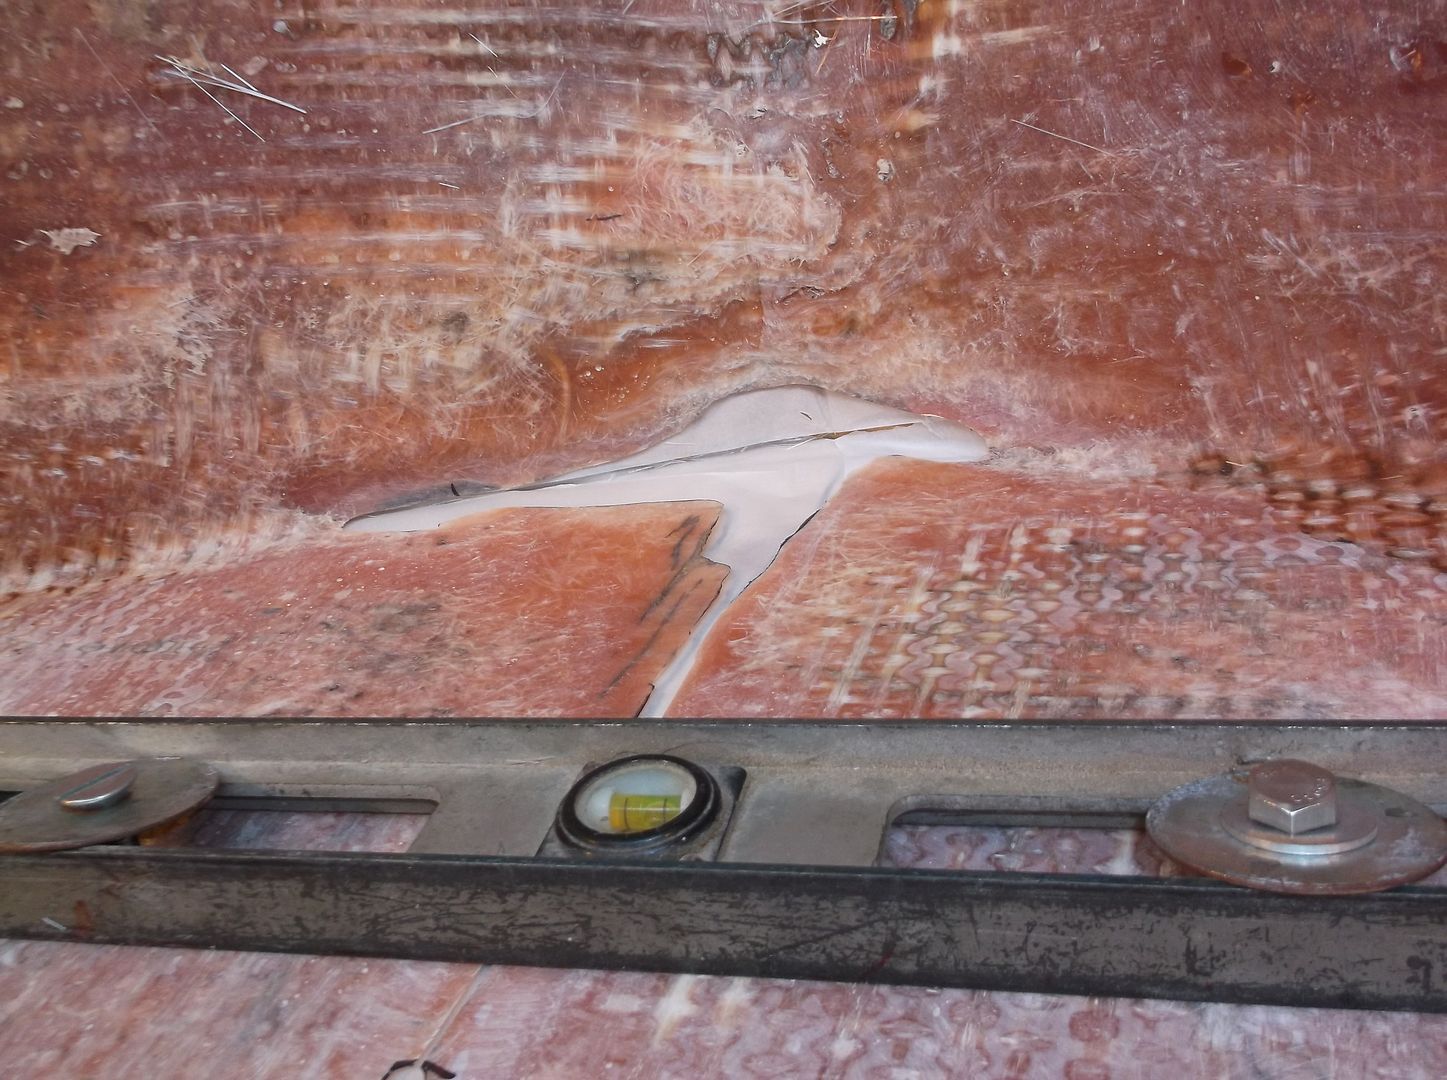
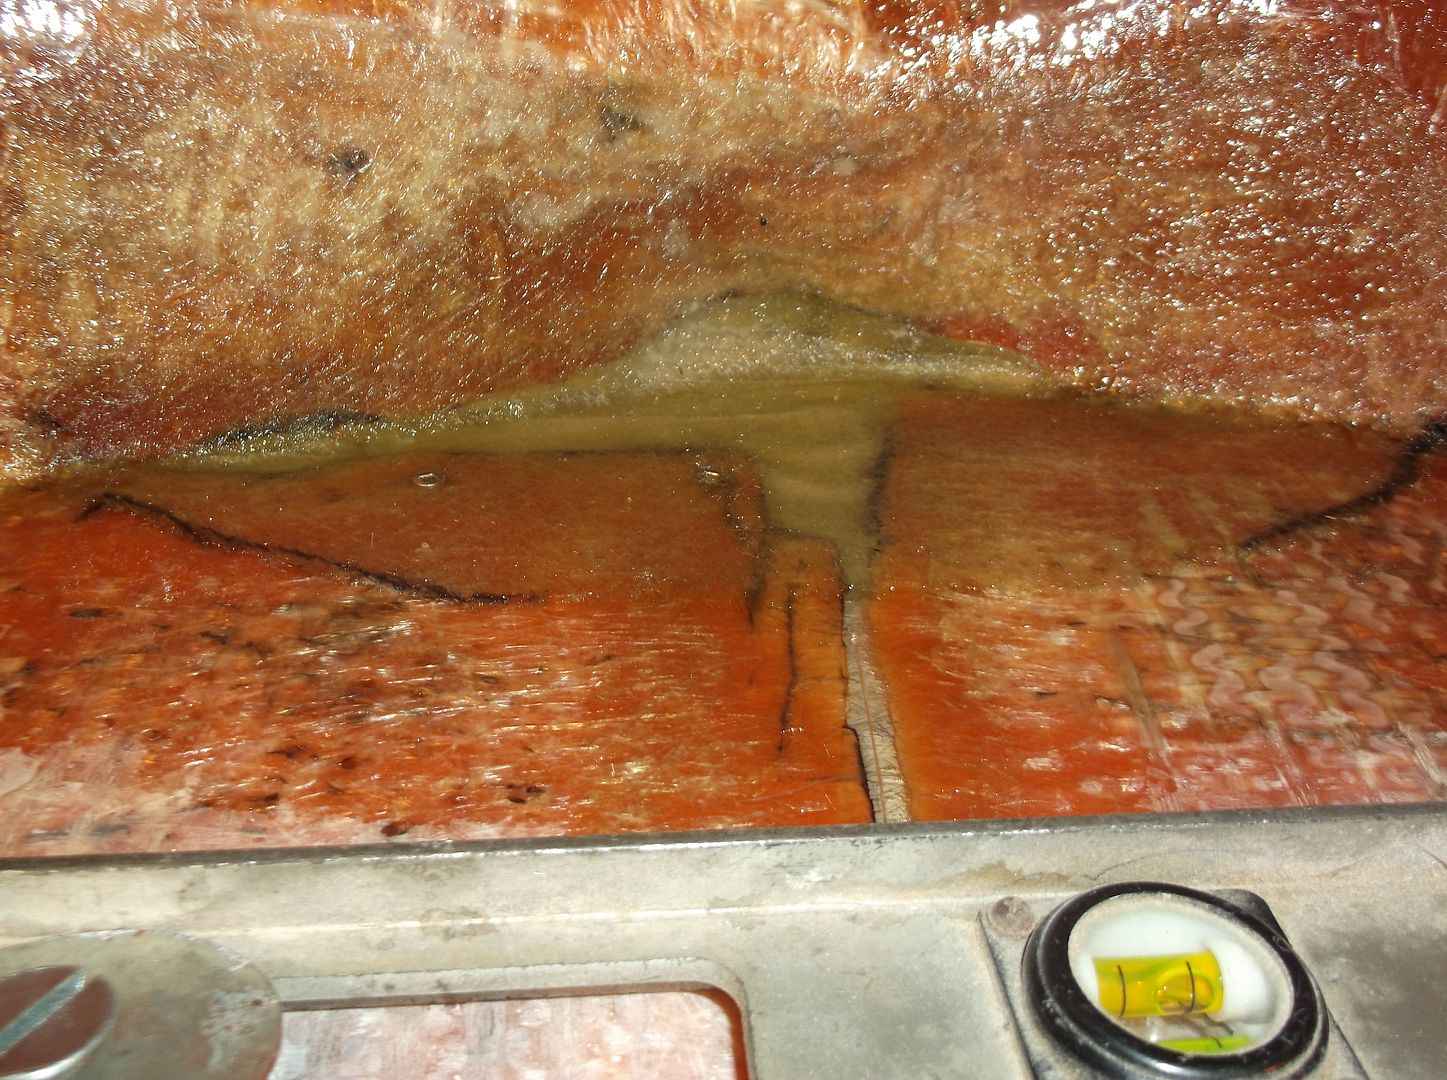
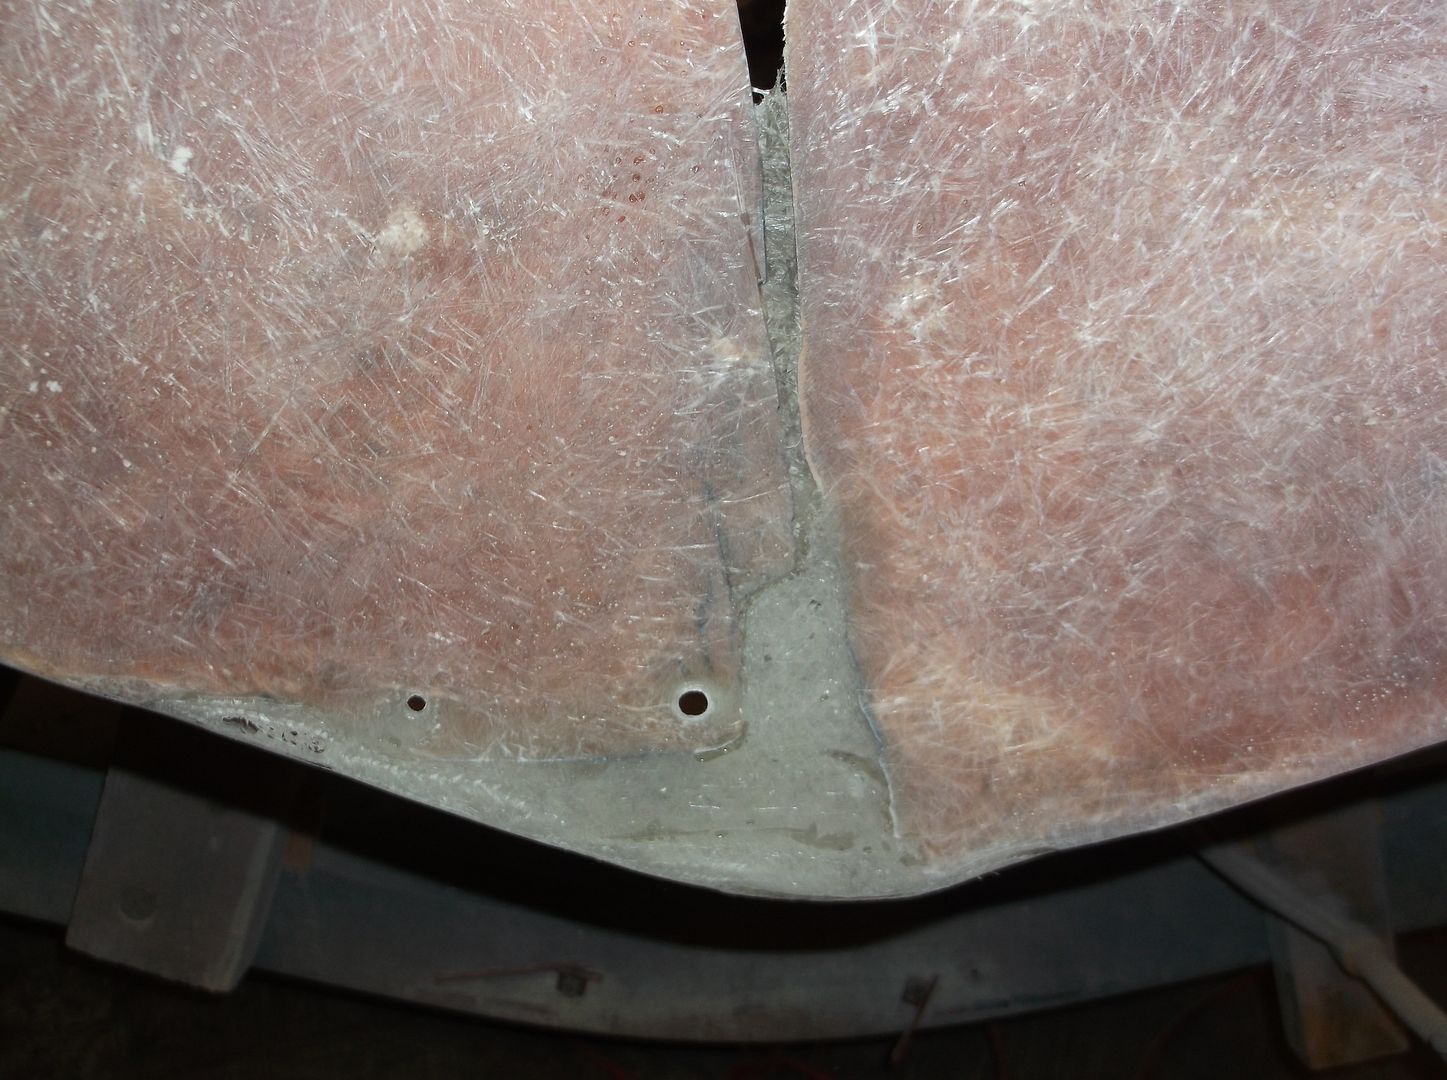
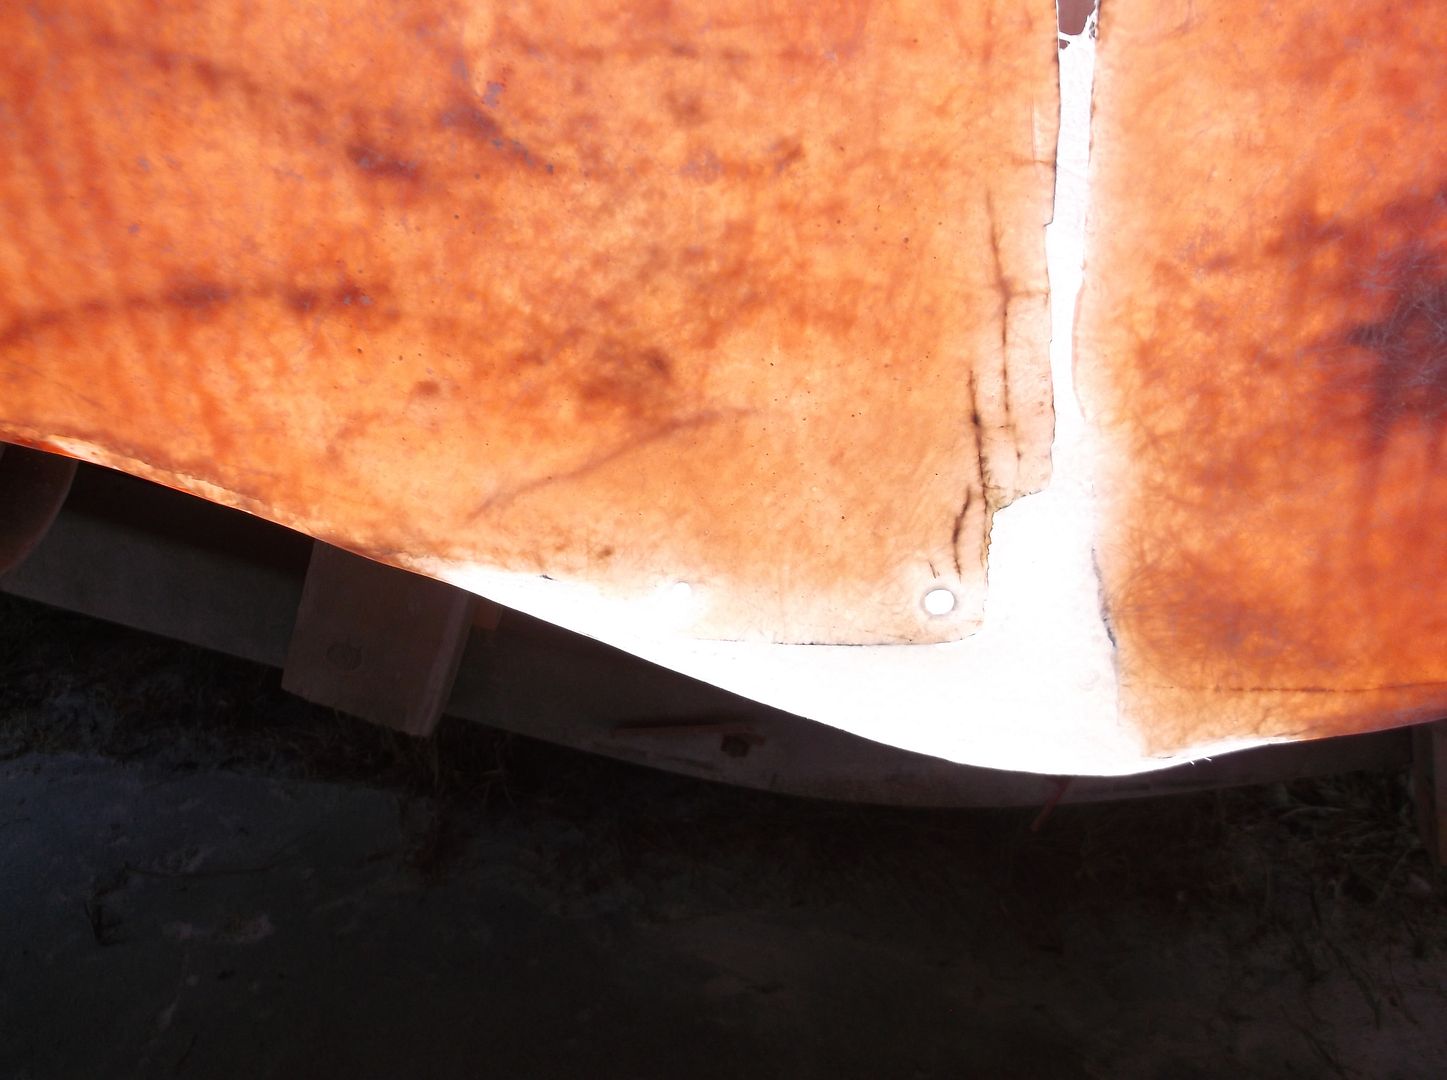
I have ground out all around the holes and crack from both sides. What do you guys think does this look right?


Should I put some type of support on the outside before adding glass to the inside. Not sure how to make a straight edge along the bottom.

Thanks again for all of the help.
 

DeepBlue2010

Lieutenant
Joined
Aug 19, 2010
Messages
1,305
In picture # 2 above, there are two dark spots to the right and to the left of the frame. Check these. If they are contaminates, grind to a pink layer of glass like the surrounding areas.

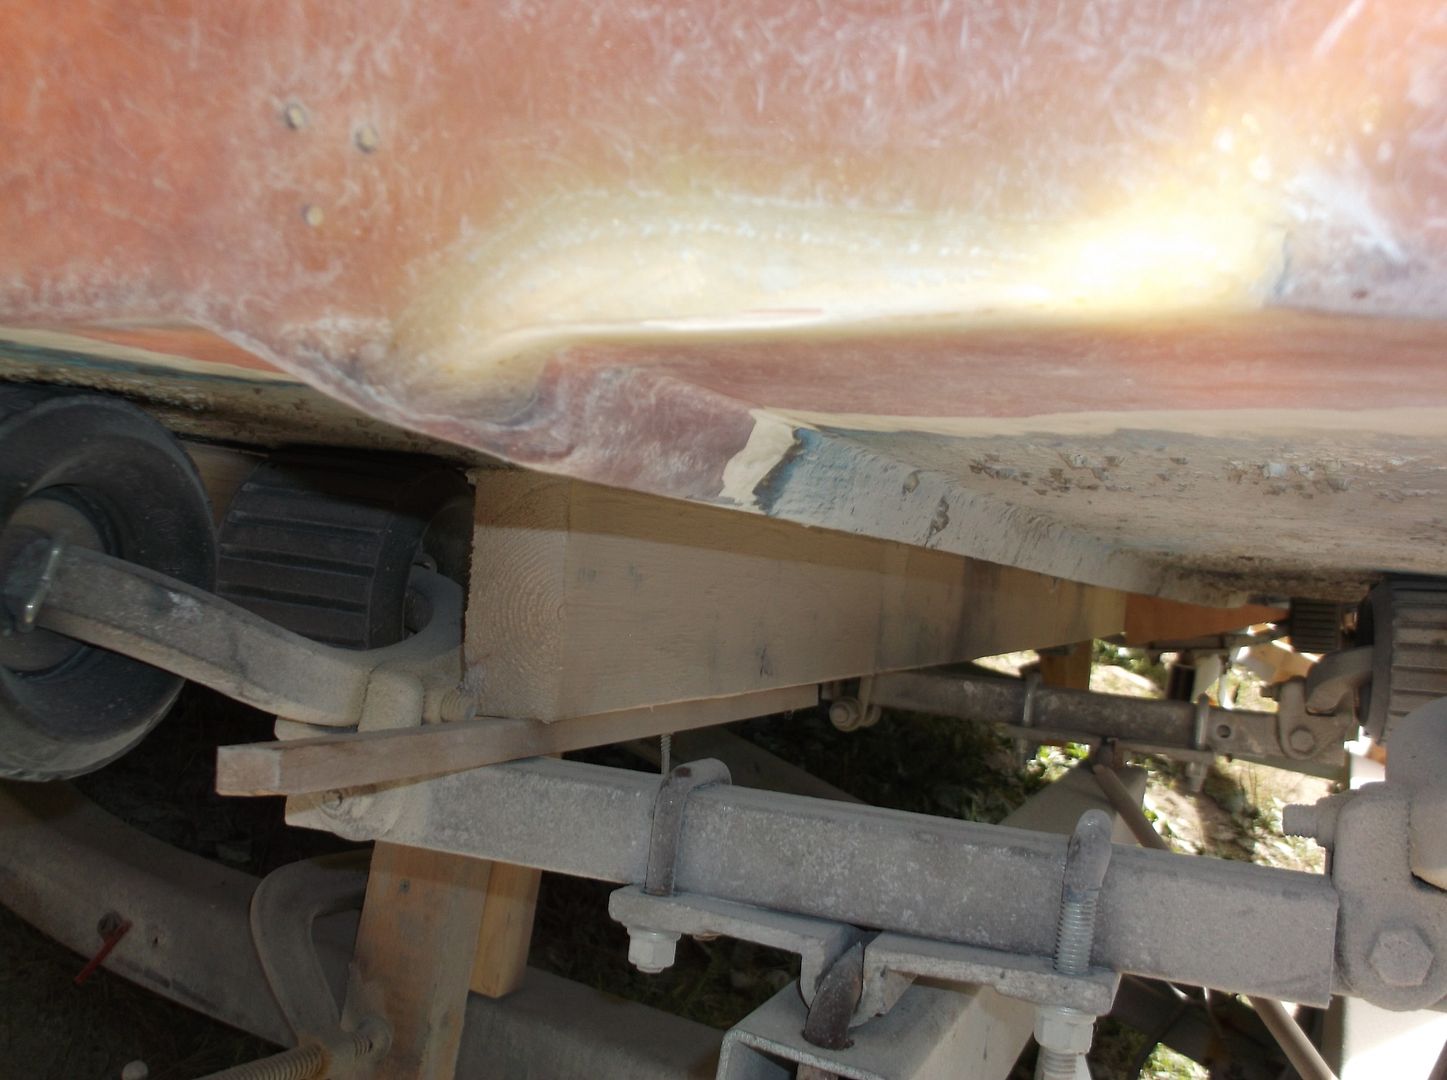
Get some wax paper, duct tape, cardboard and small cuts of PVC pipes of different radius. Start forming the backer plates on the outside as needed. use the PVC pipes to provide extra support under the turns and radius such as the chin line in picture # 5

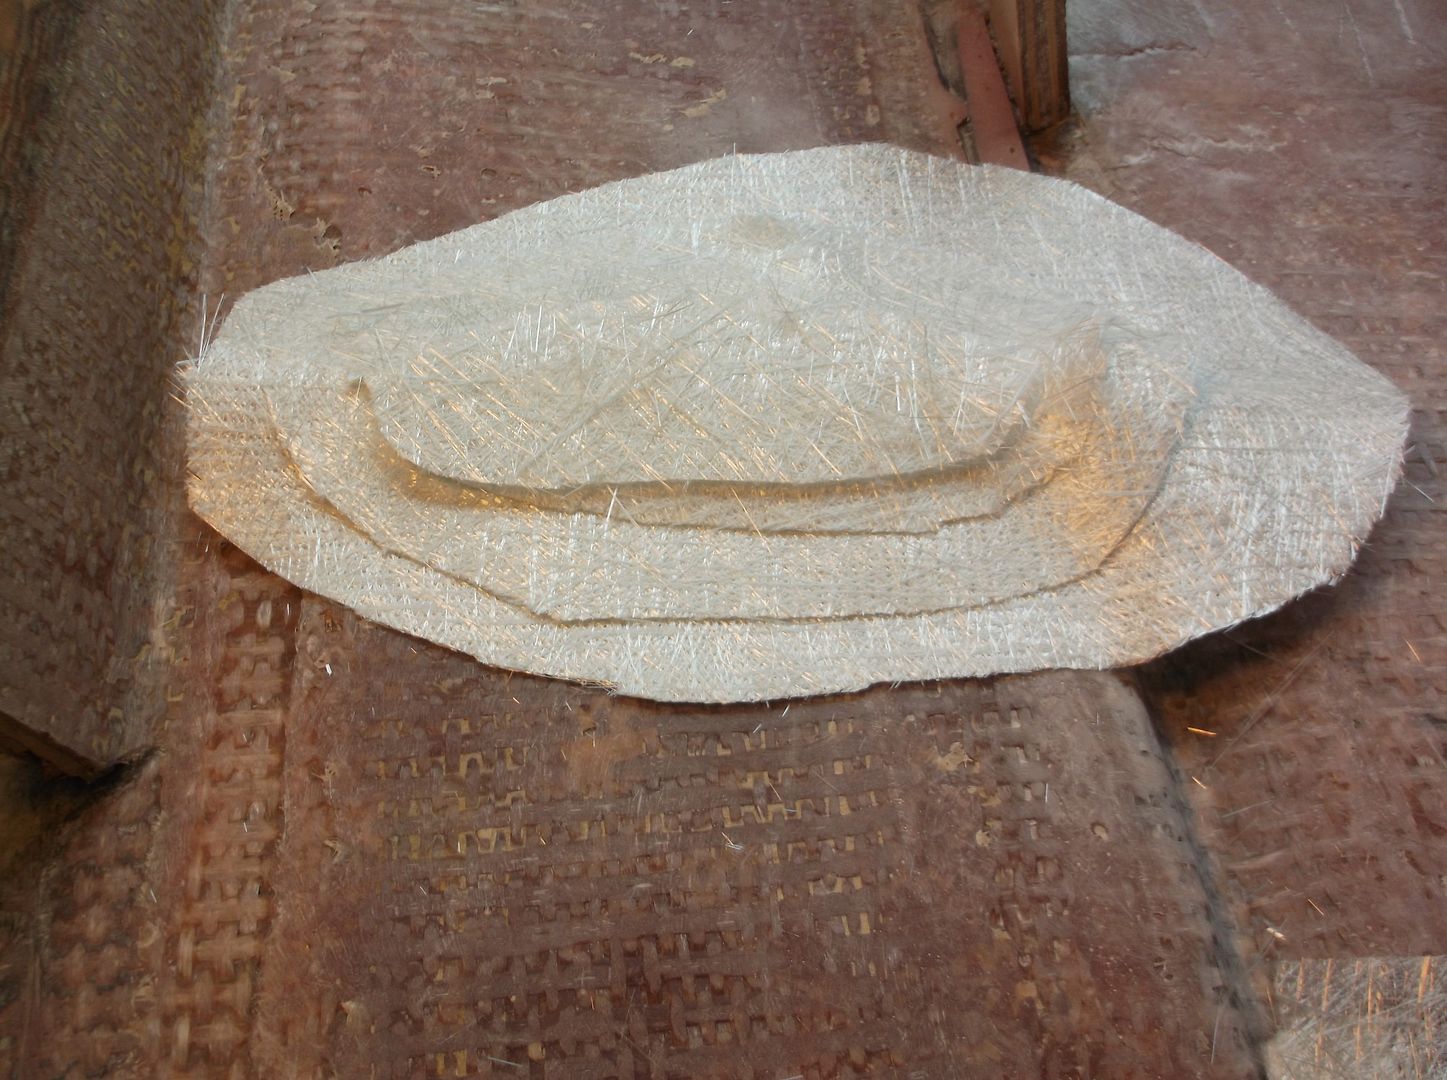
Clean the area to be glassed with acetone in one direction and switch the sides of your rag often. Feel the area with your hands and determine the deepest spot in the area. Trace the shape of this area on a transparent sheet with a sharpie pen. Cut the template and use it to cut a piece of 1708 the size of this area. Do the same with any other area that is not contiguous.

When you have enough piece to fill those deep areas and bring them on the same level (if you can't determine this, wait until you start glassing and see if they are filled or not, you don't have to glass it all in one session) Cut 3 pieces of 1708 so that the first one extends around the opening about 2 inches from all sides and each subsequent layer extends two inches from all sides more than the one before it.

Clean again with acetone. Don't skip this, it is important

Mix your resin based on your manufacturing recommendation for the ambient temperature that day/time. I would use vinyl-ester resin for this job.

Put your glass mat side down and make sure each one is saturated with resin with no dry spots. Use aluminum roller to remove any air bubbles and move the roller slow and steady from the middle toward the edges. Don't go back and forth in all directions in fast pace like some youtube videos are showing. Forget about the plastic ones, they don't last much. Prepare a container full of acetone to dip this roller in it when you done. Have it handy next to you.

When all your layers are glassed down nicely and all air bubbles are worked out. Go grab a beer or work on something else and let this resin cure for few hours or over night.

Remove the backer plates from outside. If your resin doesn't have wax in it (make sure of that when you buy) you don't need to sand from the outside.

Do the same thing from the outside to build up any thickness you took off with the grinder. Don't forget to clean with Acetone at least twice.

A good tip to avoid cursing during the glassing session is to buy some good quality gloves and wear at least 3 of them - one on top of the other - in each hand. This way, when one gets messy, just pull it off and you are still good to go.

Another tip is to mix your resin small amount at a time. Have the resin and the catalyst measure and ready for the next batch. If needed, mix them and continue. This way, you don't need to worry about measuring.
 
Last edited:

Shakedownscott

Petty Officer 2nd Class
Joined
Jul 12, 2011
Messages
179
Thanks DB a lot of good information and answers to my questions. I have to admit I haven't followed your instructions exactly as you said, I grabbed a beer first :).
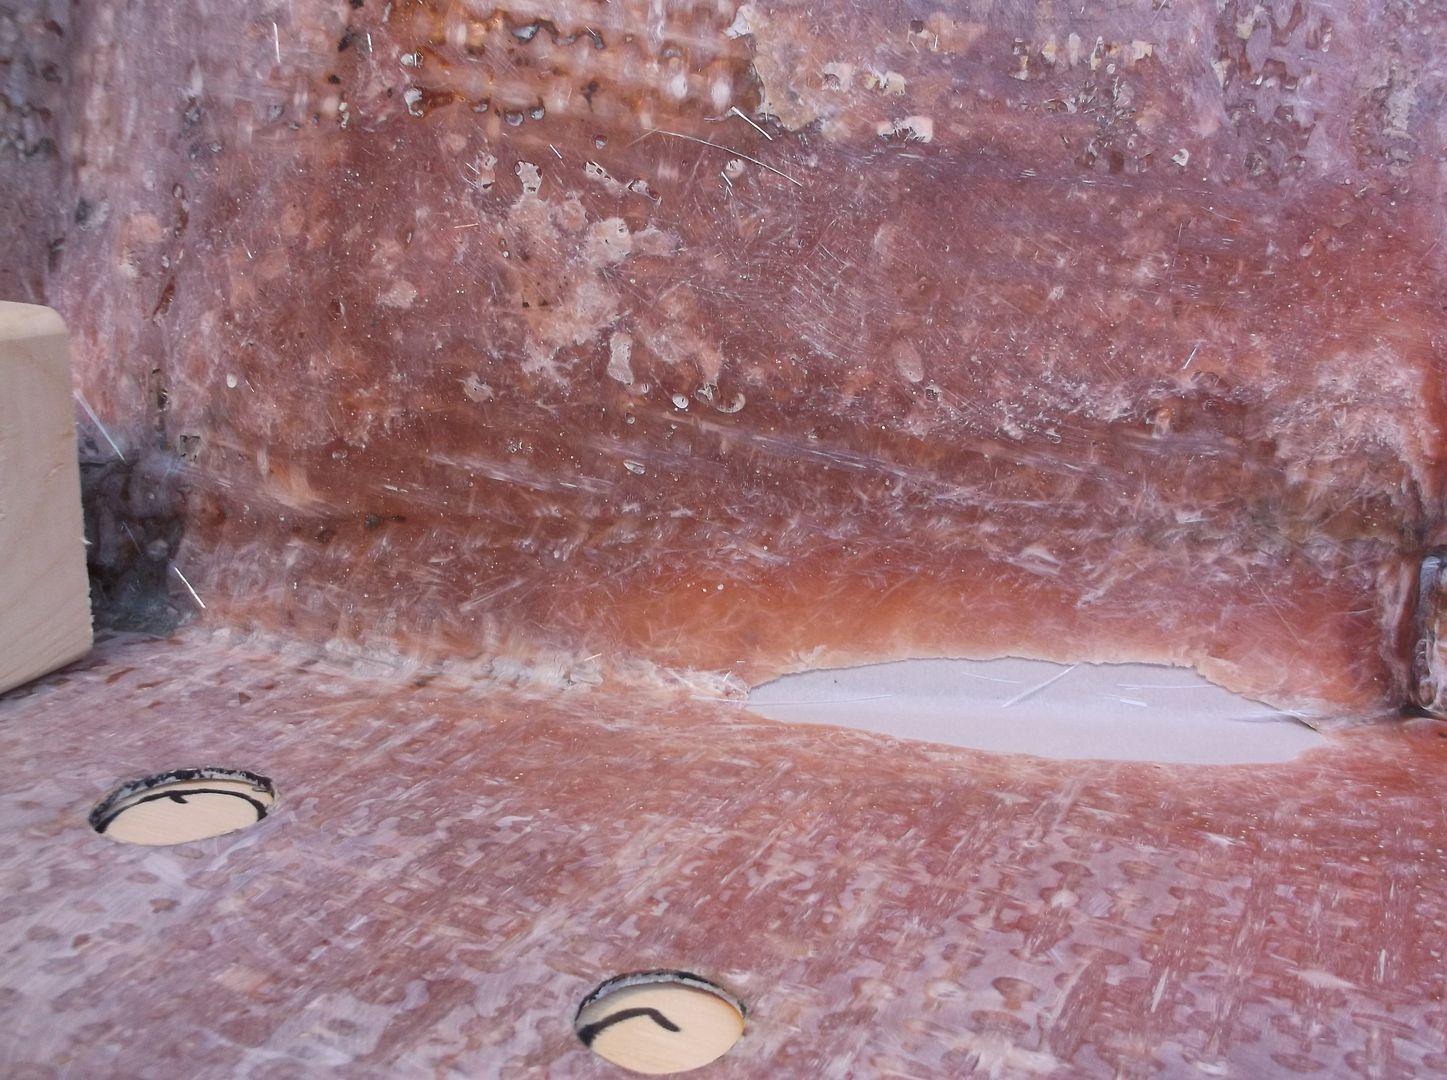
Those dark spots are dirt, you have a good eye. Was just going to wash it with acetone. I don't have anything with a small enough radius to get in there. Maybe there is some type of dremel bit I can put in my die grinder?

I am using a polyester laminating resin with no wax. If you use wax paper to keep things from sticking to the backer surface, do you need to grind this to get rid of wax in the surface or roughen it up before glassing the outside?
 

DeepBlue2010

Lieutenant
Joined
Aug 19, 2010
Messages
1,305
You will be cleaning with Acetone from the outside before glassing and this will take care of any wax residue. Use parchment paper if you can find it in your grocery store instead of wax paper. Anyway, it is a good idea to rough the surface up a bit before glassing the other side specially if you wait few days to do the other side

Goof job on the beer, I wish I can have one myself :)
 

Shakedownscott

Petty Officer 2nd Class
Joined
Jul 12, 2011
Messages
179
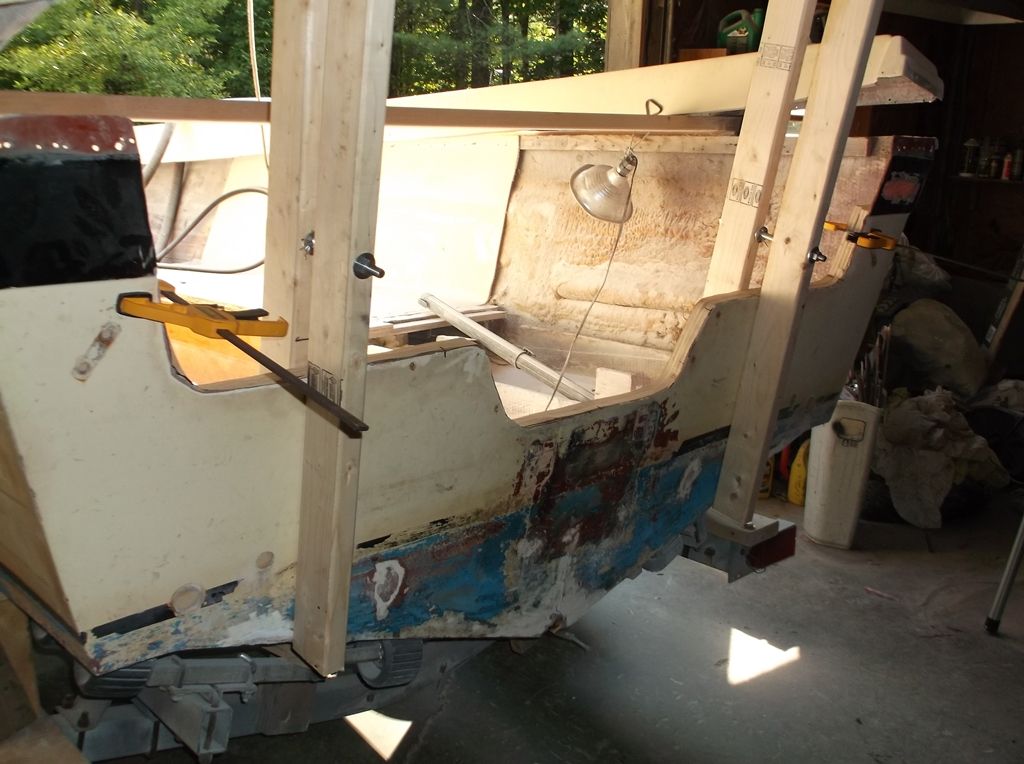
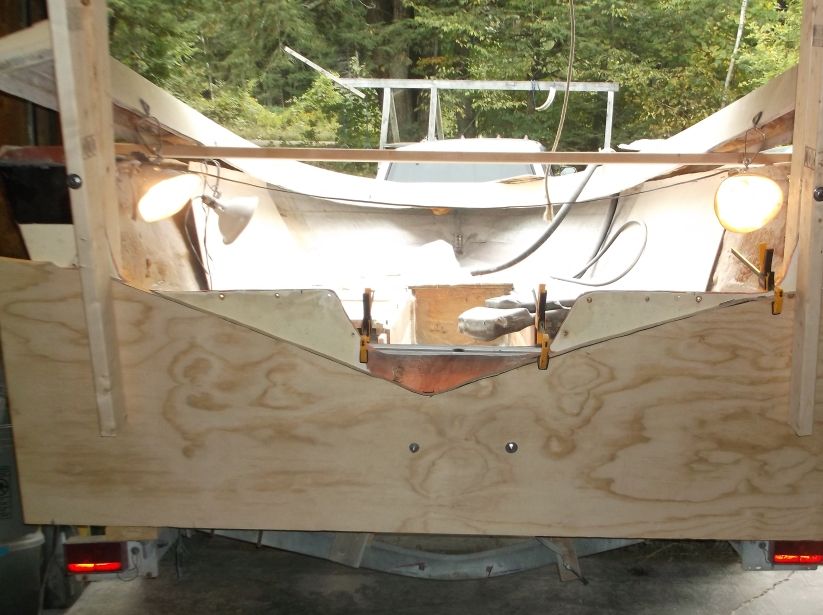
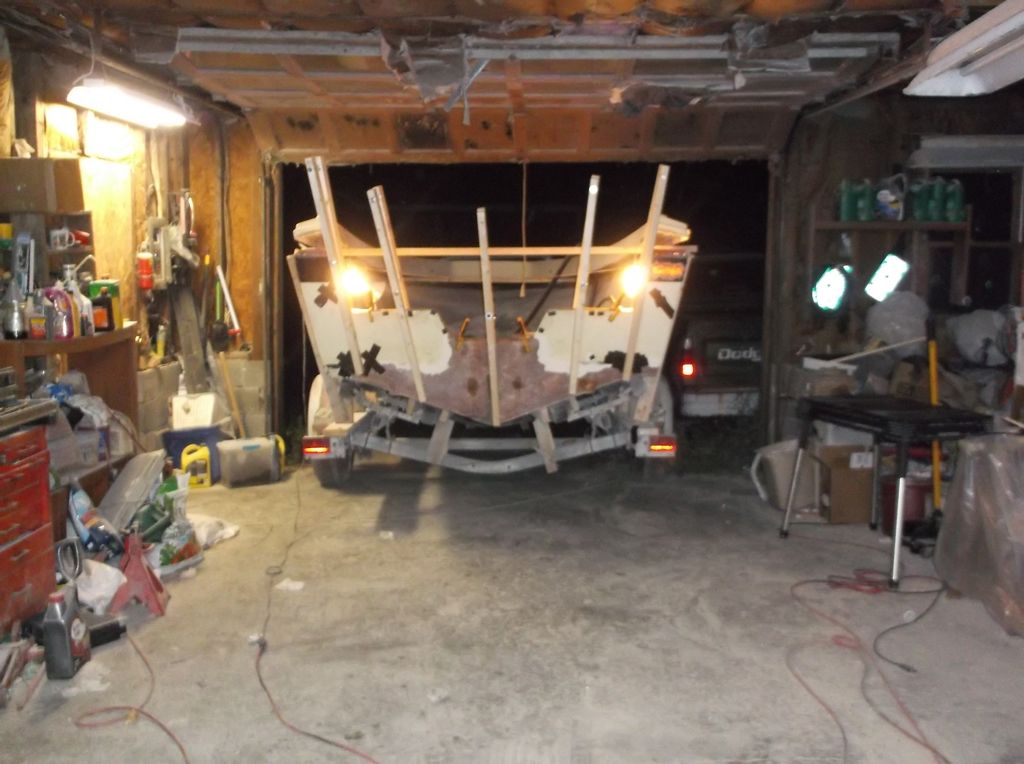
I tried a few different ways to stabilize the transom skin before glassin the holes and cracks. I ended up clamping plywood across the outside of the transom and a two straight edges on the inside. Really hope that this turns out ok.


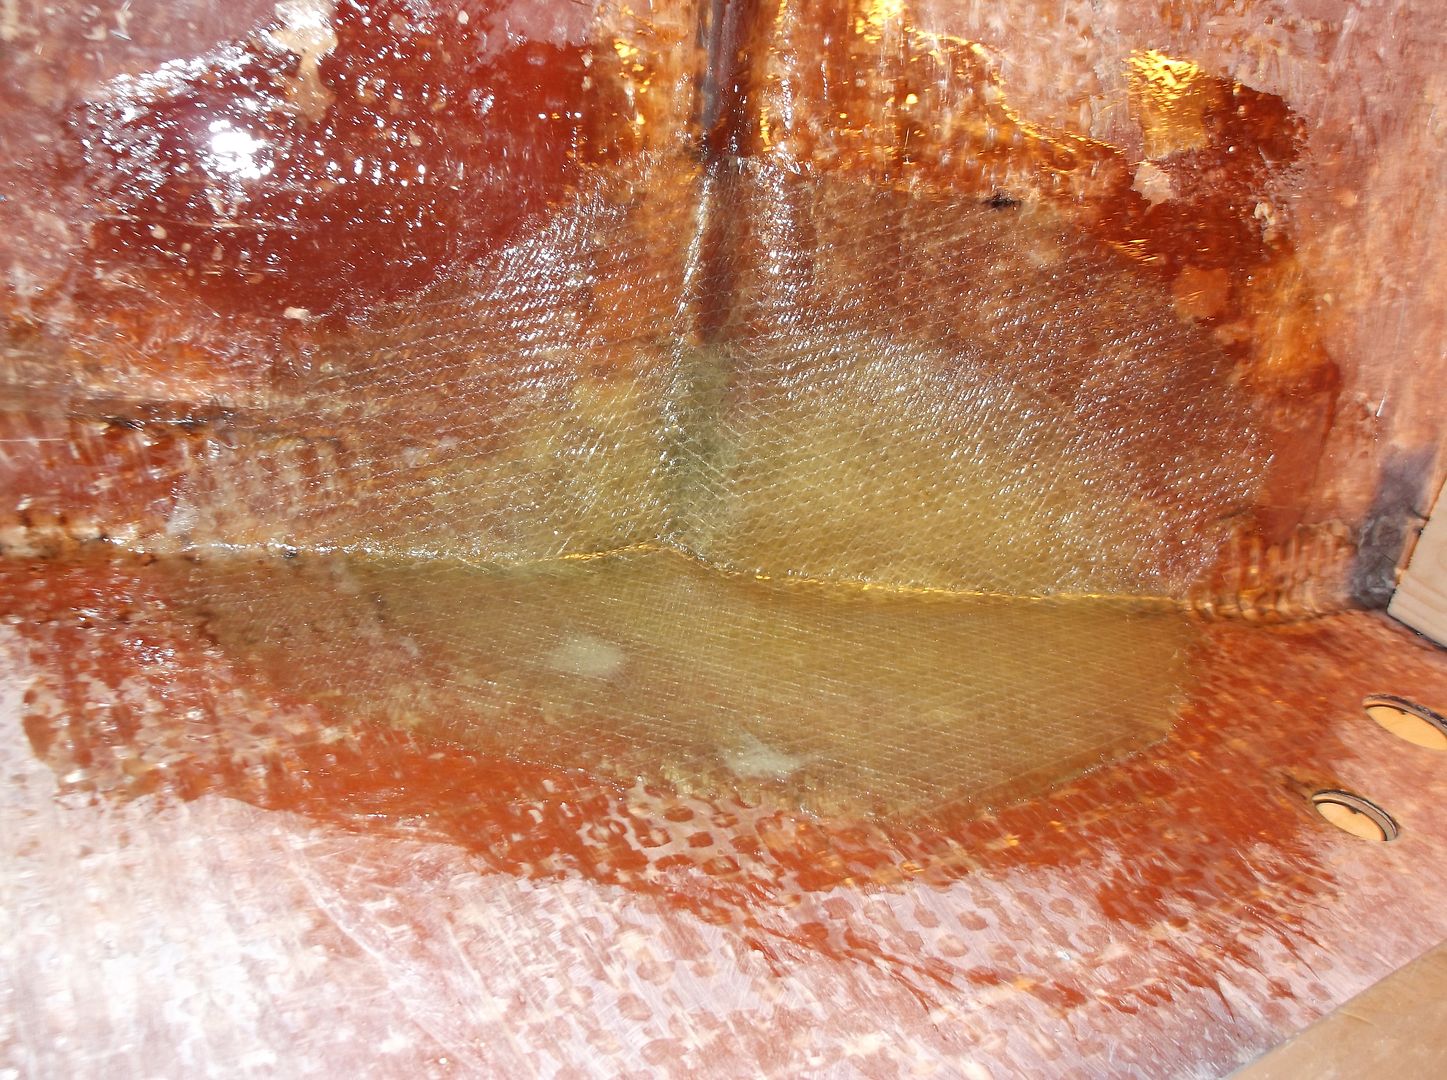
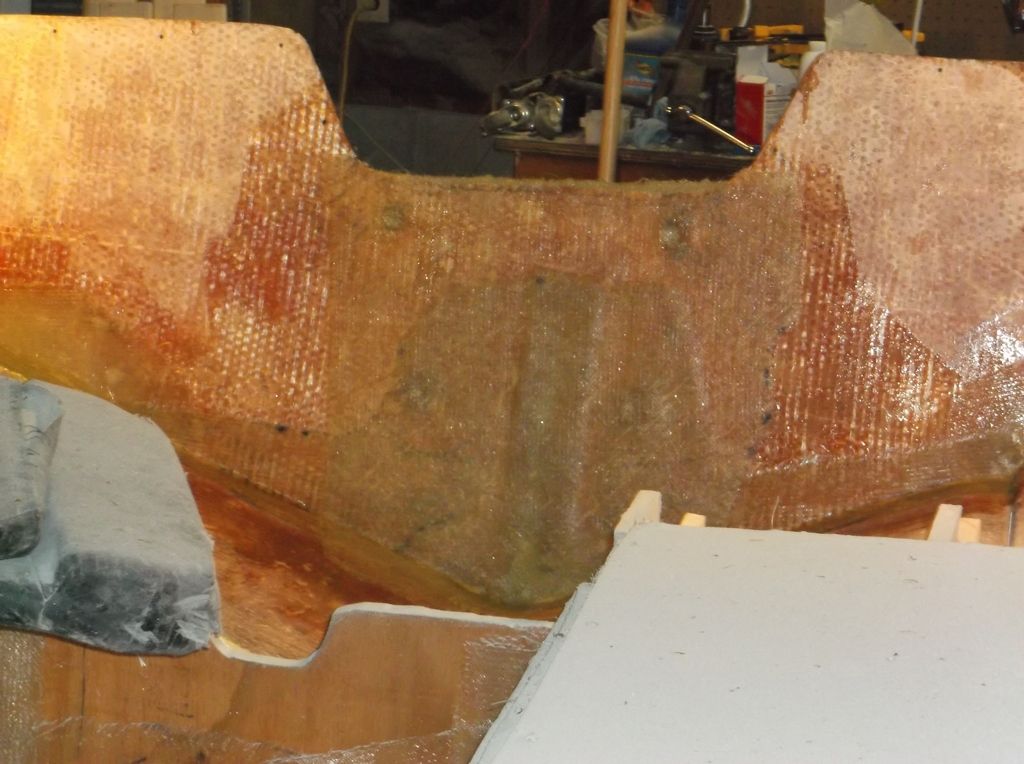
Used cardboard, parchment paper and duct tape to make forms for the inside patches. Came out pretty good, I probably could have spent more time making these better.


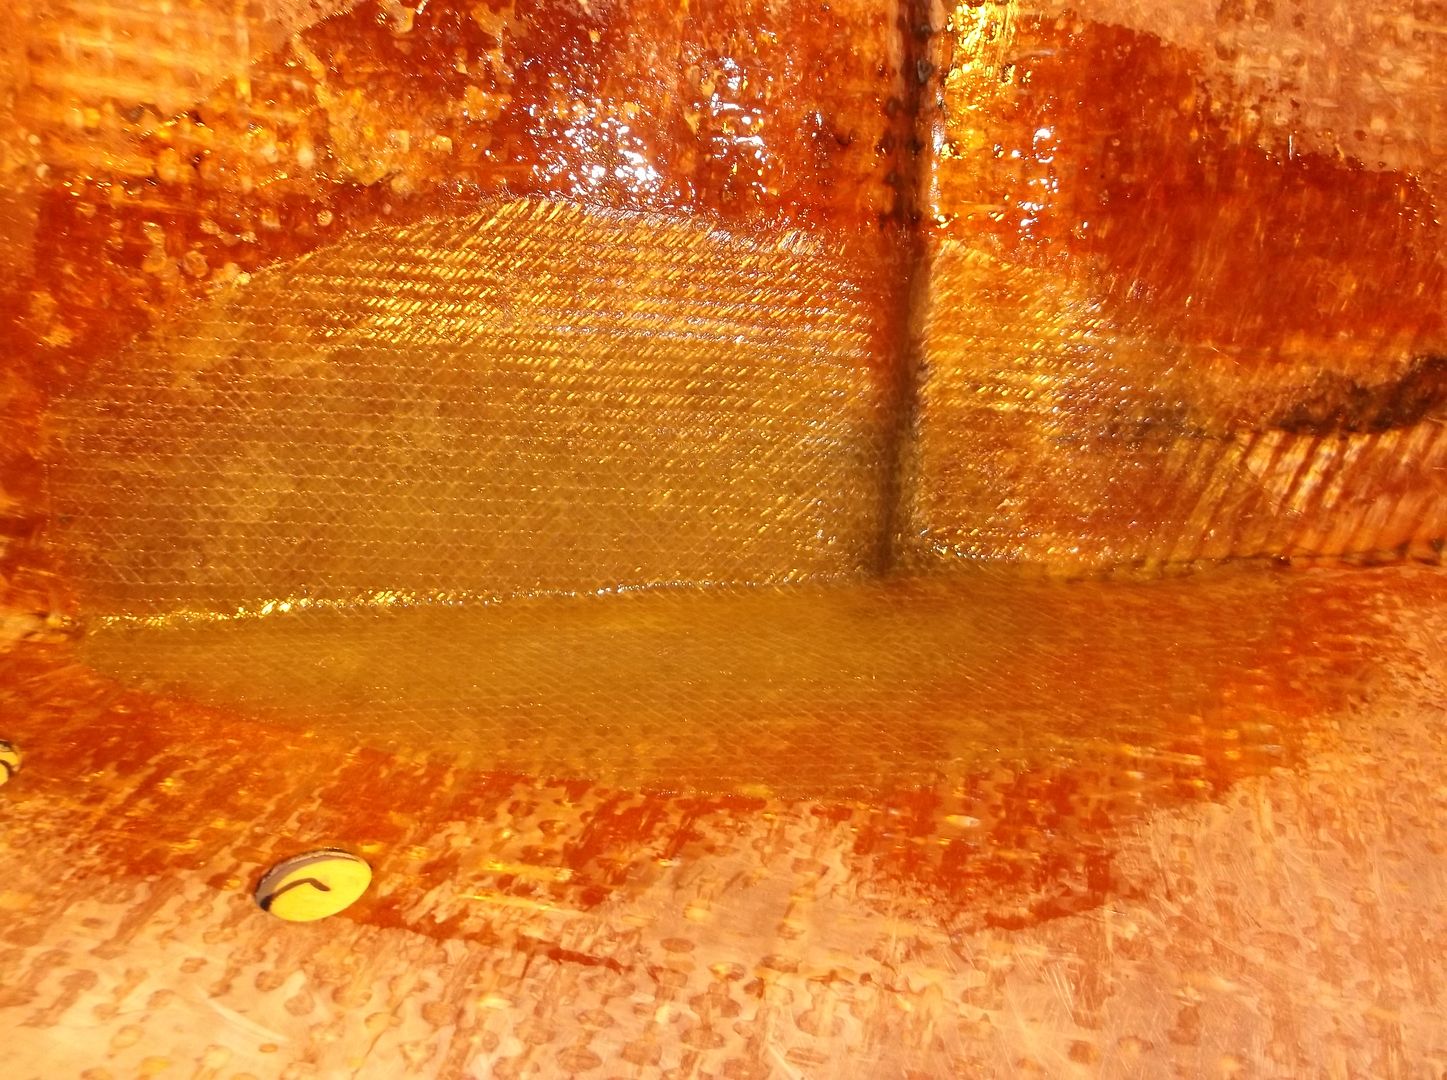
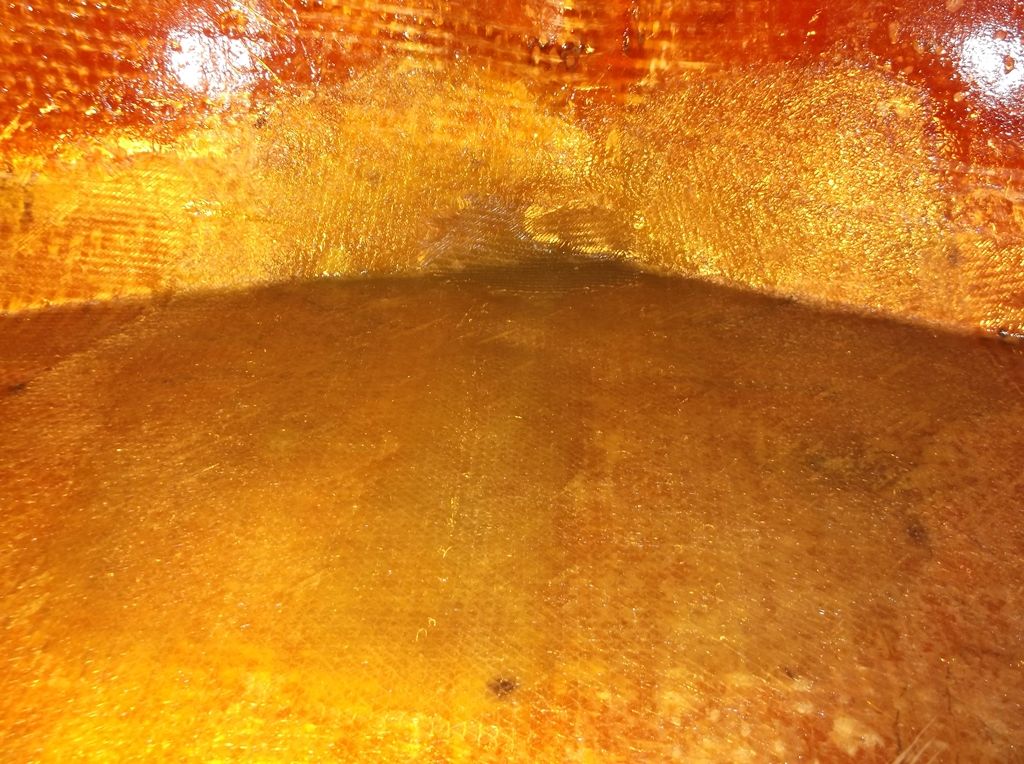
I used a few pieces of csm to go over the holes first to fill any low spots I couldn't grind out. Then followed this with three layers of 1708.


I only put 1 layer of csm and 1 small piece of 1708 over the drain tube hole and crack. I am hoping this will hold things together, so I can remove some clamps and glass over then rest of the crack.


Shakedownscott

Petty Officer 2nd Class
Joined
Jul 12, 2011
Messages
179
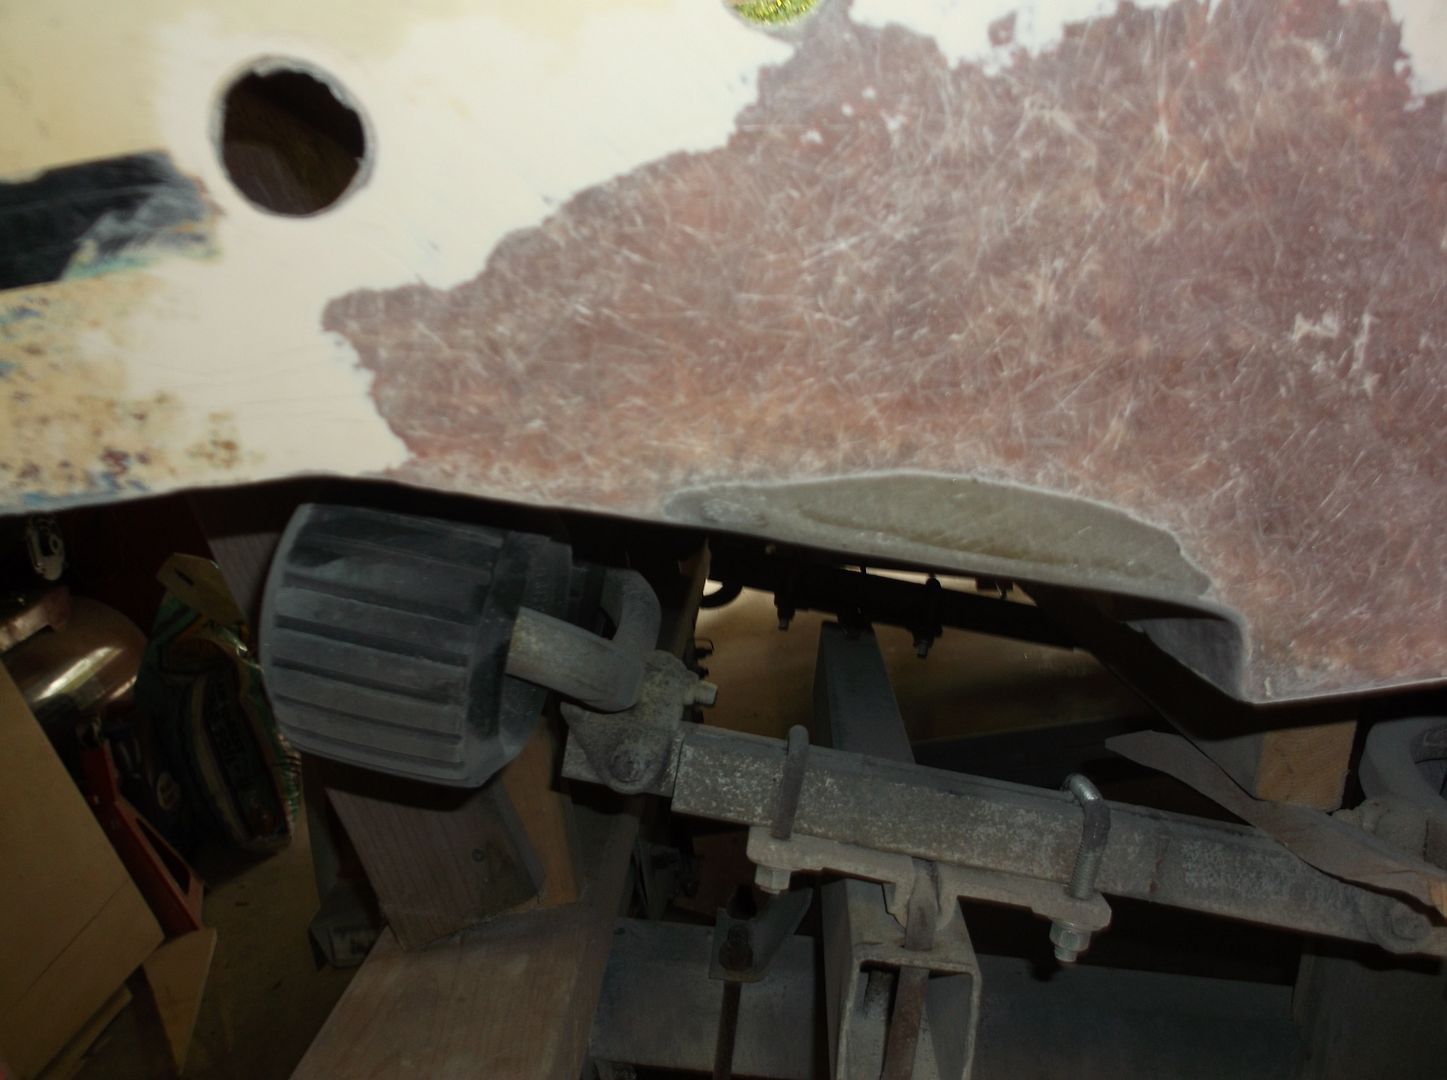
Thanks sphelps, glad to not have holes in the hull anymore. Need to add a few layers of 1708 to the outside to finish the repairs but overall they came out ok.


DeepBlue2010

Lieutenant
Joined
Aug 19, 2010
Messages
1,305
Looking good M8. When you work from outside, build the strake back to thickness and shape with 1708. Grind any extra glass back to shape. Fill and fair with the rest of the hull.

If you used the pvc pipe trick as I mentioned earlier, you would have got this curve taken care of but it is what it is now... it can be formed from the outside.
strake.jpg
 
Last edited:

Shakedownscott

Petty Officer 2nd Class
Joined
Jul 12, 2011
Messages
179
Completed glassing the inside of the transom with several layers of 1708 over the crack. Looks nice a strong now.


Finished the transom and was able to install it without any trouble.


Transom is really strong now, much better than before.
 
Top