'76 MFG Fishin Caprice II Center Console Rebuild

Shakedownscott

Petty Officer 2nd Class
Joined
Jul 12, 2011
Messages
179
OK, thanks for the advise. I will give it a shot and see what happens.

This is my first attempt with surfacing wax and faring compound. Right now I am planning on laminating the outside all in one layup mixing in wax with the resin. Do I then let this all harden up, sand smooth and then appply fairing compound also with wax?
 

sphelps

Supreme Mariner
Joined
Nov 16, 2011
Messages
11,462
You don't really need to add wax on your glass layup ... Good idea on your fairing mix though .. Make sure you grind it back fairly deep at the crack then tapper it out all around it .. Once you get the layup done and ground back down flat what I would do is make a template with a piece of Masonite that matches your lap strake profile as close as you can ... Apply the fairing and use the template to screed it to reform the strake .. You will probably need to let it cure sand and repeat .. Just keep at it until your pleased with the way it looks ..
Just for discussion I have seen 2 different ways to layer your glass on patches like this ..
The first way is to layer it starting with a small piece overlapping the crack an inch or two then the next layer a couple inches bigger and so on .
The second way is to do the opposite . A layer of csm all the way out to the outside of where it's ground down then make your other layers smaller with each layer ... I have tried both ways and I like the second way better ... But thats just me ..Hopefully others will chime in with more experience .
Have everything cut and ready to do it all wet on wet layup ... Hope this helps a little !
I have no doubt you will do a great job with it !!
 

Shakedownscott

Petty Officer 2nd Class
Joined
Jul 12, 2011
Messages
179
That's great information, thanks for taking the time to right it all out. I never would have thought about making a template to screed the lap strake lines. I had no idea how to get the line back once its ground away. Thought I was going to have to sand it back in after building it all up.
 

sphelps

Supreme Mariner
Joined
Nov 16, 2011
Messages
11,462
No problem . Your still gunna have to do a lot of sanding but the screed will help get it close ... A lot of eyeballing it ... Make a long board sanding block . A peice of ridged foam with sandpaper glued to it works pretty good If you don't have one ...
 

Shakedownscott

Petty Officer 2nd Class
Joined
Jul 12, 2011
Messages
179
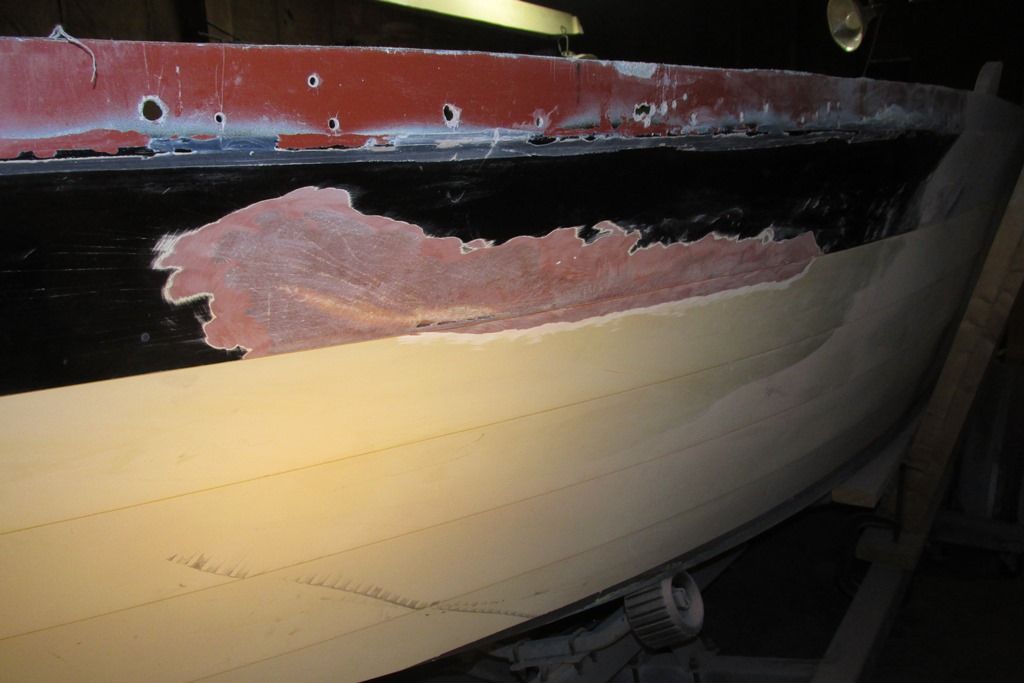
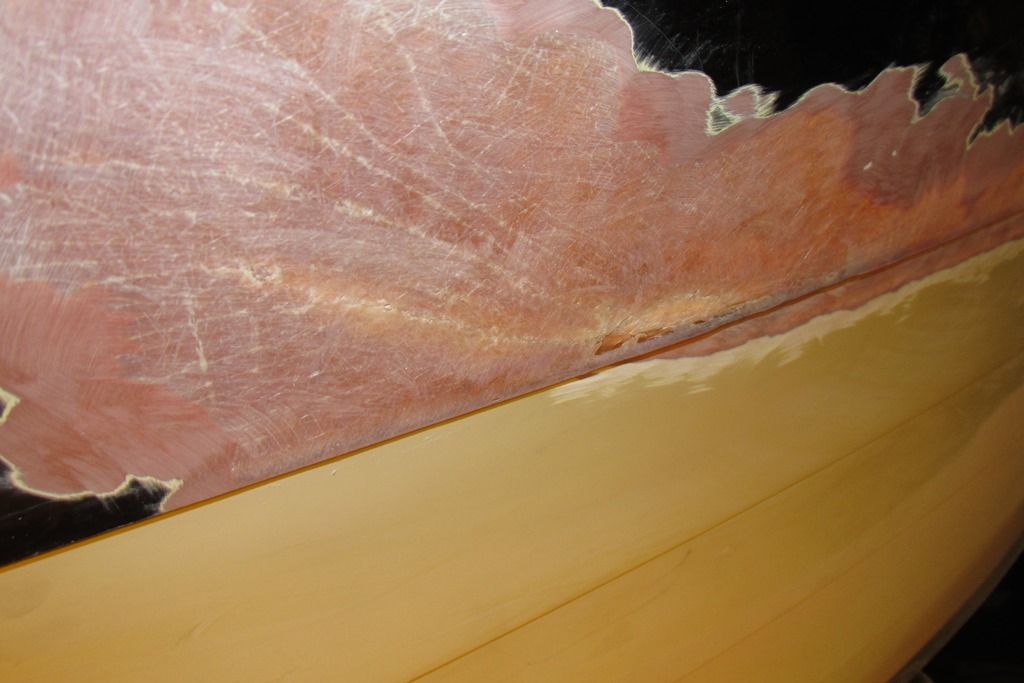
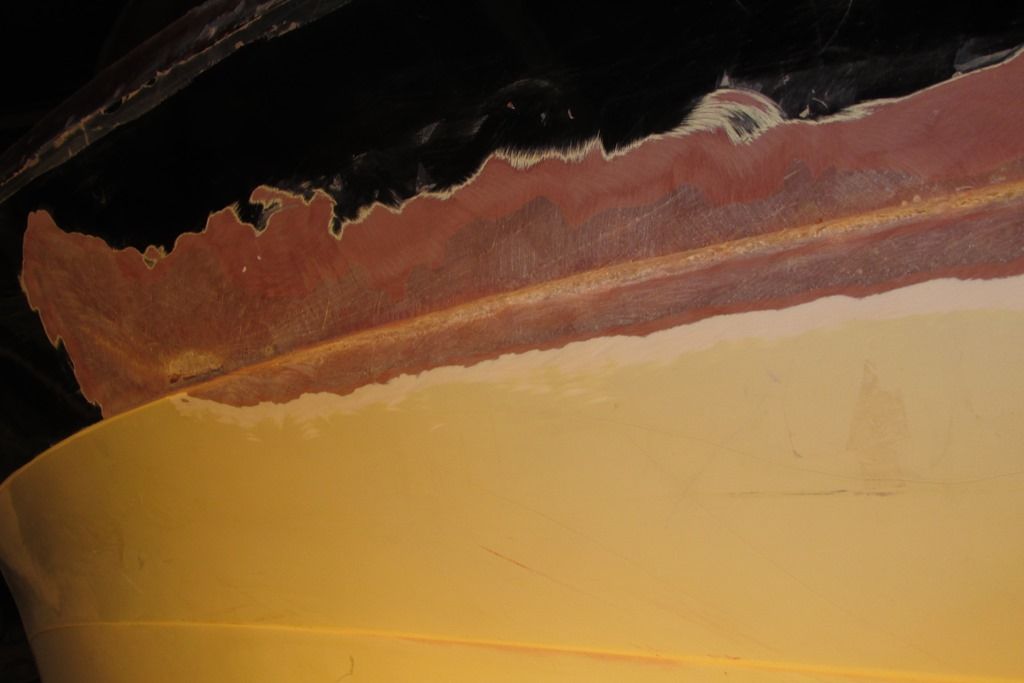
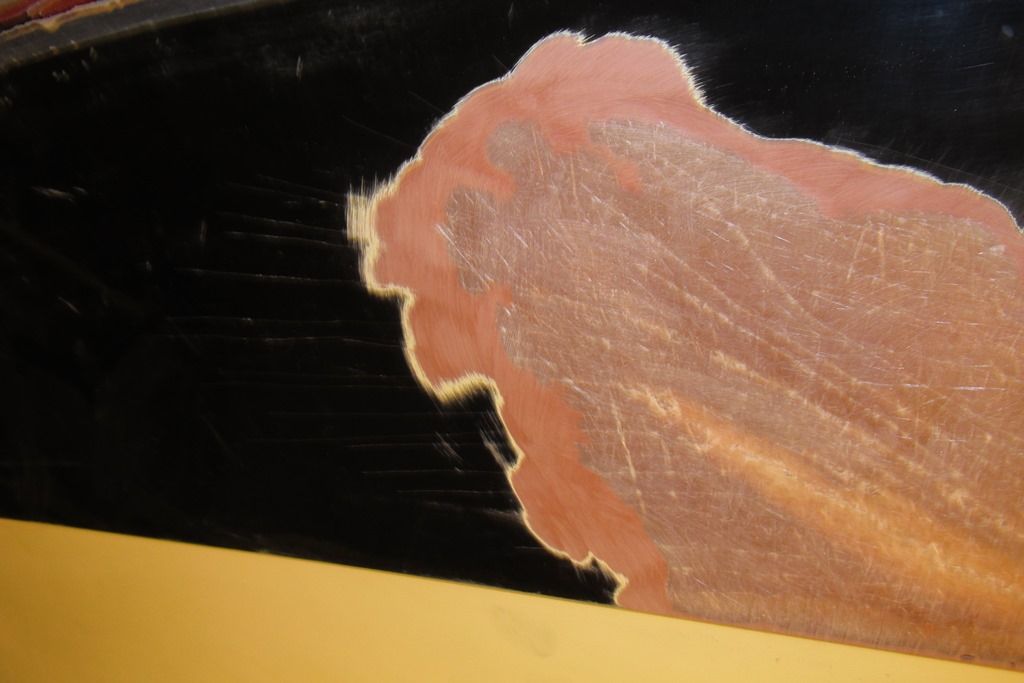
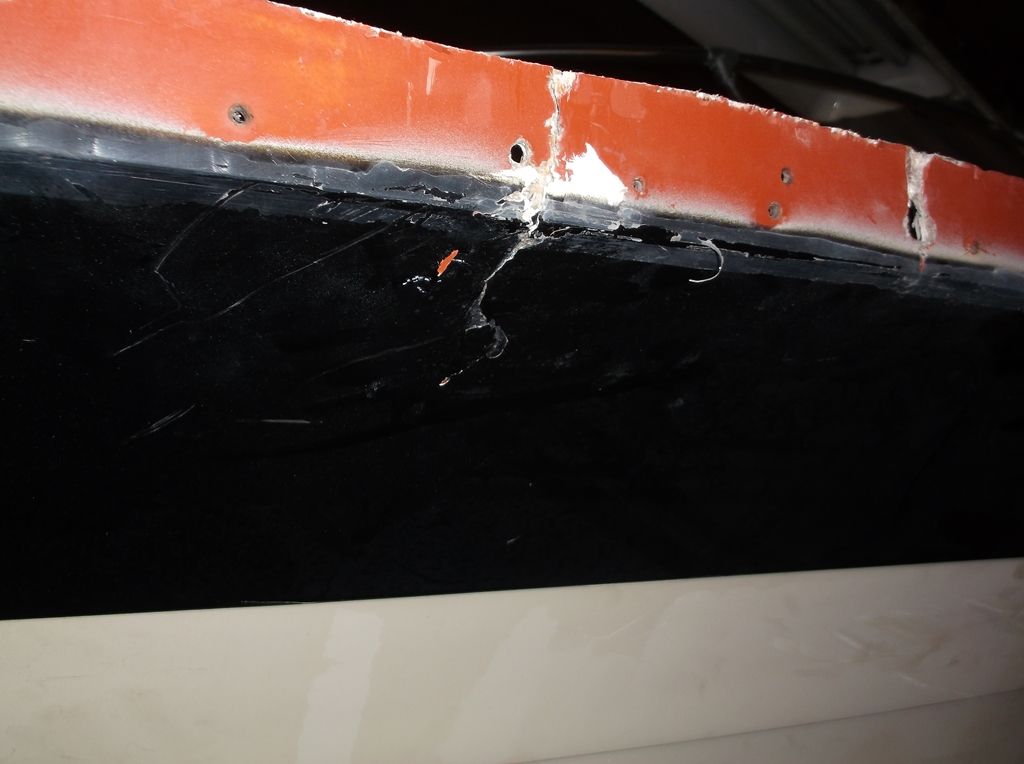
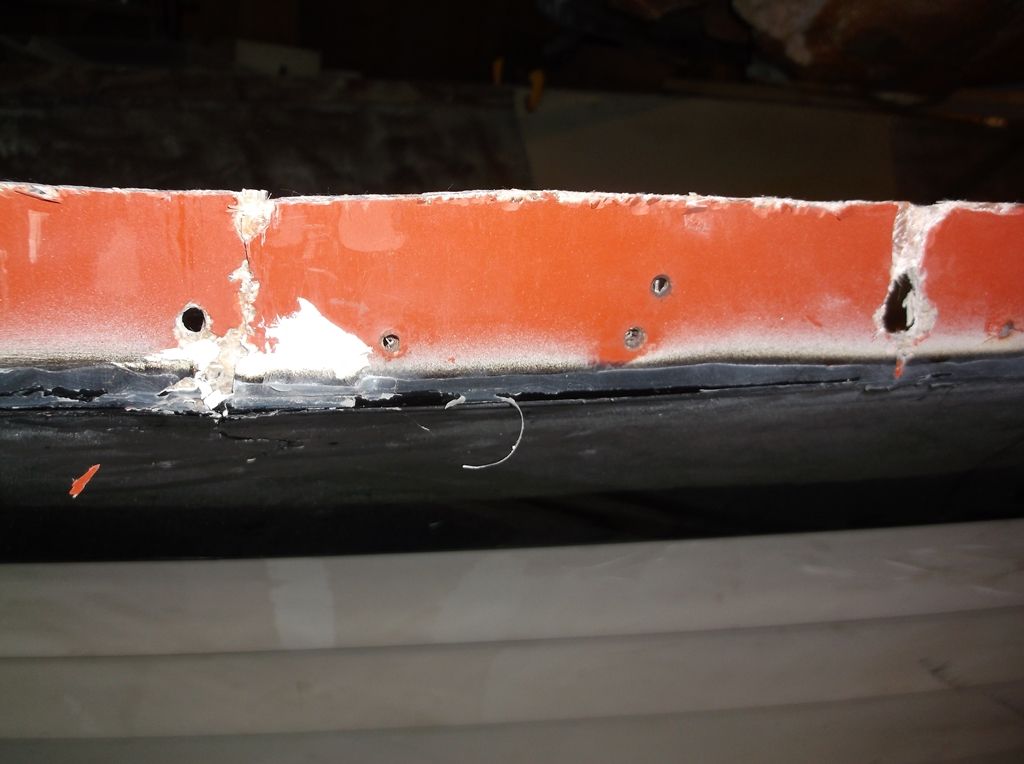
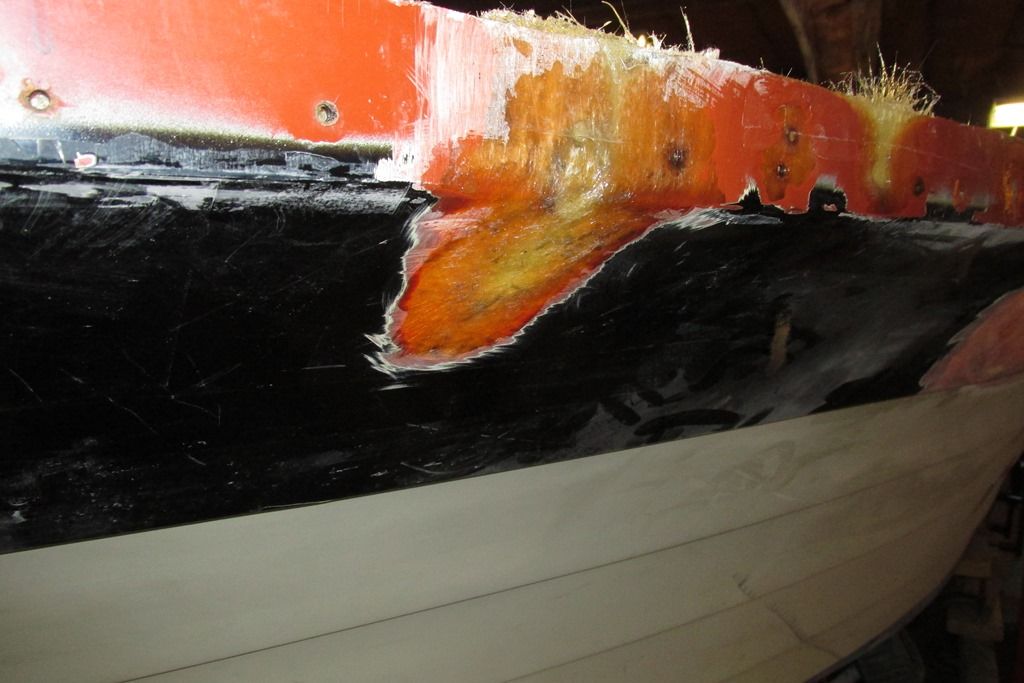
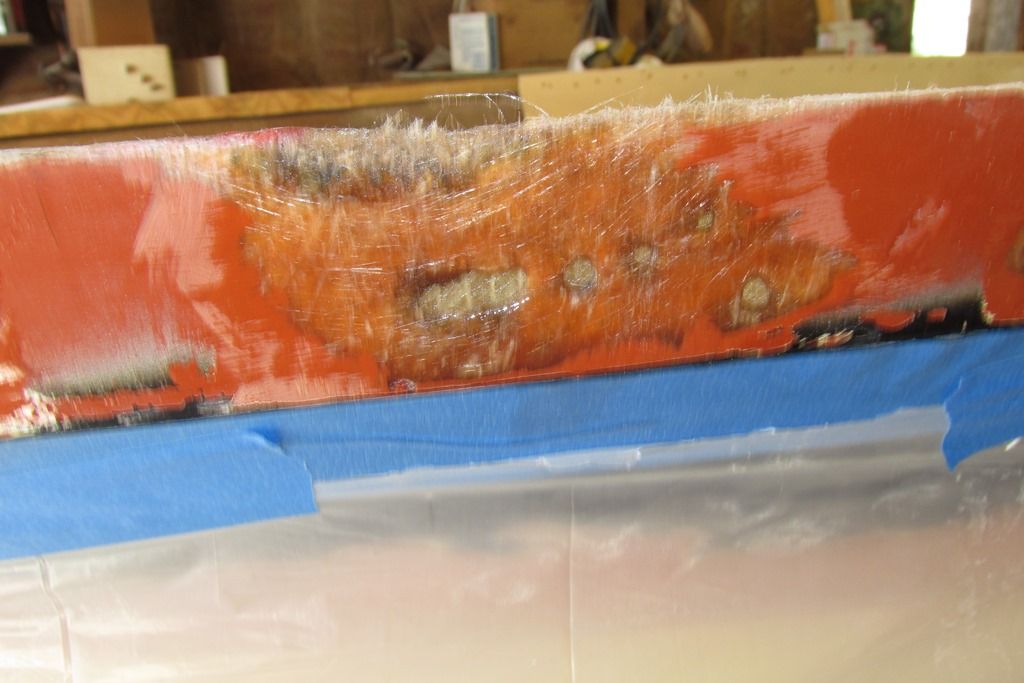
Here are some photos of where I am now. I ground it out pretty well but still have more to go. It looks like there were a bunch of voids behind the lap strake line. I think when they laid the first layer of glass they didn't get it to lay in the contours of the lap strake.


I am going to grind out to the ends of these cracks and the add some CSM over the entire ground area. Also some 1708 and CSM over the light colored area where the crack is the biggest.


Please let me know if I should do anything differently.
 

sphelps

Supreme Mariner
Joined
Nov 16, 2011
Messages
11,462
I think your on the right track ... Are those cracks in the gell coat still on the black left side ? Are you going to paint or gellcoat the new finish ?
 

Shakedownscott

Petty Officer 2nd Class
Joined
Jul 12, 2011
Messages
179
Yes the cracks keep going for a few more inches to the left. Planning on grinding it to the end of the cracks prior to glassing.

I haven't decided if I am going to gell coat the hull or not. Its funny I never realized the outside of the boat has red gell coat and is painted yellow, while the inside hull liner has yellow gell coat with no paint.

I want to make sure that the hull is water proof as I am hoping some day to have her on a dock over the summer. I am not sure if this means I need to use gell coat or not. Some of the hull repairs will be below the water line. Not sure if there is an epoxy paint and primer that would work instead of gell coat.
 

Shakedownscott

Petty Officer 2nd Class
Joined
Jul 12, 2011
Messages
179
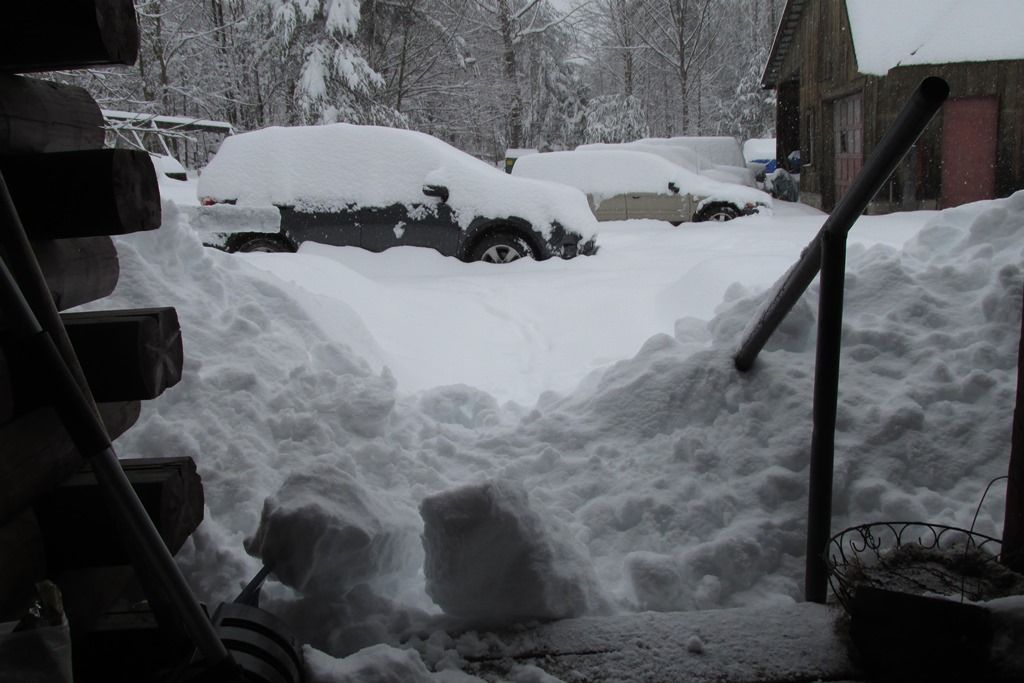
Its been a while since I last updated my progress. Woke up to over a foot of snow on the ground this morning, quite the April fools joke... Its still snowing hard out and haven't seen the plow go down our road yet. Kinda snow bound at the moment, don't even want to bother going to the shop to work on the boat. Its typically 5 steps down off our front porch, but now its an uphill climb out through the snow that fell off our roof.


I have been putting in quite a bit of time lately fixing some damage along the rub rail area.


sphelps

Supreme Mariner
Joined
Nov 16, 2011
Messages
11,462
Wow ! Sorry about the weather up there ! Thats a lot of snow ... In the high 80's down here very dry though ... A lot of woods fires ...
 

Shakedownscott

Petty Officer 2nd Class
Joined
Jul 12, 2011
Messages
179
Been working on the front casting platform. It was a mess underneath the carpet was a ton of glue and some hidden damage to add to the fun.

DSCF2847[1] by shakedownscott, on Flickr

DSCF2852[1] by shakedownscott, on Flickr


Also found the supports that hold up the casting platform had some rot in them. So I cut them out and replaced them.

. by shakedownscott, on Flickr


. by shakedownscott, on Flickr

I lowered the front section of hull liner into the boat and it fit pretty well. I was glad to see that it still fits and everything lined up.

. by shakedownscott, on Flickr

Its really starting to come together, hoping to get her on the water this year but still have a long way to go. As the weather gets nicer and nicer, it gets harder to stay focused on working on the boat project. Ice is starting to leave some of the ponds around here, so its almost time for fishing.
 
Last edited:

Shakedownscott

Petty Officer 2nd Class
Joined
Jul 12, 2011
Messages
179
Glued in the front section using PL adhesive. I used 3/8" plywood as a backing and some short screws to hold the seams together. Appeared to work pretty good.

. by shakedownscott, on Flickr

. by shakedownscott, on Flickr

Gonna let that cure for a few days and then remove the screws and start glassing over the seam.
 
Last edited:

ezmobee

Supreme Mariner
Joined
Mar 26, 2007
Messages
23,767
Looking real solid. That's great that everything fit back together as it should.
 

Shakedownscott

Petty Officer 2nd Class
Joined
Jul 12, 2011
Messages
179
Thanks guys, it is finally coming together. I was real happy to see that everything is fitting together as it should. Wasn't sure how this would go after taking so much apart and how floppy the hull was.
 
Top