1990 Chris Craft 254 Seahawk ( Refurb and upgrades)

Status
Not open for further replies.

chriscraft254

Commander
Joined
Jun 4, 2011
Messages
2,445
Re: 1990 Chris Craft 254 Seahawk ( Refurb and upgrades)

yeah, it's easy to work with... I overlapped it by 1/4 inch. whoops, looking online it looks like $16.45/roll.... I really don't think I payed that much but maybe.....

Duhh, didn't even think of that,lmao. My brain doesn't work sometimes.:p

Even at that price its much cheaper than dino mat etc.
 

smokeonthewater

Fleet Admiral
Joined
Dec 3, 2009
Messages
9,838
Re: 1990 Chris Craft 254 Seahawk ( Refurb and upgrades)

NOW who's posting before I can edit..... LOL
 

chriscraft254

Commander
Joined
Jun 4, 2011
Messages
2,445
Re: 1990 Chris Craft 254 Seahawk ( Refurb and upgrades)

Thanks for the pic Kevin.

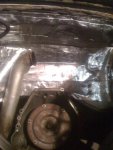
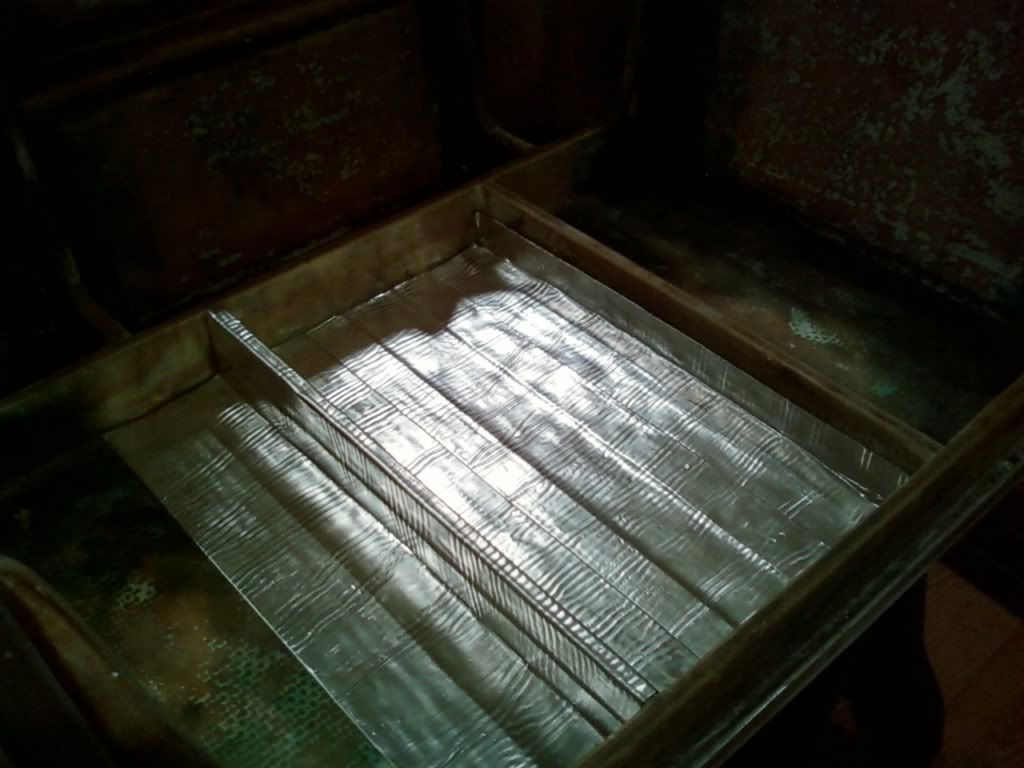
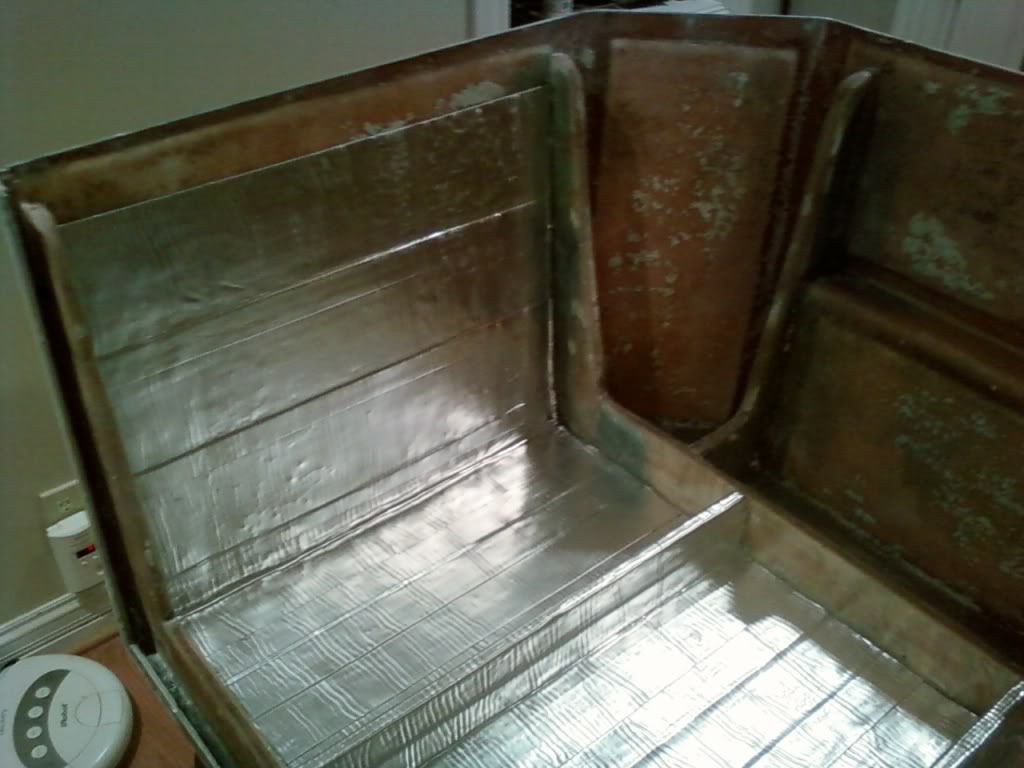
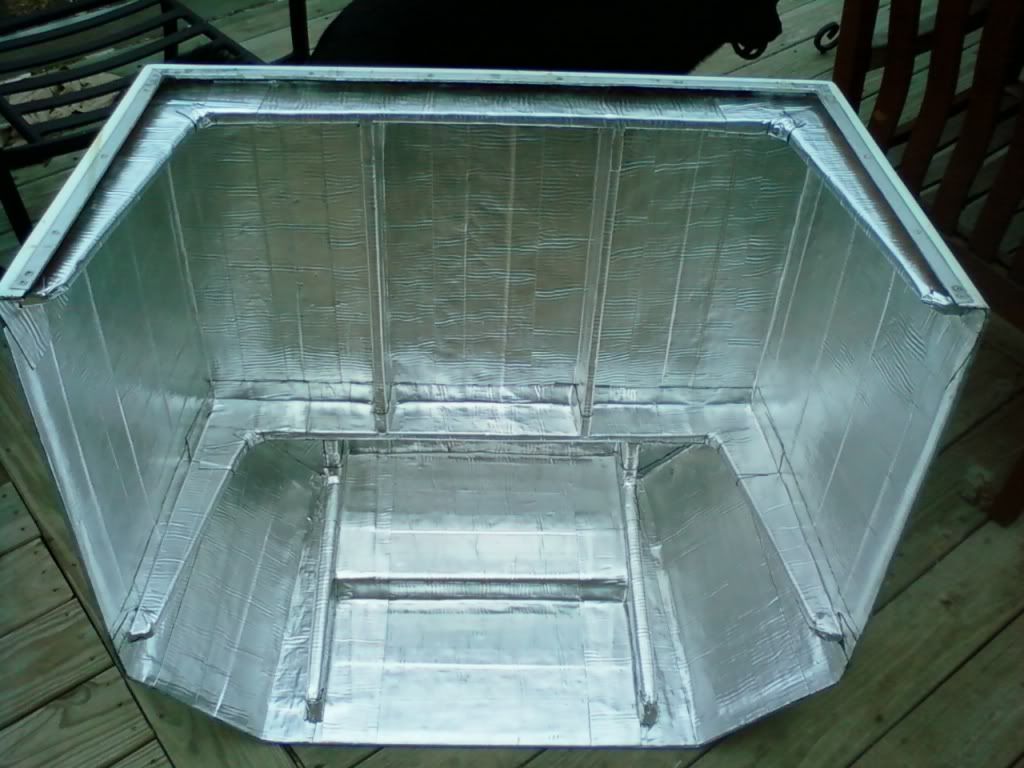
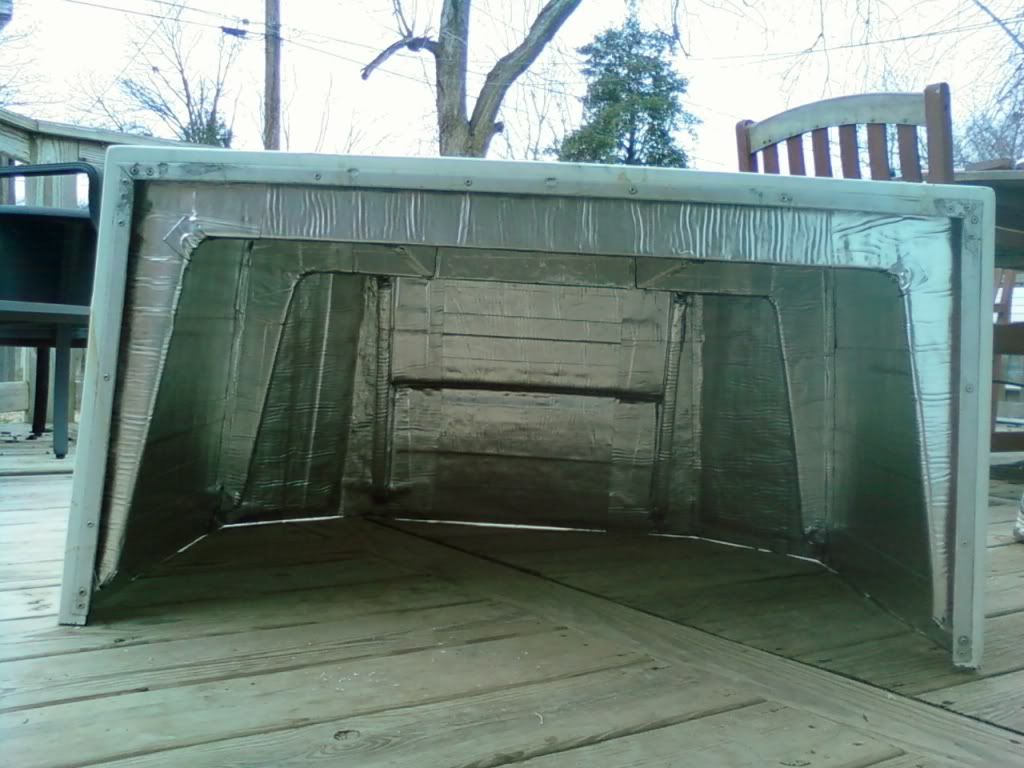
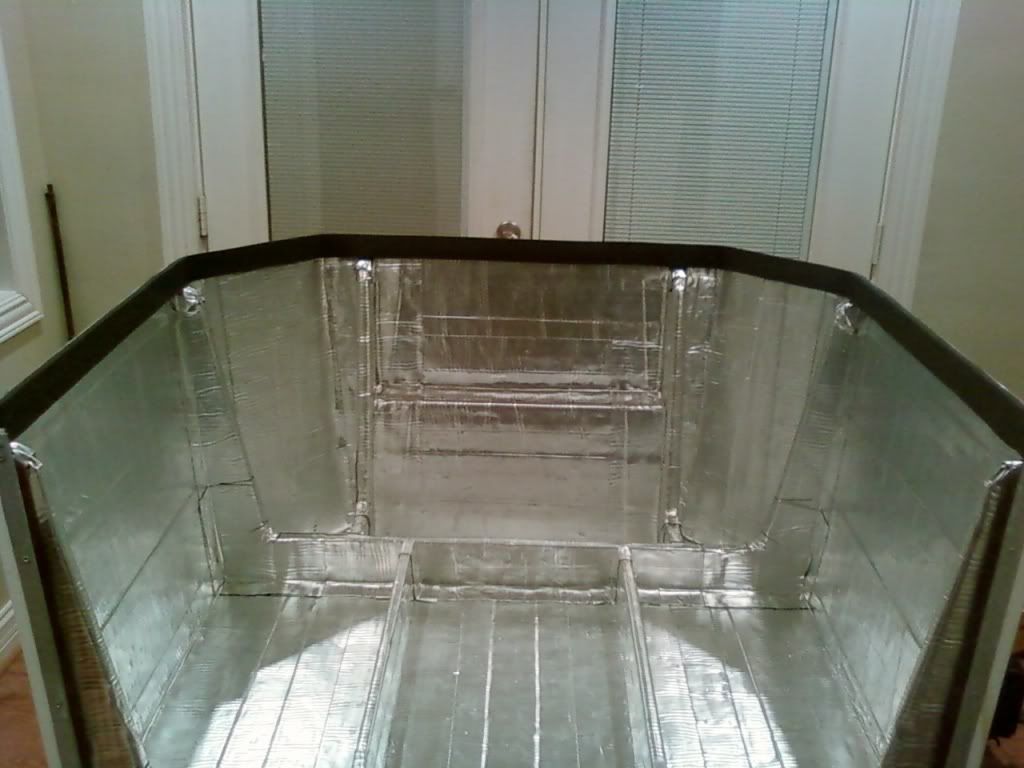
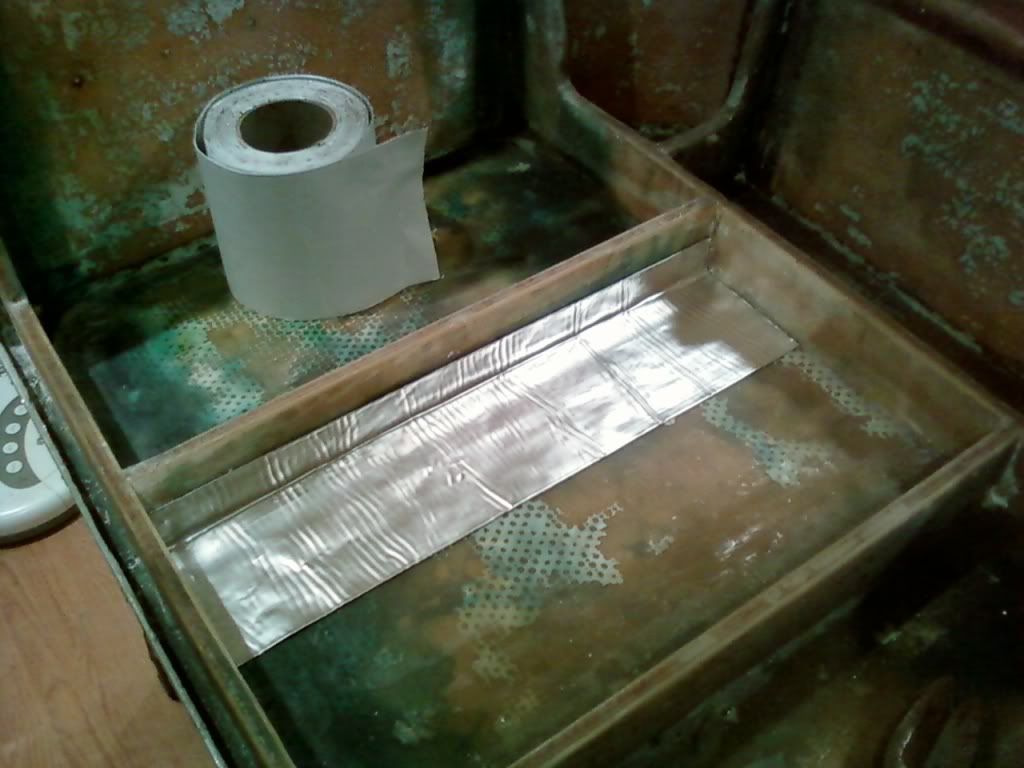
So here is what I have gotten done tonight. Bought 2 rolls of the Quickroof product from Home depot at about $16 bucks a roll. I will need one more roll to cover the rest. This stuff sticks really well and conforms well. I can tell a difference already in how hollow the engine cover sounded before compared to now when knocked on. Think this stuff will definately deaden some sound/vibrations. :)

I used a laminate roller and a good tile grout float with a nice firm edge to press the stuff in tight to the corners.

becky348.jpg


becky354.jpg


becky356.jpg


becky359.jpg
 

chriscraft254

Commander
Joined
Jun 4, 2011
Messages
2,445
Re: 1990 Chris Craft 254 Seahawk ( Refurb and upgrades)

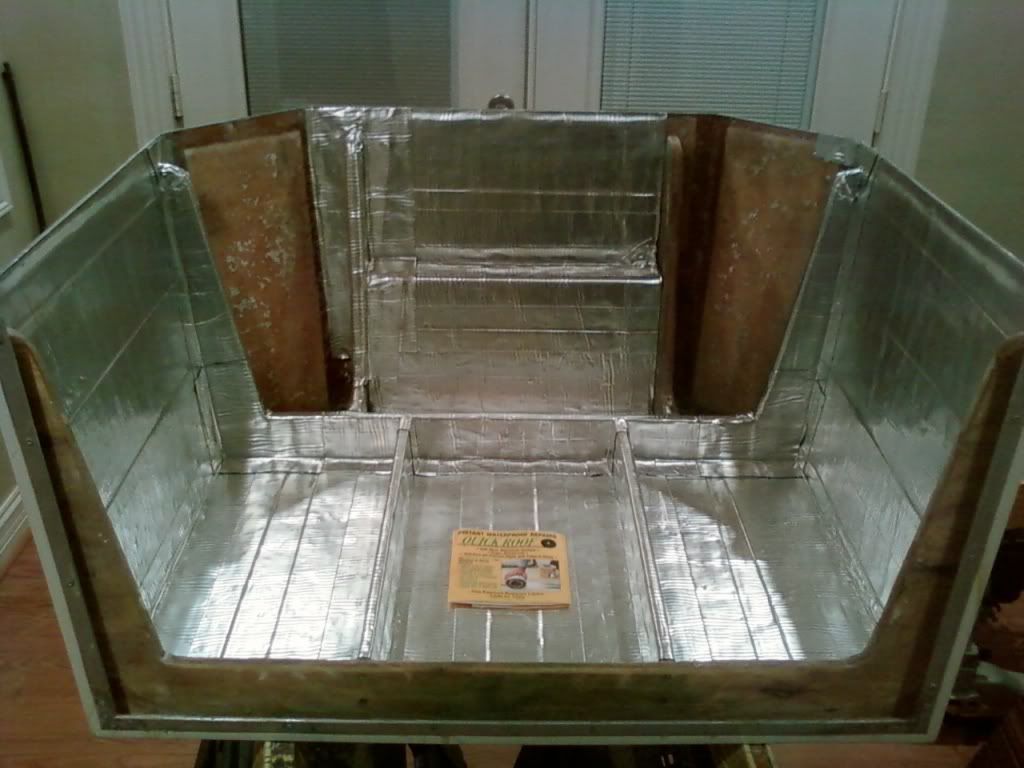
This is all I am going to do to the cover for sound deadening. the Quickroof added enough weight that I don't want to install anything else to the lid. I think it will do a great job of deadening the vibrations transfered through the cover. That and the cover is really stout with the new frame. I am going to add a rubber seal around the bottom edge and add some latches on the sides to pull it down tight to the deck towards the back side of the cover when installed. Project complete.:D

becky367.jpg


becky369.jpg
 

GT1000000

Rear Admiral
Joined
Jul 13, 2011
Messages
4,916
Re: 1990 Chris Craft 254 Seahawk ( Refurb and upgrades)

That looks better than Factory! Nice Finish...can't wait to "Hear" how it dampens the sound and vibes...
 

chriscraft254

Commander
Joined
Jun 4, 2011
Messages
2,445
Re: 1990 Chris Craft 254 Seahawk ( Refurb and upgrades)

That looks better than Factory! Nice Finish...can't wait to "Hear" how it dampens the sound and vibes...

Thankyou sir, Hopefully we won't "hear" anything,lol:p In all seriousness, I don't expect it to deaden it more than maybe 20 percent. Every little bit helps and I am hoping I will be pleasently surprised. Like said earlier, atleast I know the cover is stout anad can be stood on without any issues.;)
 

jbcurt00

Moderator
Staff member
Joined
Oct 25, 2011
Messages
25,056
Re: 1990 Chris Craft 254 Seahawk ( Refurb and upgrades)

Thank you sir, Hopefully we won't "hear" anything, lol:p In all seriousness, I don't expect it to deaden it more than maybe 20 percent. Every little bit helps and I am hoping I will be pleasantly surprised.

We wouldn't want there to be any interference w/ hearing the captains call thru hull exhaust!:eek:

Nice job laying the quickroof mat. If that stuff is half as sticky as window flashing biuthane, the new ribs were a challenge. Looking good. Reflective face can't hurt either. The lack of resonance through the cover should definitely be noticeable. Did it clip to the floor before? Somewhere up there ^^^ you mentioned adding latches. Less vibration transferring through the cover's lip too, esp after adding the edging on the lip.......
 

chriscraft254

Commander
Joined
Jun 4, 2011
Messages
2,445
Re: 1990 Chris Craft 254 Seahawk ( Refurb and upgrades)

We wouldn't want there to be any interference w/ hearing the captains call thru hull exhaust!:eek:

Nice job laying the quickroof mat. If that stuff is half as sticky as window flashing biuthane, the new ribs were a challenge. Looking good. Reflective face can't hurt either. The lack of resonance through the cover should definitely be noticeable. Did it clip to the floor before? Somewhere up there ^^^ you mentioned adding latches. Less vibration transferring through the cover's lip too, esp after adding the edging on the lip.......

Lol, I have to be able to hear the women asking for another drink,lol It is as sticky/tacky as the window flashing. basically the same product but maybe a little thicker. I liked that it had the foil face. Looks good in a engine compartment. I found the tile grout float was ideal for pressing this stuff in and made my bends before pulling the wax paper off each piece.

The engine cover did clip to the floor with two pin hinges in the front so you can tilt it forward for access to the motor/engine compartment. I figure adding two lock down latches to each side towards the stern with the seal installed will help even further keeping the cover from vibrating against the deck when sitting on it.

Sounds good in my head anyway. I've done everything else on this boat twice, maybe I will get this right the first time.:p
 

Pmccraney

Lieutenant Commander
Joined
Jul 26, 2011
Messages
1,734
Nice job.

Check another cc upgrade off the list...

as usual, it turned out great.
 

chriscraft254

Commander
Joined
Jun 4, 2011
Messages
2,445
Re: 1990 Chris Craft 254 Seahawk ( Refurb and upgrades)

Just happen to have a Frost King weather seal laying round that was perfect size for the cover. It is 1 1/4 wide by 7/16. Fit perfectly right below cover framing.:D

becky373.jpg
 

jbcurt00

Moderator
Staff member
Joined
Oct 25, 2011
Messages
25,056
Re: 1990 Chris Craft 254 Seahawk ( Refurb and upgrades)

Looks great, perfect fit.

You have also been granted an honorary guest membership to the Tinny club based on the high quality 'bright & shiny' work, and it can be converted into an honorary full rights & privileges membership once you add some reevits. It will be valid until you can pickup a tin can project.

Oh yeah, and ET swung by & he'd like to phone home w/ your new satellite....

Nice work, a well thought out plan that evolved & turned out really nice!
 

smokeonthewater

Fleet Admiral
Joined
Dec 3, 2009
Messages
9,838
Re: 1990 Chris Craft 254 Seahawk ( Refurb and upgrades)

while ur at it you may as well gasket it to the transom as well.
 

chriscraft254

Commander
Joined
Jun 4, 2011
Messages
2,445
Re: 1990 Chris Craft 254 Seahawk ( Refurb and upgrades)

Looks great, perfect fit.

You have also been granted an honorary guest membership to the Tinny club based on the high quality 'bright & shiny' work, and it can be converted into an honorary full rights & privileges membership once you add some reevits. It will be valid until you can pickup a tin can project.

Oh yeah, and ET swung by & he'd like to phone home w/ your new satellite....

Nice work, a well thought out plan that evolved & turned out really nice!

Lol, ET is the one that gave me the idea, his name is kevin,lol I think my boat alreay has reevits, under the rub rail. We glassers just like to hide our reevits and aluminminummmmmmum.:D

while ur at it you may as well gasket it to the transom as well.

Already in the works, along with a new oil decal. I am compounding the cover and re-installing the bright stuff on the outside, then she can be installed back on the boat. Still need some cool stainless lockdown latches.:)
 

smokeonthewater

Fleet Admiral
Joined
Dec 3, 2009
Messages
9,838
Re: 1990 Chris Craft 254 Seahawk ( Refurb and upgrades)

We CRUSH our aluminum and open another cold one!:cool:
 

lil buggy

Senior Chief Petty Officer
Joined
Sep 24, 2011
Messages
766
Re: 1990 Chris Craft 254 Seahawk ( Refurb and upgrades)

Chris,
again great job.
the dog house work should quiet the engine down some.

sorry to take you backwards,
but i have some questions on your led striplight install.
first did you buy the dc power supply for them? how did you wire in?
i assume you cut them many times to place in different places.
did you solder extention wires in between them?
and what guage wire did you use?

getting ready to make my order and would like to buy it all at once

thanks in advance
 

chriscraft254

Commander
Joined
Jun 4, 2011
Messages
2,445
Re: 1990 Chris Craft 254 Seahawk ( Refurb and upgrades)

Chris,
again great job.
the dog house work should quiet the engine down some.

sorry to take you backwards,
but i have some questions on your led striplight install.
first did you buy the dc power supply for them? how did you wire in?
i assume you cut them many times to place in different places.
did you solder extention wires in between them?
and what guage wire did you use?

getting ready to make my order and would like to buy it all at once

thanks in advance

Ok, hope I can remember all this,lol Mine are the rgb lights with remote controller. It has whats called a rf controller. Your power from battery will run to the rf controller or to a fuse box and then to the rf control box. Then all the wires from the lights run to the rf controller. No need for a dc adapter on these. If your buying them, get the 12v lights.

I ran one strip under each gunnel rod box on port and starboard sides and one strip in the overhead electronics box and one strip behind the logo cutout on the front of the electronics overhead box. I originally had them wired in series but then backed off of that. Reason being, is if one of the lights had an issue, it would be easier to find the issue if they all had straight runs back to the rf control box. So each light I installed, has four wires soldered to one end of each light strip that is then run back to the rf control box. The wires are very small!! Anything big, you will not be able to solder then to the led light strip. Don't remember what exact size I used,sorry.

So all that being said, what I have is 4 lights, with 4 wires coming off of each light. Those 4 wires from each light run back to the rf controller box under my helm. I actually did not run power from the battery to the control box. I added a fuse buss for all the new electronics, so the power is run to the fuse box and then one of the terminals is designated and run to the rf contoller. This also works well for any issues down the road, because I know right where to start by checking the fuse for that particular thing. Inline fuses suck imo.

Lastly, I do not have mine wired into a switch anywhere because it was a remote contol. I do however have the lead wire coming from the battery running through the on off switch for the whole boat. This way, when I am not using the boat, the little red light on the control rf contol bow isn't draining my battery. Don't think it would drain much anyway, but also keeps the leds from accidentally being turned on while boat id docked or layed up.

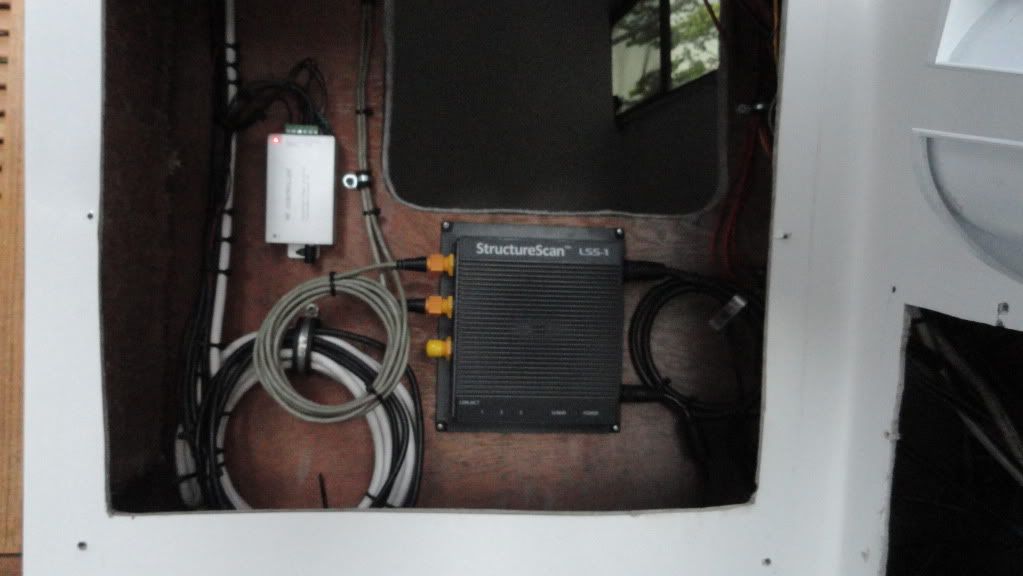
This pic shows the rf controller box, it is the little silver thing at the upper left.
005-7.jpg


You can see here where the gunnel lights simply have a hole drilled through the rod locker and those wires go up to the helm to the rf contol box. And yes, there is four wires there and I bought color coded wire. The rf control box has blue, red,green and black if I am remembering right.
001-4-1.jpg


Here you can see the fuse bank I put in. Bought it at autozone. Has the square fuses that I like. The lights were not hooked up yet though.
020-2.jpg


Hope that helps.
 
Status
Not open for further replies.
Top