1988 Imperial 280sf engine swap and restoration (pics)

zool

Captain
Joined
Aug 19, 2012
Messages
3,432
Rambling on :blah: is good for the boat restorers soul...:cool:
I too, have to restock the "disposables"...among other things...:stupid:

Yep, lack of supplies can be a real day killer...A trip to HD is in order :D...the 12 pack of brushes is handy..and the cups work ok for the 3:1 ratio...
 

zool

Captain
Joined
Aug 19, 2012
Messages
3,432
Seadate 08.03.2014 These are the continued voyages of the recommission of the sportfish Enterprise.....

Update:

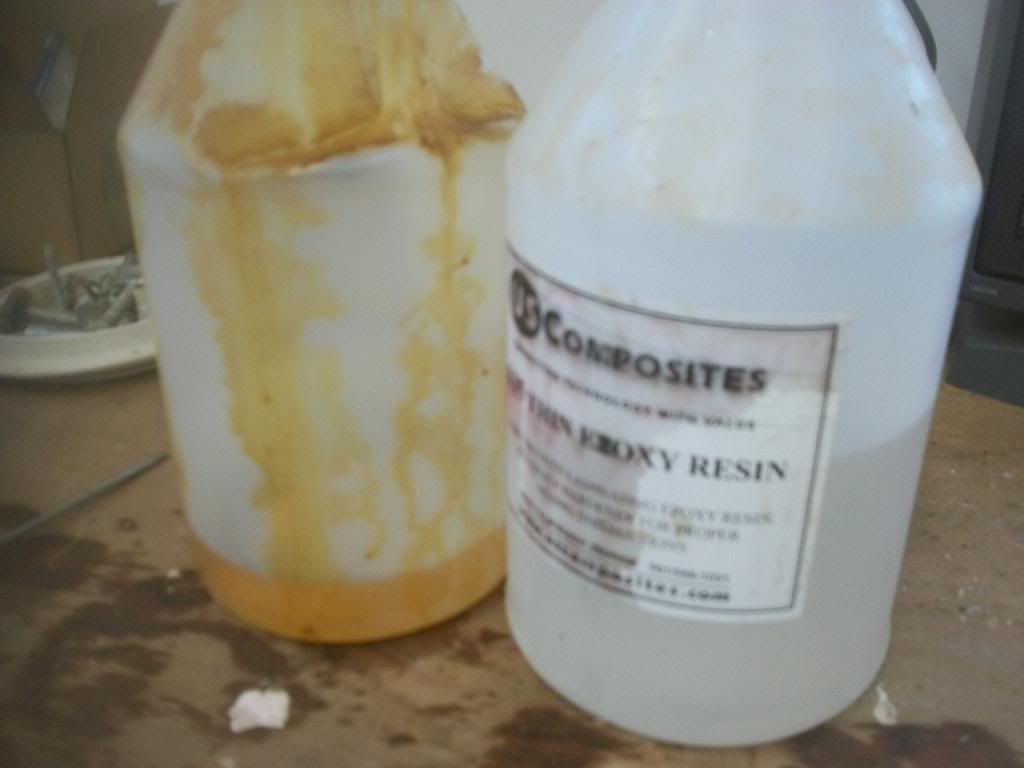
Ok, so usual, USC got the resin and cloth here on time, so I threw them in the van for the 300 yd trip to the shop ;)...I didn't feel like carrying it all back there. heh.
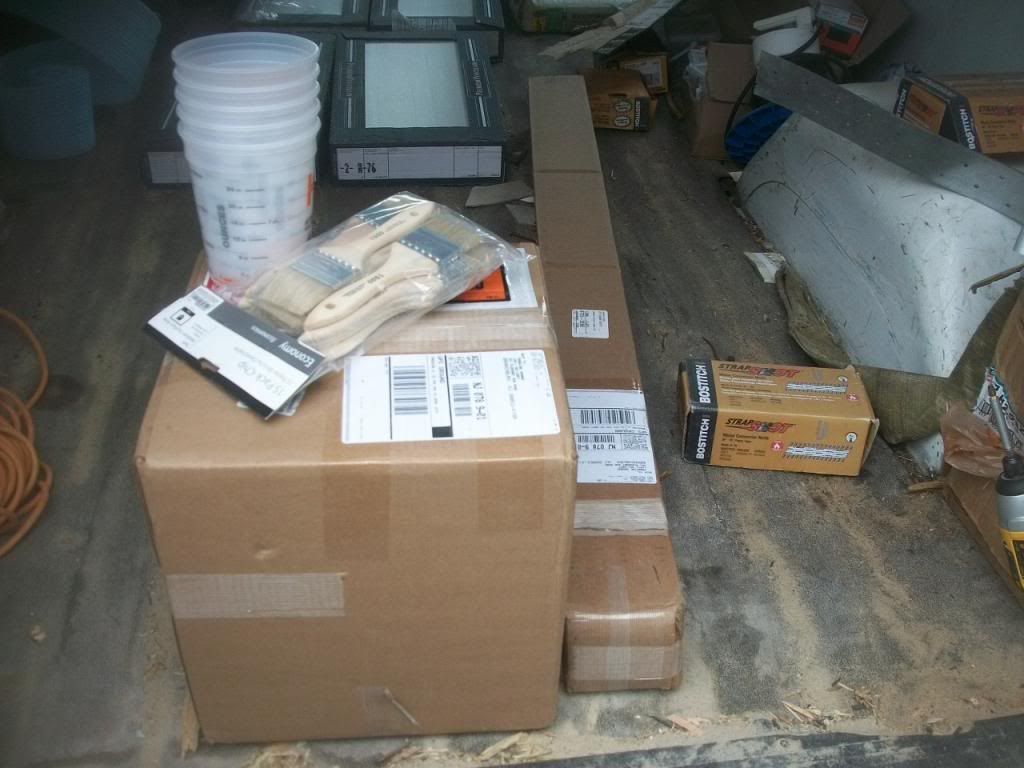


Its just a 2 gallon kit and 10 yds of biax....also some brushes and cups from HD.

I also had about a half gallon of epoxy left from the winter, That should be enough to finish all the midship glass, and some of the engine room.


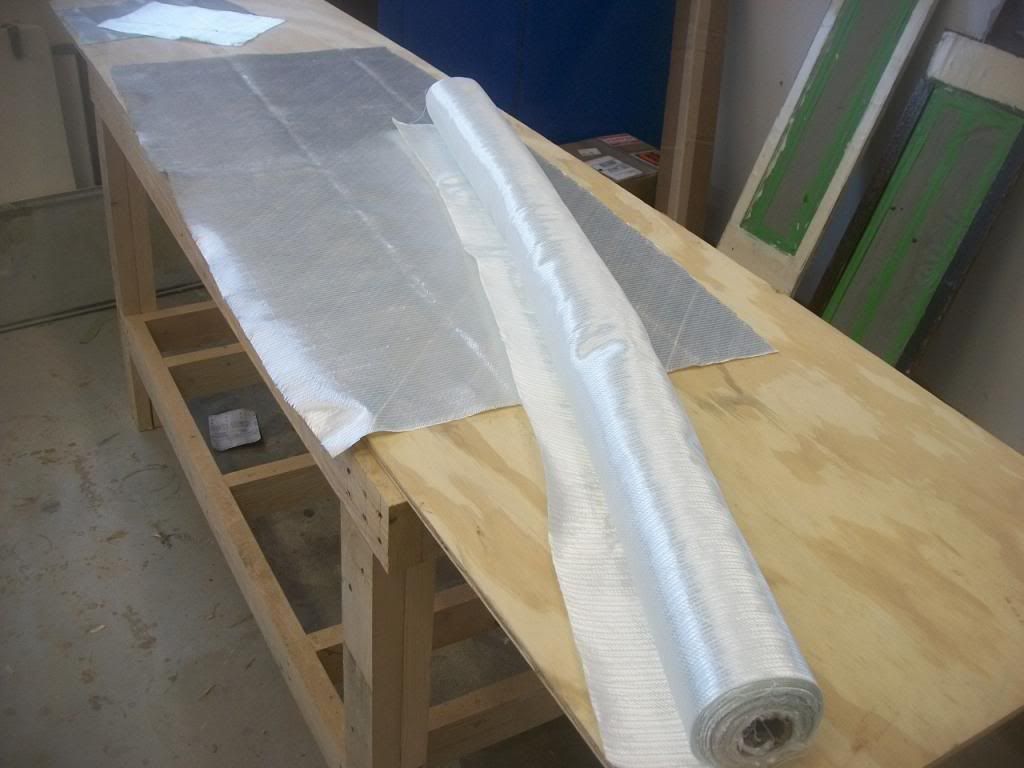
This time they sent me the cloth on a roll, instead of folding it. much better than having those annoying creases in it when doing a layup. What I didn't notice at first, is the 17oz biaxial is different than my order last year, Both have the 45 deg glass weave, but this new stuff also has 90 deg strings in it...I don't know if they sent the wrong stuff, or they just use a new product, it doesn't wet out as clear, but appears a lot stronger when layed up, has a big print like Woven R. Whatever, im running with it.


zool

Captain
Joined
Aug 19, 2012
Messages
3,432
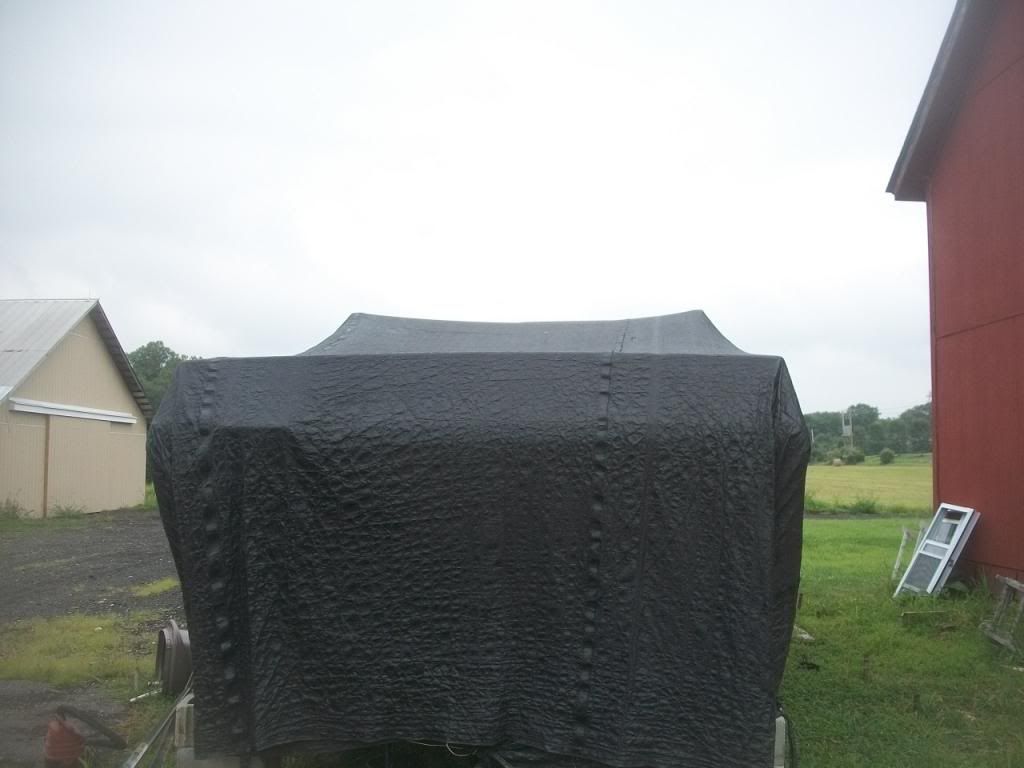
Here she is just waiting in her black slip.


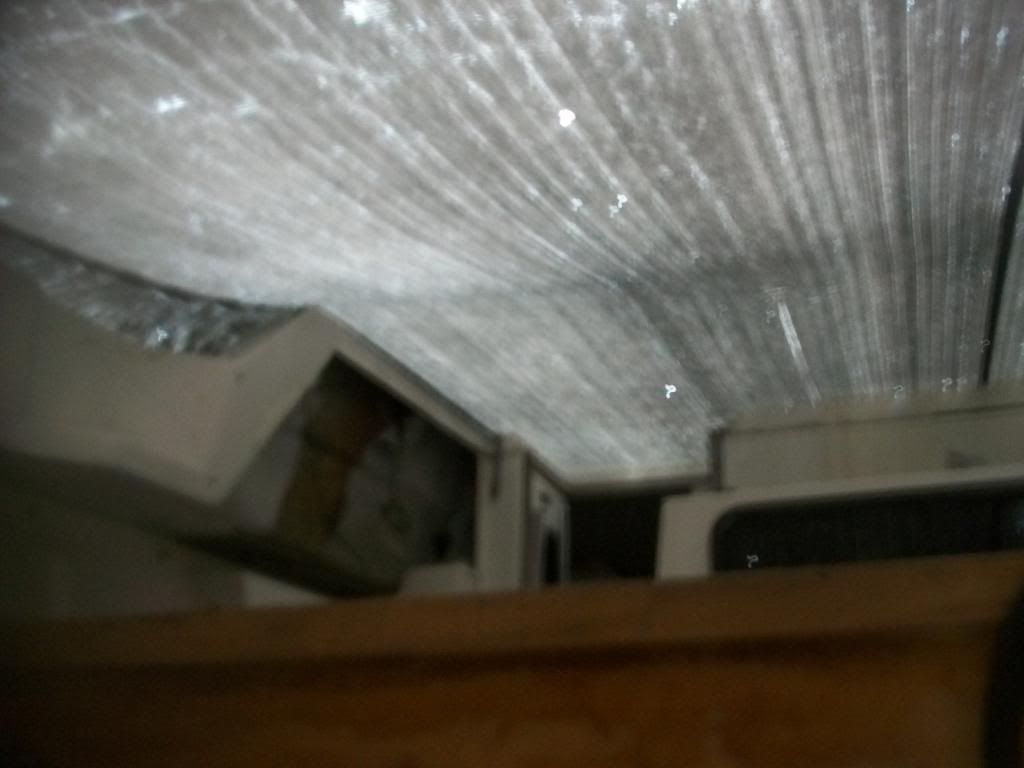
Im just leaving the cover on, and rigged up a drop light to work under...I climb in thru the keyhole. I guess this is the next best thing to the fall bubble.


I set up a mixing board in there, so I don't have to climb in and out for a reload.

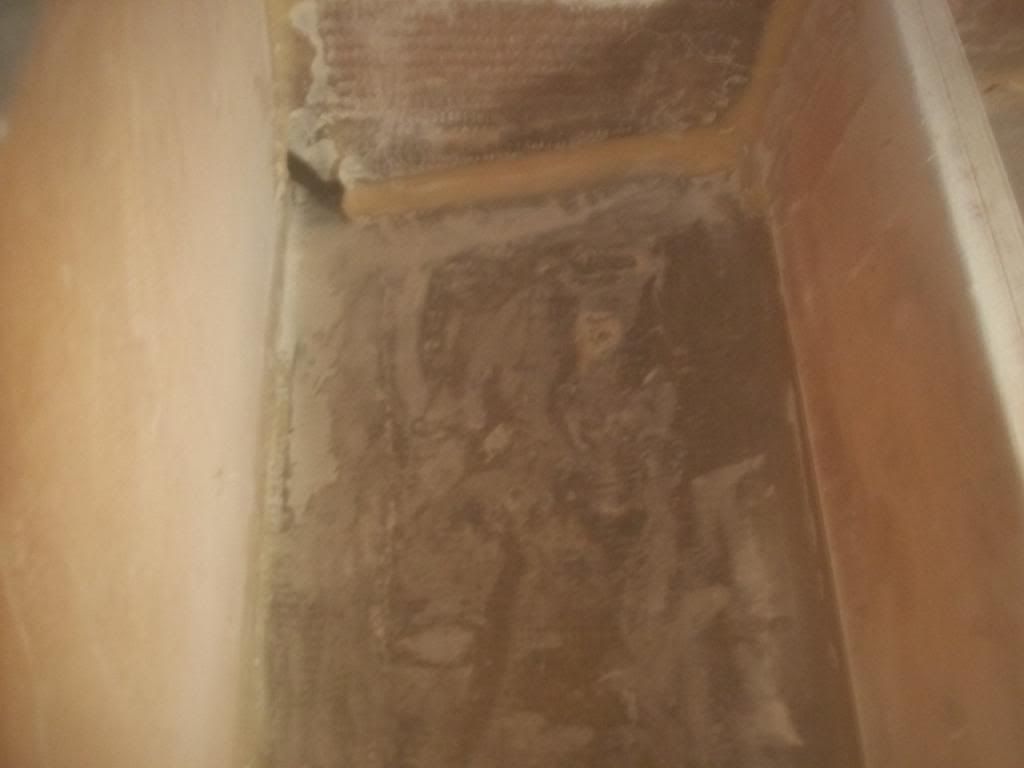
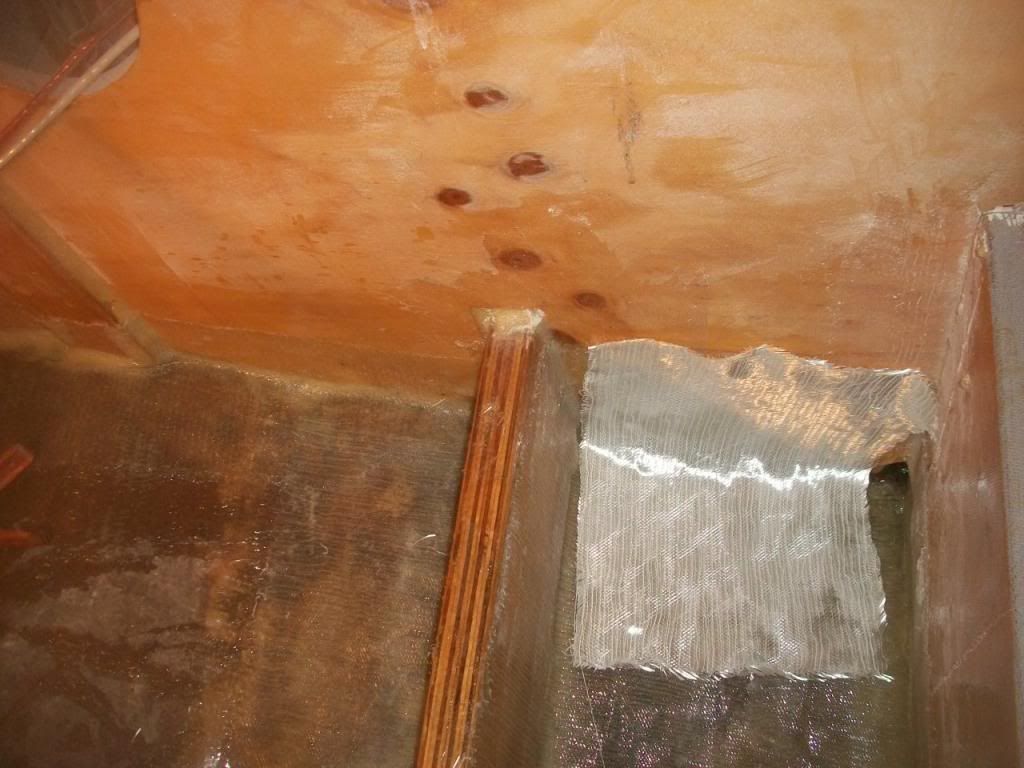
So with everything rigged up to work, I ground out the whole starboard side area again...


I have to hook up a die grinder when im done, to reshape the drain openings.
 

zool

Captain
Joined
Aug 19, 2012
Messages
3,432
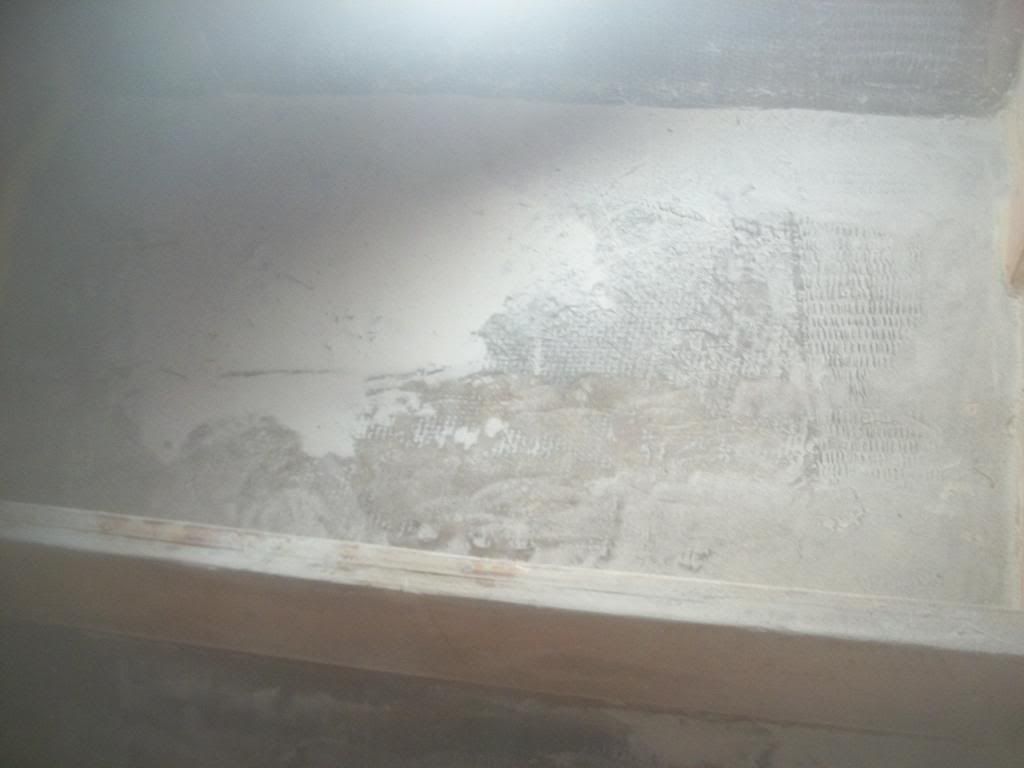
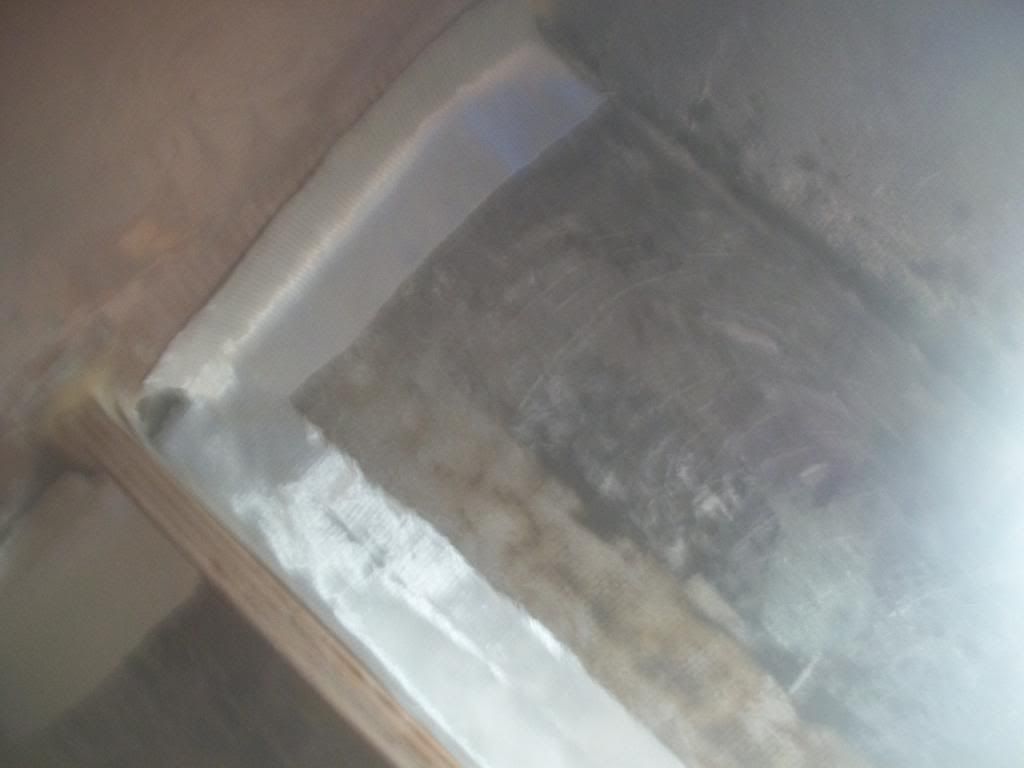
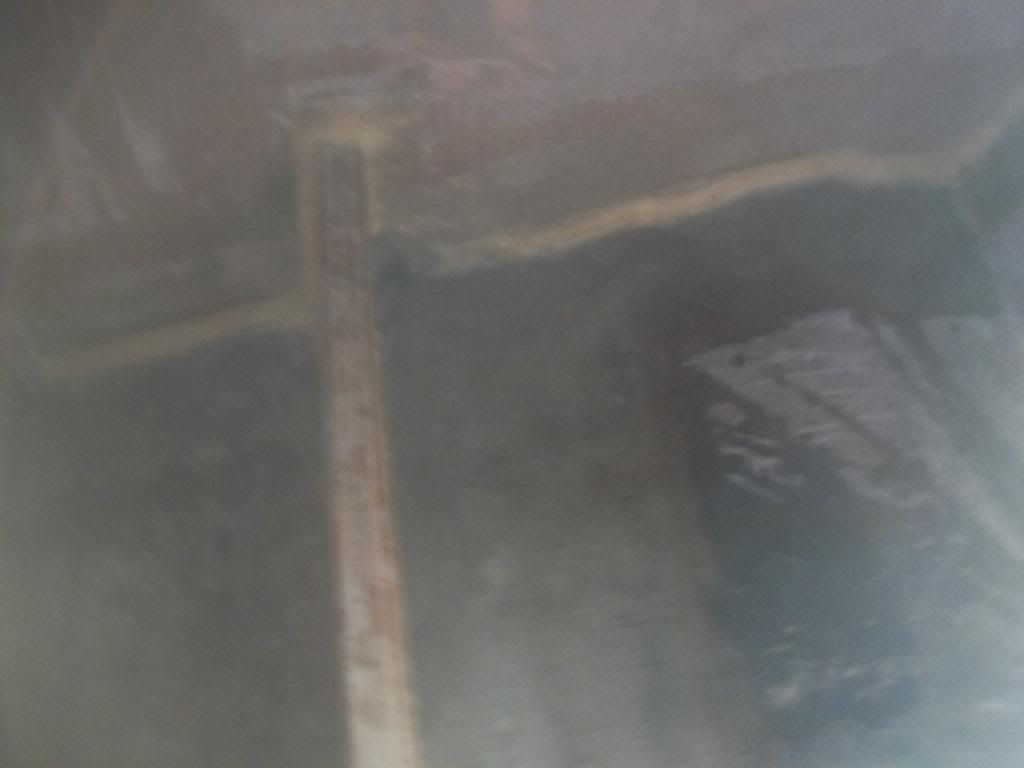
I pre cut some tabbing cloth, and trimmed it in the boat.
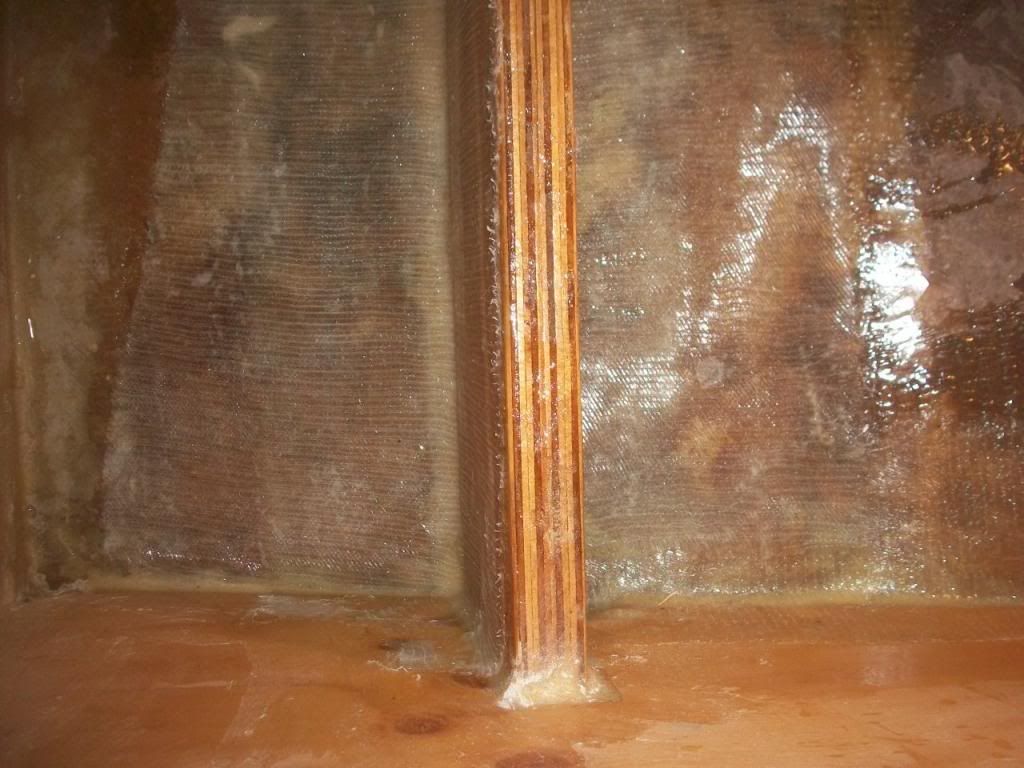


And I wetted those areas out. This is still the old biax.
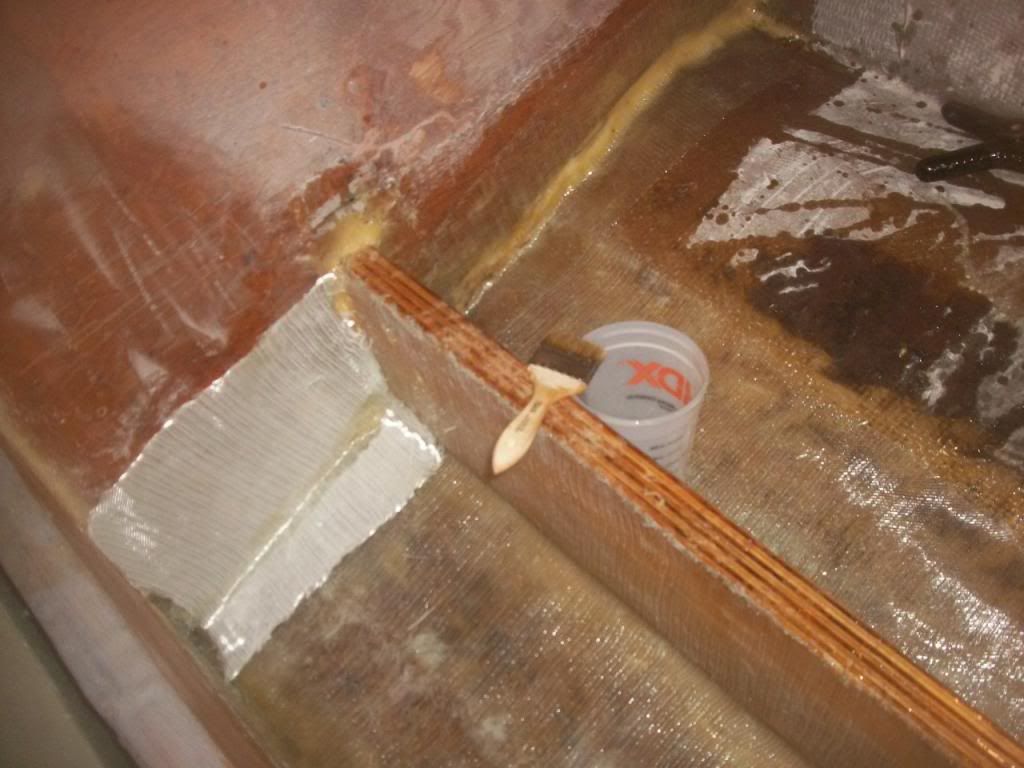


Its muggy and still in there, so im gonna have to locate a fan for some breeze....I also smoked about 4 oz of resin in the pail..so I had to reduce the mixed amount of epoxy from 16oz to 8 oz....that solved that, but I had to mix twice to get thru the layup.
 

zool

Captain
Joined
Aug 19, 2012
Messages
3,432
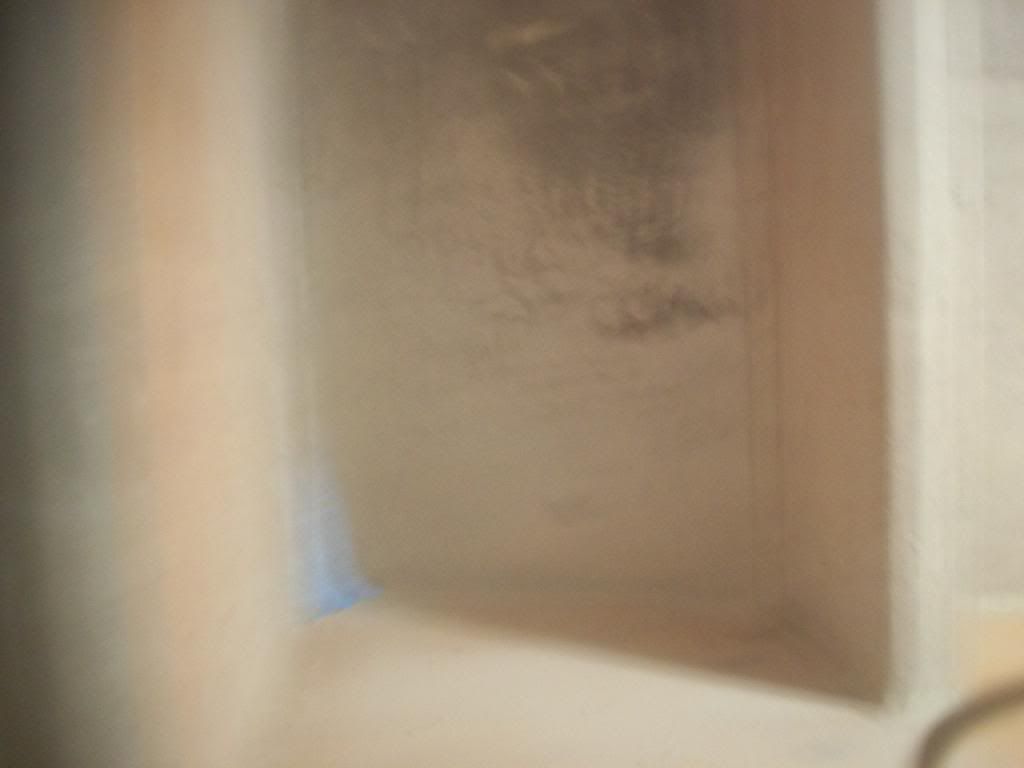
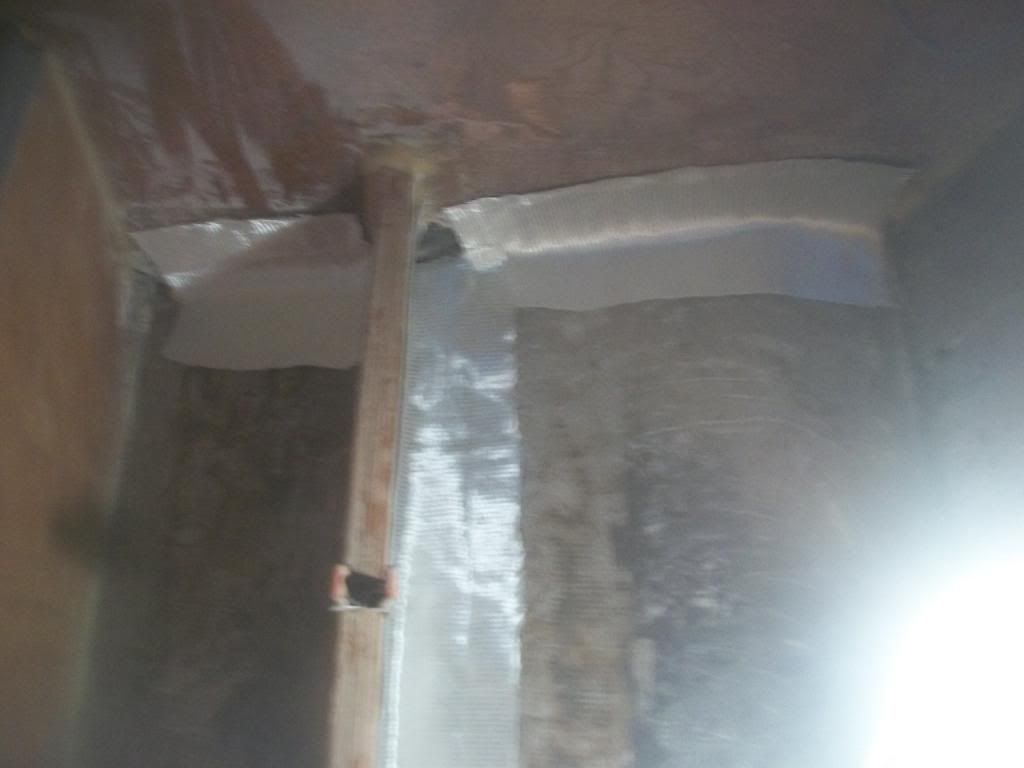
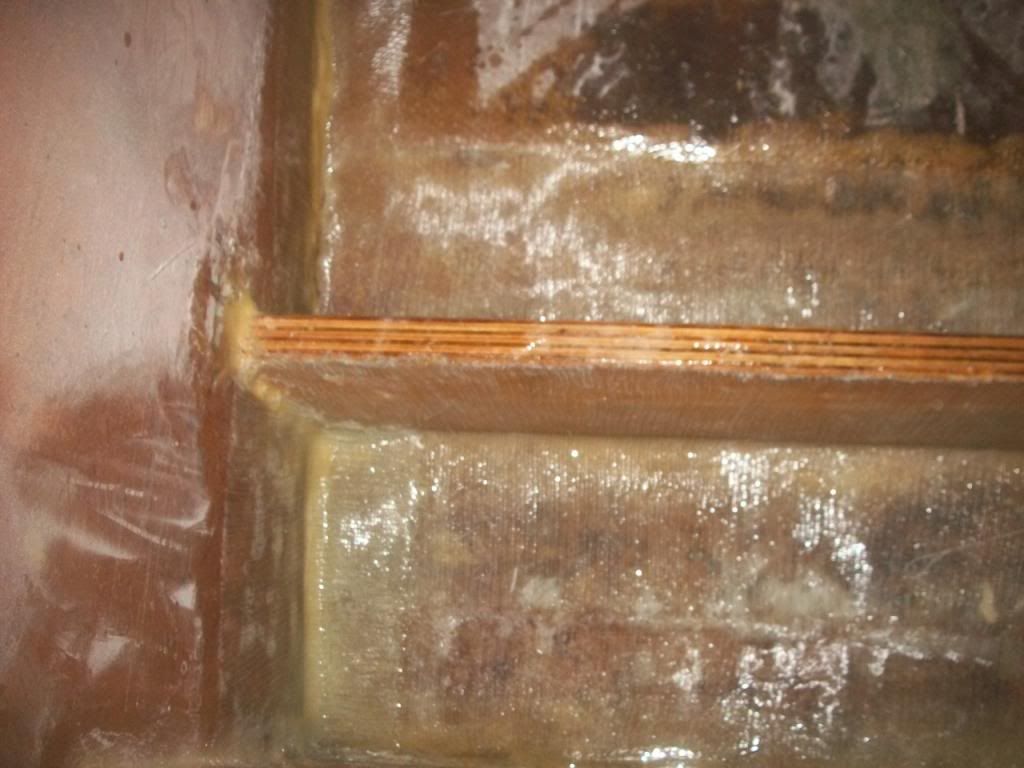
I hot coated the second layer of cloth on the starboard stringer with the new cloth, if you look close, you can see the horizontal lines in it from the string..it all worked out good in the end, now I just have to do the other side of this stringer, and the verticals on the bulkheads.....


That's all for now, but I left everything set up in there, so I can get sessions in whenever I can, with little set up time ;)
 
Last edited:

archbuilder

Vice Admiral
Joined
Sep 12, 2009
Messages
5,697
Looks like you have been busy again! That doesn't look like a very fun area to work in, but maybe its not as bad as It looks!
 

zool

Captain
Joined
Aug 19, 2012
Messages
3,432
Looks like you have been busy again! That doesn't look like a very fun area to work in, but maybe its not as bad as It looks!

Its not so bad actually, theres full stand up headroom, and the drop light does its job, well, except for the grinding, but I don't think there is a FUN place to grind glass lol..
 

tpenfield

Moderator
Staff member
Joined
Jul 18, 2011
Messages
18,083
Zool -

I'll admit that I have been putting off going to the eye doctor for a while . . . but . . . it seems like your pictures are a bit blurry :noidea:.

Anyway, good to see the progress. Maybe launch next season ?
 

Mud Puppy

Petty Officer 1st Class
Joined
Sep 8, 2013
Messages
276
I hate Double Secret Probation!

It really gets in the way of what I want to do and naps of course!

Stringers looking good!
 

zool

Captain
Joined
Aug 19, 2012
Messages
3,432
Zool -

I'll admit that I have been putting off going to the eye doctor for a while . . . but . . . it seems like your pictures are a bit blurry :noidea:.

Anyway, good to see the progress. Maybe launch next season ?

Yea Ted, I noticed that, I think is a combination of the black tarp covered cave, and resin/glass dust covered cam lol...or maybe it was just time for a drink :D I know No Pics means it didn't happen, but blurry ones is a grey area ;)

Prolly the following season at best, still a lot to do in the cabin and exterior, plus the new 5.7's will sure take a bite :eek: Im planning on bringing the century center console up to the shop this fall for a once over and maybe paint, and launch that next spring.

If I had a dollar for every project I have, id have more projects lol
 

archbuilder

Vice Admiral
Joined
Sep 12, 2009
Messages
5,697
If I had a dollar for every project I have, id have more projects lol

I'd be a billionaire......or need to buy a 747 hanger to keep the projects in, lol!
 

sphelps

Supreme Mariner
Joined
Nov 16, 2011
Messages
11,468
If I had a dollar for every project I finish.. I think I would still be in the hole !! :D
I would have to have an very big key hole to climb through . Zool you must weigh about a buck and a half ta fit through there ! :lol:
 

zool

Captain
Joined
Aug 19, 2012
Messages
3,432
If I had a dollar for every project I finish.. I think I would still be in the hole !! :D
I would have to have an very big key hole to climb through . Zool you must weigh about a buck and a half ta fit through there ! :lol:

Once they're finished, they're not projects anymore..its bitter sweet, but ill take it ;)

those VP 290 holes are pretty big, im every bit of 215, and fit right thru, well, backwards limbo style, and using the tackle drawer cutout in the rear cap as a grab handle, and pull the legs thru lol..I'Il just pull the cover back on sunny days, but with the threat of rain sunday, the tarp cover was insurance..
 

zool

Captain
Joined
Aug 19, 2012
Messages
3,432
Update:

Got a few hours of glassing in today, moved the ball ahead. Got most of the lower portion of the bulkheads tabbed, as well as the stringer sides up to the top. I just have to tab the tank side of the firewall to the hull, a few small verticals, and cap one stinger with e-glass. One more session should do for the midship area. Then a sanding session to clean it all up and pop some rogue bubbles.


theres a little more done than the photos show, it got so hot in there I had to get out lol, smoked a few more pails of resin too. Im gonna pick up the cpvc and fittings this week, and some drain hose for the fish box drains. And I got to wait til my helper is back this week to wrestle the midship deck into the shop for a good cleaning of the fish boxes, and wet out the deck core edge. I suppose ill just pb the deck onto the bulkheads and trim rails, with a few stainless screws to help.

PS- I turned the flash on for Ted, to save him a trip to the eye doc ;)
 

kcassells

Fleet Admiral
Joined
Oct 16, 2012
Messages
8,737
Watch out for the cpvc, gets brittle after a few cold spells and lends itself to cracking. Not really a good outside application. What are you using it for?
 

zool

Captain
Joined
Aug 19, 2012
Messages
3,432
hey kc, just replacing the section I cut out from the factory pressurized H/C potable water system, its already run from the pressure pump, to the shower, bath sink, galley sink, and hot water heater. Its pitched and drains in the engine room for winterization. Its held up without cracking for 25+ years ;).

Welcome aboard.
 

archbuilder

Vice Admiral
Joined
Sep 12, 2009
Messages
5,697
nice looking work Mr Zool! I am ready to do something more boat oriented.....but spent the day with plastic laminate and playing plumber! Keep the updates coming,
 
Top