Re: 1987 Reinell 192s Restoration Project
Not 100% sure on the laminating method yet. I want to make sure I am getting this right either way. I know PL has longer set time, but would also be more forgiving, right?
More forgiving then what? TiteBond3 is easy to work with, water-based, sets up quickly & once cured it's water-proof. A gallon goes a long way and is $30-40. NOT TiteBond or TiteBond2, TiteBond III (3)
This
Spread the PL (if we go that route)
like you would thin-set for tiling
Not this: Line it on and let it squeeze flat when clamped?
If I go PB, how much should I mix up to do this?
Roughly 1 qt of PB does about 5 sq ft. Transom and outer skin using a 3/8" notched trowel. SO you'll want to get 1.5 qt ready to be mixed after you practice the installation 1 last time. Just before you mix the 1st batch up, prep at least 1.5 qt and as you start to apply the 1st batch, someone else will need to start mixing the 2nd 1.5qt. A larger container that allows the PB to be mixed & not make a very deep mix of catalyzed resin.
(Think 1gal in a 5gal bucket NOT 1gal in a 1 or 2gal bucket. The resin will kick much faster, possibly incredibly faster, it may even start to smoke & deform the plastic container)
Based on a rough estimate of a 30" +/- tall, 6' wide transom you'll need about 3qt of PB. Unless you can work
VERY fast, you probably don't want to mix it all at once.
No matter how much you need, or that you initially mix up, you will want AT LEAST 2 qts (or more) prepped & set up in 1/2qt batches (everything 100% measured out & set aside) so as you get close to having used 1/2 your 2nd mixed 1.5qt, you can quickly have someone mix up a little extra to ensure you get 100% coverage on the transom & once set quickly have enough PB to completely fillet the transom.
This ^^^ all needs to be carefully planned & staged. Depending on amount of catalyst (1.5-2%) & the ambient temperature (your hull & PB need to be warm too, not just the air temp) you will have 12-15min to complete all of the above from the time the 1st bit of MEKP gets mixed into your PB. Maybe less if the PB is a large volume in a small container, or it's above 70* outside.
NOTE: it is easier to use metric measures & a percentage of MEKP:
1Qt = 0.946L = 946ml
1ml = 1cc
In 1qt of PB you'd use @14ml (CC's) at 1.5% MEKP or 19ml (CC's) at 2%
Use needle free syringes to measure the MEKP
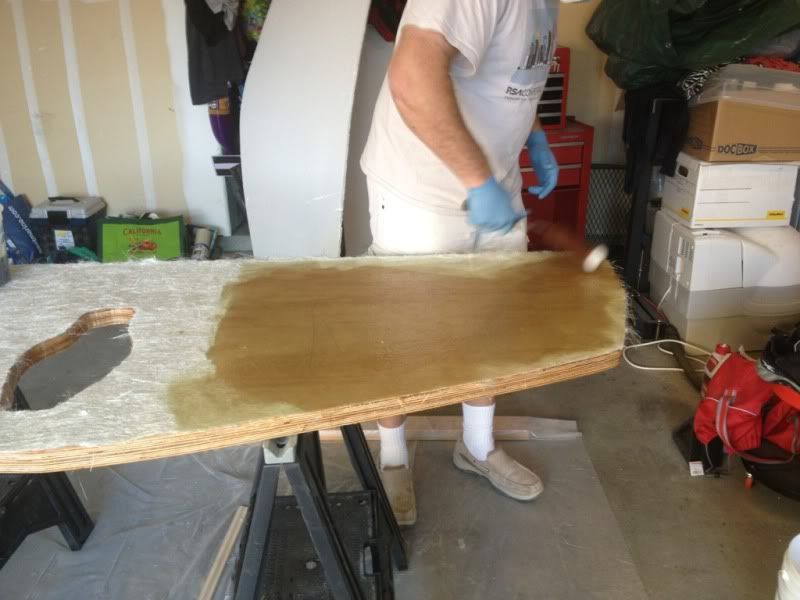
Transom Option 1-
Cut the two pieces
Test fit in boat & refine as needed
Resin them
Allow to set until tacky
Laminate them together with CSM, wetted out w/ additional resin
Clamp
Allow to setup
Cover with CSM
Allow to set fully
Test fit in boat
If you want to use poly resin & CSM to laminate the transom, yep
TB3 would be easier to work with, and have a similar cure time
Transom Option 2-
Cut pieces
Test fit in boat & refine as needed
Glue together (TB3/PL)
Clamp
Allow to set
Resin until tacky
Cover with CSM
Allow to fully set
Test fit in boat
Again TB3 will have a quick cure time, PL will take 72hrs+/- and it must be troweled on for 100% coverage and be done quickly so the PL does not skin over & not get a good bond between the plywood pieces.
And the TB3 just needs enough pressure to ensure a good bond, don't over clamp & squeeze out all the glue. PL needs more clamping force to ensure a tight fit, but don't over squeeze it, and force it all out..
Here is where I get less sure of the correct order:
PB/PL into hull
Clamp & let set (before covering?) << Unh?
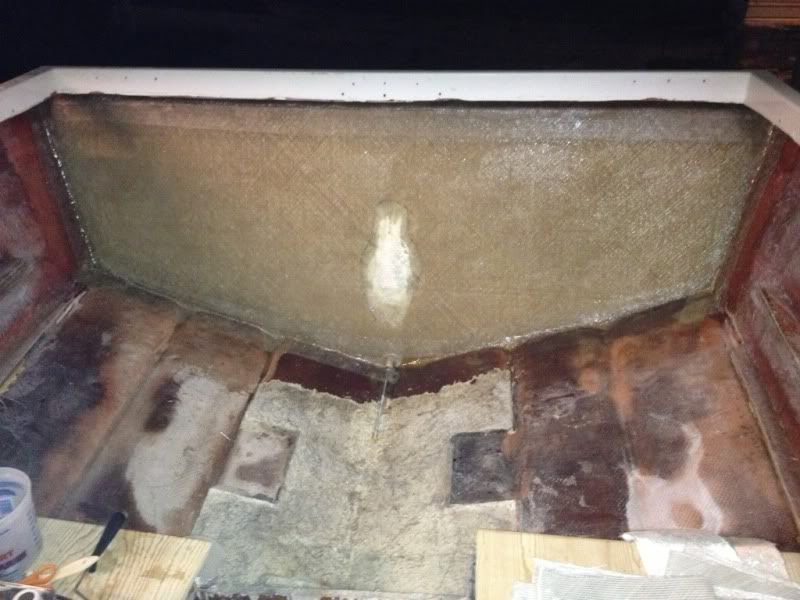
fillet into hull
Cover with CSM & 1708 (longer & wider than transom to create tabbing)
Covered w/ what? After the 2pcs of transom plywood are glued together, before you install them in the hull you wet them out w/ resin, let it get tacky, apply more resin & wrap all edges & faces w/ CSM. Thia is all before you glued them into the hull.
Once they're glued onto the hull, you clamped them in place, used the squeeze out to start the fillets, finished the fillets. Once all that's cured, you tabbed the transom to the hull. Once tabbed, you cover the whole thing (transom, fillets & tabbing) w/ both CSM & 1708. The CSM helps give the 1708 a good bond to the transom. If you then want to add a finer texture to the surface of the transom (1708 will have a waffle texture print through, CSM will be smoother) you can cover the 1708 w/ CSM.
And done............
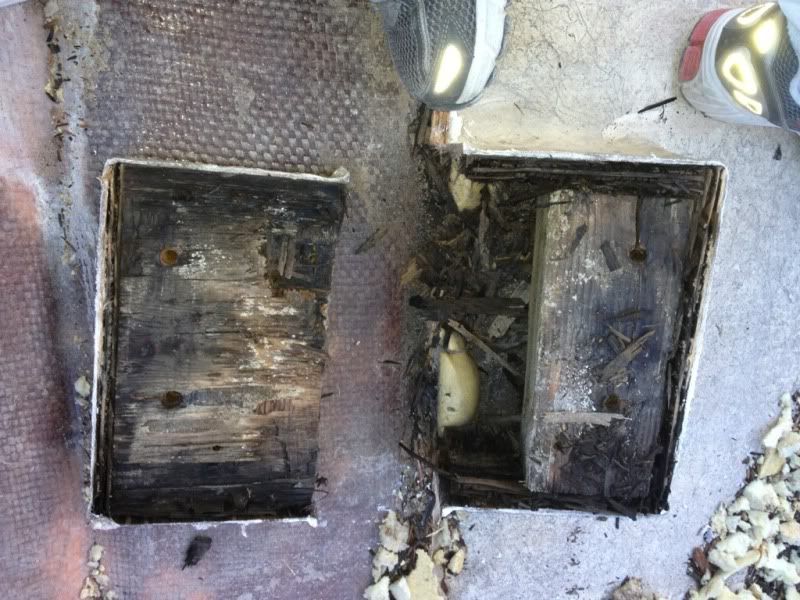
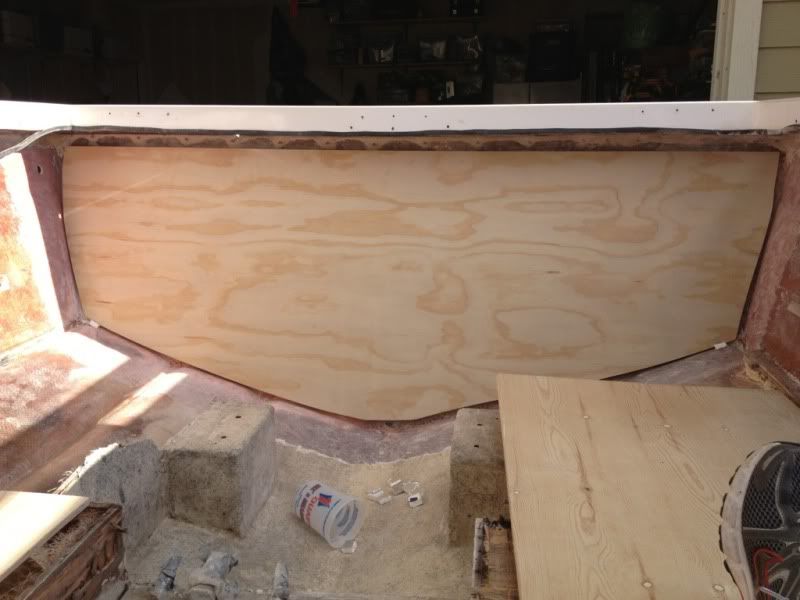
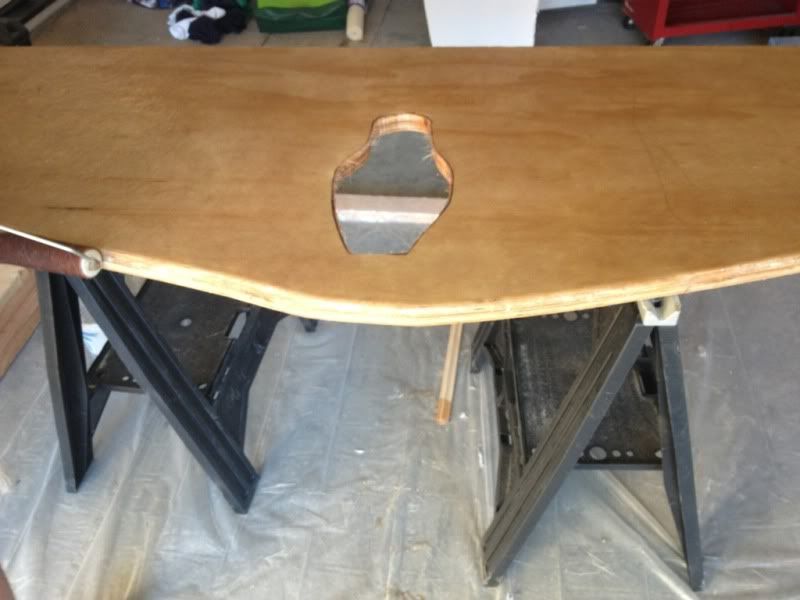
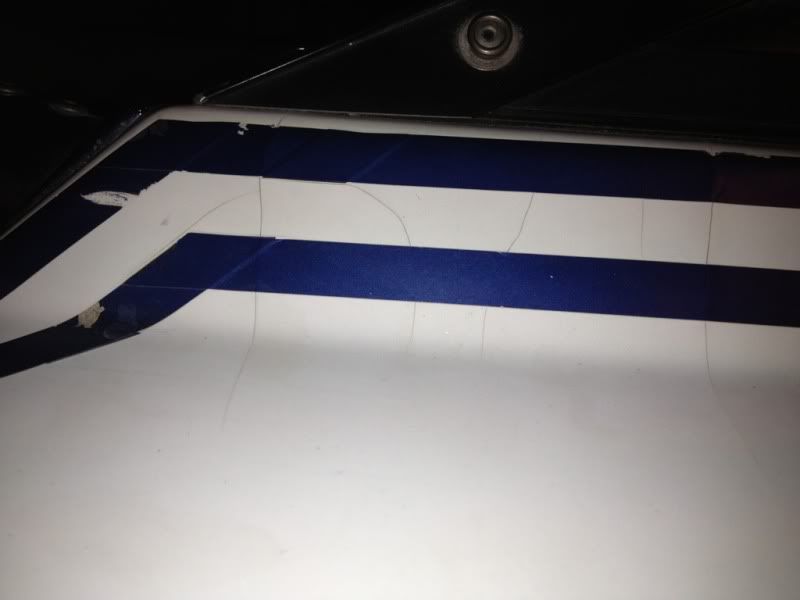
The template pic doesn't show it, but there is room around the whole transom for PB fillet & squeeze out. Planning to use foam spacers to hold it once I've gotten it aligned to keep the spacing
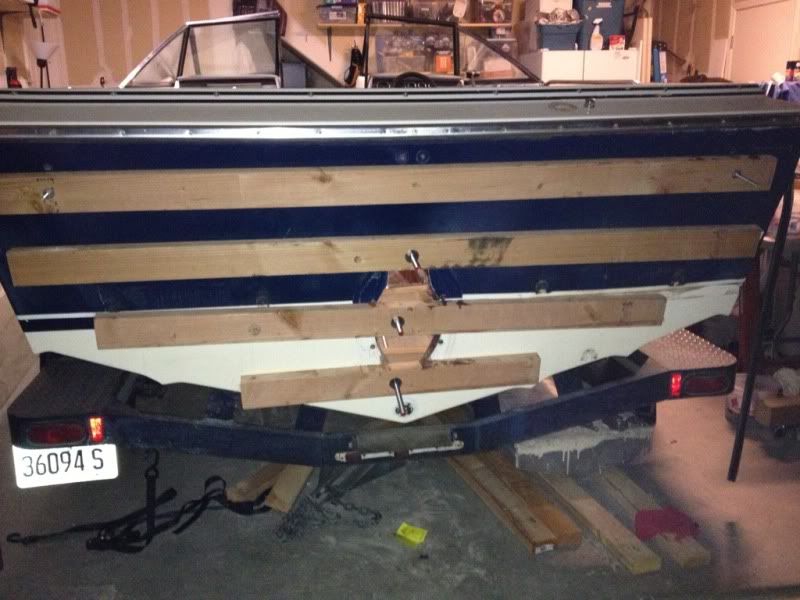
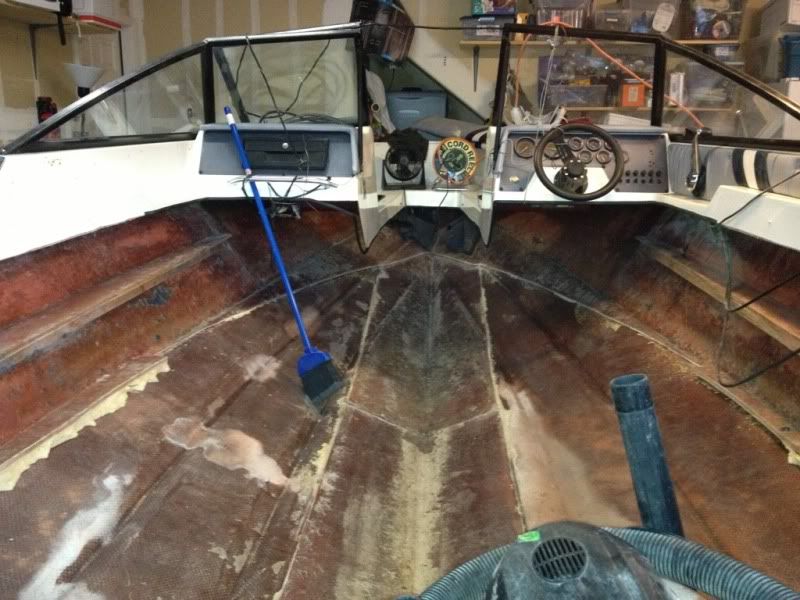
We are planning to clamp it with 2x4s inside and out bolting through the key hole and tie-down holes. We are also planning to put a few sand bags inside on the bottom edge to hold it in place.
Thanks for all the feedback!
All this sounds good.....
Have a great end to the week..