1987 Power Play XLT-185 - floors, stringers, and upholstery

KJM

Lieutenant
Joined
Jul 31, 2016
Messages
1,265
I recently placed a similar drain in the middle of my floor towards the back against the structure for the splashwell. Works good enough except when the boat is stored on uneven ground at a tilt. Then water tends to pool in whatever corner is lower. If I had my time back I would have put a drain on both sides with a hose/pipe draining to the bilge to prevent this.
 

todhunter

Canoeist
Joined
Sep 15, 2020
Messages
1,308
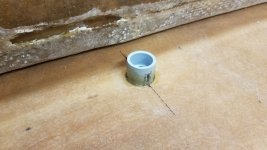
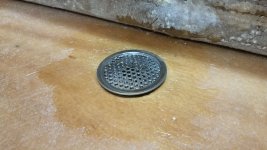
Finished the floor drain today. I used a hole saw to cut the hole then PB'd in a conduit fitting. I supported the bottom surface with plastic and blocks of wood.
20210731_185926.jpg

20210731_185938.jpg


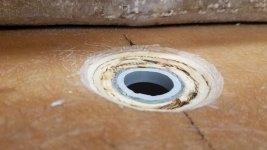
After it cured, I cut it down to height and shaped the depression in the floor so the drain will sit pretty close to flush. I did the shaping with a sanding drum on a pencil grinder.
20210801_092642.jpg


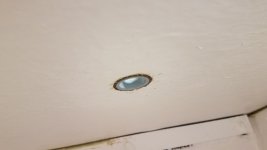
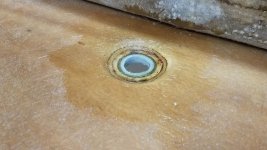
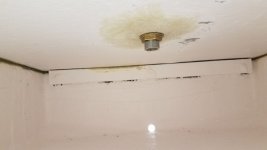
Next, I applied a layer of CSM to both the top and bottom surfaces then after curing, cut the CSM back to open up the hole. I will brush some gelcoat onto the bottom surface inside the ski locker. Hopefully this protects the floor from ever getting wet.
20210801_134457.jpg


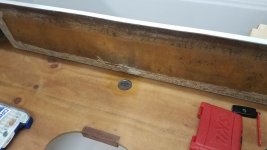
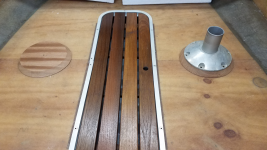
The drain sits a little proud now, but once the carpet is in it should be flush. The gap around the edge is for the carpet to fit in. I may also put some 4200 on the drain when I do the final installation. I did cut the threaded part down so it wouldn't protrude into the ski locker so far.
20210801_134507.jpg

20210801_140623.jpg

20210801_134511.jpg
 

todhunter

Canoeist
Joined
Sep 15, 2020
Messages
1,308
I've been somewhat slow moving the last couple of weeks. I had my overhead power lines to the house put underground to make room for a carport to park the boat under - that was an ordeal. Next, I wanted to wait to make the front supports for the bench seat until I had the speakers - I finally go those, so back on a path moving forward.

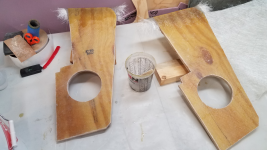
Here are the front supports for the bench seats with the speaker holes cut - finalizing glass this morning and will finish the install this evening. Hoping to spend a good chunk of tomorrow making progress as well.
20210812_195310.png


I've also been looking at several avenues for re-doing the dash panel. Originally I was just going to make it myself so I took measurements and re-drew it in CAD and changed a few things. Ultimately I've decided to have New Wire Marine cut the new panel design for me and supply the rocker switches and breakers. The main changes I'm making are:
  • delete the clock
  • replace glass fuses with breakers
  • move trim tab switches onto dash (previously in one of the cup holders)
  • use backlit / etched rocker switches for all switches
  • add 2 blank switch spots for future expansion
  • make room for 1 additional 2-1/16" gauge for future expansion
  • change radio to full DIN
  • change to GPS speedometer
Here is the old dash:
20210706_183426[1].png


Here is the new dash layout. I'm going to keep the backlit logo above the radio.
dash 1.png


Here is the new speedo vs. the old one. I'm trying to keep the same feel of the dash, and this was the closest match I could find. This GPS speedo means no pitot tube hole in my transom.
20210723_070914[1].png
 

todhunter

Canoeist
Joined
Sep 15, 2020
Messages
1,308
I glassed in the two front supports for the bench seat today. This marks the last of the structural fiberglass work! A big milestone.
20210814_191923.png


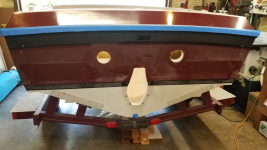
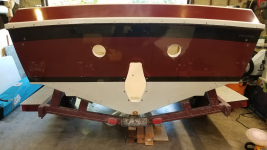
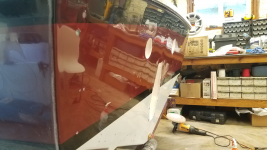
I spent the rest of the entire day wet sanding and buffing the transom. I wanted to do this before I started attaching things to the transom. I had to start with 500 grit to get the ghost lines to disappear where the pinstripe was. I followed that with 1000 and 1500 grit, then Aqua Buff 1000 and Aqua Buff 2000 on wool pads. It's not perfect, but I'm very happy with the results.

Before - lots of chalk.
20210814_125446.png


After - mostly even colors.
20210814_191136.png

20210814_191211.png
 

todhunter

Canoeist
Joined
Sep 15, 2020
Messages
1,308
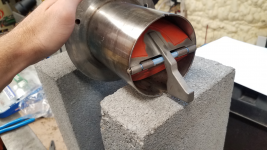
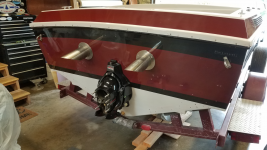
Installed the new exhaust flaps in the exhaust pipes. It originally had rubber flaps but I went with the stainless steel flaps made for Corsa exhausts. Had to cut the old pin out (which was vertical) and weld the new pin in the horizontal plane so the counterweight will shut the upper flap.
20210815_093728.png


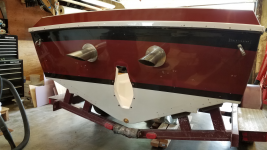
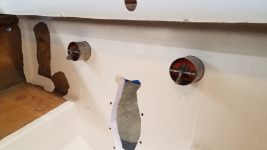
Then I got the exhaust tips and the tie down loops installed on the transom.
20210815_135405.png

20210815_115911.png
 

todhunter

Canoeist
Joined
Sep 15, 2020
Messages
1,308
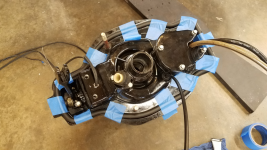
Got the transom assembly bolted onto the transom today. Used bellows adhesive and painter's tape to hold the seal in place on the transom plate, then removed the tape and bolted it in.
20210821_143636.png

20210821_150452.png


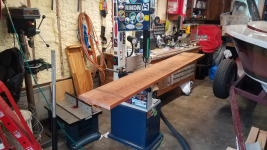
I picked up about 12 more board feet of mahogany and started making the thin trim pieces for the dash and engine bay. I'll also be using mahogany for pads to mount the batteries, trim pump, captain's chair bases, etc.
20210821_080059.png


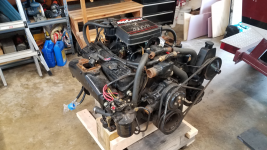
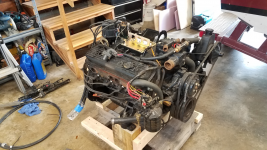
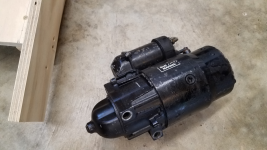
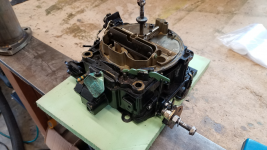
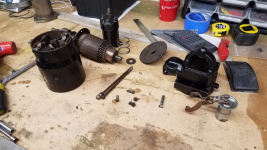
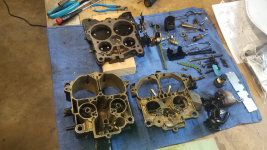
Next, I pulled the engine out of storage and pulled of the exhaust manifolds, starter, and carburetor. I'm going to leak test the manifolds, go through the starter and rebuild if necessary, and definitely rebuild the carb. The engine ran fine and had good compression when I bought the boat last year, other than it didn't want to idle when cold. I'm hoping a carb rebuild solves that issue.
20210821_144052.png

20210821_151717.png

20210821_163623.png

20210821_163628.png

20210821_163636.png


I sent payment to New Wire Marine for my new dash panel. I'm pretty excited to get that in the boat. I've also got an appointment for a consultation with an upholstery shop next weekend. Things are starting to come together!
 

MagKarl

Seaman Apprentice
Joined
Jan 18, 2021
Messages
47
I can strongly recommend Cliff's High Performance for your carb rebuild. He's got all the parts and wrote a great book about Quadrajet rebuilds and tuning.
 

todhunter

Canoeist
Joined
Sep 15, 2020
Messages
1,308
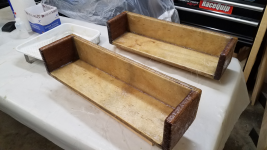
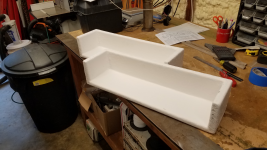
Super productive day. I got the cubbies gelcoated. I've still got to carpet them and drill the hole for the USB charger ports before installing them in the boat.
20210828_073937.png


I installed part of the remote oil filter kit and the entire remote oil drain kit (not shown).
20210828_082345.png


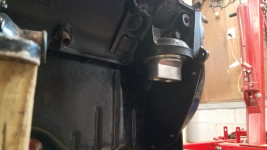
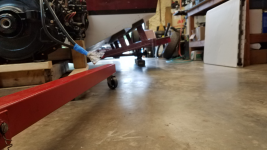
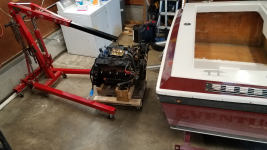
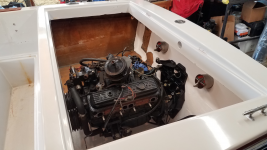
Next I did some measurements and found out my cherry picker would hoist the engine high enough to put it in the boat! I'm using a lift plate that bolts on where the carb goes and I took the wheels off the trailer and set it down on some 2x6 blocks.
20210828_090610.png

20210828_090550.png

20210828_091455.png


I did run into a snag - I couldn't lower it completely into place because the hoist was going to hit the back of the boat.
20210828_094545.png


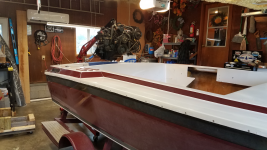
I blocked the engine up inside the boat and re-rigged with a chain, then I was able to lower it into place. I haven't drilled my lag bolt holes yet, as I'm going to wait until I get the engine fully aligned (I got it close, but it still needs some minor tweaks). Before fully lowering, I also installed my bilge pump and float switch.
20210828_125800.png


Lastly, my Quadrajet book from Cliff Ruggles showed up so I dove in and disassembled my QJ. It seems like it's going to be a great book, and combined with @Baylinerchuck 's thread (HERE), I think I'll be able to successfully tackle my first carb rebuild.
20210828_172721.png
 

todhunter

Canoeist
Joined
Sep 15, 2020
Messages
1,308
Well I'm a dummy. I found two of my transom plate bolts still sitting on my work bench, lol. Apparently I only installed 6 of the 8 bolts. I tried putting them in with the engine in place, but I think it's just going to be easier to hoist the engine up some to gain access. No biggie, other than having to go through the alignment process again. Practice makes perfect, right? 😂
 

todhunter

Canoeist
Joined
Sep 15, 2020
Messages
1,308
Pulled the engine and transom assembly this morning, as I had to open up one of the transom holes, but now I have the transom assembly fastened with all 8 bolts! :ROFLMAO:

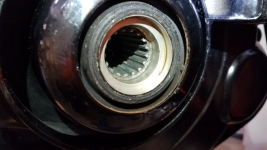
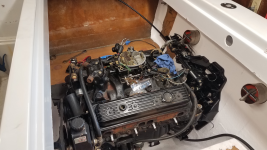
Engine is in, aligned, and torqued. I got the carb bolted on and installed the power steering actuator and a new steering cable. I also gutted the distributor and am going to replace cap/rotor/sensor.

20210904_090221.png
 

zool

Captain
Joined
Aug 19, 2012
Messages
3,432
Everything is looking great Tod, enjoying your build, tho im late to the party...
 

todhunter

Canoeist
Joined
Sep 15, 2020
Messages
1,308
Today was woodshop day.

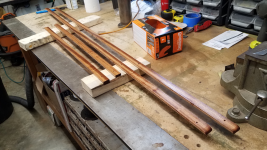
Engine bay trim strips cut to length, drilled/countersunk for screws, and currently being oiled.
20210905_161236.png


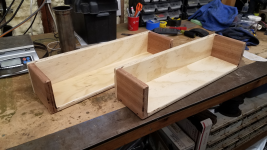
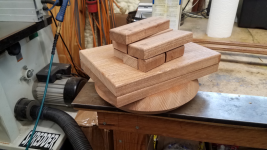
I got all my mahogany "mounting pads" made. These are going to be sacrificial pieces of wood to take the screws for mounting components so that the transom/deck doesn't get screw holes. Each of these pads will be PB'd / glassed in place. I made pads for the captain's chairs, batteries, trim pump, bilge blower, fire extinguisher, and anchor light storage clips.
20210905_161217.png


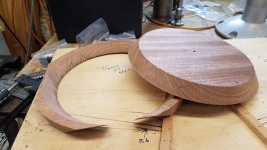
I'm pretty proud of the captain's chair bases. I wasn't sure how I was going to bevel the edges of a disc, but after about 20 minutes of head scratching and doing some trig I was able to do it with just my band saw.
20210905_143431.png

20210905_144931.png
 
Top