1987 Power Play XLT-185 - floors, stringers, and upholstery

todhunter

Canoeist
Joined
Sep 15, 2020
Messages
1,299
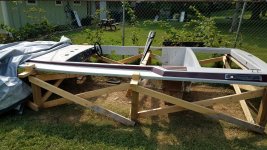
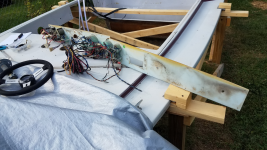
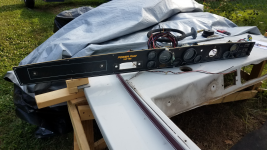
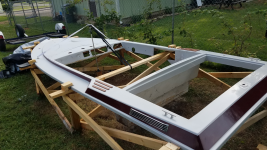
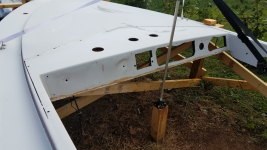
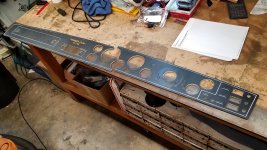
Disassembled the dash and drew wiring diagrams, then did more buffing on the cap today. Probably going to re-make the dash since the original is broken.

IMG_20210707_173524_498.jpg
 

todhunter

Canoeist
Joined
Sep 15, 2020
Messages
1,299
What material is it make of?
It's a 2-ply acrylic, 3/16" thick - white for the majority of the thickness, with a black face. The Power Play logo, warning message, and text by the switches/fuses are all engraved through the black surface to reveal the white plastic behind. There were light bulbs behind these areas so that when the navigation / anchor lights are on, these areas are back-lit. Ideally I'd like to find a new piece of material that is the same, but so far I'm having a hard time finding anything longer than 48" (the original piece is ~60" long). I've got friends with CNC router tables, lasers, and water jets, so all I need is the raw material...I can handle getting it cut/engraved.

Alternatively, if I can't find what I want, I may just do a solid color piece and use vinyl to replicate the logo / text.
 

Reserector_

Chief Petty Officer" & 2021 Splash of the Year Win
Joined
Oct 15, 2019
Messages
602
You could buy a strip of white and a strip of black (acrylic) and the solvent "glue" used for that stuff, and laminate the part yourself.
basically, you run a stream of the solvent down the middle so that it flows outward as you lower the top layer on the bottom later. The goal is to avoid air pockets. The excess will run off of the edges, so you'd have to have it elevated to allow drip, or keep the paper on the back. Back wouldn't show anyway. Weight it with some books or something.
The solvent actually remelts the surface, allowing the bond. It evaporates quickly, but between layers it can remain soft for a while. Let it sit for a couple of days to be safe.

Don't make the same stereo holes. LOL. You can't get post mount anymore. It's all DIN these days.

Alternatively, you might be able to solvent glue the break, and buff the plastic of the original part.
 

todhunter

Canoeist
Joined
Sep 15, 2020
Messages
1,299
Yeah, I was wondering about the radio and figured I'd have to go to a DIN size. Not a bad idea about laminating. I may have found a guy with a spare dash panel, or as you said, I may just glue it back together, buff it, and worry about remaking it later.
 

Reserector_

Chief Petty Officer" & 2021 Splash of the Year Win
Joined
Oct 15, 2019
Messages
602
If you end up cutting for a DIN, support the dash on a piece of plywood or rigid foam for support. Use a jigsaw blade with downward teeth. Cut the ply/foam as you cut the plastic. Hold it down as you go so it can't lift up.
You want about 3 teeth in contact with the thickness. Too course and it can chip or crack. Too fine and it will melt the kerf. Medium to low speed. Cut the ply/foam as you cut the plastic.
I'd warn about cold temps, but that won't be a problem. LOL
 

todhunter

Canoeist
Joined
Sep 15, 2020
Messages
1,299
Finished buffing the cap yesterday. It's not perfect, but good enough for a first season. No pictures, as I was racing the thunderstorms.

Hoping to get the carpet laid in the bow storage area this by this weekend the move the cap back onto the hull.
 

todhunter

Canoeist
Joined
Sep 15, 2020
Messages
1,299
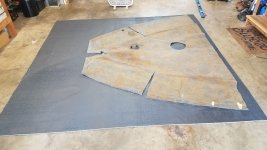
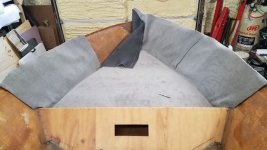
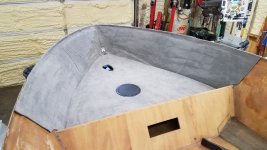
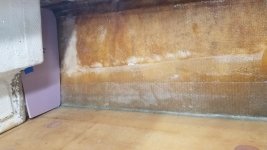
I got the carpet glued down in the bow storage area today. This is the last task needed before reinstalling the cap. I've got a crew of family and friends coming over to help with that next weekend. Regarding the carpet, I'm pretty happy with how it turned out, considering this is the first time I've done something like this. The seams at the relief cuts could be better, but I'm not 100% sure how to make it look seamless. This is good enough though, as you won't see this area unless you look up under the dash.

Using the old carpet as a template.
20210717_130941.jpg


Partway through installation. I used spray grade Weldwood contact cement. I started at the kickboard and worked towards the bow on the flat area, then came back and did the sides.
20210717_144227.jpg

Finished product.
3.jpg
 

todhunter

Canoeist
Joined
Sep 15, 2020
Messages
1,299
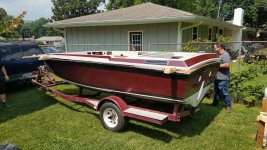
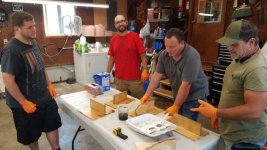
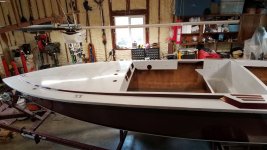
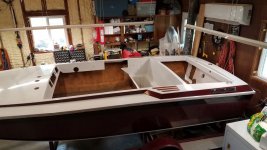
Today I had some family and friends come help set the cap back on the boat - huge milestone. It dropped right down into place - no fighting with it due to hull splay. The guys that helped are all boat owners, so after capping the boat, I showed them how to lay fiberglass and gelcoat.

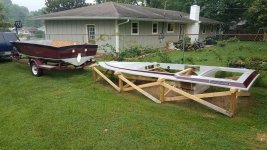
Hull backed up to the cap stand.
20210724_082430.jpg


Cap set on the hull.
20210724_115838.jpg


Fiberglass class.20210724_134921.jpg
 

todhunter

Canoeist
Joined
Sep 15, 2020
Messages
1,299
Boat is back in the garage. I got the silicone and screws all the way around the cap except for the transom - I'll get them later this week. I also installed the bow cleat and the fuel fill fitting. I used 3M 4200 to seal around these, as well as the four other cleats on the cap.

20210725_162309.jpg

20210725_162307.jpg


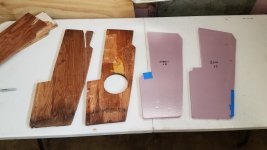
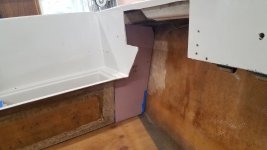
I started making templates for the boards that tie the bench seat in to the hull. One goes on each side in the engine compartment, and one goes on each side in the passenger compartment (those have holes for speakers).
3.jpg

20210725_162430.jpg

20210725_162513.jpg
 

todhunter

Canoeist
Joined
Sep 15, 2020
Messages
1,299
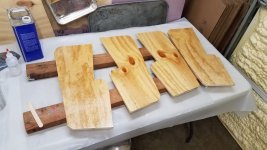
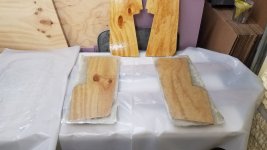
Got the side supports cut out of 1/2" plywood and got 1 coat of resin down on one side.

20210726_193843.jpg
 

todhunter

Canoeist
Joined
Sep 15, 2020
Messages
1,299
Got the ground wires run from fuel fill neck to tank, and tank to the rear. Also got the nav light on the bow wired up. Hope I don't have to crawl up in the bow much more...it's pretty tight in there. No pics of all that.

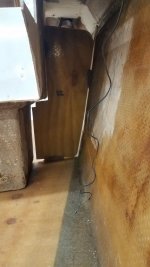
Finished glassing the two rear side panels and got them set in place with some globs of PB. I'm waiting to glass the front two panels until I can get the speaker holes cut.
20210727_205639.jpg

20210729_200547.jpg


Starting to think about where/how I'm going to put this drain in.
20210729_200532.jpg
 

kcassells

Fleet Admiral
Joined
Oct 16, 2012
Messages
8,707
Rear of the fishwell towards the bilg. Really no ther way. Gravity will do the rest on the drive home with the plug out. Or bilge pumps will be a go while on water. Plus keeps you able to see if pumps are doing their jobs.
 

todhunter

Canoeist
Joined
Sep 15, 2020
Messages
1,299
Ah, it does look like a bilge hose fitting - I think that's what you're talking about? It's actually a floor drain. I'm going to mount it in front of the bench seat so the passenger area will drain into the ski locker, which will drain into the bilge. The boat originally had no provision to drain the passenger area or ski locker. 🤯
 

kcassells

Fleet Admiral
Joined
Oct 16, 2012
Messages
8,707
Ah, it does look like a bilge hose fitting - I think that's what you're talking about? It's actually a floor drain. I'm going to mount it in front of the bench seat so the passenger area will drain into the ski locker, which will drain into the bilge. The boat originally had no provision to drain the passenger area or ski locker. 🤯
That's weird...should have run a hole for gravity to bilge. Def. a rot spot.
Yup I was looking at your well behind the ski locker. Both same premise.
 

todhunter

Canoeist
Joined
Sep 15, 2020
Messages
1,299
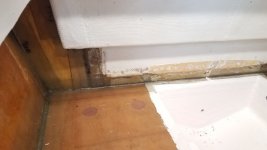
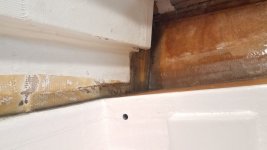
Got the two rear side panels tabbed in today, and tabbed the back edge of the bench seat to the deck as well. This closes off the bilge other than the pass-thru's under the gunwales for the wires/cables. I'm going to glass some mahogany pads to the deck in a few spots for attaching the batteries and trim pump, then I'll be ready to gelcoat the rest of the engine compartment.
20210731_125644.jpg

20210731_125702.jpg


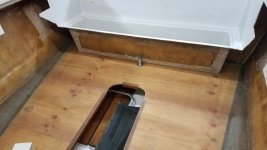
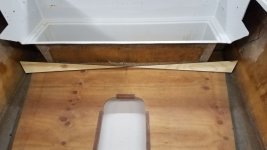
I've also started messing around with the floor drain and made the angled pieces of wood that will direct water towards the drain when the bow is high.
20210731_140259.jpg
 
Top