1987 Power Play XLT-185 - floors, stringers, and upholstery

todhunter

Canoeist
Joined
Sep 15, 2020
Messages
1,316
I've been distracted with other things this week, so my pace has slowed a little. More drive/engine maintenance parts have been getting delivered over the last few days. I also got a little bit done tonight on the hull.

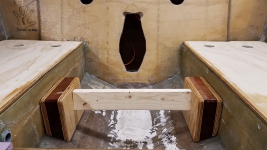
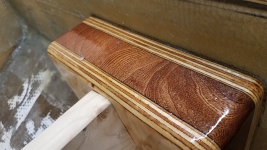
I PB'd the engine mounts into the bilge.
1.png


The grain on the mahogany is beautiful. It's going to be a shame to cover it up.
2.png


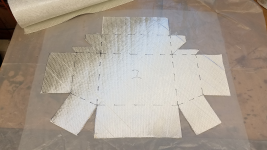
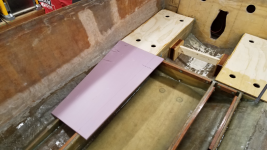
I started making templates of the forward part of the deck.
3.png
 

todhunter

Canoeist
Joined
Sep 15, 2020
Messages
1,316
My wife was fine with me working on the boat today (Valentine's Day), so I made more progress.

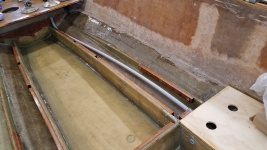
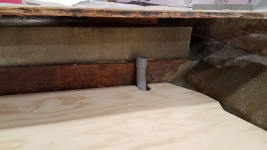
I installed the rest of the conduit for the fuel hose that will run beneath the deck, and notched the front piece of the deck to clear the conduit.
9.png

1.png


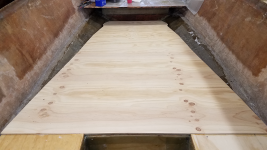
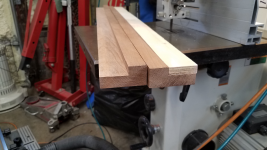
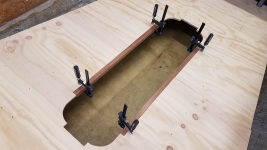
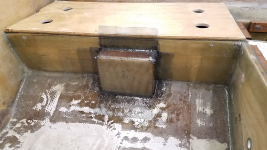
I spent a good amount of time measuring and marking screw hole locations for screwing the deck down to the cleats, and marking where the ski locker hatch will go. Next I made some mahogany cleats to line the ski locker opening with - this way the ski locker frame screws into mahogany and not the encapsulated decking.
2.png


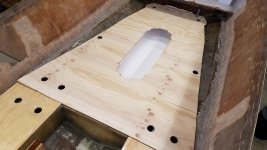
Then I cut out the ski locker opening in the deck and test fit the cleats. They should also stiffen up the floor around the opening where the seam between the two sheets of plywood is.
7.png


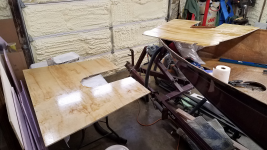
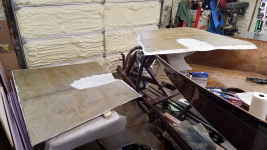
Last thing I did was pull out the pieces of decking and get a coat of resin soaking into the back side. I'm leaning towards tabbing these two pieces together before installing the decking in the boat - this way I can tab the underside and increase the strength at the seam. Thoughts?
10.png
 

Meames1

Petty Officer 2nd Class
Joined
Dec 14, 2020
Messages
157
Ski locker floor tabbed in, holes drilled for pour-in foam. I did end up just going with 2 layers of 1708 tabbing after all.
View attachment 332603
Quick question, how deep is your ski locker ? Mine came from the factory with no sub-floor, just carpeted bottom direct to hull. I'm thinking adding a floor, but worried it will be too shallow.
 

todhunter

Canoeist
Joined
Sep 15, 2020
Messages
1,316
Quick question, how deep is your ski locker ? Mine came from the factory with no sub-floor, just carpeted bottom direct to hull. I'm thinking adding a floor, but worried it will be too shallow.
It's about 6" deep at the front and about 8" deep at the back.
 

todhunter

Canoeist
Joined
Sep 15, 2020
Messages
1,316
I got 1 layer of CSM down on the back of the deck pieces today.
1.png


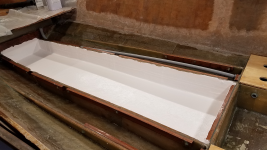
Next, I gelcoated the ski locker. This was my first time using gelcoat. I think I was pushing the roller down too hard on the first coat, as it was splotchy in places. For the last half of the first coat and all of the 2nd coat, I used less pressure and laid it on thicker - it seemed to do better. I was also surprised how much quicker it seemed to kick than resin. I thought it was just tinted, thickened resin? I know I mixed it hotter (~2%) than I typically mix resin, but still. Anyhow, I used wax in the 2nd coat and laying it on thicker gave better coverage, so the ski locker is done.
3.png


Since the CSM on the back of the deck was cured, I decided to also gelcoat the back of the deck in the area where the ski locker is.
2.png
 

todhunter

Canoeist
Joined
Sep 15, 2020
Messages
1,316
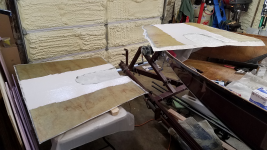
I got all the screw holes drilled, and am happy to report that all my painstaking triangulation and pencil lines drawn on top of the deck worked out and I didn't miss the cleats (15/16" wide) for any of the holes! I also drilled my foam-pouring holes.
2.jpg


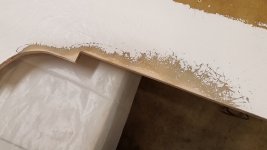
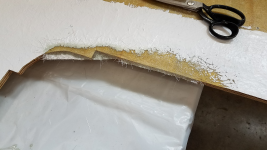
I had one spot at the edge of the ski locker opening where the glass was delaminated, so I sanded that back. I'll reseal this area before installing the deck.
1.jpg
 

kcassells

Fleet Admiral
Joined
Oct 16, 2012
Messages
8,732
You prob did already but each section of ply needs 2 holes, a pour and a vent.
Pic do not show that.
Tilt boat towards pour hole.
 

todhunter

Canoeist
Joined
Sep 15, 2020
Messages
1,316
Well actually looks like you did the holes. Looking good Todd
The front holes are kind of hidden in the shadows. :) Each chamber has 2 holes. The long chambers just outside the ski locker just span about 7 ft. It was similar on the ski locker and it worked out ok.
 

svan

Seaman Apprentice
Joined
Apr 9, 2018
Messages
35
Nice Job So Far... Want to do my 21' deck boat next? LOL
Scott
 

MagKarl

Seaman Apprentice
Joined
Jan 18, 2021
Messages
47
I'm impressed with your workmanship and productivity. Well done. You must not sleep much.
 

todhunter

Canoeist
Joined
Sep 15, 2020
Messages
1,316
Nice Job So Far... Want to do my 21' deck boat next? LOL
Scott
Thanks! Not sure I've got another boat restoration in me after this one, lol.

I'm impressed with your workmanship and productivity. Well done. You must not sleep much.
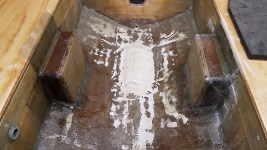
Thanks. I do sleep, but when I do I'm dreaming about the next steps on the boat. :ROFLMAO: I'm just really motivated to get this thing splashed this season...for my family's sake, and so I can have my garage/shop back.
 

tpenfield

Moderator
Staff member
Joined
Jul 18, 2011
Messages
18,068
When you see a restoration done with this high level of craftsmanship, you realize that most production boats are 'slapped' together by comparison.
This boat should last a very long time.
 

todhunter

Canoeist
Joined
Sep 15, 2020
Messages
1,316
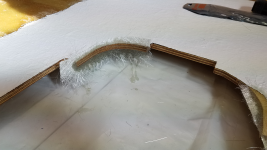
Got some work in on the boat today. I got some CSM down on the area around the ski locker where the glass had delaminated, and I glassed in the round corners of the ski locker opening, since there won't be any mahogany along these areas.
3.png

2.png


While that was curing, I laid out and cut 2 layers of 1708 for my engine mounts. I tried doing it all as one piece, and it worked out pretty good, but not perfect. I had to trim and make relief cuts in a few spots on the wet glass as I was laying it down. I'll have some sanding to do before gelcoat, but no big deal. I only got the port engine mount glassed so far.
1.png

4.png
 

todhunter

Canoeist
Joined
Sep 15, 2020
Messages
1,316
QUESTION FOR THE EXPERTS:
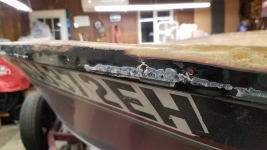
The seam around my hull where the cap sat had some kind of clear silicone sealant around it, along with most of the items attached to the outside of the transom (swim platform brackets, trim tabs, thru-hull exhaust pipes, etc.). See the pictures below for an example of what I'm talking about. What should I be using to seal the cap back to the hull? Home Depot clear silicone caulk (joking...maybe), or something else?
1.png

2.png
 
Top