1986 Campion bowrider restoration

Jimmy H.

Petty Officer 1st Class
Joined
May 15, 2012
Messages
220
Re: 1986 Campion bowrider restoration

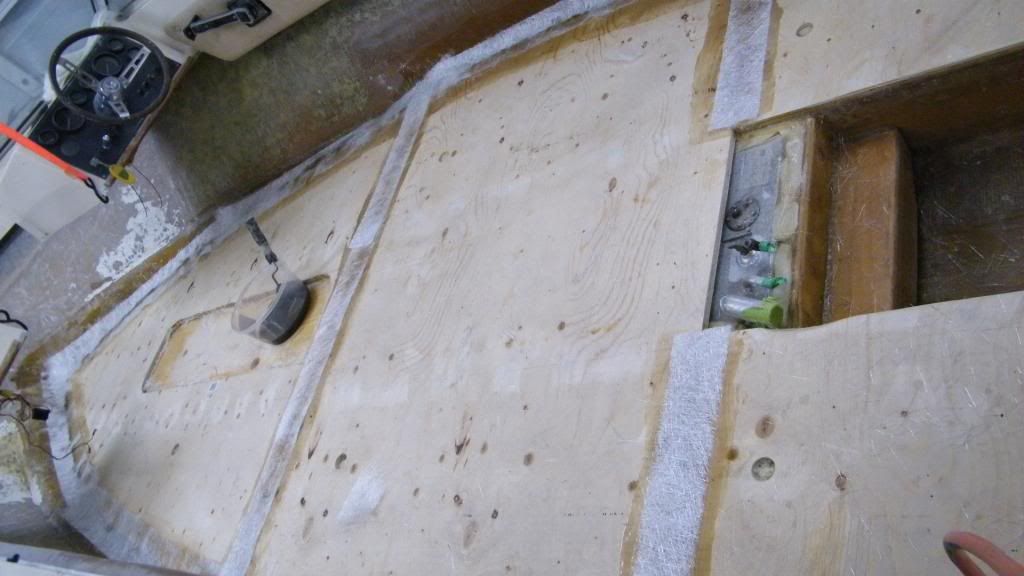
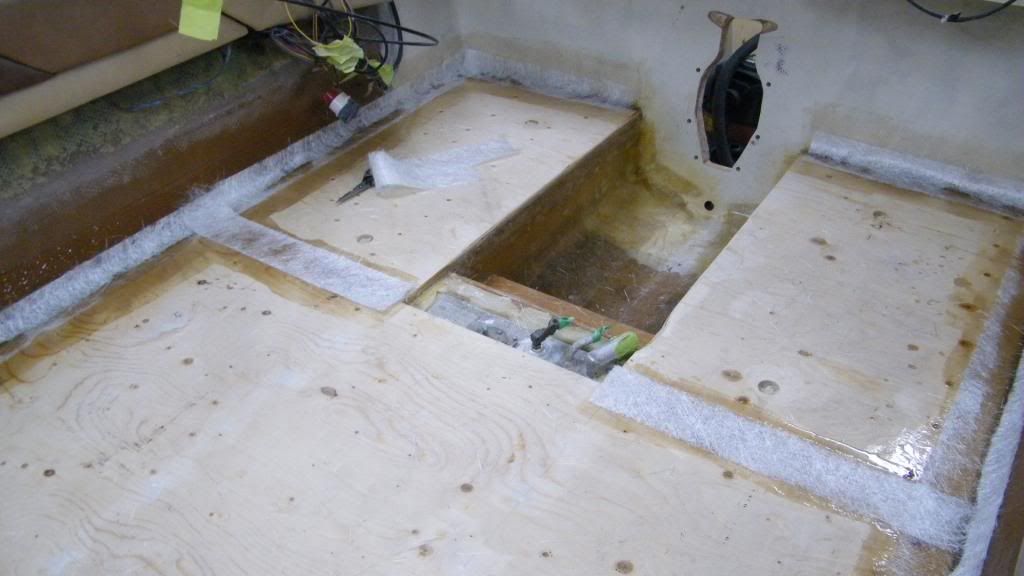
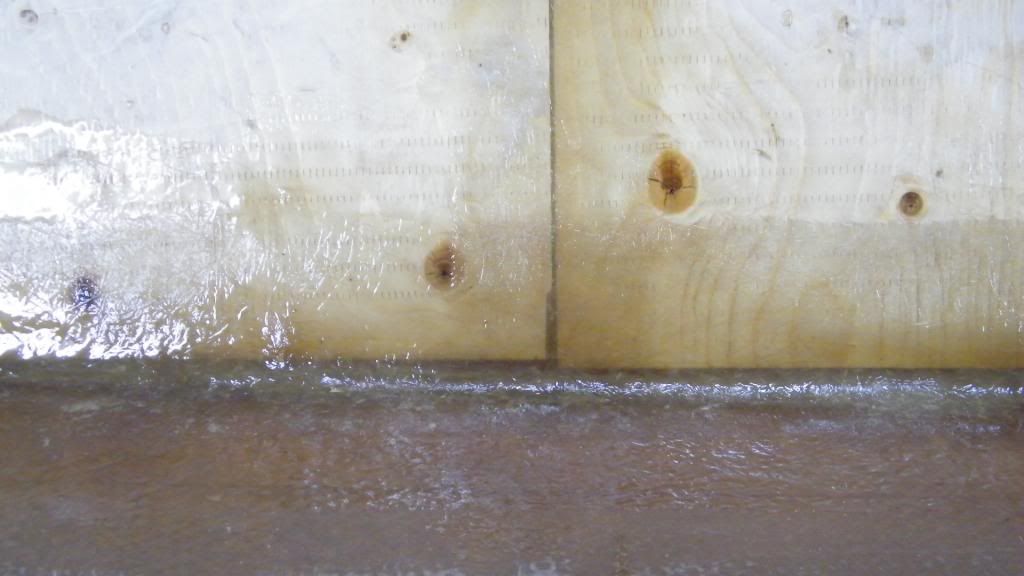
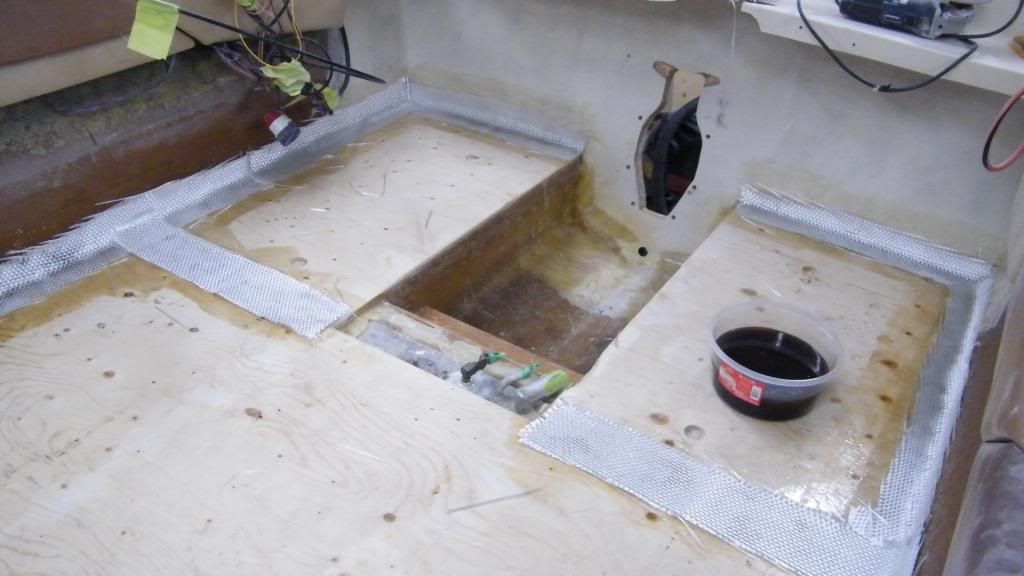
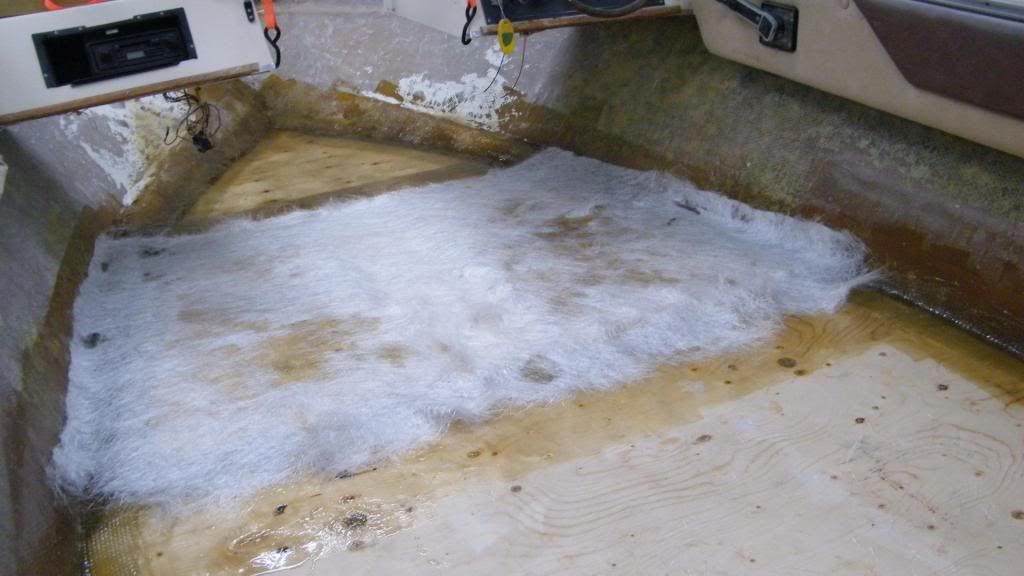
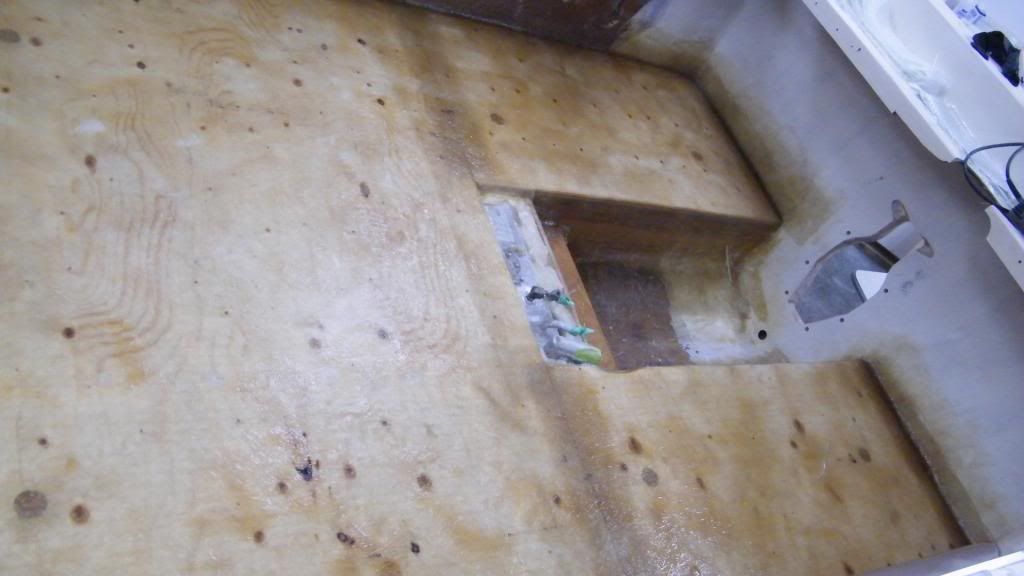
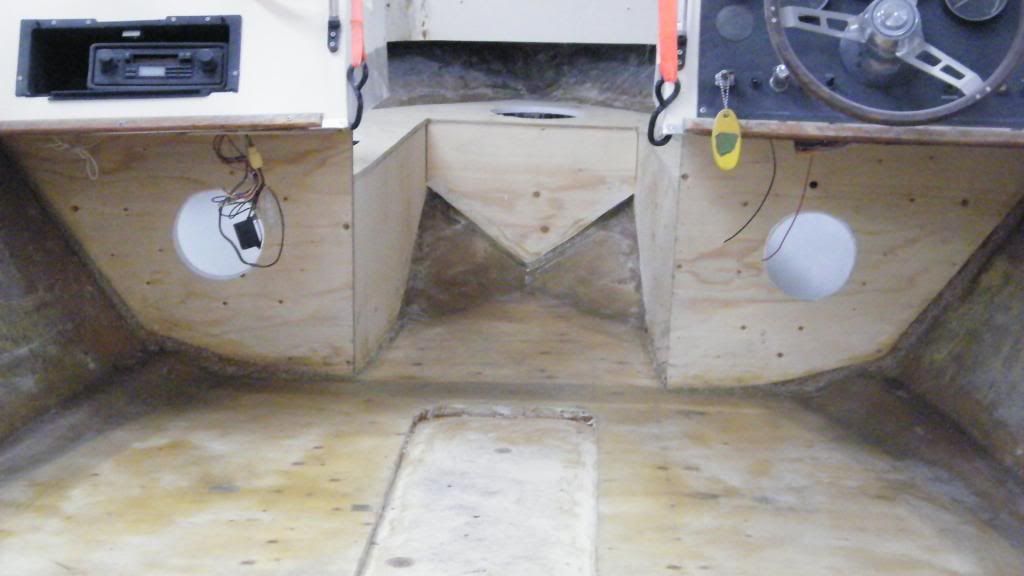
I have the deck done, Tabbed all the edges with CSM and 18oz woven roving. Csm on top of that. I've got the front seat area installed with PB for now, I need to glass that in later.

DSCF2747_zps524efab1.jpg


DSCF2748_zps39aa9e51.jpg


DSCF2751_zps1fcafcdb.jpg


DSCF2756_zps24bafc00.jpg


DSCF2757_zpsedbd9e23.jpg


DSCF2760_zpsc46f56f0.jpg
 

rickryder

Commander
Joined
Jun 24, 2010
Messages
2,722
Re: 1986 Campion bowrider restoration

It's starting to come together now. It sure is nice to have a deck to walk on!
 

Jimmy H.

Petty Officer 1st Class
Joined
May 15, 2012
Messages
220
Re: 1986 Campion bowrider restoration

It sure is nice to have a deck to walk on!

It sure is! There is one bad thing about the deck though... It's much easier to hit your head on the garage door motor! I've done it twice real good since the deck was on and the last time was a bit bloody :grumpy:
 

ezmobee

Supreme Mariner
Joined
Mar 26, 2007
Messages
23,767
Re: 1986 Campion bowrider restoration

It's all down hill once the deck's in!
 

Jimmy H.

Petty Officer 1st Class
Joined
May 15, 2012
Messages
220
Re: 1986 Campion bowrider restoration

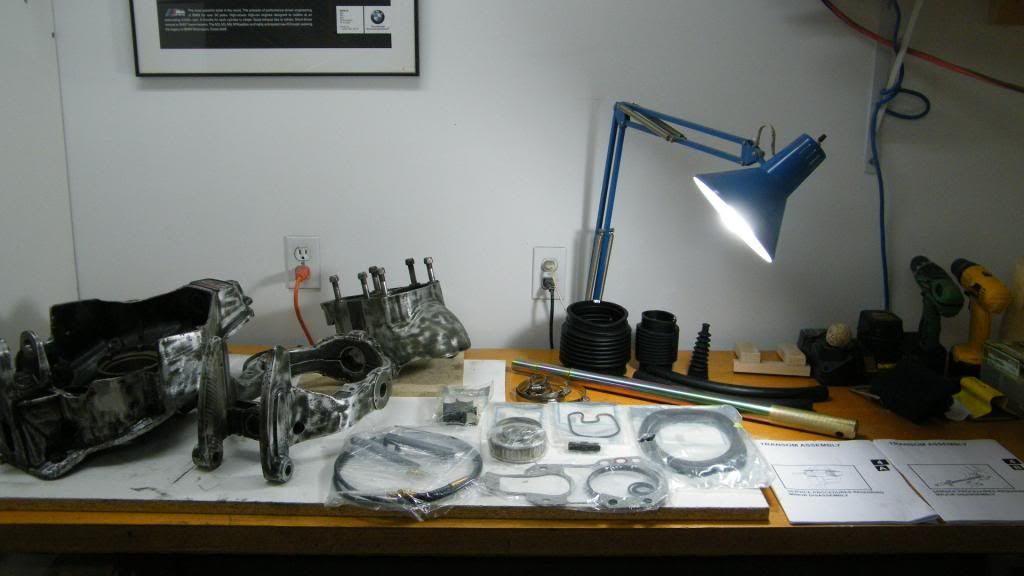
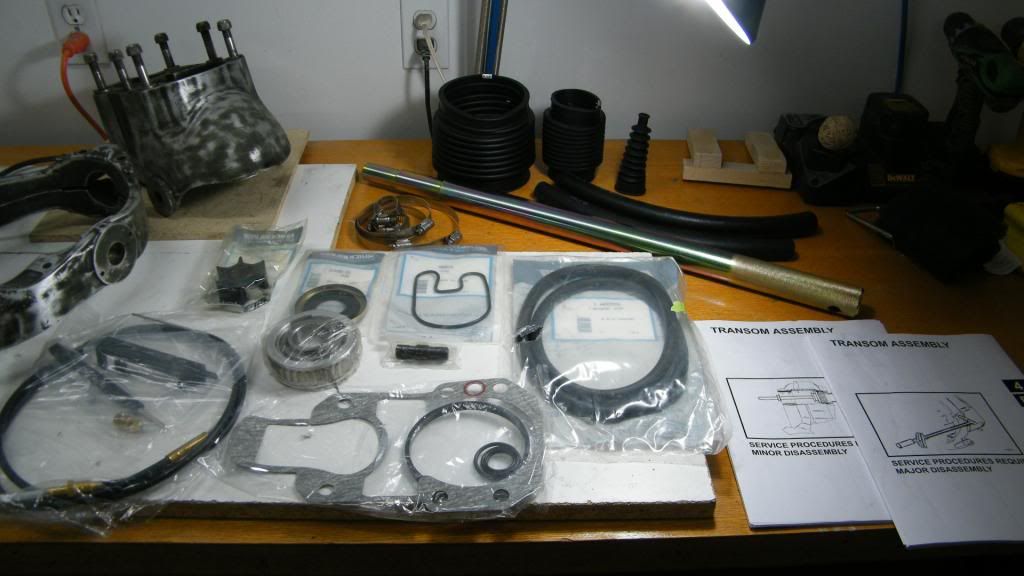
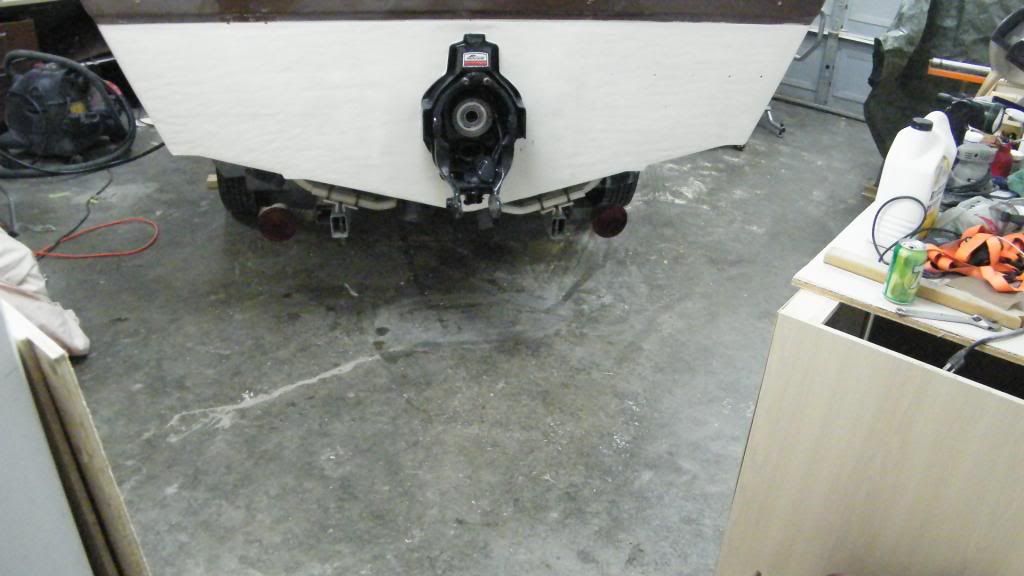
Got the rest of my parts for the Gimble rebuild including an impeller for the drive and engine alignment tool. Should keep me busy for the next week or so. I plan on painting the parts Saturday, gel coating the outer transom and bildge area Sunday, assembly the gimble housing throughout next week just in time for a three day weekend starting on March 15th when I should be re-installing the motor!!!!

DSCF2784_zpsaf922622.jpg


DSCF2785_zps73b4ec50.jpg
 

Jimmy H.

Petty Officer 1st Class
Joined
May 15, 2012
Messages
220
Re: 1986 Campion bowrider restoration

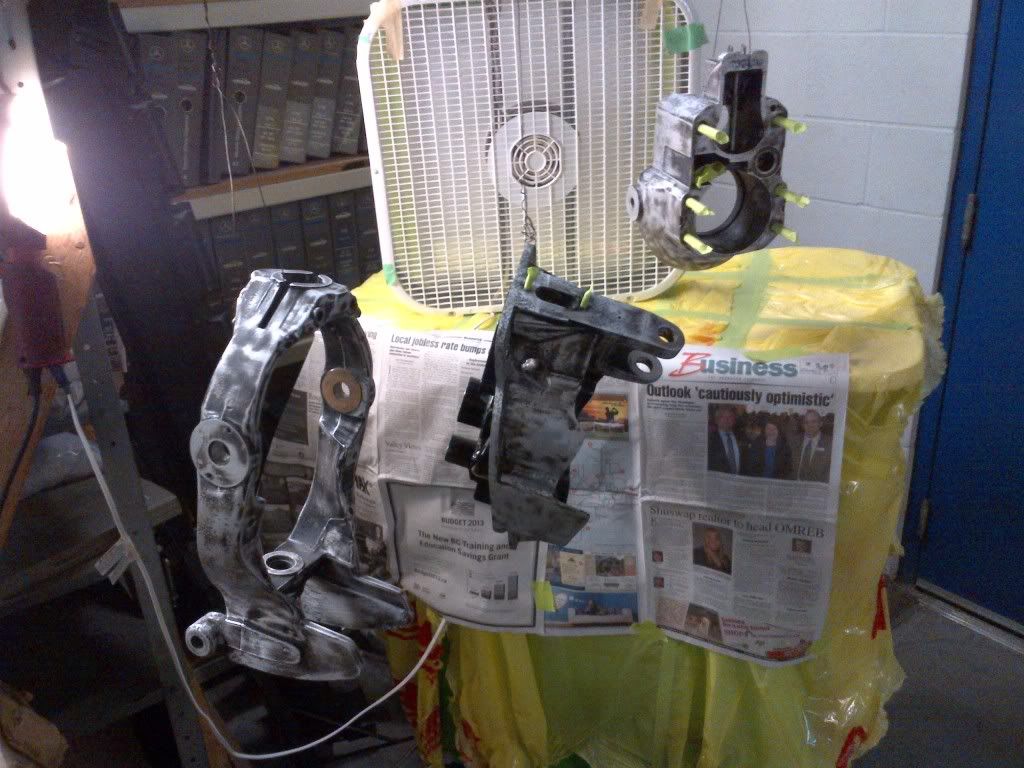
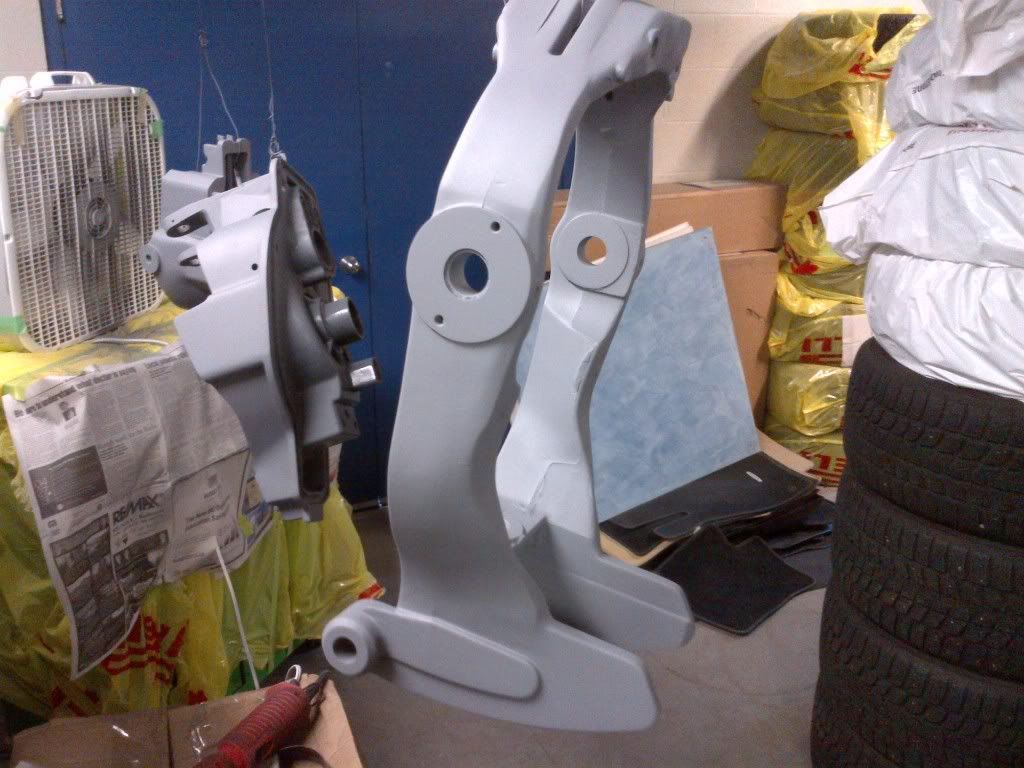
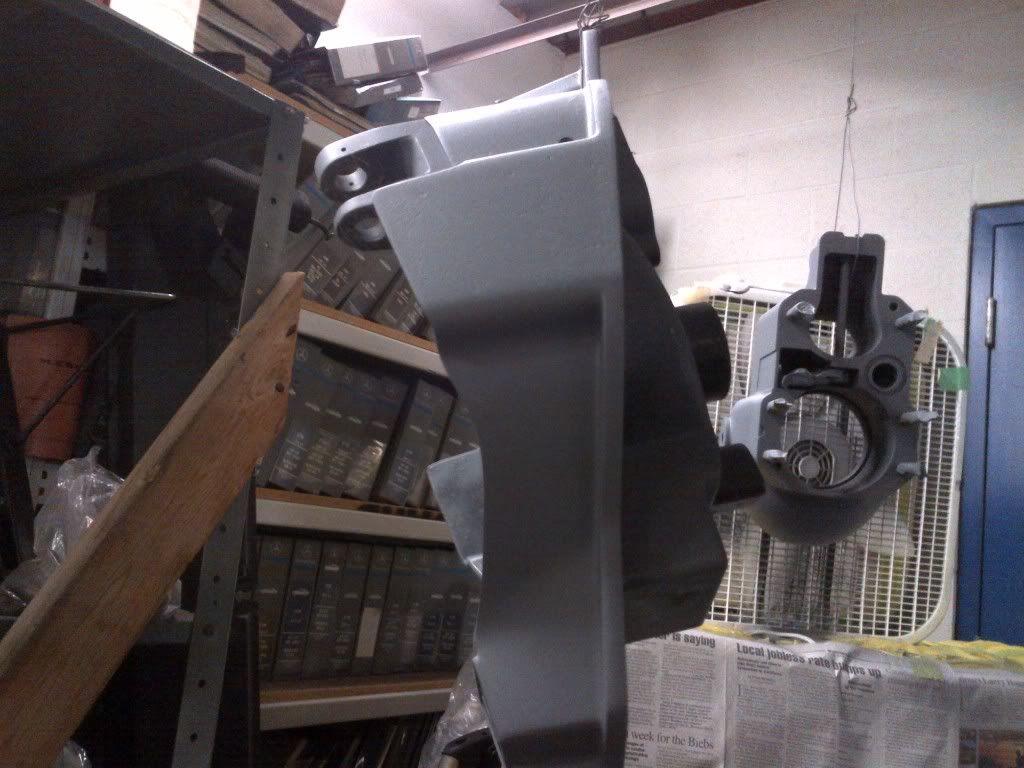
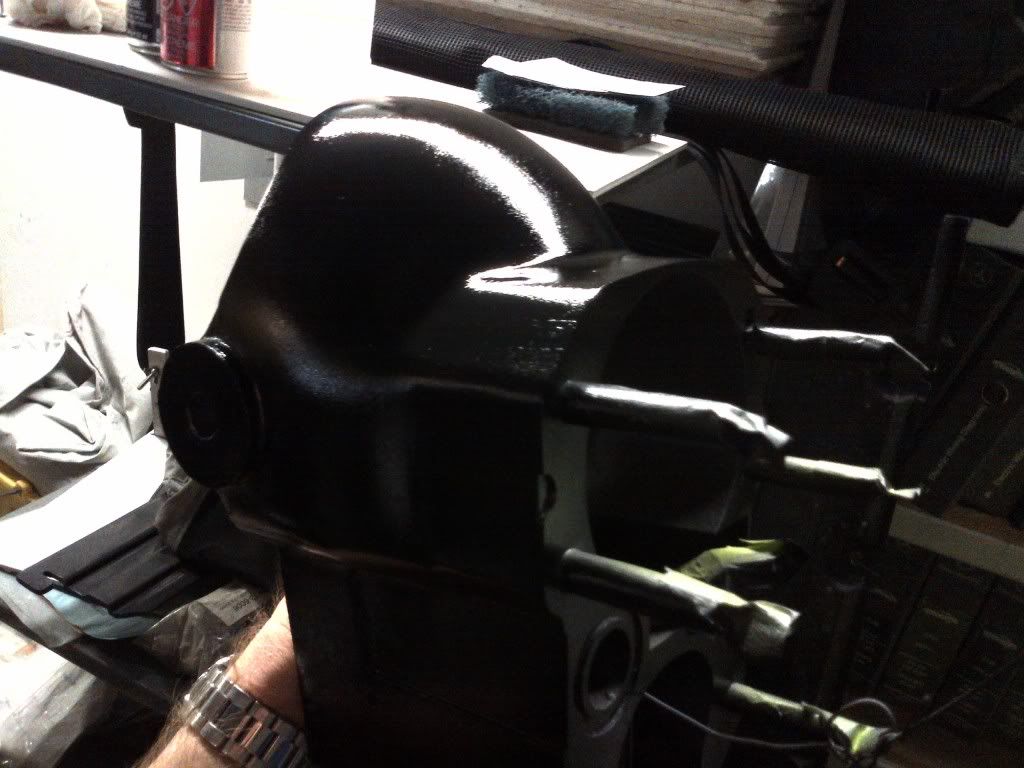
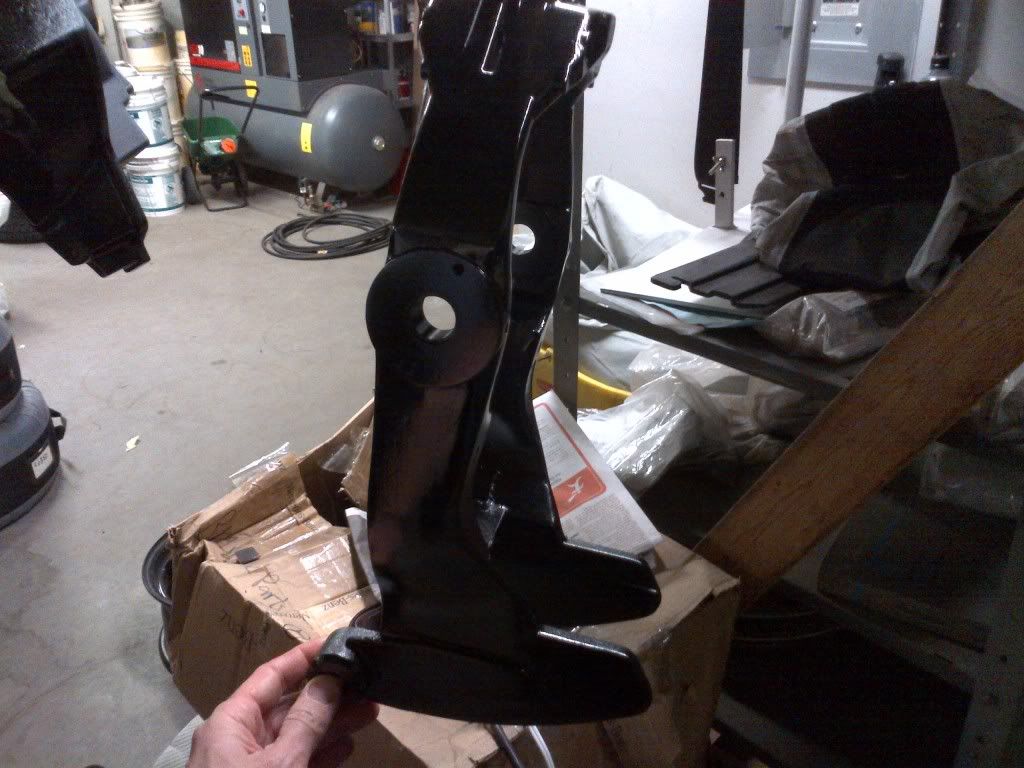
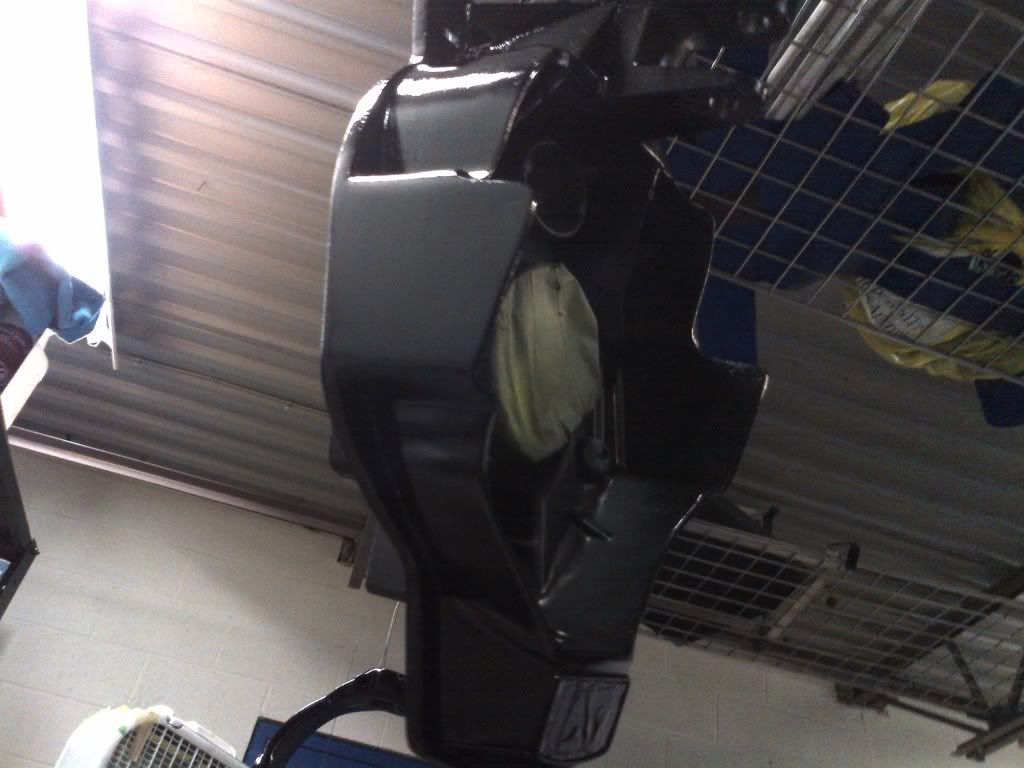
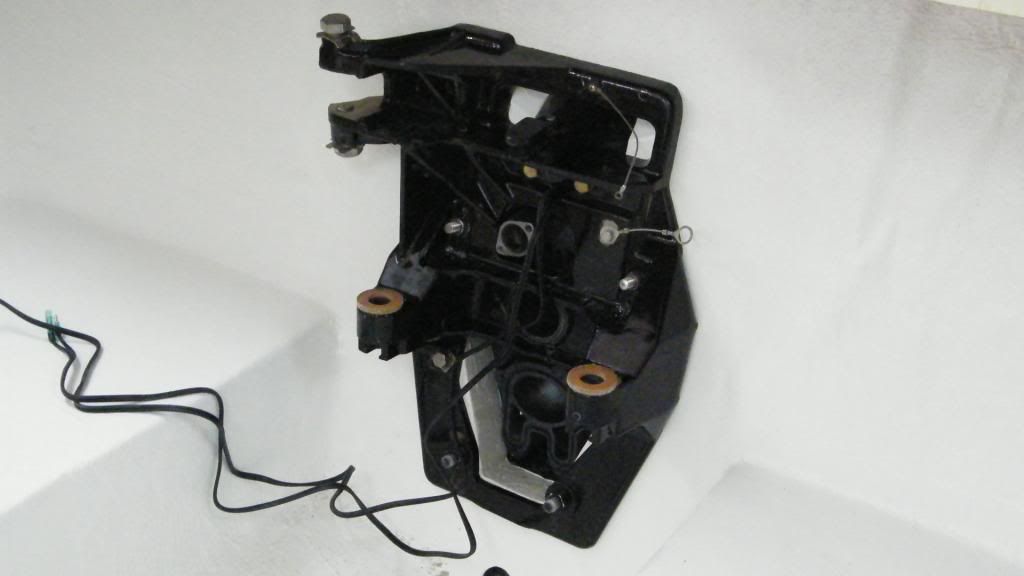
Got the three main pieces for the gimble housing primed and painted today atr work. Dont know if it's just Canada but Zinc Chromate is not around anymore here according to the guys at the local marine dealer and local hardware stores so that was out. I used self etching primer for aluminum and an epoxy gloss black paint recommened at the marine shop with extra hardener. I only used a 50/50 mix of water/vinegar for wiping down the parts before priming. I'm not looking for any negative feedback on what I did or didn't do. Seems everyone has there own opinion on painting this kind of thing, I'm happy with the prep work I did and cant see anything peeling off anytime soon and even if I have to touch it up every season a bit I'm ok with that.

Pics are from my phone so not as good as the home camera

IMG-20130309-00739_zps724e89c8.jpg


IMG-20130309-00742_zpsfee21a6d.jpg


IMG-20130309-00744_zps7a46ec96.jpg


IMG-20130309-00750_zps937653a7.jpg


IMG-20130309-00751_zpscea32bce.jpg


IMG-20130309-00754_zps9fb629ef.jpg
 

Jimmy H.

Petty Officer 1st Class
Joined
May 15, 2012
Messages
220
Re: 1986 Campion bowrider restoration

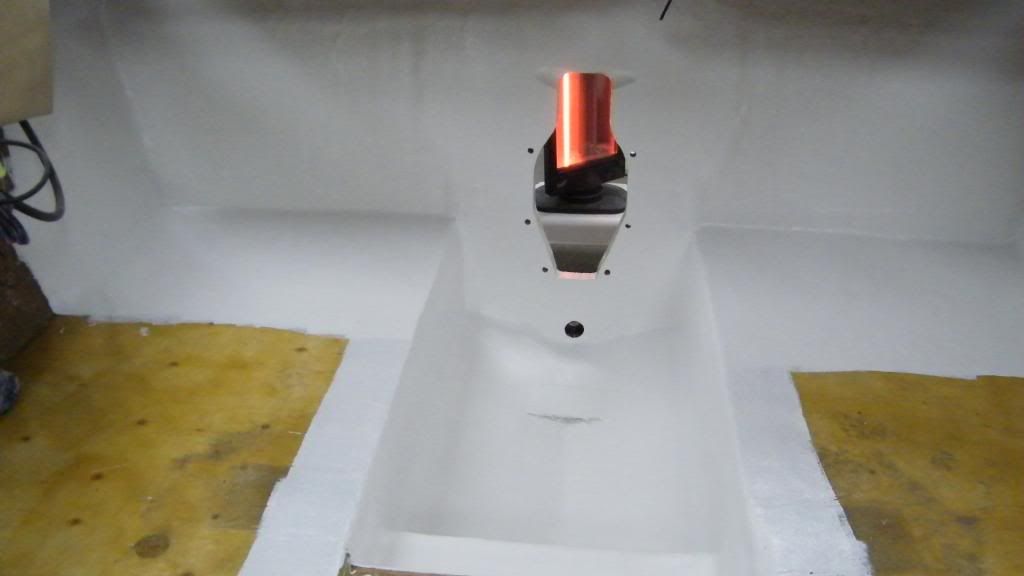
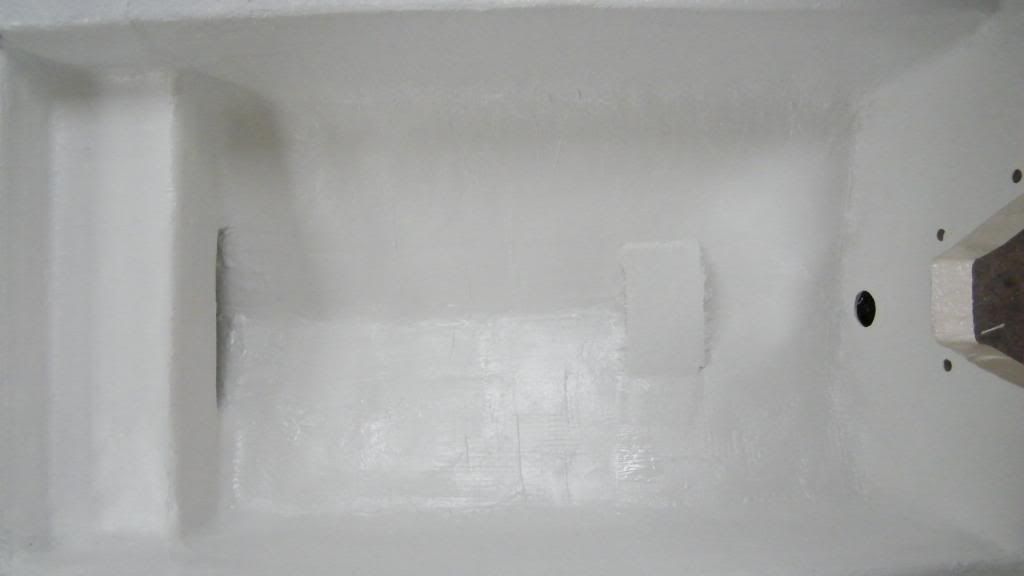
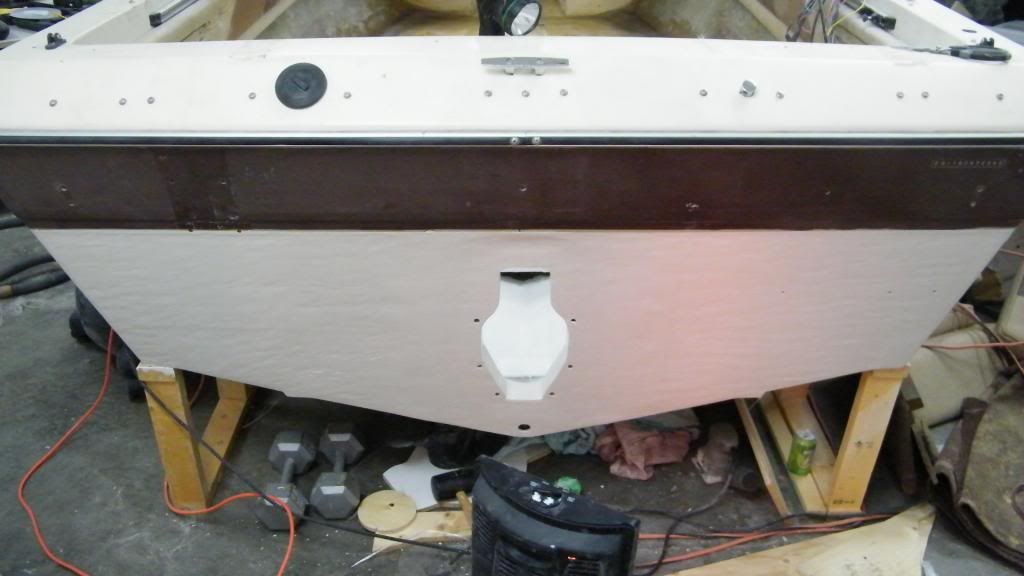
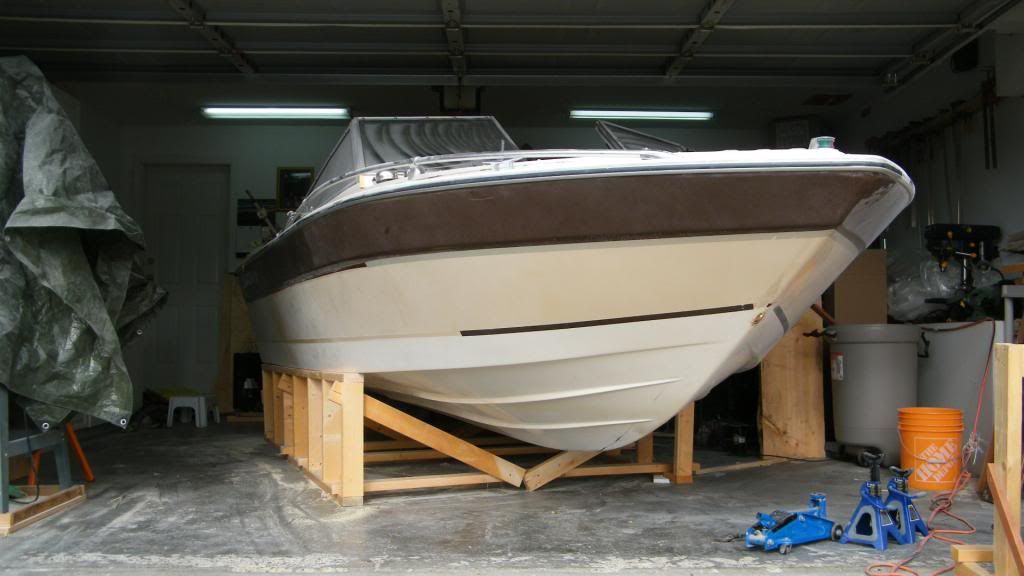
Was able to install the last two pieces of the front bow today, also I applied three layers of gel coat to the bildge area with white gelcoat. Four thin layers on the back transom area where I had ground down the old gelcoat. I used styrene wax for the final coat on each. I tinted the rear gel coat a light brown to match the sides of the boat. It's going to take a lot of sanding back there this week!

I used left over gel coat from the bildge coats to coat the inside of the bow storage areas.
DSCF2809_zpsf3ce6fa6.jpg


DSCF2806_zps64d1a704.jpg


DSCF2807_zps069f05d3.jpg


DSCF2808_zps1aab6115.jpg


This week - sand gelcoat and assemble Gimble housing, Friday run motor and change oil & then install back in boat :happy:
 

Jimmy H.

Petty Officer 1st Class
Joined
May 15, 2012
Messages
220
Re: 1986 Campion bowrider restoration

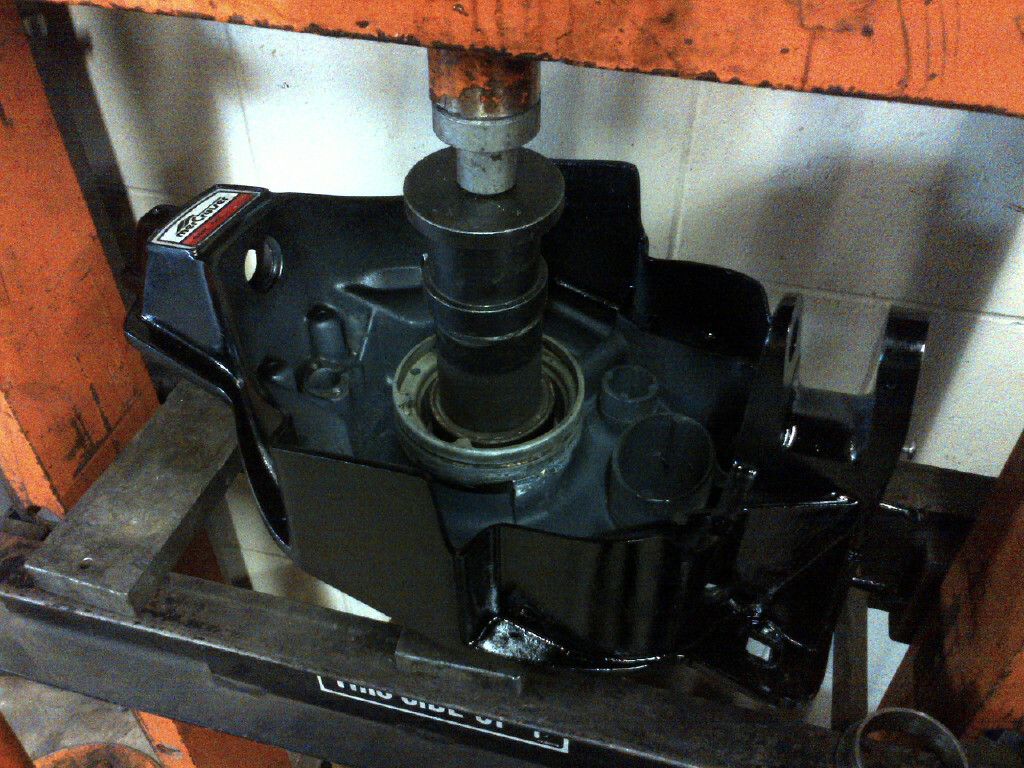
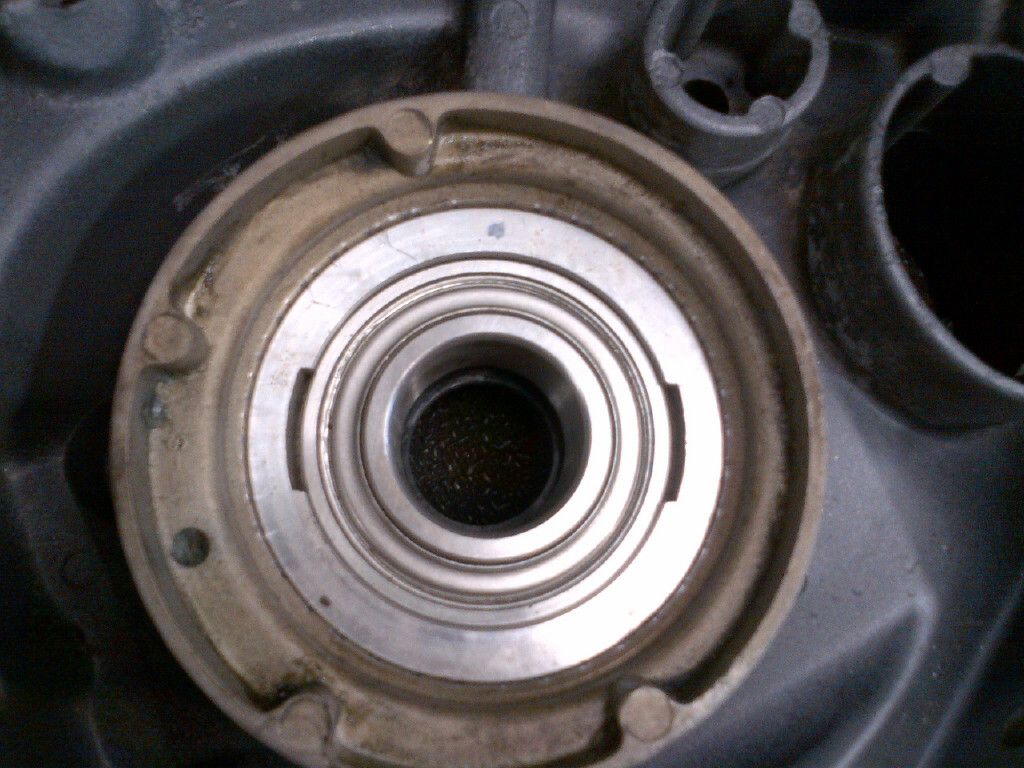
Got the first seal and gimble bearing in just now. Had the bearing in the freezer all day and used the shop press for the job. Slid in nice and easy!


IMG-20130311-00760_zps6ac08ac7.jpg


Made a dot where the grease port was just in case and it lined up perfect!

IMG-20130311-00763_zps38093f9c.jpg
 

Jimmy H.

Petty Officer 1st Class
Joined
May 15, 2012
Messages
220
Re: 1986 Campion bowrider restoration

So all week I've been doing a bit of sanding on the rear gel coat, checking if I have all parts for the Gimble housing, preparing to install the motor, etc...

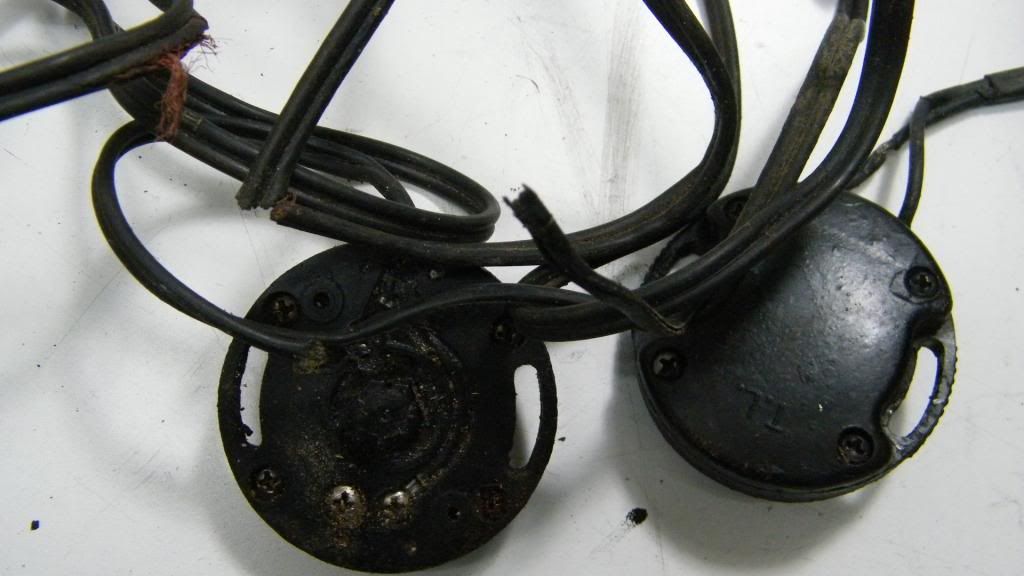
Trim senders were garbage
DSCF2811_zps83ada51a.jpg


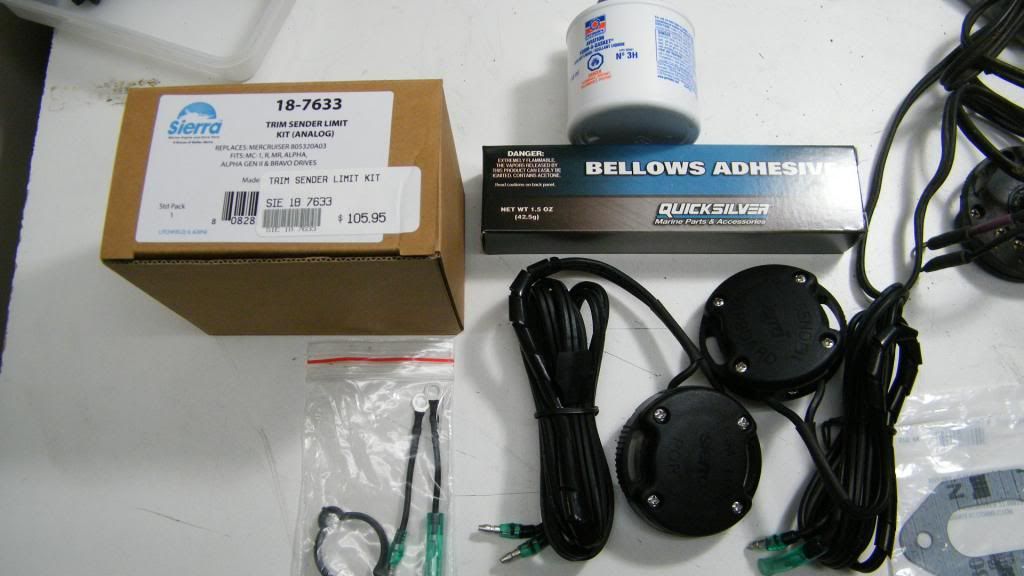
Got new aftermarket ones. OEM were $170 I get 15% off either so these were about $90
DSCF2812_zps13fa259f.jpg


DSCF2813_zps6727855d.jpg


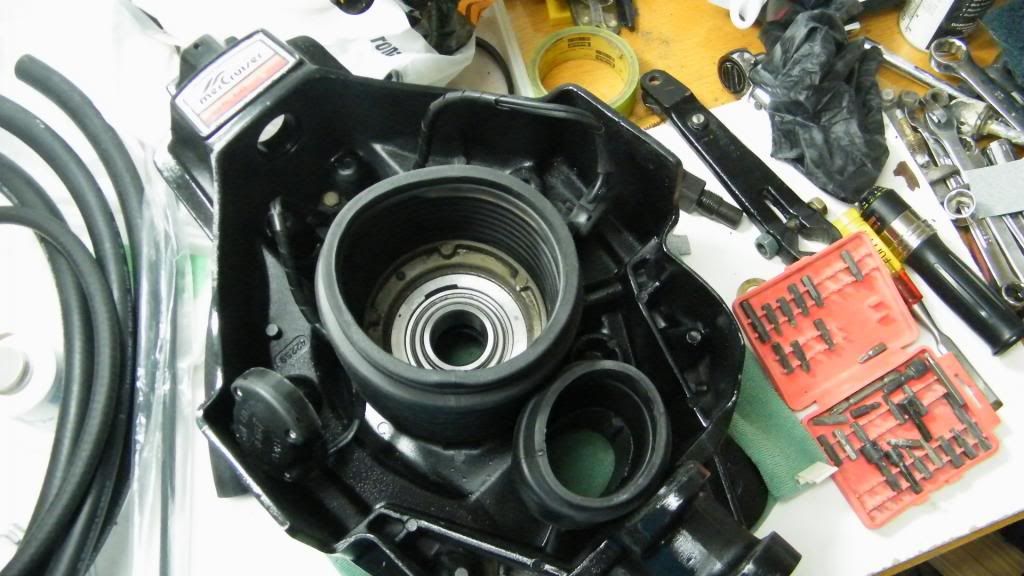
just dry fit these bellows to test
DSCF2817_zps75a62897.jpg


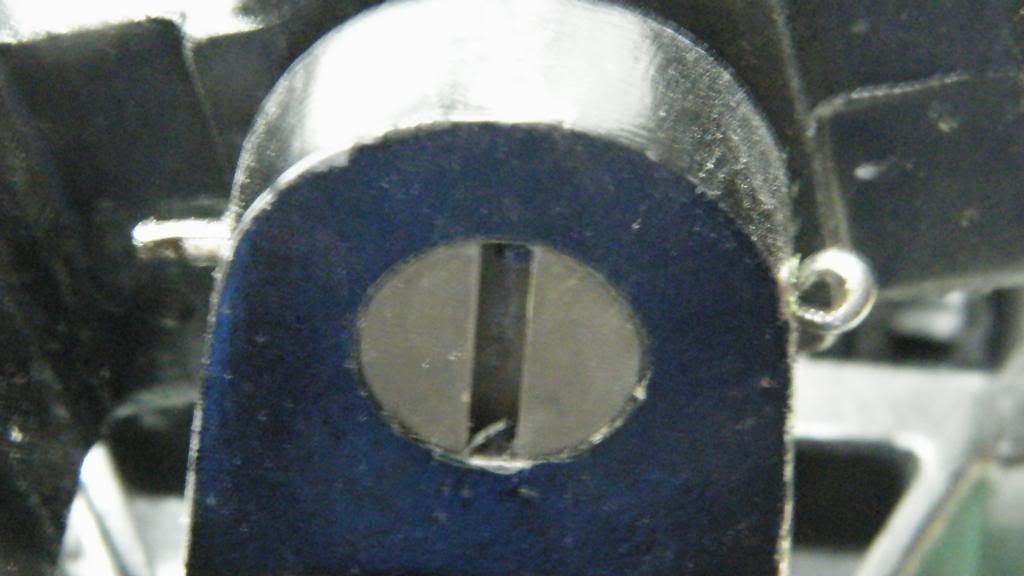
Needed a new hinge pin and managed to get the cotter pin through in about 30 minutes.
DSCF2820_zpsa8143af0.jpg


Installed the old studs with locktite
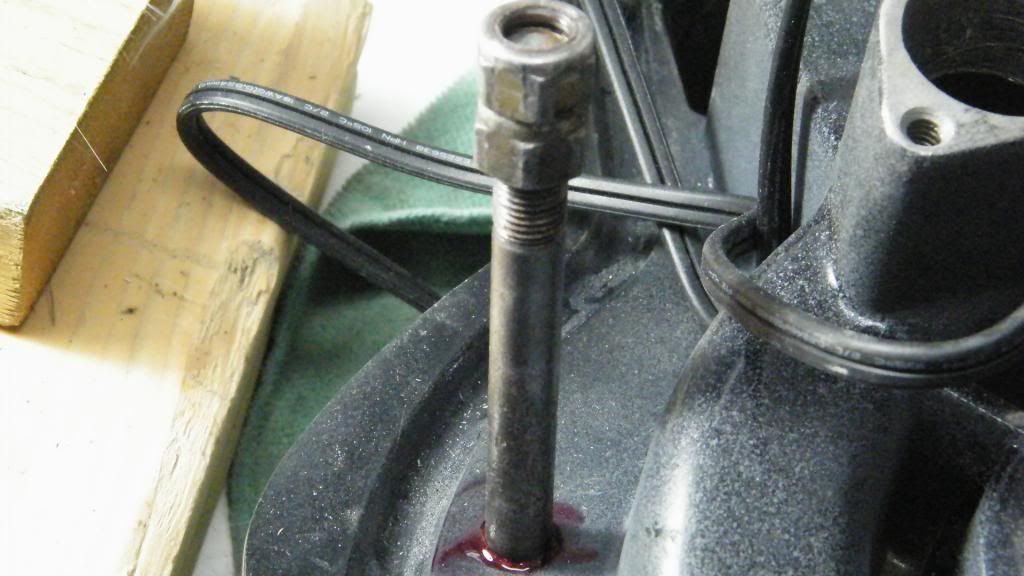
DSCF2821_zps27f333f7.jpg
 

Jimmy H.

Petty Officer 1st Class
Joined
May 15, 2012
Messages
220
Re: 1986 Campion bowrider restoration

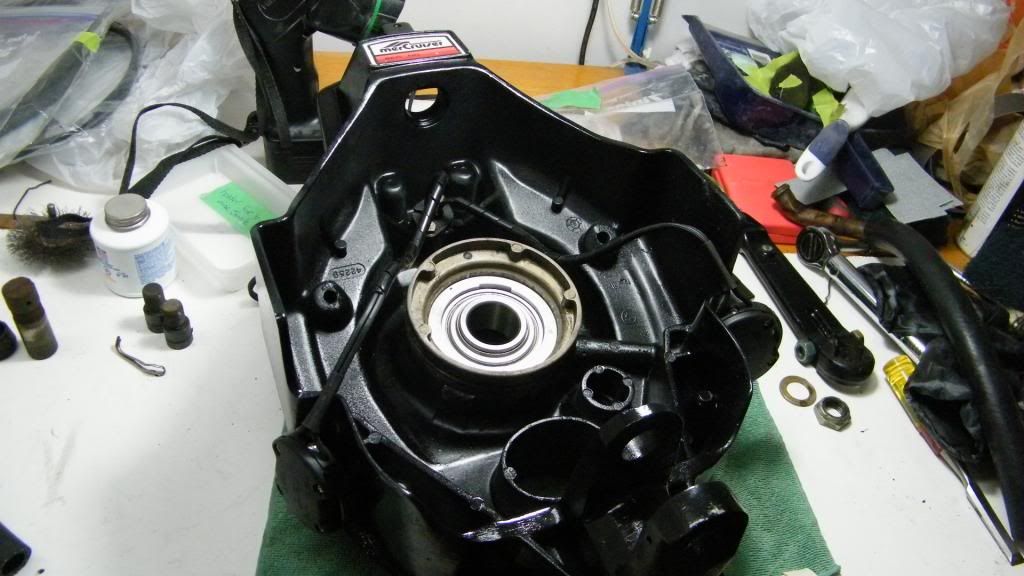
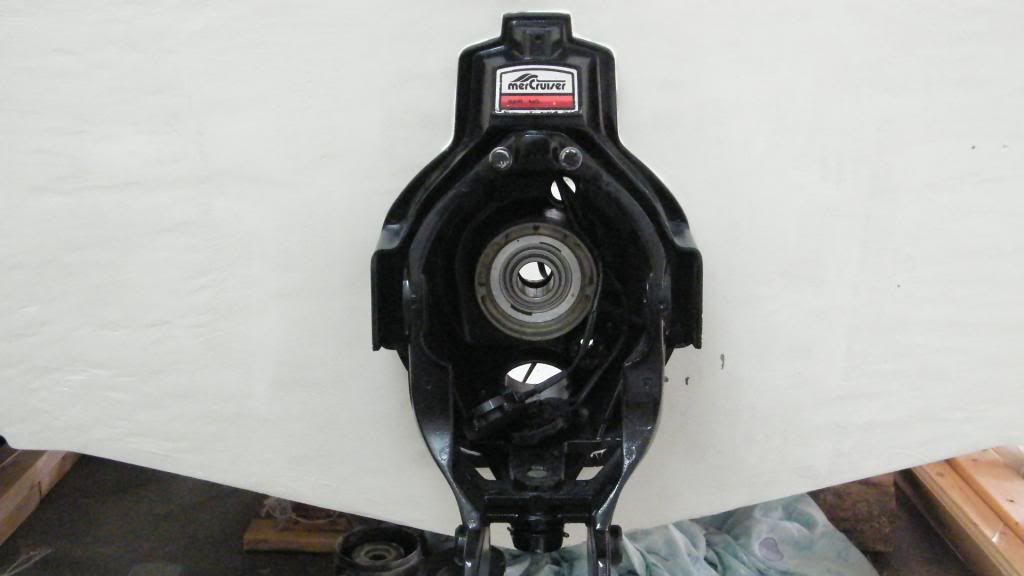
Installed the Gimble ring last night and then mounted it to the transom this morning with a new transom seal of course. So far I've only sanded the gel coat near the keyhole area.

DSCF2823_zpsa5e55ea7.jpg


DSCF2824_zps0c660ec5.jpg


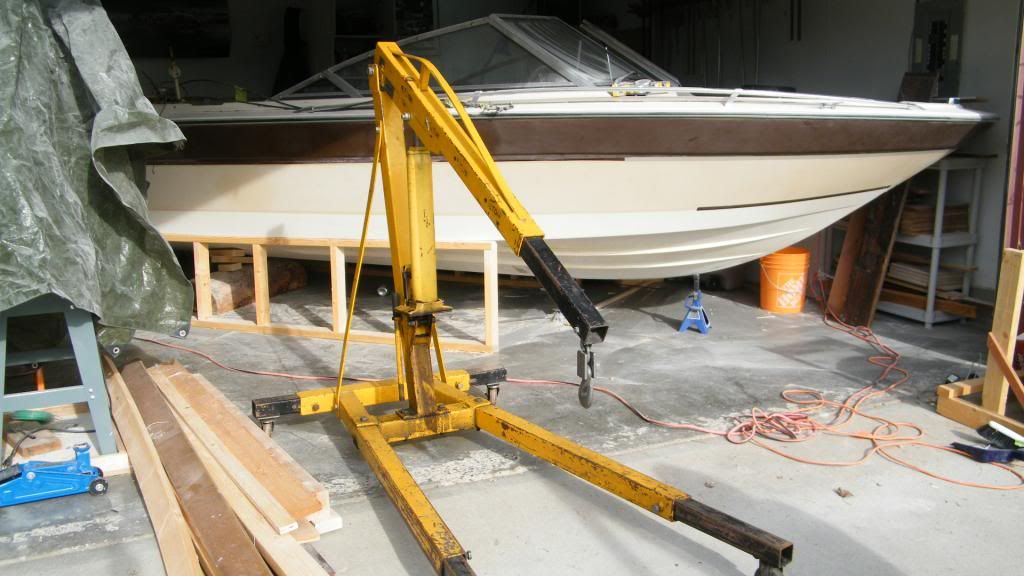
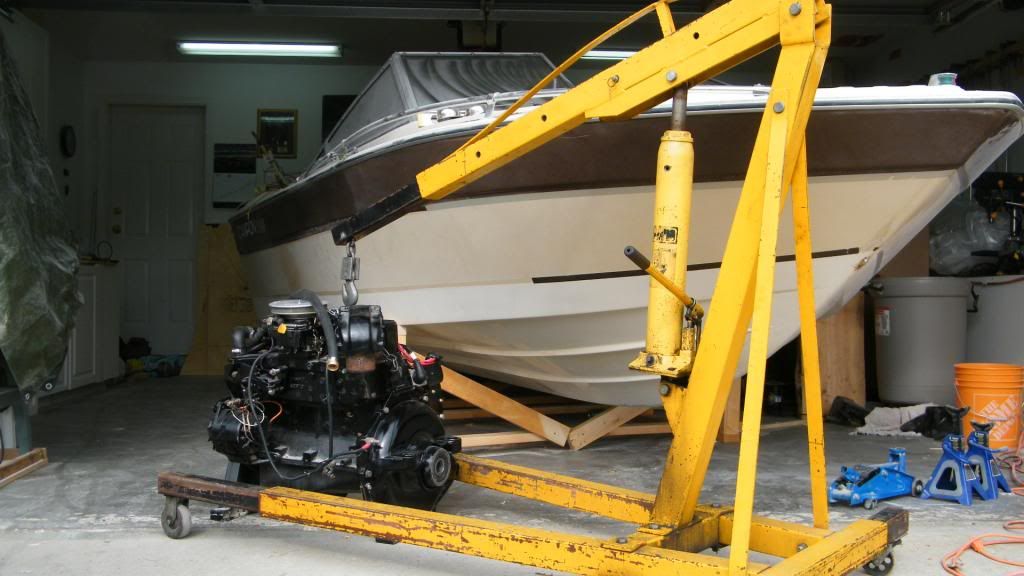
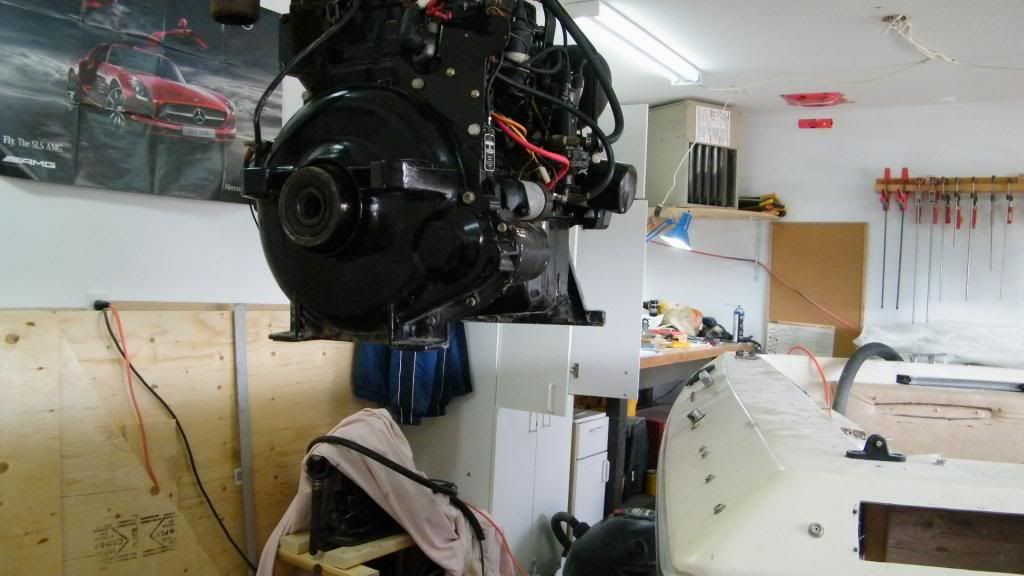
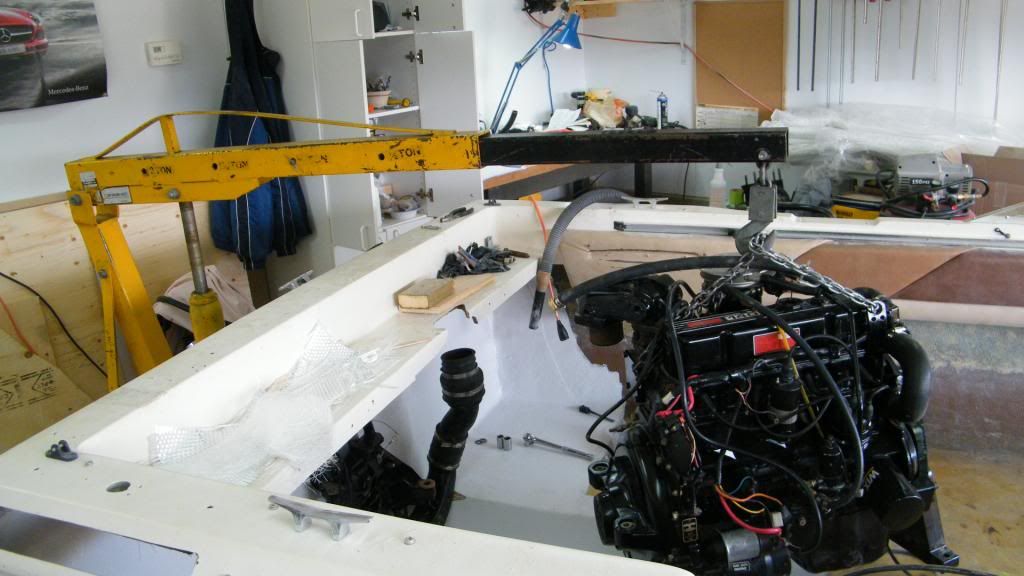
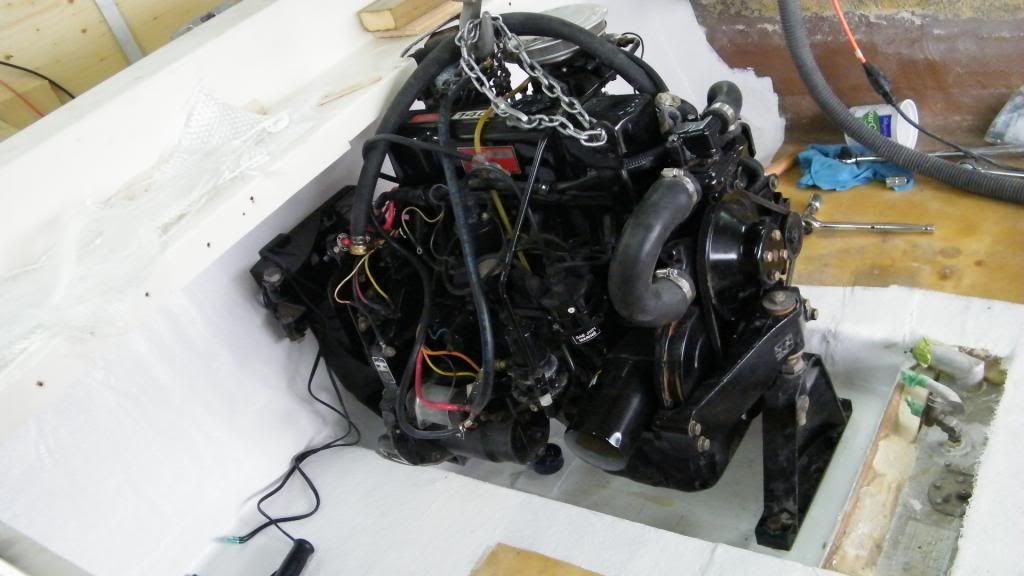
I pulled the motor out of the garage, started it up and then drained the oil and changed the filter. Figured it would be easier to drain it now while it's still out.

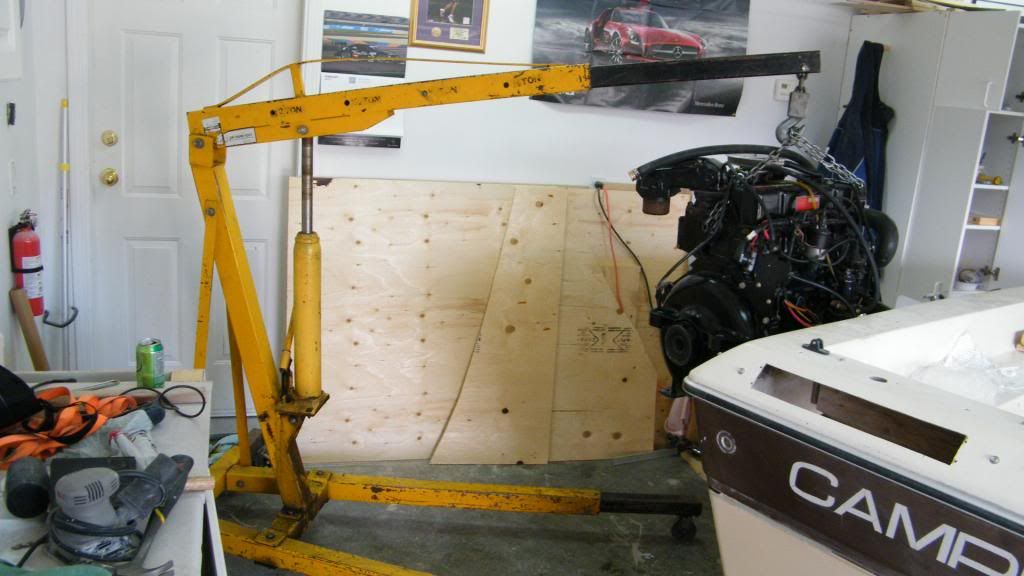
Borrowed the hoist from work.
DSCF2826_zps27d56992.jpg


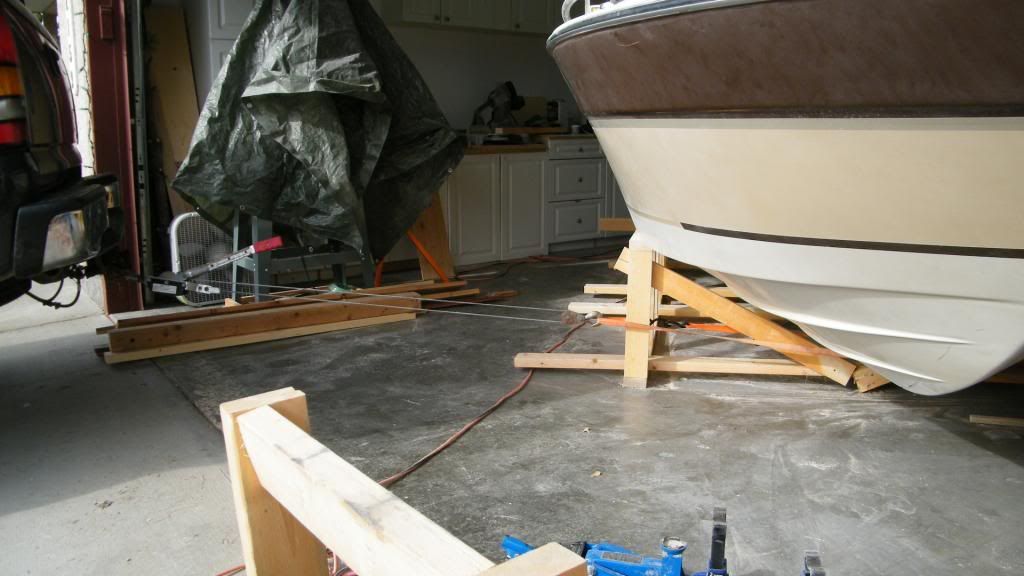
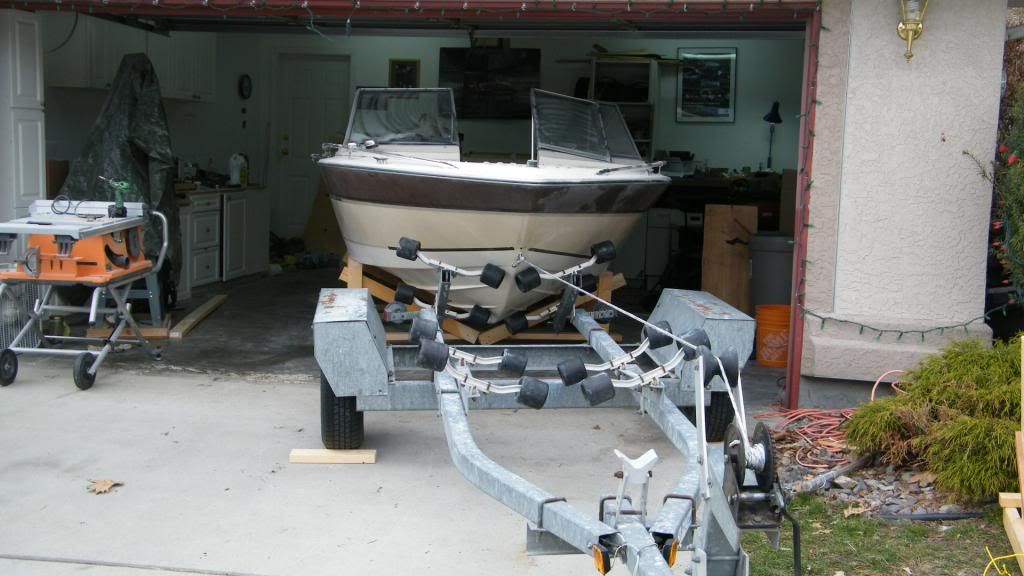
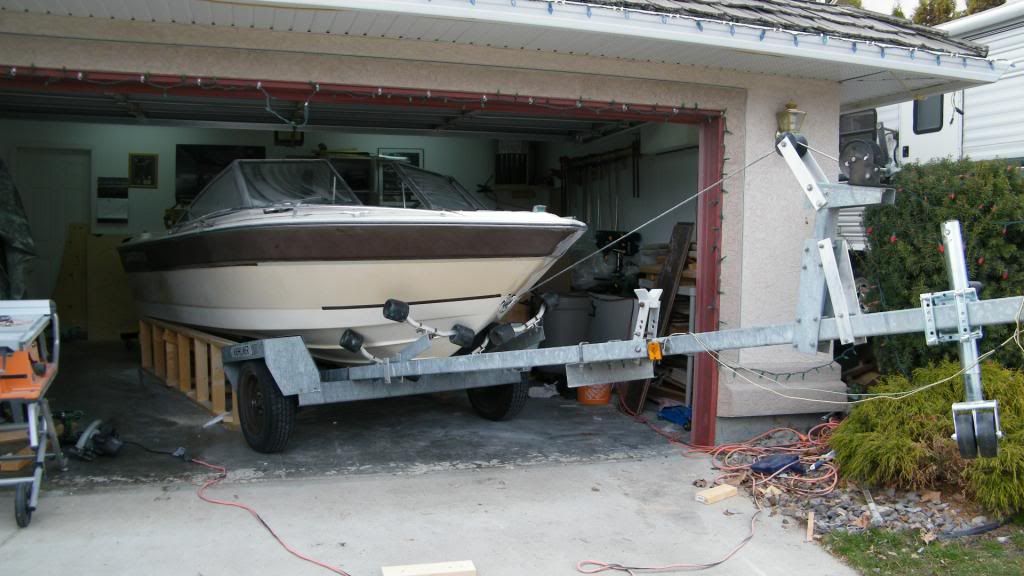
Beefed up the cradle a bit so I could pull it sideways and stick the bow out of the garage
DSCF2827_zps9d31ffca.jpg


DSCF2828_zps5dbb783a.jpg


DSCF2830_zps2a7ffb2b.jpg
 

Jimmy H.

Petty Officer 1st Class
Joined
May 15, 2012
Messages
220
Re: 1986 Campion bowrider restoration

Now the fun begins! :joyous:

DSCF2831_zps2c9000d9.jpg


DSCF2833_zps9c70068d.jpg


DSCF2837_zpsc13de3fd.jpg


DSCF2838_zpsb6792626.jpg
 

Jimmy H.

Petty Officer 1st Class
Joined
May 15, 2012
Messages
220
Re: 1986 Campion bowrider restoration

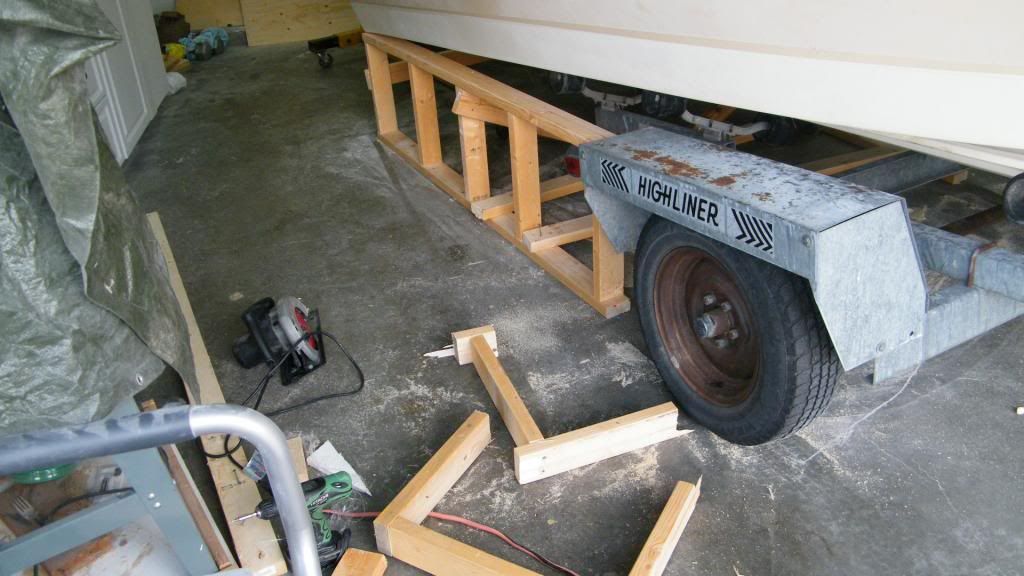
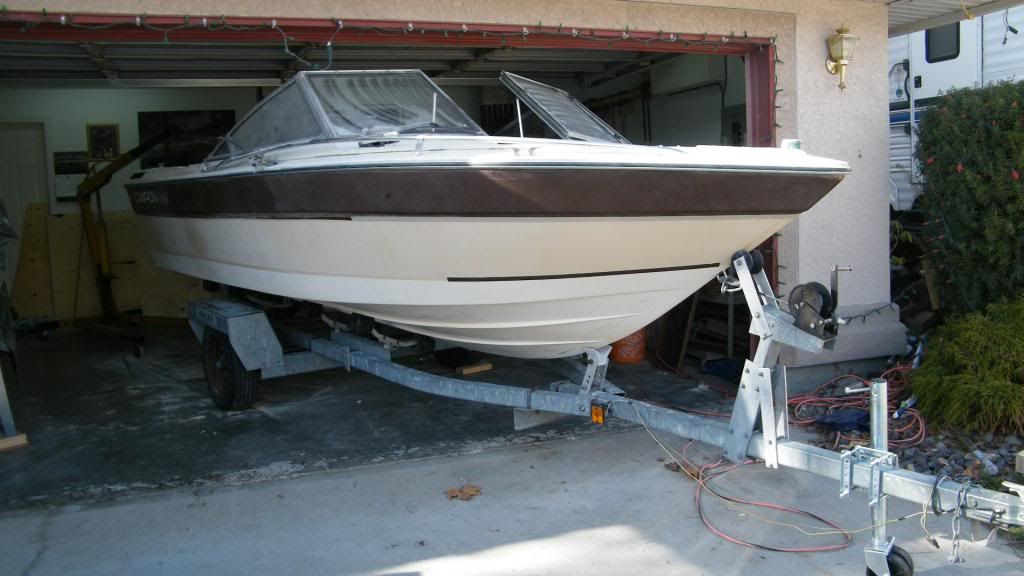
Last on the list today was to get the boat back on the trailer. The cradle was very low so I had a plan...


DSCF2840_zps900518a7.jpg


DSCF2842_zps4f8d3c03.jpg


As it got closer I cut off sections of the cradle.
DSCF2846_zpsf18f3ebb.jpg


I used the engine hoist to relieve some of the weight at the back while I cranked the winch.
DSCF2847_zpsd52e179c.jpg


Case closed!
DSCF2849_zps0c1d991a.jpg


Even more room than I thought in the garage with it on the trailer. I will definitely need a ladder or something to get in and out.
DSCF2850_zps8961f4a3.jpg


My neighbor asked me today if it's ready for the lake now?... I had to say not even close!
 

Jimmy H.

Petty Officer 1st Class
Joined
May 15, 2012
Messages
220
Re: 1986 Campion bowrider restoration

Well three days off and I managed to spend over 25 hours on the boat!
Yesterday I checked the engine alignment and eventually got it so the splines on the tool match all the way around and could be pushed in and pulled out with a couple of fingers.

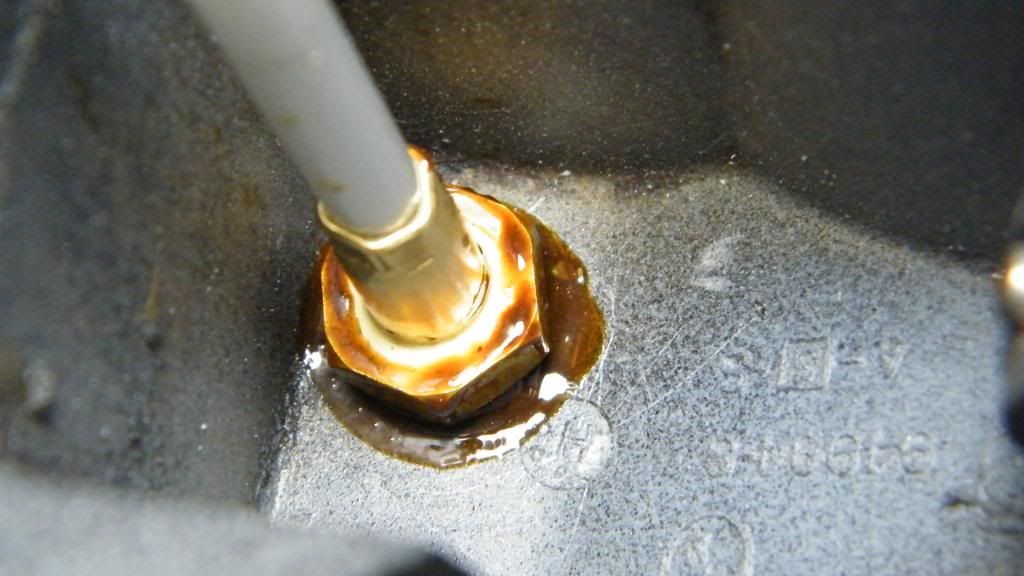
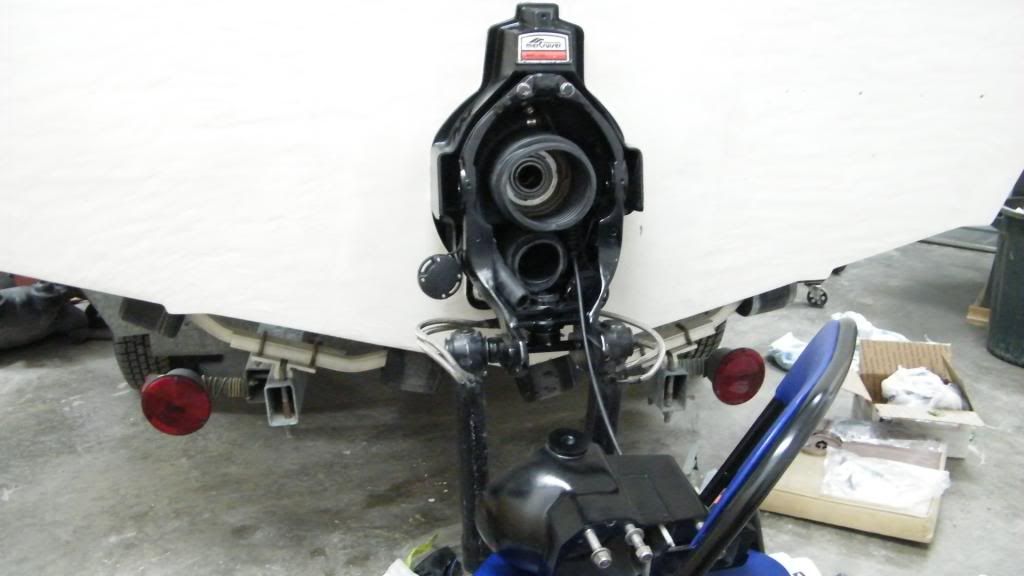
Today, I installed the trim pump manifold on the bottom of the gimble housing with a new seal, installed the water pipe with hose and new rubber grommet, shift cable attached and all three bellows installed. No special tools required, though I'm sure it would have been quicker.

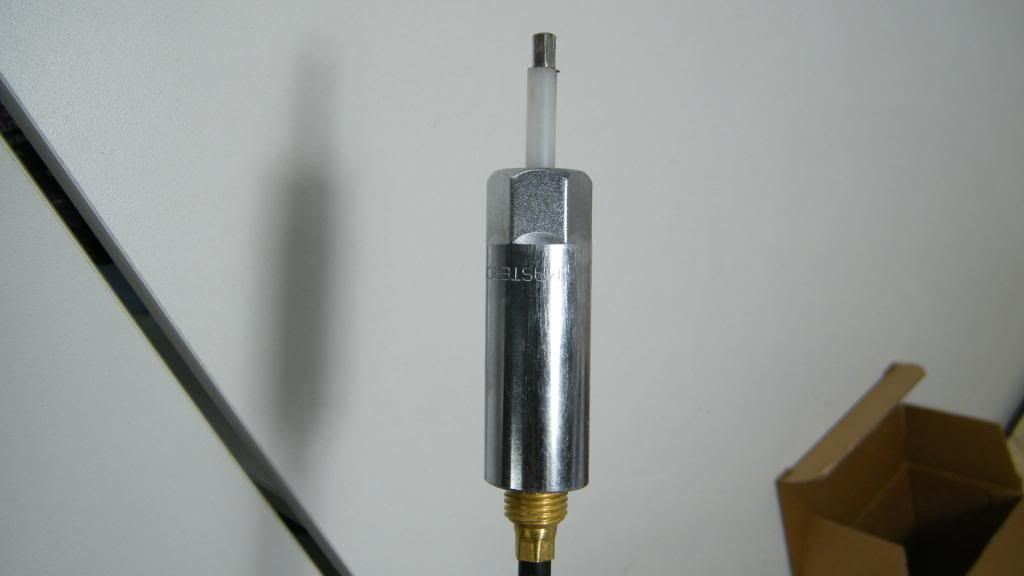
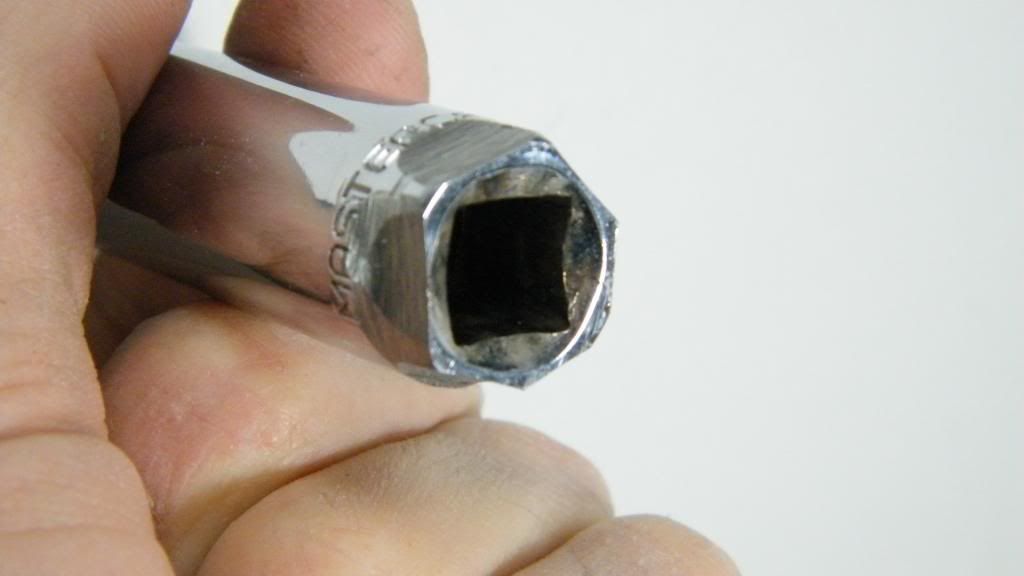
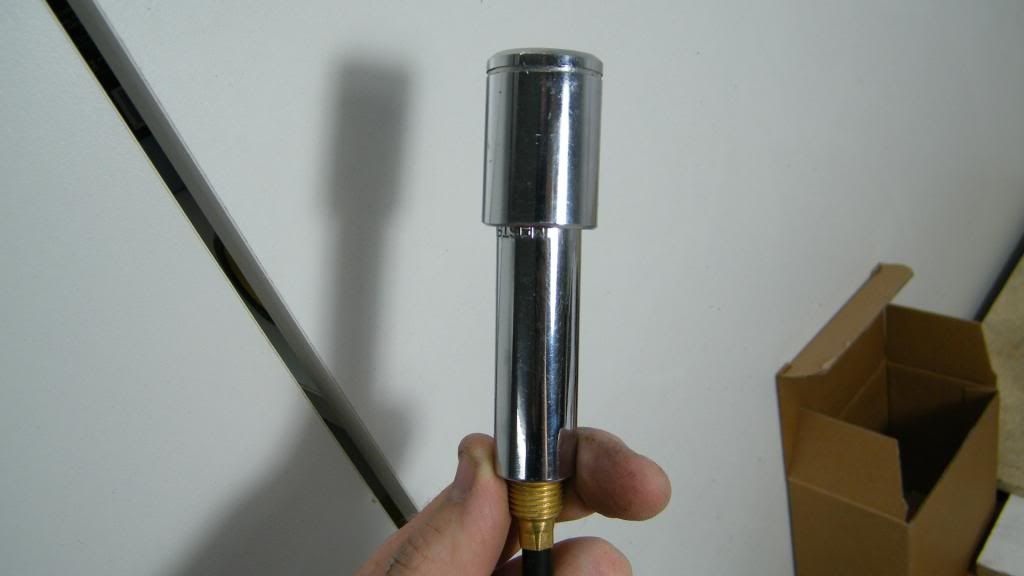
First for the shifter cable you basically need a long socket and I've hear of guys welding two together but since I have no welder at home I ground the end of the first socket to allow another larger socket to fit over it and it worked perfect.

See, even a long socket is too short to get the ratchet on.
DSCF2858_zps685b6513.jpg


used the grinder for a few minutes occasionally dumping the socket in cold water to cool it down
DSCF2859_zpsb2dd5610.jpg


This is the special tool!
DSCF2860_zpsbd6e4aa9.jpg


Worked good.
DSCF2861_zpsbf15dc4a.jpg
 

Jimmy H.

Petty Officer 1st Class
Joined
May 15, 2012
Messages
220
Re: 1986 Campion bowrider restoration

The bellows took a bit longer but I managed to pull it off without the expander tool.


DSCF2862_zpsa82bcce5.jpg


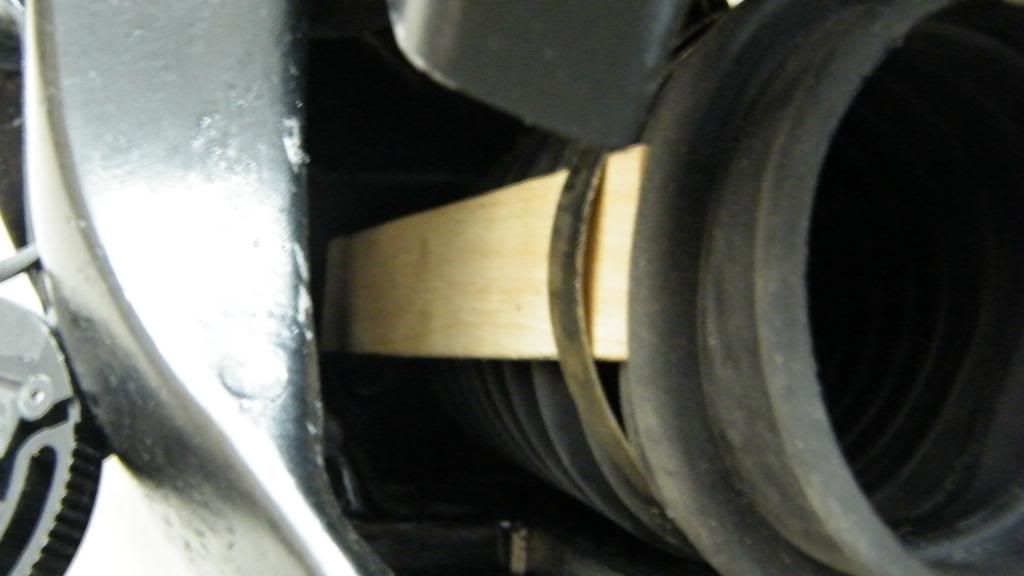
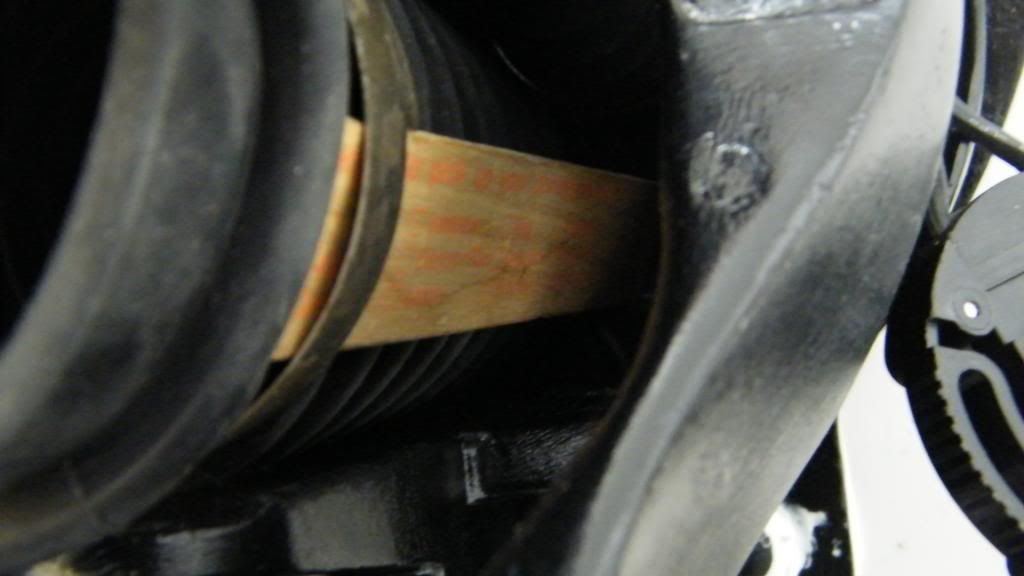
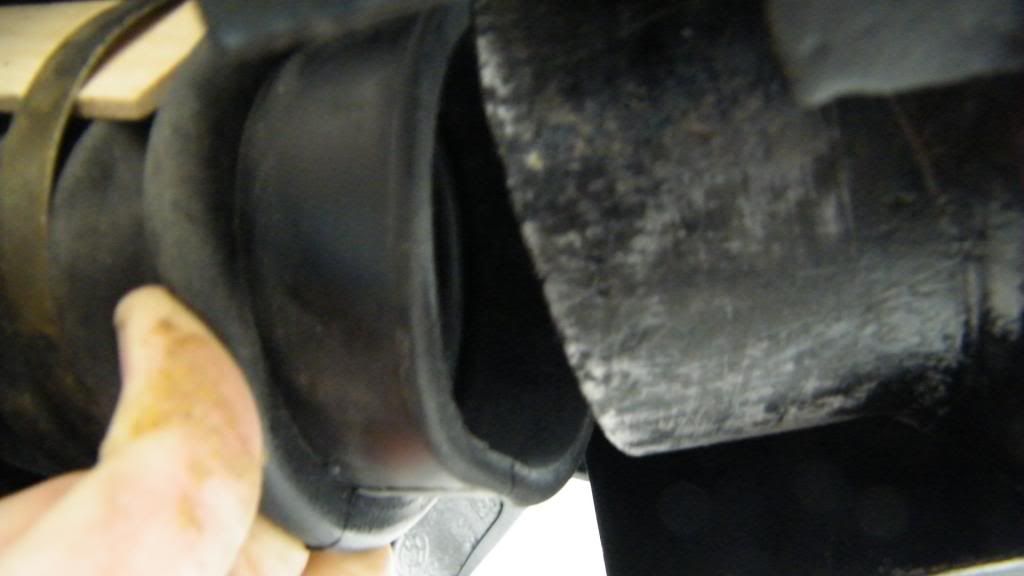
For the exhaust bellows to connect to the bell housing I saw a video on you tube about using paint sticks to stretch out the bellows and it worked like a charm

DSCF2863_zpsce421e8f.jpg


one on each side
DSCF2865_zps9120d88a.jpg


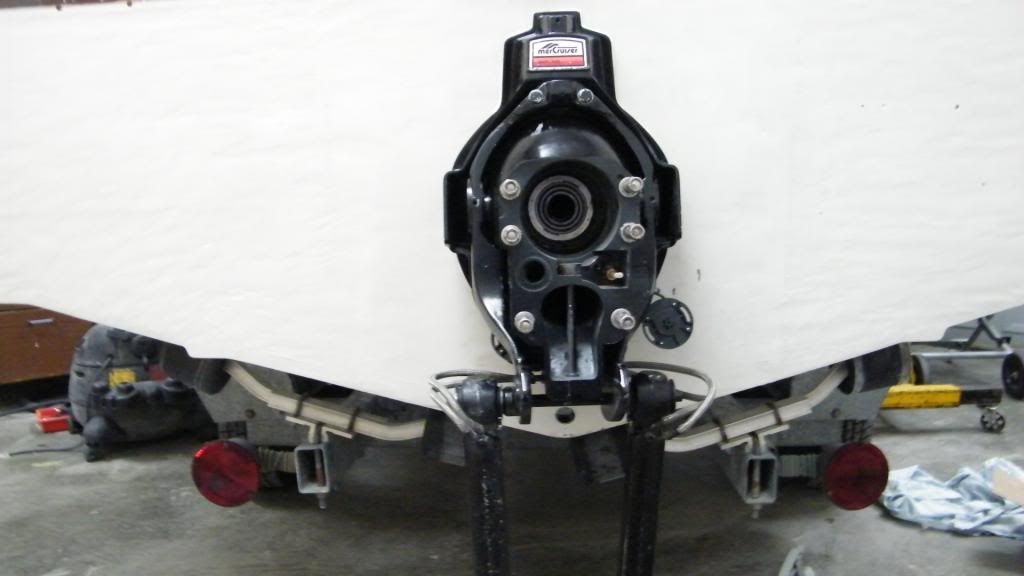
Then it is this close with the housing all the way up.
DSCF2866_zps2034ebc5.jpg


When I let it down it slid right in. I used OEM bellows adhesive and managed to secure all the grounding clips and clamps.
DSCF2867_zpscf2a71b2.jpg


Yes the gel coat still needs sanding :facepalm:

Time for a break!
 

Jimmy H.

Petty Officer 1st Class
Joined
May 15, 2012
Messages
220
Re: 1986 Campion bowrider restoration

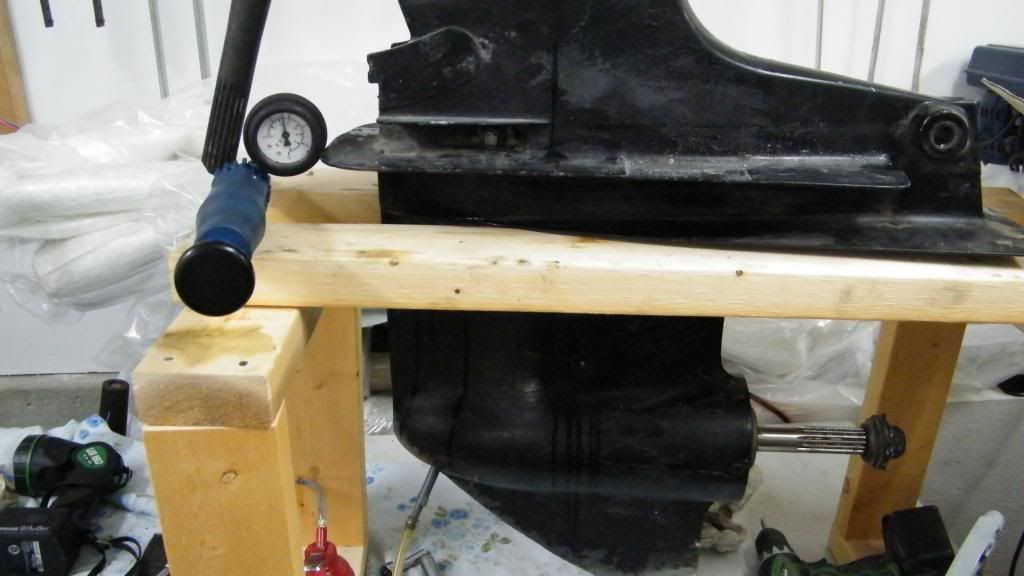
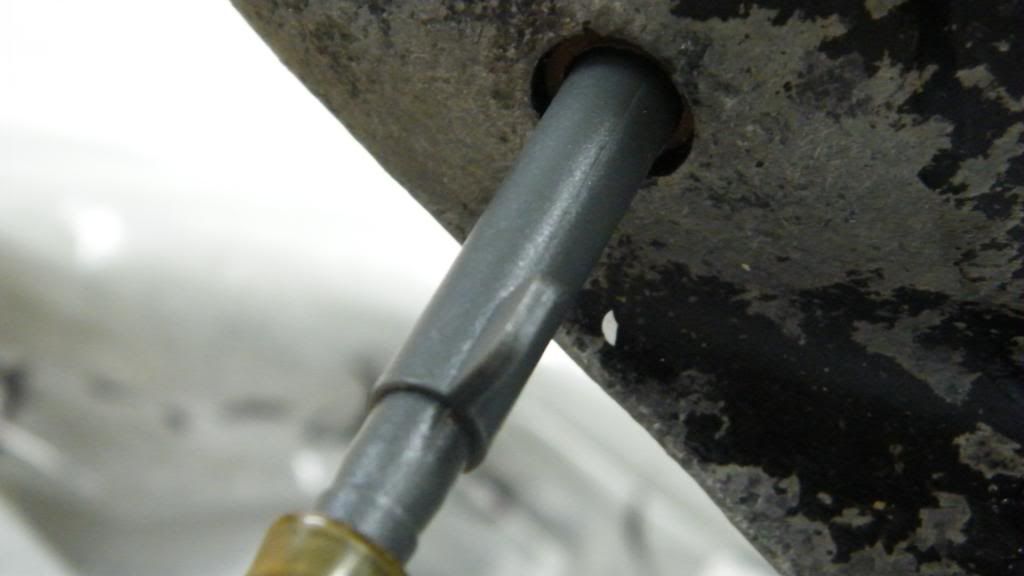
So Monday I split the drive apart and inspected everything. It all looked good including the impeller but I had bought the water pump kit so I replaced it all to be safe. I re-assembled he drive and pressure tested it using the drain plug fitting ffrom the filling device and the same pump attached I used for the fuel tank.


DSCF2868_zps76458c4a.jpg


DSCF2869_zps7e2780c8.jpg
 

Jimmy H.

Petty Officer 1st Class
Joined
May 15, 2012
Messages
220
Re: 1986 Campion bowrider restoration

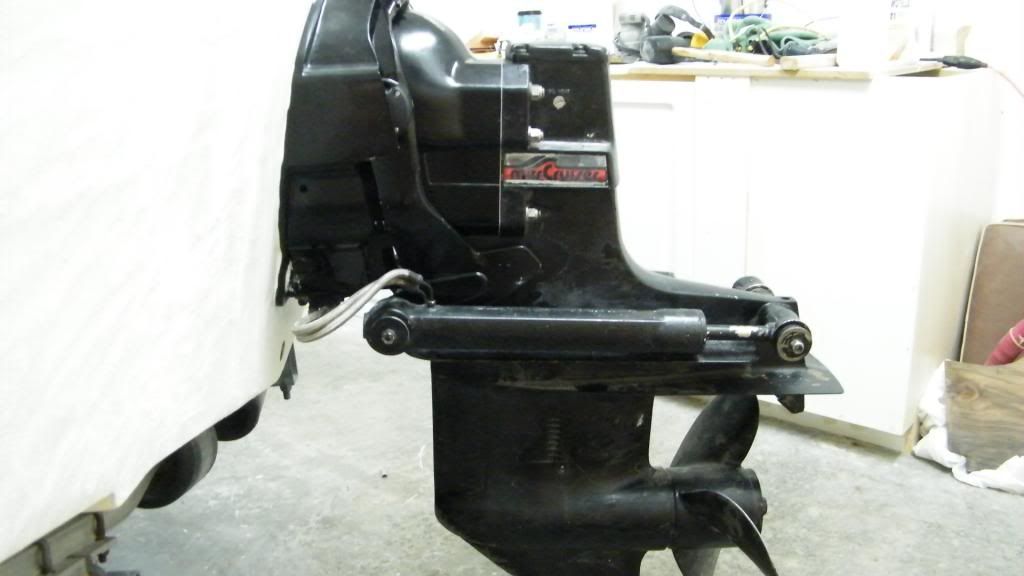
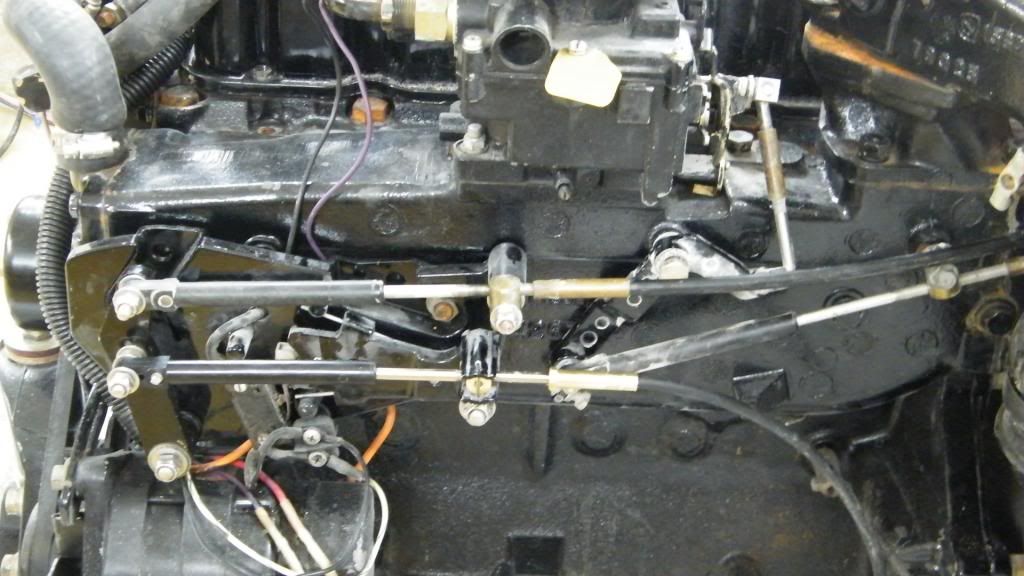
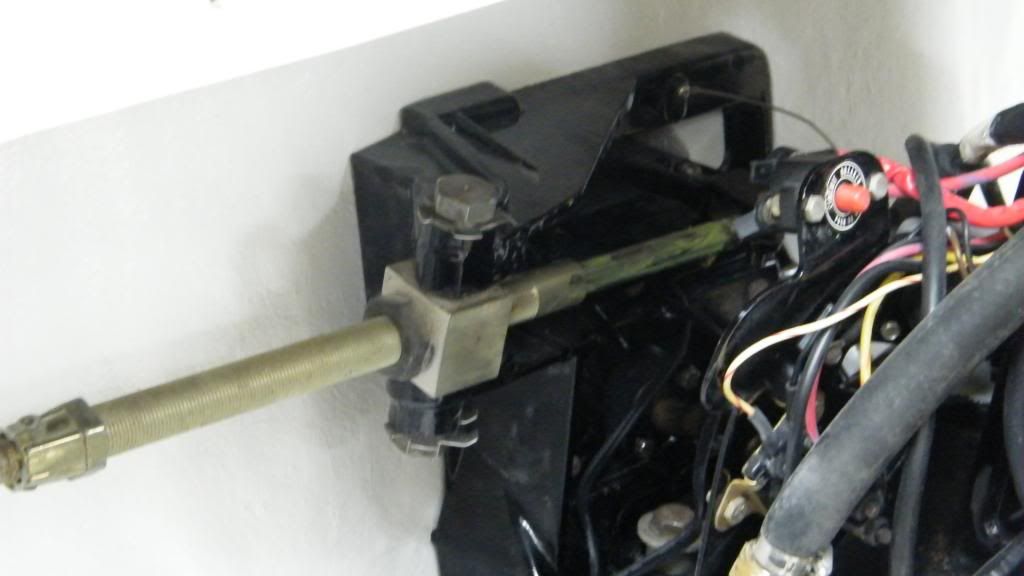
Tuesday I assembled the drive by myself which was a bit tricky. I had to rotate the splines slightly and then it just slid right in. New seals and o-rings for that. I bought special spline grease from the dealer for the coupler and drive splines. Tonight I set up the shift cables, throttle cables and steering cables per the manual and the drive locks into forward and reverse great. At this point I can actually see this thing working when I get it in the water!


DSCF2872_zpsfae0ed52.jpg


DSCF2873_zps66229fed.jpg


DSCF2874_zps4a1f00d5.jpg


I have a test battery for the trim to make sure that works ok and then start it on muffs to test the idle, throttle and shifting. Then I can make a battery box, storage, mount the trim pump & wiring, build a new engine cover, rear seating, finish front bow section seating, carpet, main seats, fish finder, fuel, (a dozen other things) and last but not least I'll need a big lake to test it out!!!
 
Top