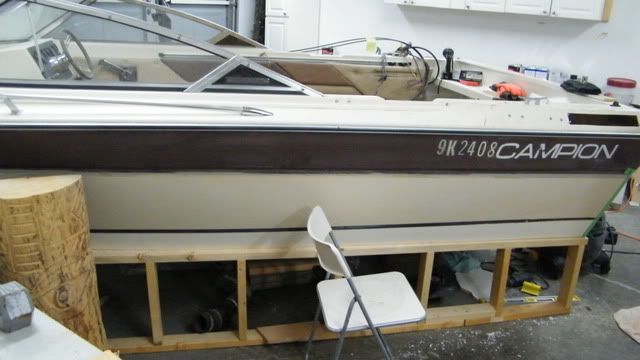
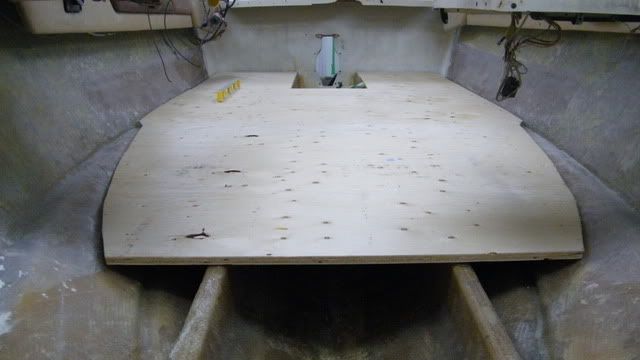
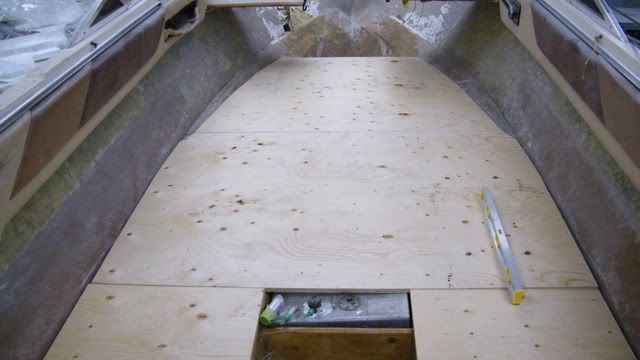
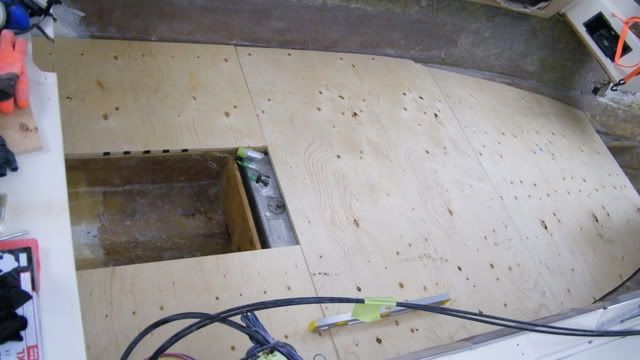
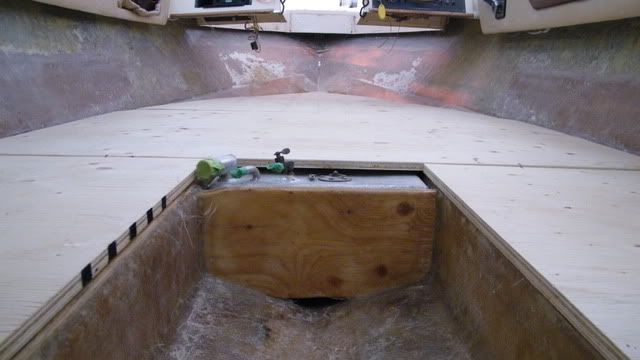
1986 Campion bowrider restoration

PS94

Petty Officer 1st Class
Joined
Aug 1, 2009
Messages
293
Re: 1986 Campion bowrider restoration

hard to get motivated to do anything in the cold!
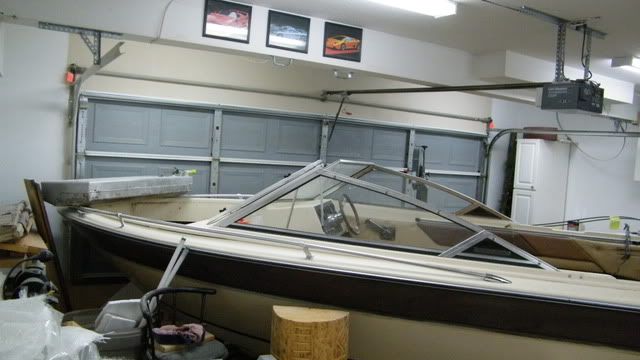
I'm jealous that your boat fits in the garage!!!
 

Jimmy H.

Petty Officer 1st Class
Joined
May 15, 2012
Messages
220
Re: 1986 Campion bowrider restoration

Thanks, a garage with furnace is great during the winter. Next time though I'll make sure to do all the grinding outside first :lol:. The leaf blower has come in handy for dust clean up though!
 

Friscoboater

Captain
Joined
Jul 3, 2009
Messages
3,095
Re: 1986 Campion bowrider restoration

Looks like great work so far!! Are you using CSM with epoxy? I thought that was just for Polyester resins. I know nothing about epoxy, so that is why I ask.
 

Jimmy H.

Petty Officer 1st Class
Joined
May 15, 2012
Messages
220
Re: 1986 Campion bowrider restoration

Hey Frisco, good to hear from you. Almost went with epoxy at first but quickly changed over to polyester and that's all I've used. By the way thanks for all your efforts making videos of your work! I enjoyed watching everyone of them while I was boat hunting last year.
 

Jimmy H.

Petty Officer 1st Class
Joined
May 15, 2012
Messages
220
Re: 1986 Campion bowrider restoration

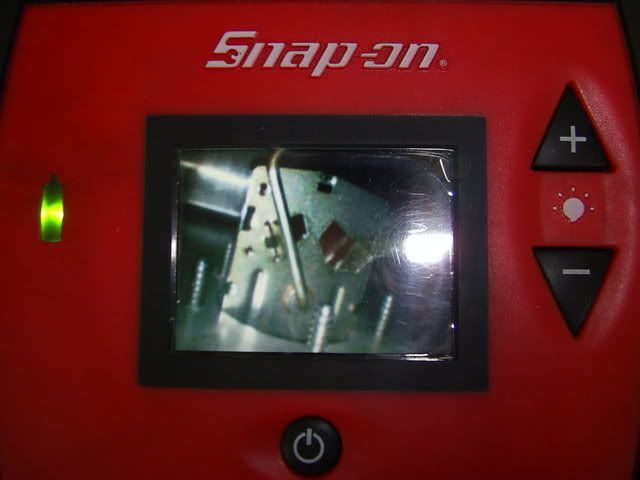
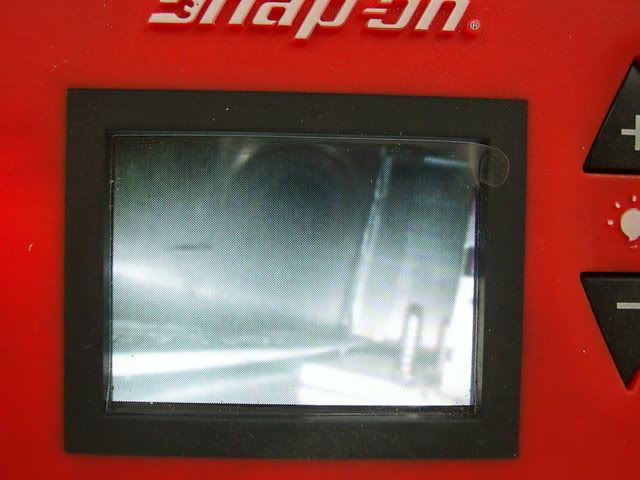
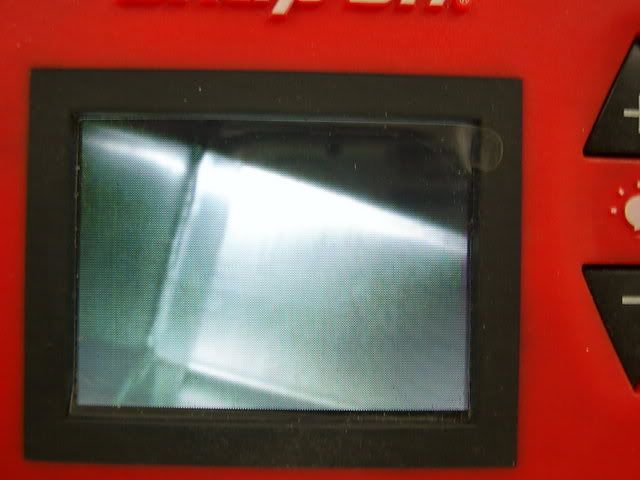
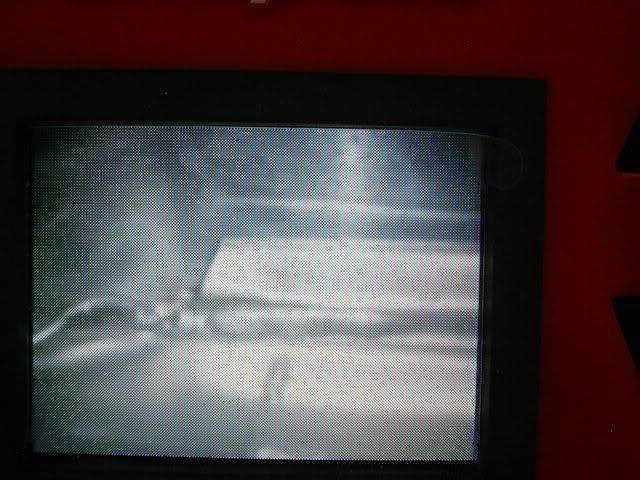
Had a closer look at the fuel tank today with a borescope. Inside looks good, I will bring the tank to work tomorrow and clean it some more inside and out and pressure test it. This weekend I will hopefully install it along with the new deck. Tried to take some pics using the scope.

SA400160_zps18f3269c.jpg


SA400163_zps143a42cb.jpg


SA400164_zps337de8d0.jpg


SA400166_zpsb879d65a.jpg
 

Hoosmatroos

Petty Officer 1st Class
Joined
Jul 11, 2011
Messages
250
Re: 1986 Campion bowrider restoration

Nice. Will follow your progress.
 

Jimmy H.

Petty Officer 1st Class
Joined
May 15, 2012
Messages
220
Re: 1986 Campion bowrider restoration

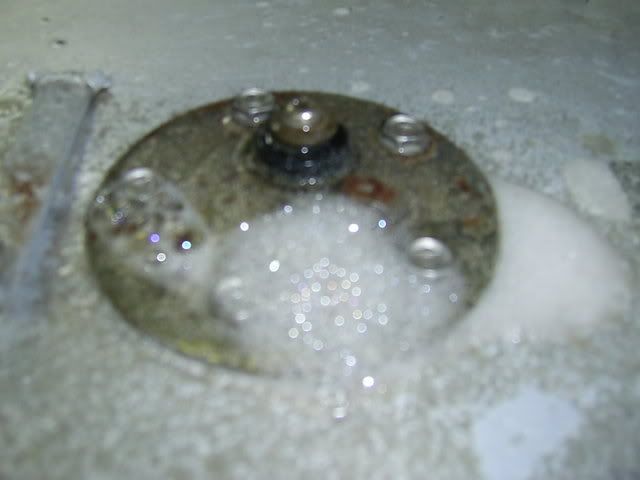
Tried to pressure test the tank this afternoon/tonight.

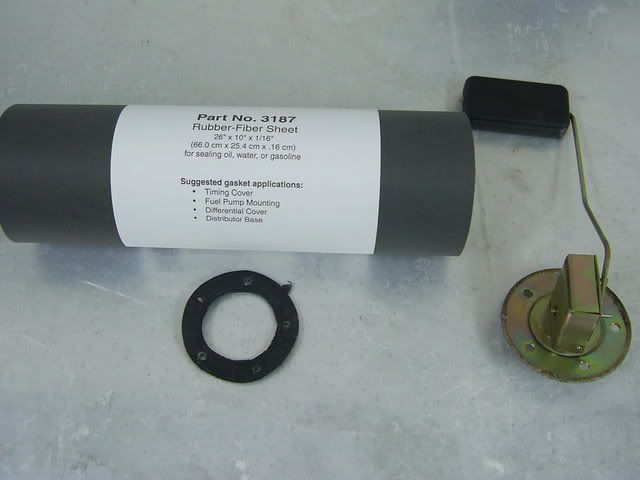
First made a new gasket with some bulk rubber sheet as the old one was cracking.
SA400017_zps14bbe480.jpg


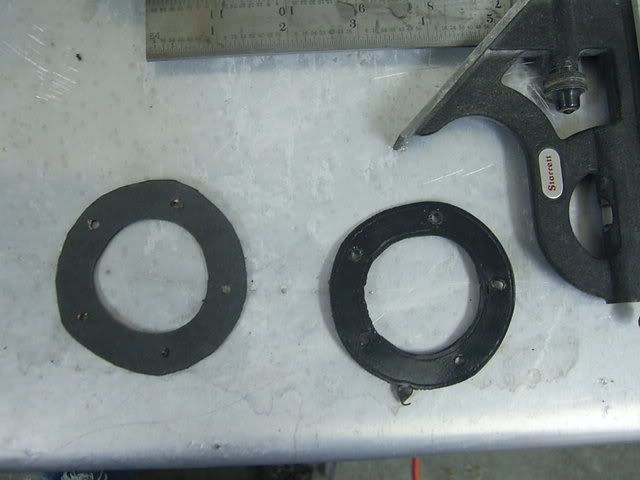
Seemed to have worked pretty good...
SA400018_zps61a83de8.jpg


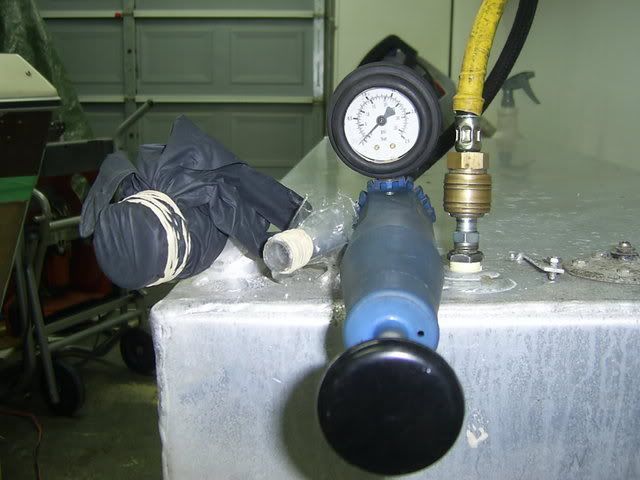
Installed the new gasket for the sender unit, plugged the fill and vent pipes and hooked up the pump gauge.
SA400020_zps18eb5b41.jpg


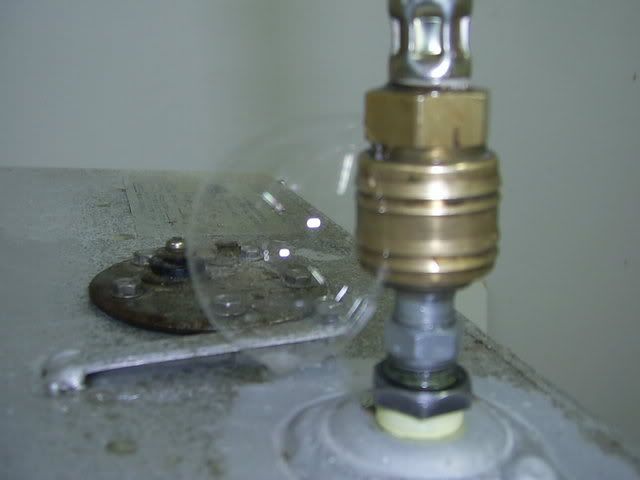
First try didn't work so well, the fitting I used was wrong size I guess.
SA400023_zps1552460b.jpg
 

Jimmy H.

Petty Officer 1st Class
Joined
May 15, 2012
Messages
220
Re: 1986 Campion bowrider restoration

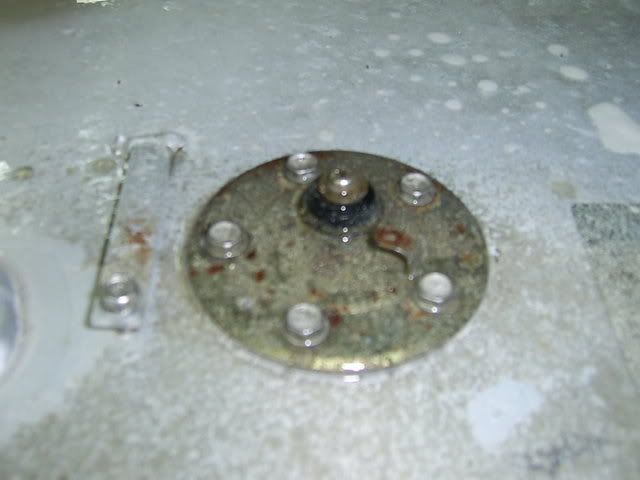
2nd try worked better and pressure was building up, I detected a leak right away at just over 3 PSI.

Was the new gasket not working???
SA400025_zps1f1210f5.jpg


It was fine just needed to torque the bolts a bit more and was perfect!
SA400026_zps345013a2.jpg


I continued to soak the tank side to side, top to bottom for a few hours and everything was good enough for me!:D
 

Jimmy H.

Petty Officer 1st Class
Joined
May 15, 2012
Messages
220
Re: 1986 Campion bowrider restoration

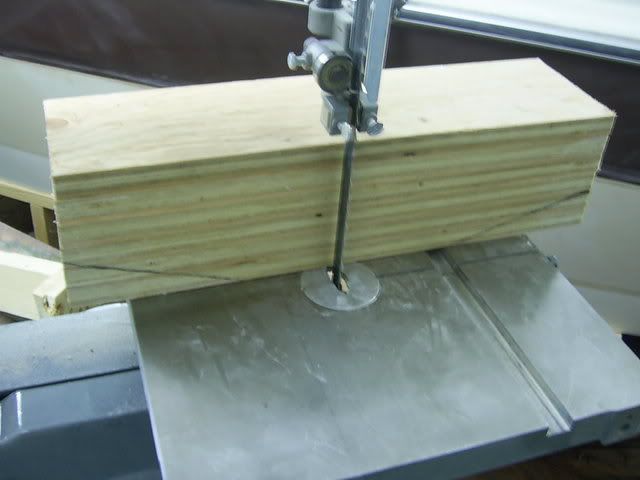
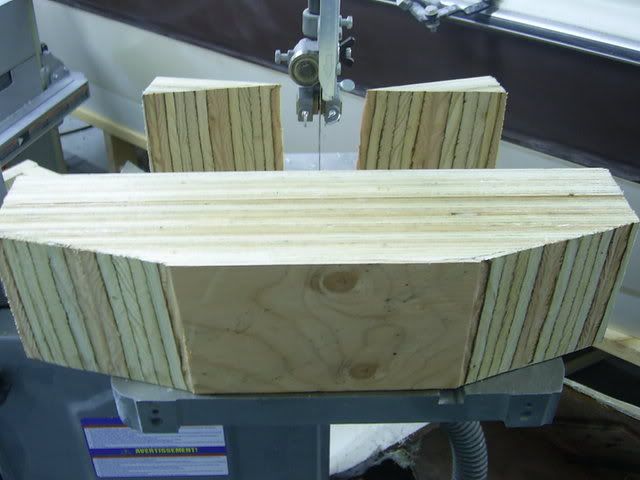
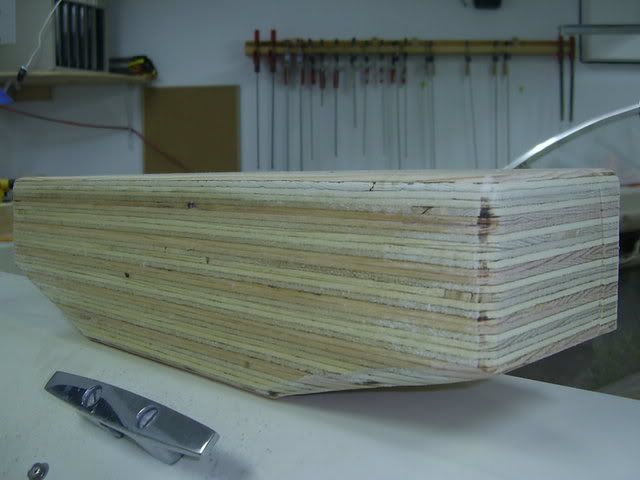
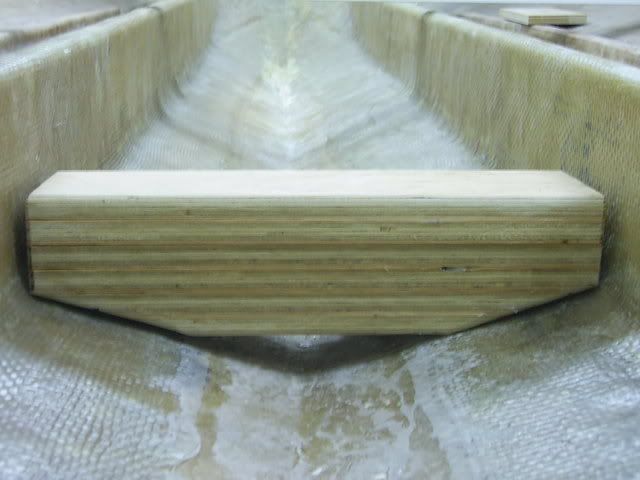
Only accomplished a bit tonight, made some measurements and cut out the new motor mount with the bandsaw and rounded over the edges with a router and round over bit. Tomorrow I'll try and glass the mount and install it, the fuel tank base and bulkheads to enclose the tank space. Install and foam the tank Saturday. Sunday start to cut pieces for the new deck. Would love to walk around in this thing soon!

SA400167_zps67075c64.jpg


SA400169_zps2a6e40c4.jpg


SA400170_zpsa87ead80.jpg


SA400172_zps2a08ea2c.jpg
 

Jimmy H.

Petty Officer 1st Class
Joined
May 15, 2012
Messages
220
Re: 1986 Campion bowrider restoration

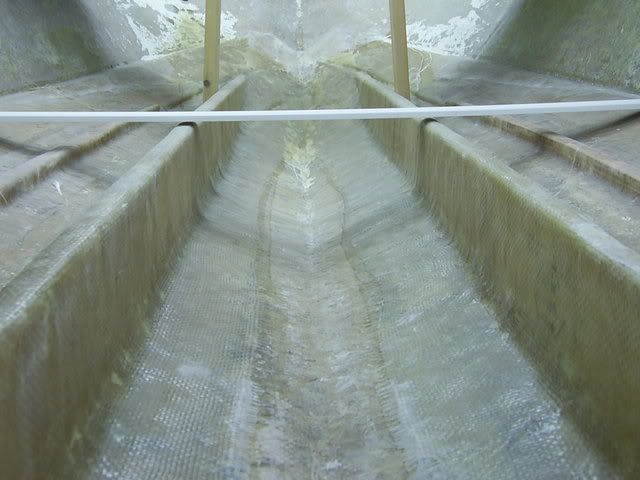
Well my plan was to have the tank in place and new deck installed by now and guess what?? Yes your right... Never happened. I did get a lot of work done but things didn't go as fast as I'd thought. First I raised the stringers with a cap to get them to the exact height. I fabricated the fuel tank holder, glassed the underside and installed it. I am ready to install the tank tomorrow and I will use some pour in foam for that. Here are some pics of the last few days. Enjoy!
James


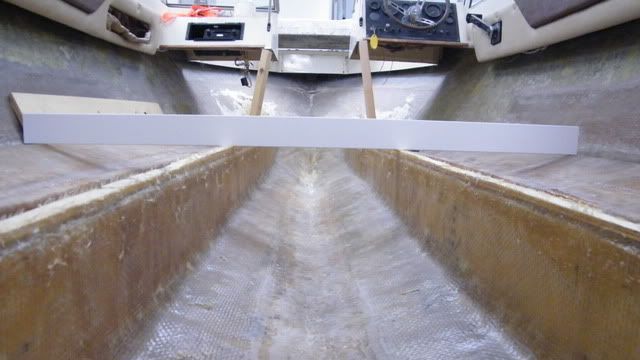
This board on top is sagging a bit and still not touching the stringers.
SA400150_zpsd966b75f.jpg


Made caps on top of the stringers measuring both sides a foot at a time and transfered to 3/4" ply and cut with the bandsaw.
DSCF2630_zps55fcbdcc.jpg


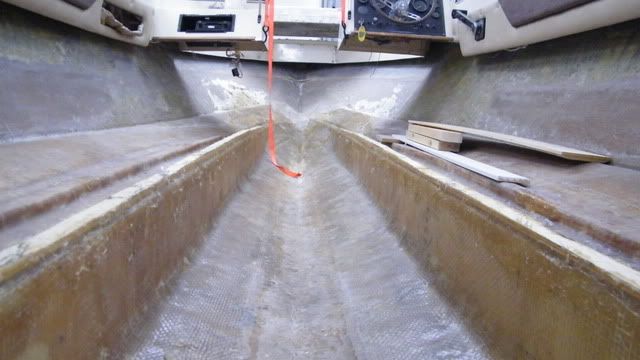
Much better. I rounded over the edges and glassed around them to make it permanent.
DSCF2628_zps10fb35ed.jpg
 

Jimmy H.

Petty Officer 1st Class
Joined
May 15, 2012
Messages
220
Re: 1986 Campion bowrider restoration

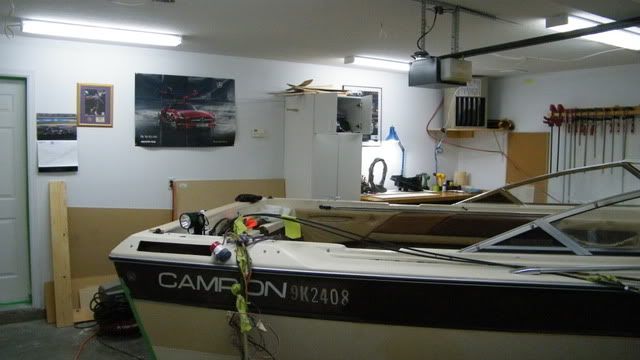
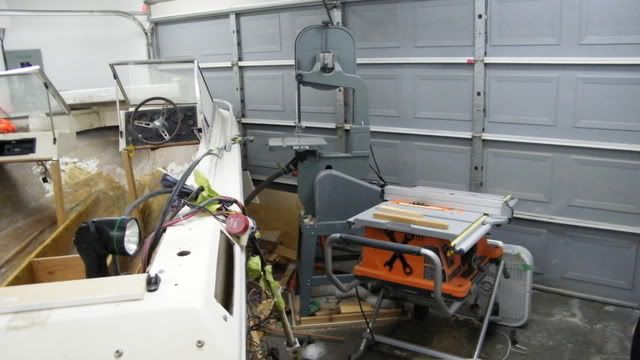
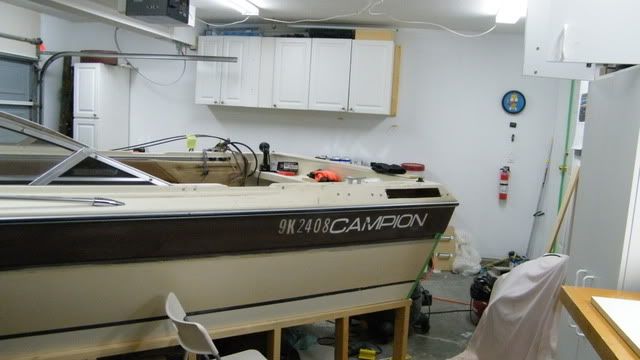
Here is a few pics of my cramped work space. Beats outside I guess. I also taped the door seals to the house inside and out and works great for no smell in the house. Wife is happy!
DSCF2646_zps2be9a4bc.jpg


DSCF2645_zpseeacc004.jpg


DSCF2644_zps86202890.jpg


DSCF2643_zps83f80de4.jpg


DSCF2642_zpscfd75b8d.jpg
 

Jimmy H.

Petty Officer 1st Class
Joined
May 15, 2012
Messages
220
Re: 1986 Campion bowrider restoration

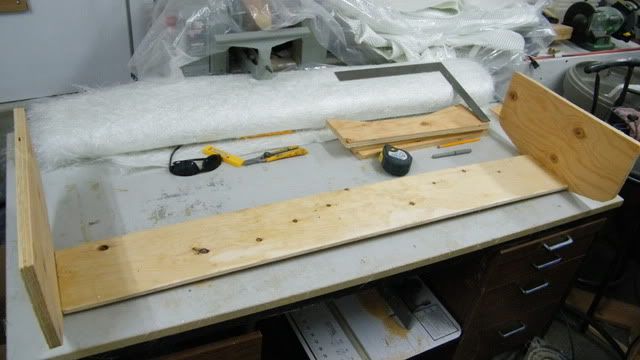
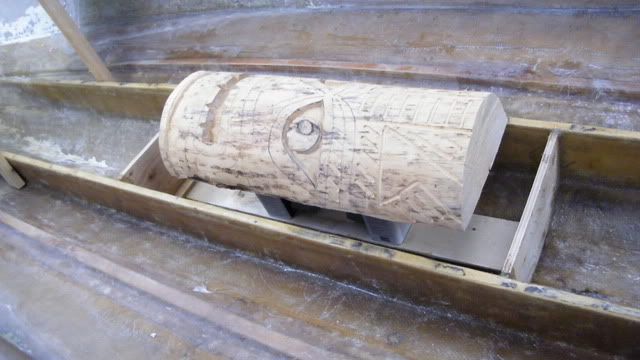
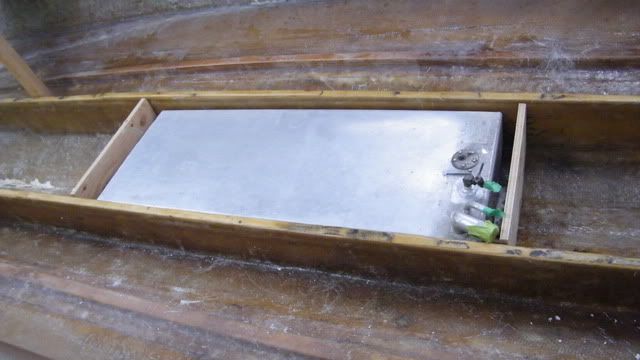
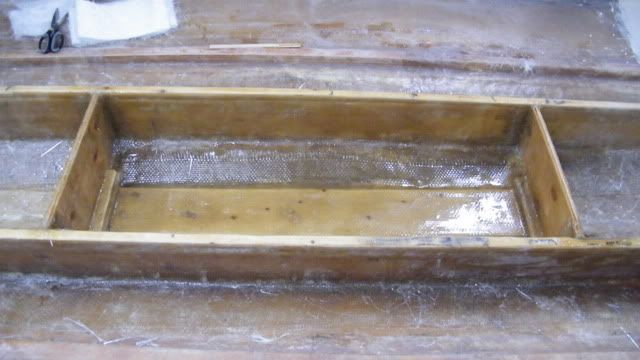
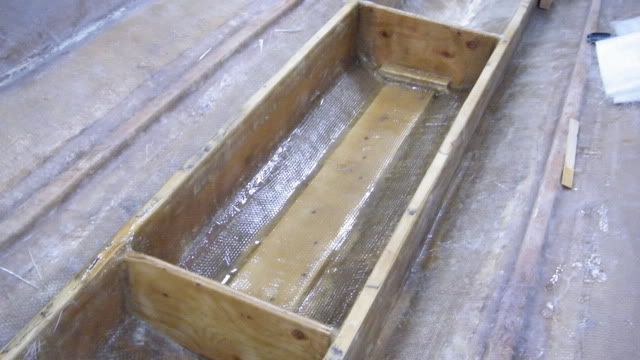
Made a mount with bulkheads for the fuel tank.
DSCF2635_zps6519747b.jpg


Needed some weight to hold it down flat. Board had a bit of a bow in it. I knew that statue I made would be good for something! Glassed under the mount first with two layers of 1.5oz CSM
DSCF2637_zps2cf0431c.jpg


DSCF2632_zps92c64d18.jpg


DSCF2654_zps2ff0f0f1.jpg


DSCF2655_zpsd42cdc28.jpg


There will be a 1.5" gap under the tank for foam expansion space. i will pour it and hold the tank down and when it settles mount the tank with hardware. The lastly pour some foam around the perimeter of the tank and presto that's it. Time for a new deck!
 

Jimmy H.

Petty Officer 1st Class
Joined
May 15, 2012
Messages
220
Re: 1986 Campion bowrider restoration

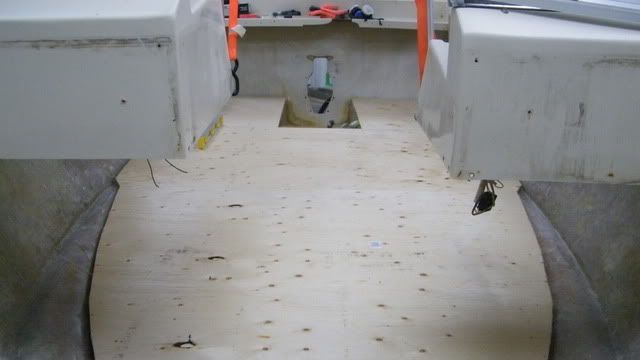
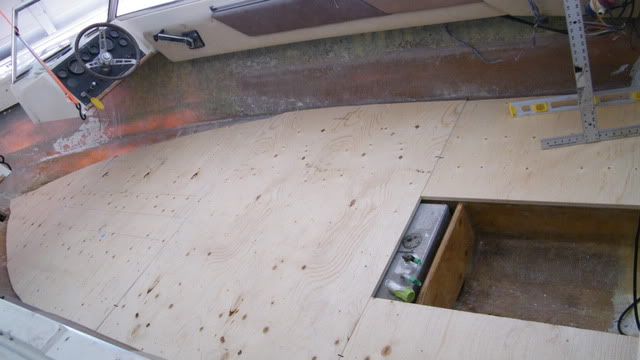
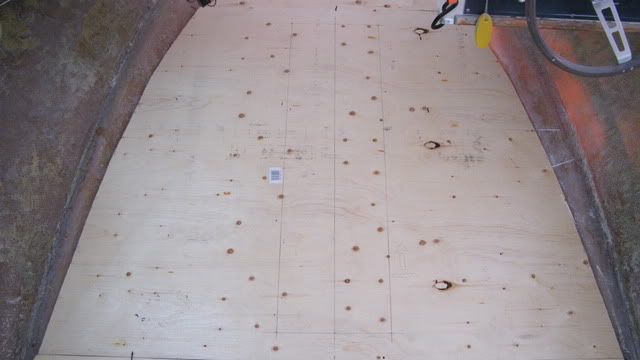
Spent a few hours and rough cut out 4 of the 5 pieces needed for the deck. Still have not foamed in and fastened the fuel tank yet.

DSCF2660_zpsce15a93e.jpg


DSCF2662_zpsc3433a74.jpg


DSCF2658_zpscda06076.jpg


DSCF2664_zpsf8cc9aea.jpg
 

Jimmy H.

Petty Officer 1st Class
Joined
May 15, 2012
Messages
220
Re: 1986 Campion bowrider restoration

Welcome back Rick, good to see you made it out of hibernation! :lol:
I have read that document a few times lately and in the past. I've decided to foam it in on this build and have built the tank hold area based upon foaming it in. Once the deck is on and I build the cap over the tank fitting area it will be completely sealed as well so my plan is to not have any way of water finding its way into the tank area.

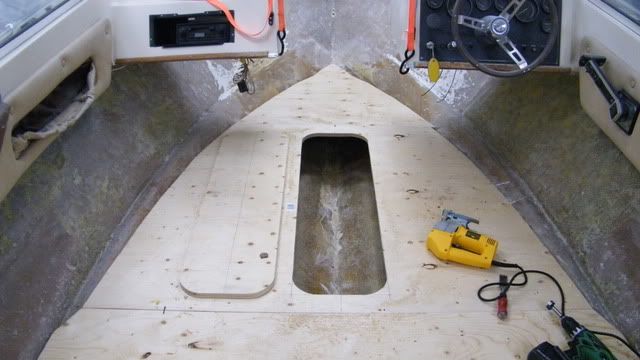
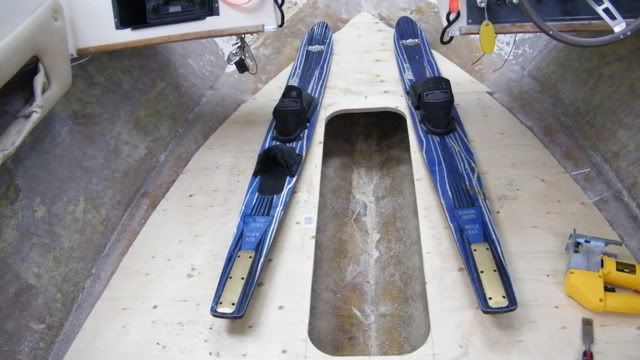
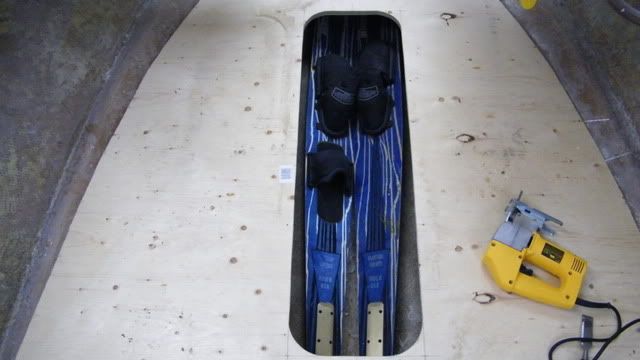
I'm off work today and having a lunch break now. I've made good progress this morning cutting the last piece for my deck and the cut-out for the ski locker went good. I'm going back down after lunch to foam in the tank and to start glassing the bottom sides of the deck pieces. I'll post some pictures later today!
Thanks and again welcome back!
James
 

rickryder

Commander
Joined
Jun 24, 2010
Messages
2,722
Re: 1986 Campion bowrider restoration

Sounds like you have a plan and if no water can get in you should be good to go.....1 thing I didn't see is a limber hole for drainage from the ski locker and in your fuel tank compartment.... I have a void under my fuel tank area so my ski locker drains to the bilge also a drain from the fuel tank area to the bilge so I will know right away if my tank springs a leak.... Very dangerous situation fuel soaked foam :eek:

I'm not trying to sound like a know it all and tell you what to do....it's your boat.... Just stuff I picked up on from here while I was doing mine ;)
 

Jimmy H.

Petty Officer 1st Class
Joined
May 15, 2012
Messages
220
Re: 1986 Campion bowrider restoration

I'm not trying to sound like a know it all and tell you what to do....

No problem, I appreciate the input.


I do have drainage from the ski locker to the bildge. It needs a bit of trimming but its there.
DSCF2666_zps72be0959.jpg


There is no drain from the tank enclosure. I was trying to keep it water tight when I'm done. Would there be any benefit to making a drainage point now that it is foamed in? Say the tank did spring a leak on the opposite end of the drain hole. Wouldn't the foam have to be completely saturated with fuel before it started to leak out?

Thanks
 

Jimmy H.

Petty Officer 1st Class
Joined
May 15, 2012
Messages
220
Re: 1986 Campion bowrider restoration

Here are some pics from today...

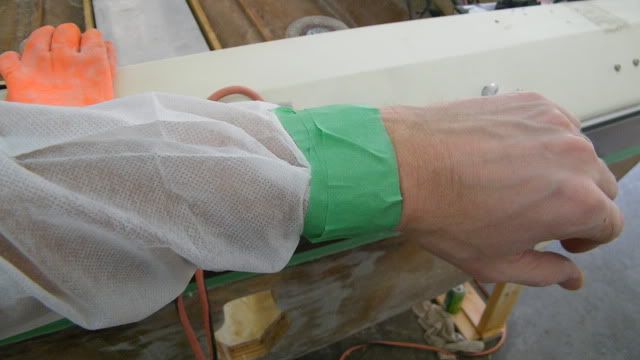
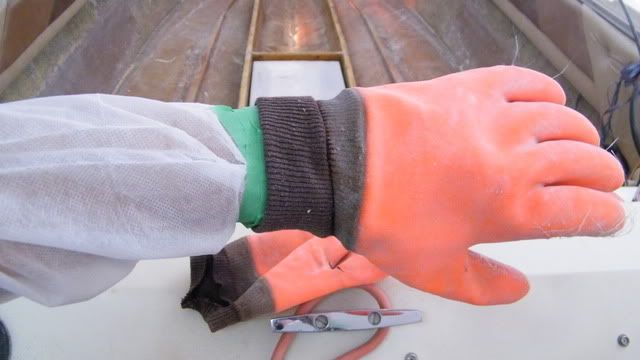
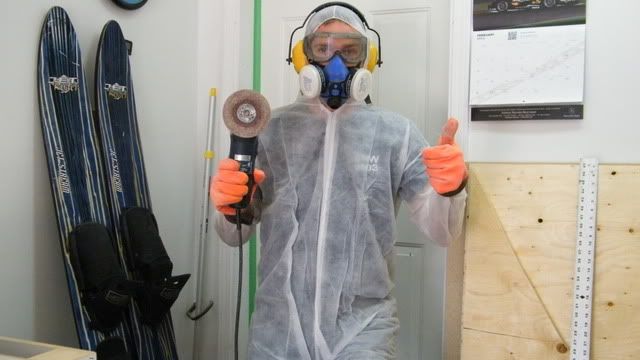
The hull needed a bit of grinding here and there to smooth out some areas. I prepared this time to prevent any itching later on today.

DSCF2678_zps6f9199d9.jpg


DSCF2679_zps65b3a0b1.jpg


DSCF2682_zps0ec2513f.jpg
 

Jimmy H.

Petty Officer 1st Class
Joined
May 15, 2012
Messages
220
Re: 1986 Campion bowrider restoration

I finished cutting the 5th and final piece of the new deck.

DSCF2665_zpsba293789.jpg


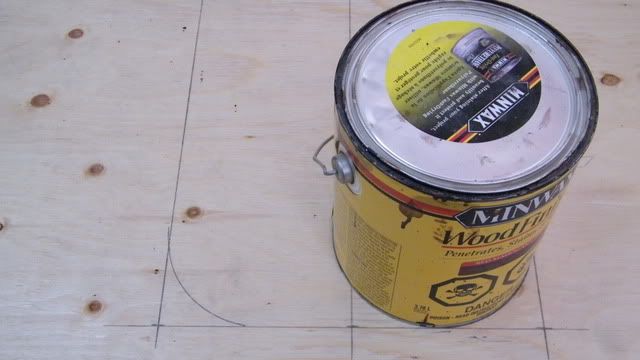
Traced out a ski locker door. 12" x 42"
DSCF2667_zps0a5de49d.jpg


DSCF2668_zpsc676f468.jpg


DSCF2673_zps27b03fd5.jpg


DSCF2674_zpsb5dbd740.jpg
 
Top