1979 26' Commander gas & H2O tank replacement & ?

Mikeopsycho

Senior Chief Petty Officer
Joined
Feb 6, 2014
Messages
738
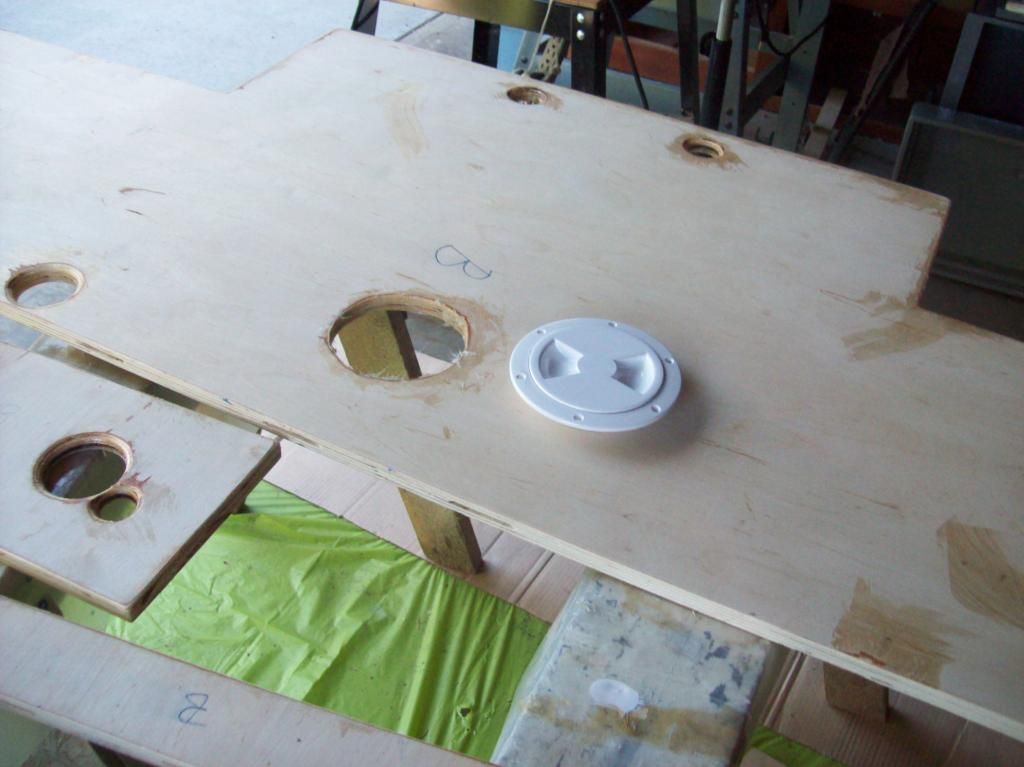
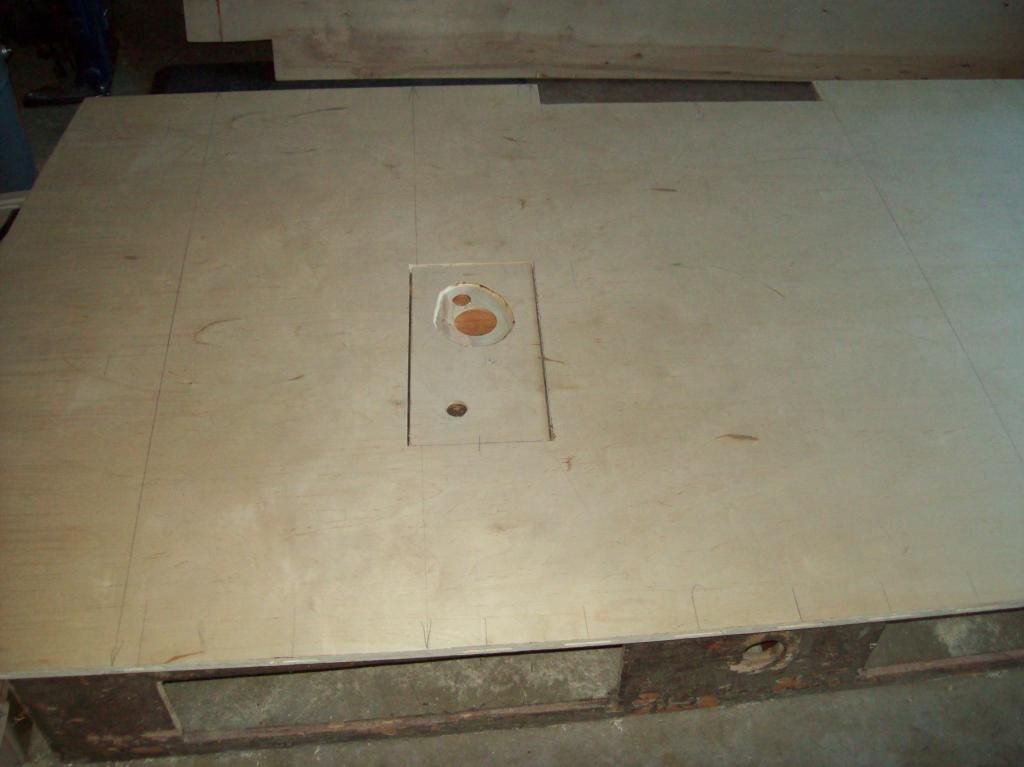
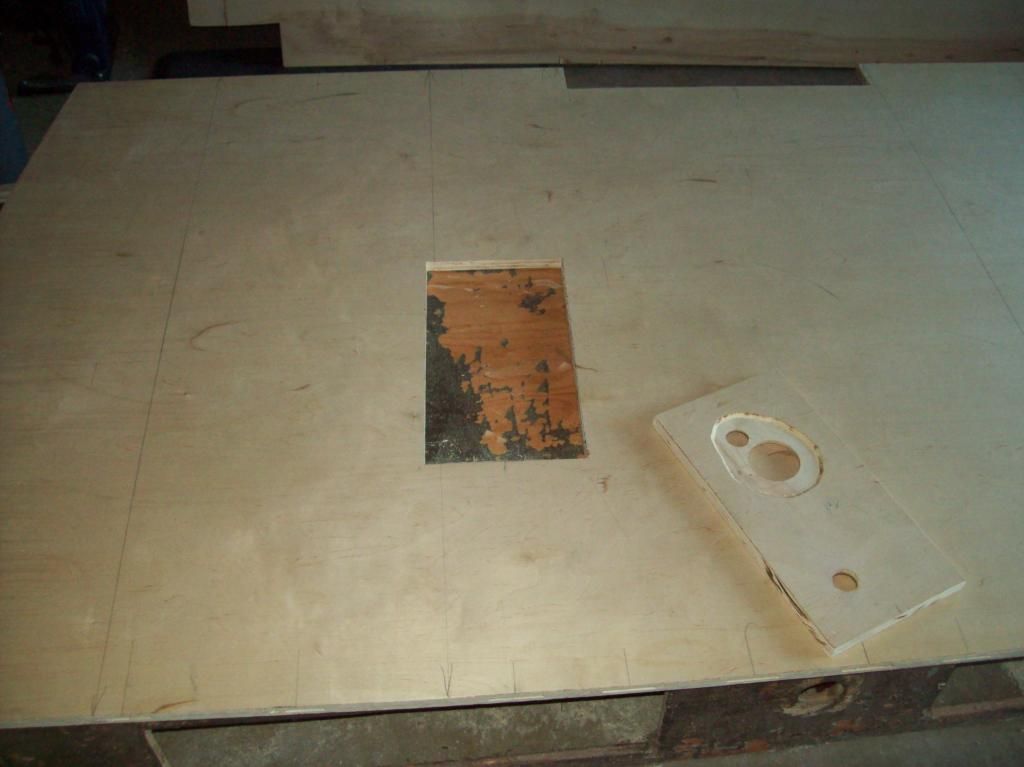
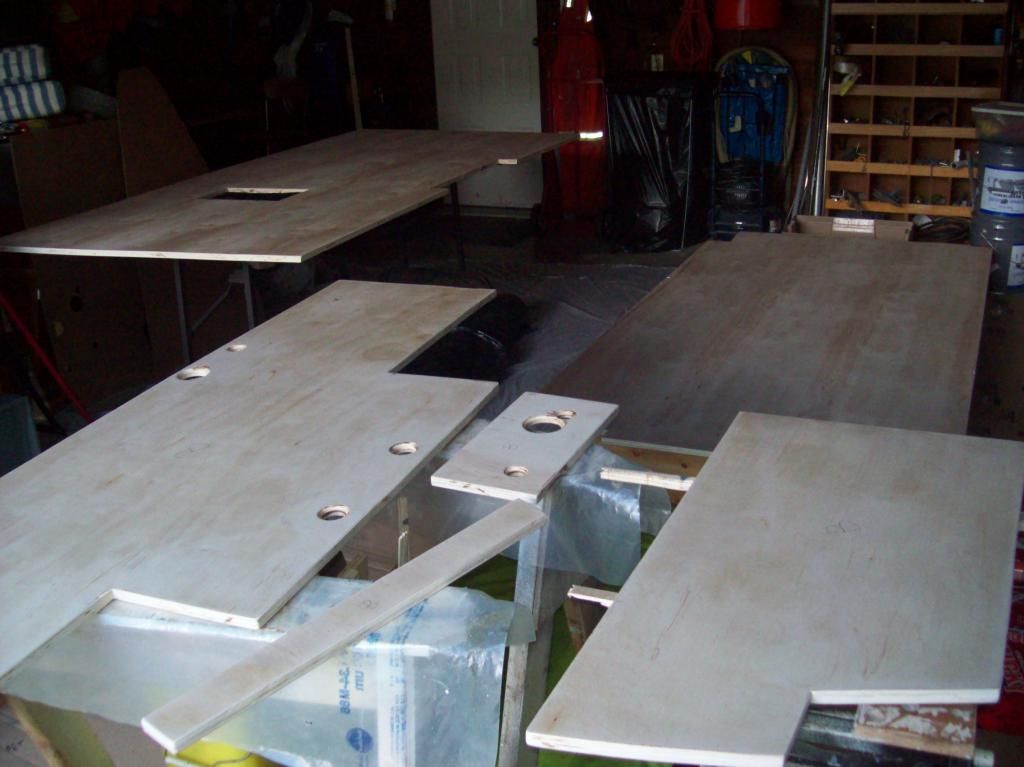
I cut out a piece of the plywood floor that will have the water fill and vent lines and the gas vent line pass through it. The reason for cutting this chunk out is because I will need to be able to slide the sheet to glue and biscuit join it to the board next to it. I'll PB it back in place before glassing the sole. Here's what I'm talking about,


And here's how it fits on the tank fittings,
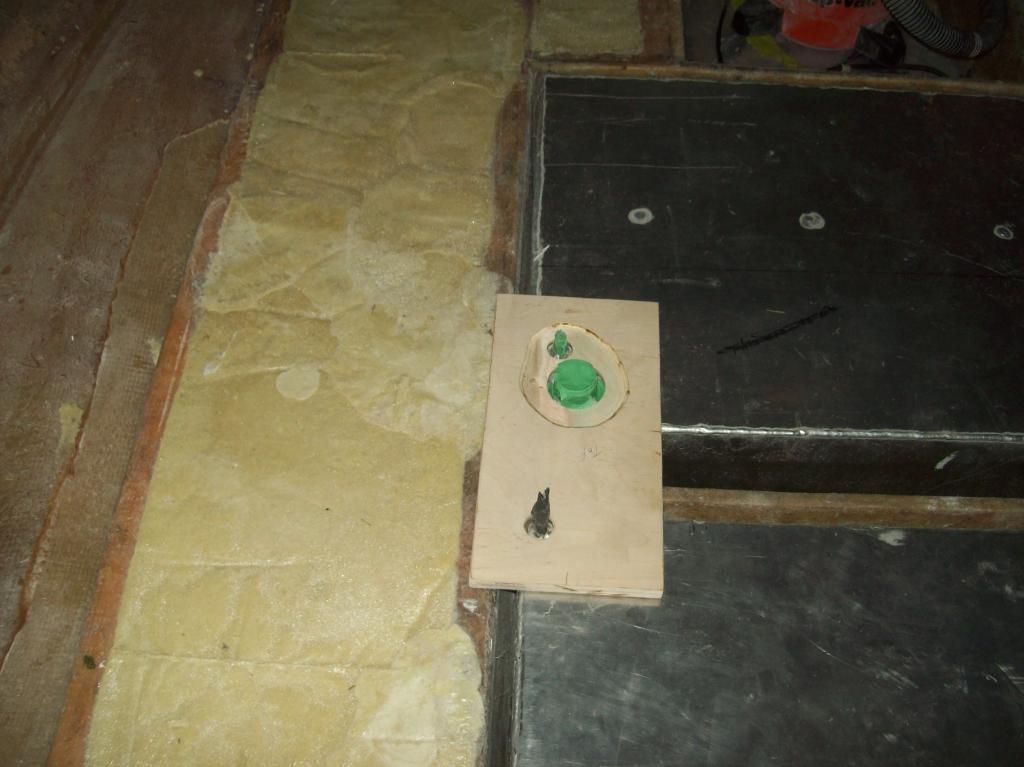


This will be underneath the dinette base/storage area.

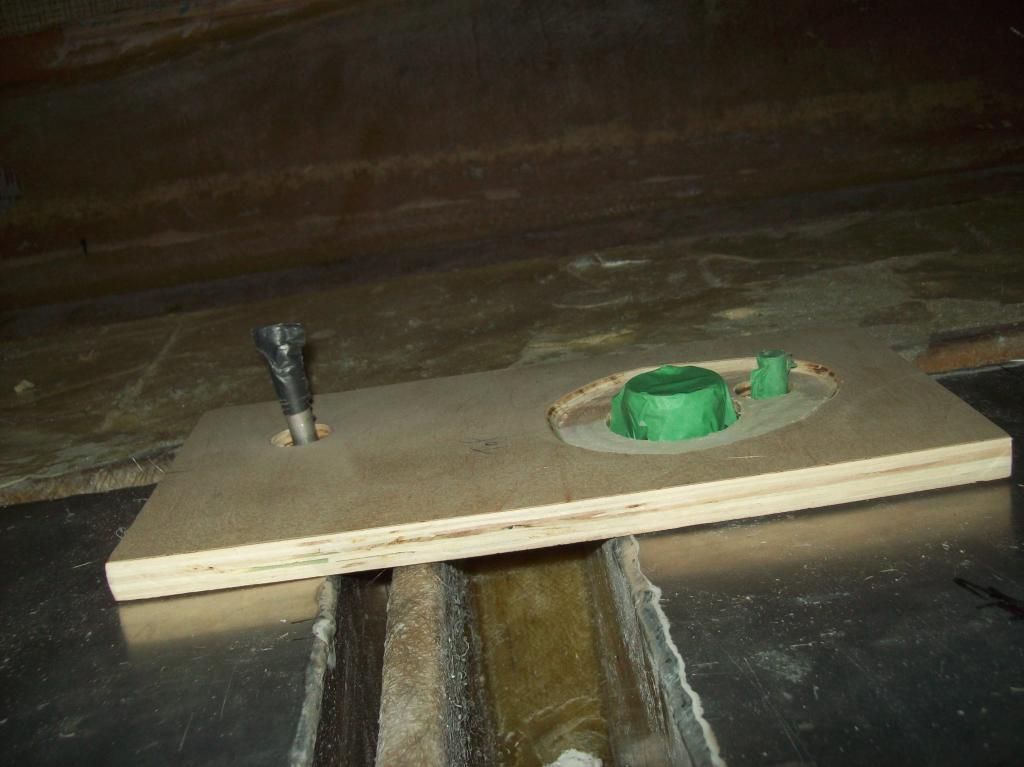
I also routed the top down about 3/8" to give me more room to tighten the clamps on the water tank fittings. For some reason the fab shop made them a bit short, not sure if this was my fault or theirs, I'll have to look at the plans I drew for them. The fittings on the gas tank are nice and tall, lots of clamping room.


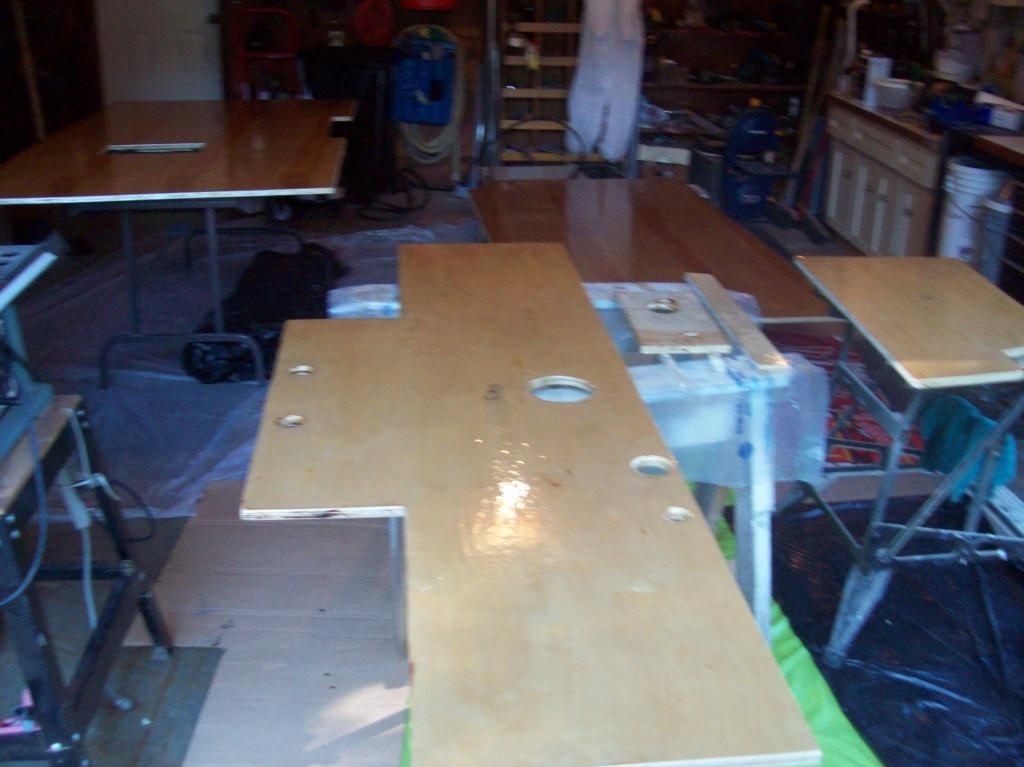
Then I sanded the under side of all the deck boards, and set them up in my shrinking garage bottom side up, all ready for acetone wipe and glassing, weather permitting. I used all kinds of plastic, tarps, cardboard, even empty beer cases flattened out (not sure where those came from :laugh:), to protect the floor and nearby boat parts.
 

nurseman

Lieutenant Junior Grade
Joined
Jun 2, 2013
Messages
1,045
Wow, that really turned into a big can of worms! I like the boat, and those shiny new tanks sure are purdy! Keep up the good work.
 

Mikeopsycho

Senior Chief Petty Officer
Joined
Feb 6, 2014
Messages
738
Thanks nurseman. I'm glad you stopped in for a look. I know, it's a real shame to have to bury those shiny new tanks!
 

Woodonglass

Supreme Mariner
Joined
Dec 29, 2009
Messages
25,927
MP are you not gunna paint or coat the tanks with something? Are you foaming then in or strapping them in?
 

Mikeopsycho

Senior Chief Petty Officer
Joined
Feb 6, 2014
Messages
738
MP are you not gunna paint or coat the tanks with something? Are you foaming then in or strapping them in?

Hey Wood, nope, no foam, no straps, no paint, just 1'4" plastic strips every 12" on the bottom of the tank secured to the floor with 5200. I saw this posted a few times in the past on iboats, http://www.yachtsurvey.com/fueltank.htm, and it's the route I decided to go.

I didn't get much done today due to the temperature. It finally reached 62F at 1 pm, and even lower than that in my shaded garage. I did manage to mix a batch of PB and do the edges of the floor boards, but even with a full 2% + catalyst it took a long time to kick. It's supposed to get warmer tomorrow so hopefully I'll be able to glass the bottom side of the boards. By Sunday it's going to be quite a bit warmer and I plan to complete pouring the foam then.
 
Last edited:

Woodonglass

Supreme Mariner
Joined
Dec 29, 2009
Messages
25,927
Yup that's the Link I always post and recommend for installing an aluminum tank.;) That oughta do the trrick!!!
 

kcassells

Fleet Admiral
Joined
Oct 16, 2012
Messages
8,715
Paint the tanks............paint the tanks.....

Now I'm really confused. I always thought it was best to at least paint the tank but not by the survey I just read. I got the rest with the rubber material, foam, etc. But I thought that the painting was at least while not necessarily needed a good protectorant in any event. back to the drawing board for me.
 

kcassells

Fleet Admiral
Joined
Oct 16, 2012
Messages
8,715
Mike,
Thank you you have a nice build going on!!! I have been stopping by to look.
 

jigngrub

Fleet Admiral
Joined
Mar 19, 2011
Messages
8,155
Now I'm really confused. I always thought it was best to at least paint the tank but not by the survey I just read. I got the rest with the rubber material, foam, etc. But I thought that the painting was at least while not necessarily needed a good protectorant in any event. back to the drawing board for me.

Painting/coating your tanks will be the absolute very best thing you can do for them to give them a long and nearly care free low maintenance life!

Check out what zool did to his tanks:
http://forums.iboats.com/forum/boat...-280sf-engine-swap-and-restoration-pics/page8

The best tank coating job I've seen on any resto thread in this forum.
 

Mikeopsycho

Senior Chief Petty Officer
Joined
Feb 6, 2014
Messages
738
WOG, I was pretty sure it was you who had posted the tank installation link, and I thank you for that, and for all your helpful contributions on iboats!

Kcassells, LOL! Paint, don't paint, foam, don't foam, strap, don't strap, what's a poor boat rebuilder to do? :noidea: I think you gotta just select the method that makes the most sense to you, and best fits in with the rest of your rebuild plans, and commit to it (after a bit of yo-yoing back and forth). :twitch: Oh, and thanks for the kind words, I'm glad you've been stopping in for a look see, and any comments are appreciated.
 

Mikeopsycho

Senior Chief Petty Officer
Joined
Feb 6, 2014
Messages
738
Didn't see your reply jignrub, I guess we were posting at the same time. Thanks for adding input to this thread, it's always good to hear alternate methods to tackle a project. I have no doubt whatever that a tank PROPERLY treated and foamed in could be a trouble free installation for many years. I've read some of the links you've provided on other threads and they were very informative regarding this type of installation.
I'm kinda gun shy about using foam around my tanks because of what I found when I pulled the tanks out of the old foam. The foam wasn't dripping gas, but it was damp and had a very strong gas smell, there were many, many voids in the foam under the tank, and lots of pitting and corrosion all over the tank. For me as a DIY'er I was much more comfortable going with the method I chose. I'll let you know how it looks in another 35 years:D.
 

Woodonglass

Supreme Mariner
Joined
Dec 29, 2009
Messages
25,927
Mike, Aluminum boats don't get painted and they don't corrode as long as they are not "Crowded" . The areas that are... i.e. transoms, wood covered bench seats, wood railings, caps etc... once removed you'll usually find corrosion UNLESS they were previously protected with some kind of coating. If you planned on foaming in your tank then I'd STRONGLY recommend that you Paint it or coat it with some protective coating because it would corrode otherwise as you saw with your previous tank. But leaving it "Naked" with the installation method you're using, is no different than leaving the hull of an aluminum boat Au Natural, IMHO. As the link article states, Aluminum is a Self Protecting metal as long as it gets adequate air exposure. If you have a hatch in the tank coffin you'll have plenty of air circulation for it to breathe. Anyhoooo, that's my opinion and as you can see, there's a lot of others when it comes to how to install these below deck tanks. I'm sure your's will be fine for the next 35 years!!!!:encouragement:
 
Last edited:

jigngrub

Fleet Admiral
Joined
Mar 19, 2011
Messages
8,155
LOL! Paint, don't paint.

In case you missed it, this:

[FONT=Times.New.Roman095.813962][FONT=Times.New.Roman095.813962]If properly applied to the tank, chromate treatments and epoxy paints may well be effective in delaying or preventing corrosion.[/FONT][/FONT]

Is from here:

http://www.uscgboating.org/assets/pdf/recalls/BSC79.pdf

In the coatings section.

The main thing is to select the proper paint and apply enough of it thick enough to completely protect the tank. Self etching primer and then multiple top coats of a high quality epoxy or other suitable paint.
 
Last edited:

Mikeopsycho

Senior Chief Petty Officer
Joined
Feb 6, 2014
Messages
738
Thanks guys.....more to think about, darn! I'm not going to have a hatch over my tank coffin because the coffin area is over 7 1/2 feet long, about 2 feet of which extends past the firewall to the engine space, and the rest lays under the sole in the salon area. There's only about 1/4" space between the top of the tank and the bottom of the floor, so not a lot of room. Painting the entire tank is out of the question as it is already permanently adhered in place, but maybe I should consider painting just the top? Hmmmm
 

Woodonglass

Supreme Mariner
Joined
Dec 29, 2009
Messages
25,927
I'd recommend you consider a Port Hole inspection cover over the sending unit portion of the tank at a minimum. That way if you ever need access to it for maintenance it will be easily accessed. Something along these lines....
41nYznWsZIL._SY300_.jpg
 

Mikeopsycho

Senior Chief Petty Officer
Joined
Feb 6, 2014
Messages
738
Thanks WOG, I was planning to pick one up today for just that purpose. I guess I'll have to seal up where the wires for the sender will pass through the deck from the engine space into the tank coffin, maybe with 5200?
Are these inspection deck plates strong enough to walk on? Maybe I should put one for access to where my water lines exit the water tank, but it would be in a heavy traffic area inside the salon.
 

Mikeopsycho

Senior Chief Petty Officer
Joined
Feb 6, 2014
Messages
738
Alrighty then, thanks WOG, I'll order another one.

Not much progress today, again. I picked up more supplies, a 4" deck plate, mixing containers, a couple pex plumbing fittings, etc., etc.. It was warm enough to glass today, barely, I just didn't have enough time. I sanded again to clean things up from PBing the edges and imperfections, then I cut the hole for the sender inspection plate, and vacuumed all the surfaces......again. Then I mixed a bit of PB and coated the insp. plate hole edges as well as a couple other spots that needed a touch up.


Hopefully I will get these darn things glassed tomorrow, that's my plan anyway.:rolleyes:
 

Mikeopsycho

Senior Chief Petty Officer
Joined
Feb 6, 2014
Messages
738
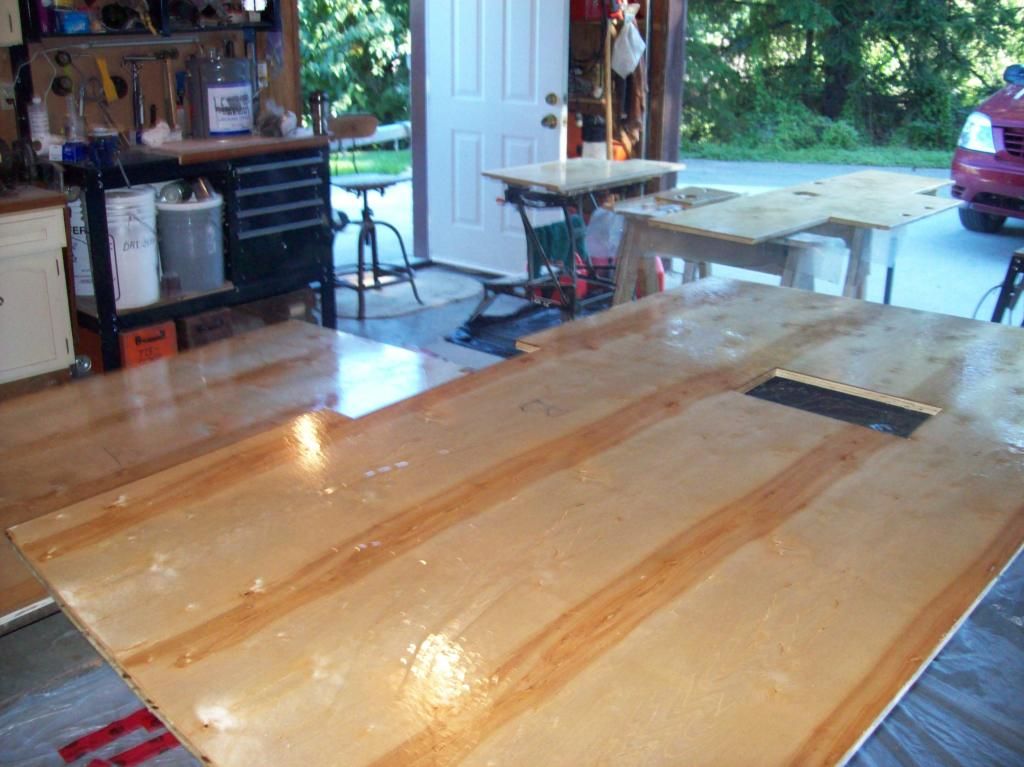
Today I sanded the areas I had touched up with PB, vacuumed......again, then I wiped everything down with acetone. I mixed a batch of resin at 1.5% and wetted out the underside of the deck boards,


I overestimated how much resin I'd need. I mixed a1500ml batch and only use 1200ml. I had to waste 300ml with no place to use the extra. :blue:

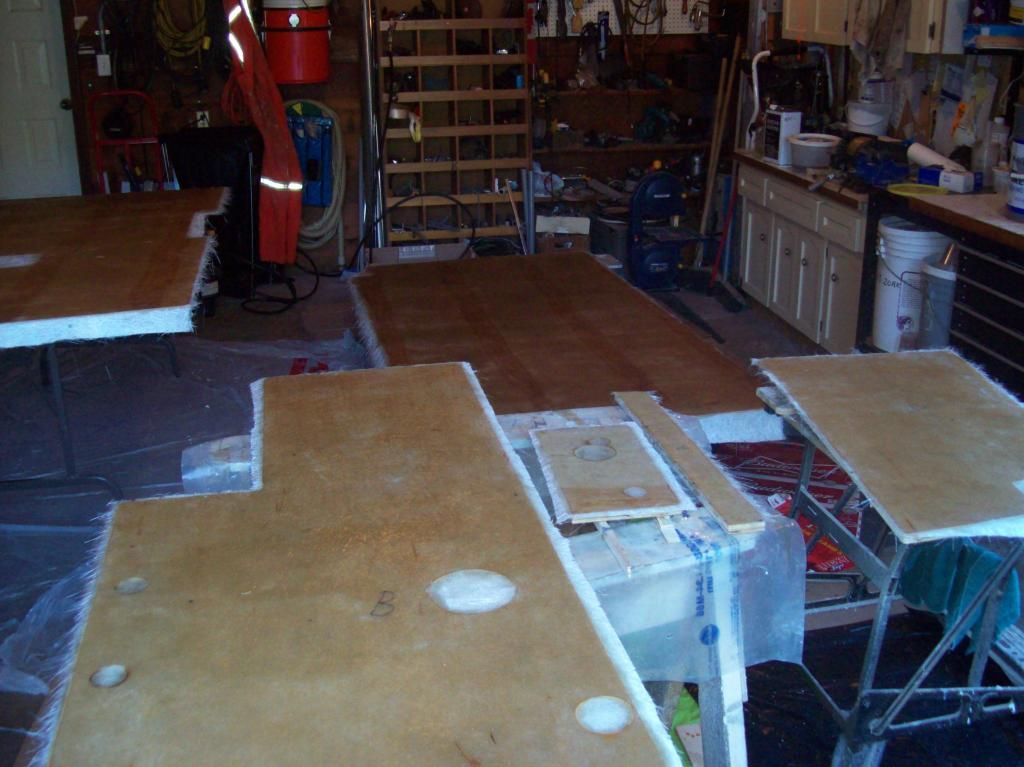
After a couple hours when it tacked up nice I laid up the precut CSM with resin mixed at 2% catalyst, and 4% wax.


Everything went quite smoothly, with just a couple small hitches. On the first board, the largest, I started the CSM at a slight angle, so by the time I got near the far end I had no CSM on one edge. I just butted up a few scraps here and rolled them in. I also had two small spots on one of the boards, one quarter sized and one nickel sized, that stayed white. I could not seem to get anywhere with the bubble buster, so I gave up and left them. Later when everything else was dry and tack free, these two spots were still wet and sticky. Weird. Then a couple hours later I checked them again and they had firmed up and were tack free. I dunno :noidea:, maybe sweat drops from my forehead. There were absolutely no contaminants on the surface when I started. Who knows? Oh, and a little less waste of resin this time. I had mixed two 1500ml batches, followed by two 1000ml batches, and needed just a bit more, so did up a 250ml batch. I over guessed by 50ml, not bad really.

I'm planning to pour the rest of the foam tomorrow, which is supposed to be the warmest day for the next little while around here. I vacuumed and cleaned up inside the boat and got everything more or less set up. I put a space heater in the salon and closed all the windows, hatches, and the door. I also moved the buckets of part A and B, all my mixing buckets, cups, measuring cups, etc. into a spare room downstairs and turned on the heater. Hopefully everything will be nice and warm for tomorrows pour. It's gonna hit 27c (about 80f) but that wont happen till early afternoon, and I plan to start earlier than that.
 
Top