1979 26' Commander gas & H2O tank replacement & ?

Mikeopsycho

Senior Chief Petty Officer
Joined
Feb 6, 2014
Messages
738
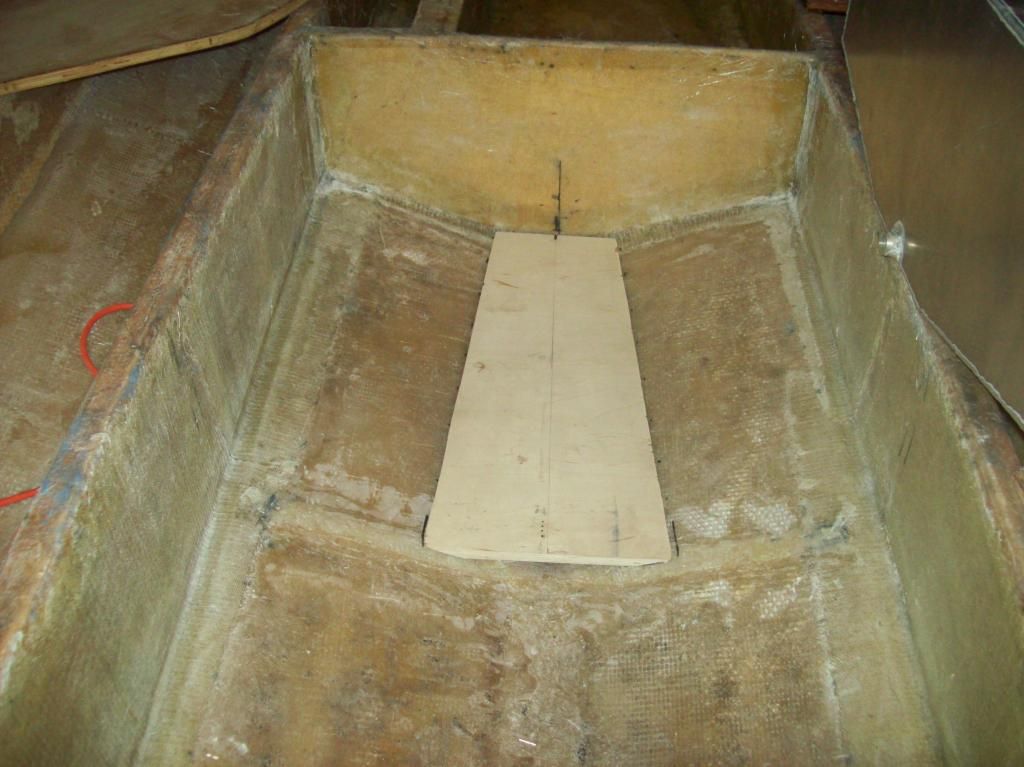
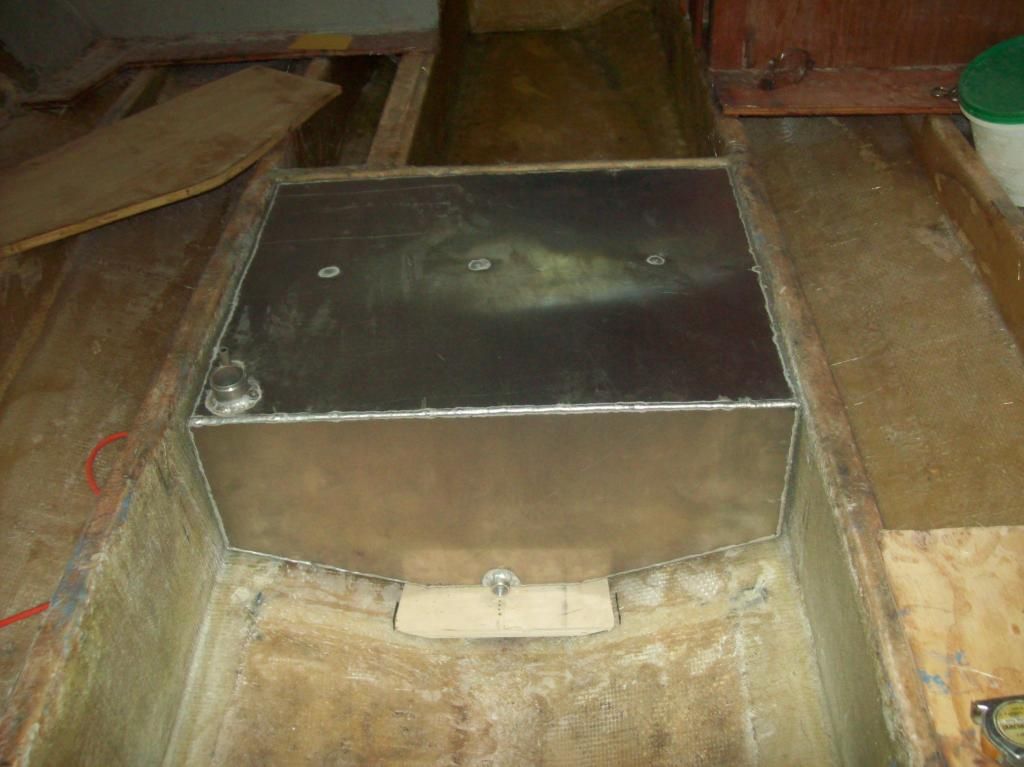
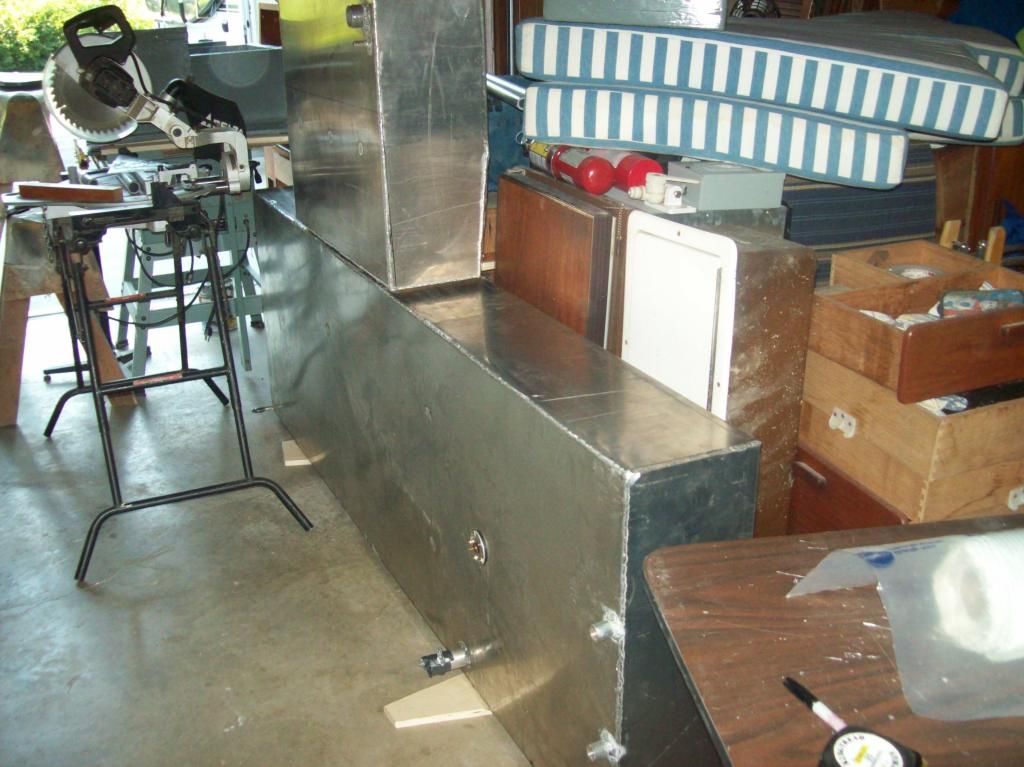
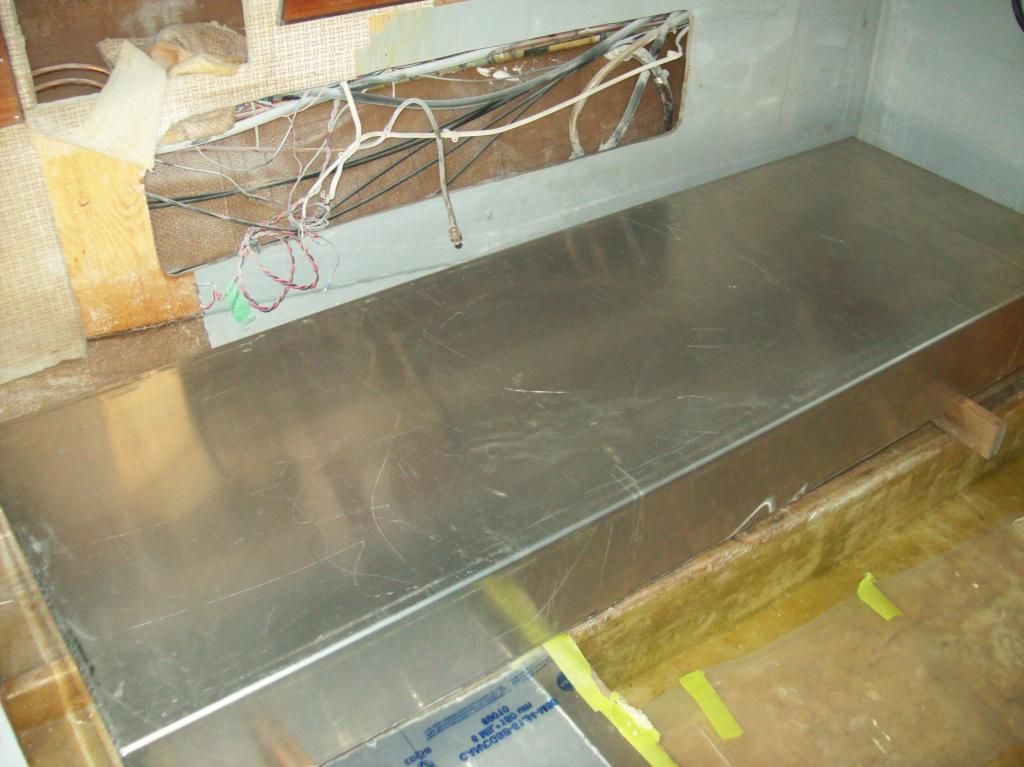
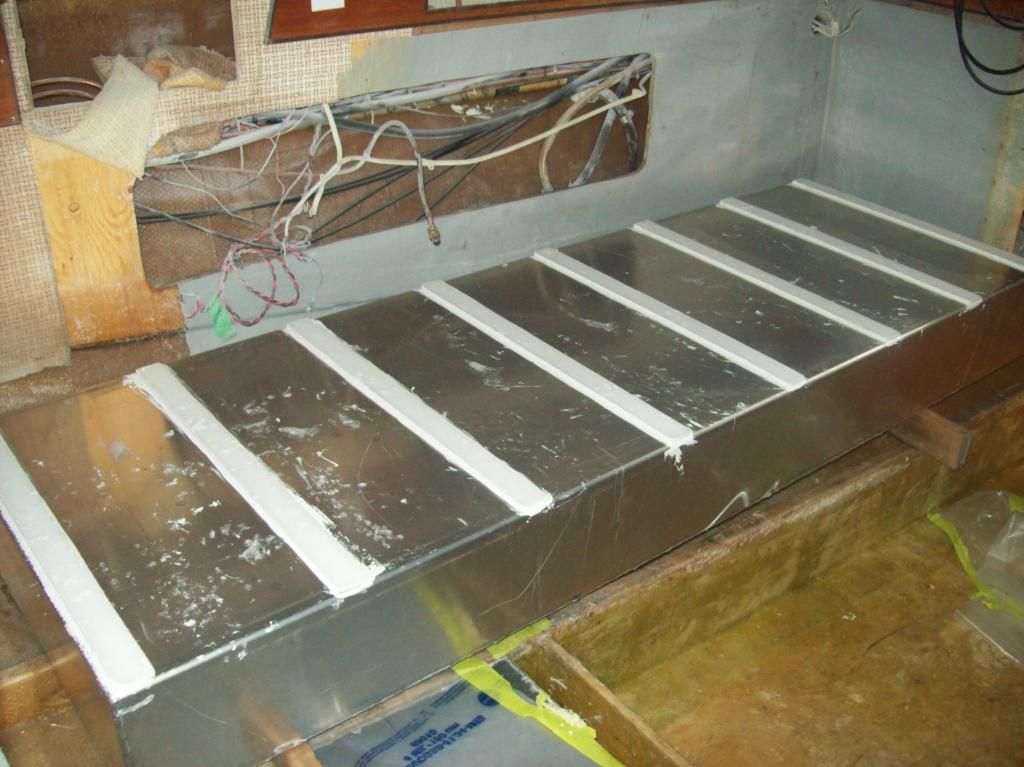
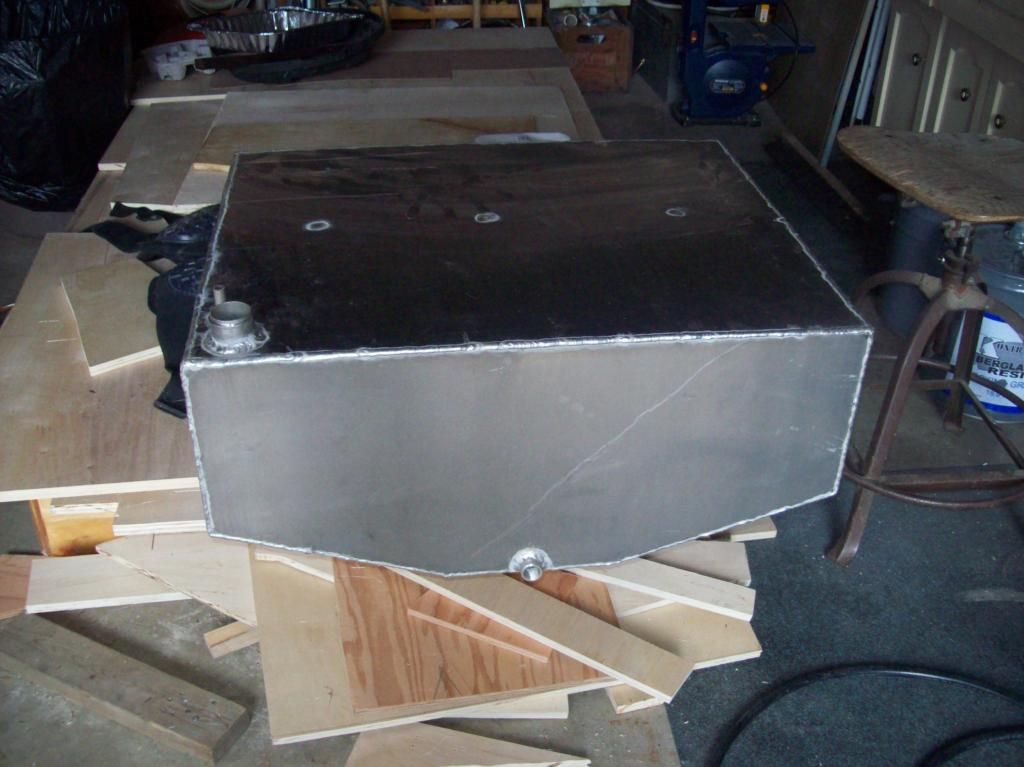
My nice new water tank,


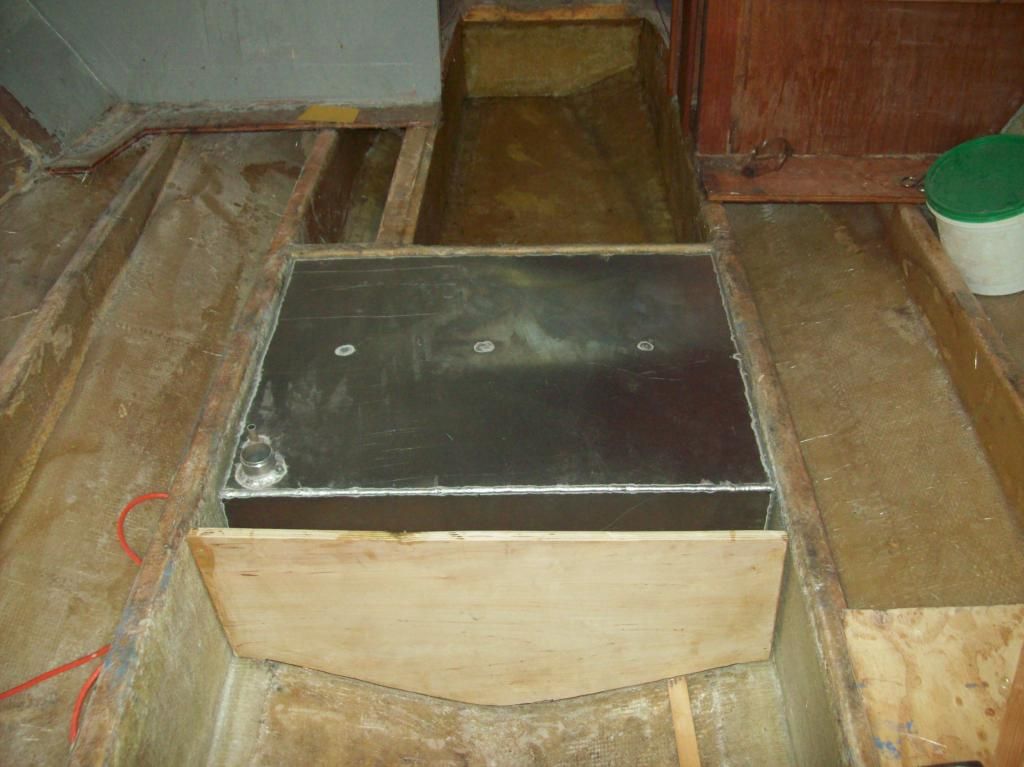
Oh-oh, all is not well. Ran into a couple of problems. First, the tank was supposed to have a maximum height of 12 3/4", but it ended up at just under 13". You guessed it, it's a tad too tall. Partly my fault for not allowing more leeway, it would have been better if I'd asked for 12 1/2" max height (even at 12 3/4" it would have touched the bottom of the floor at the forward end), and partly the fab shops fault, after all it is taller than I requested. No big deal though, I'm going to bring it back on Monday and they'll remove the top and cut it down to 12 1/2" height and weld her back together for me. They knew it might be a problem when I picked it up.

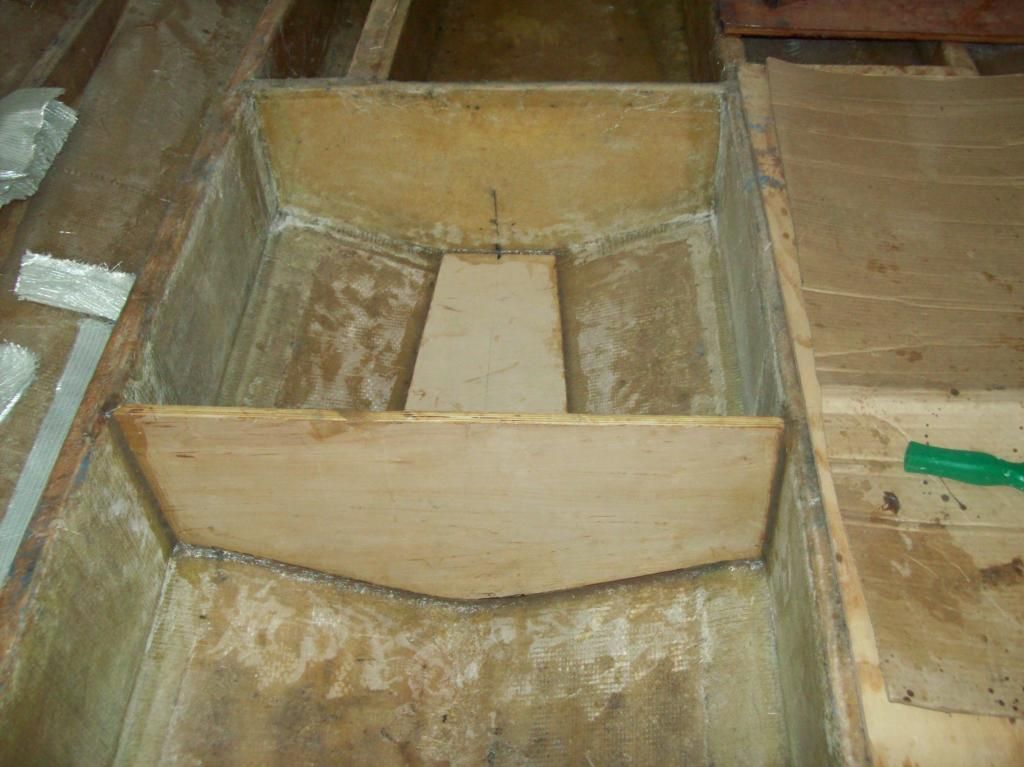
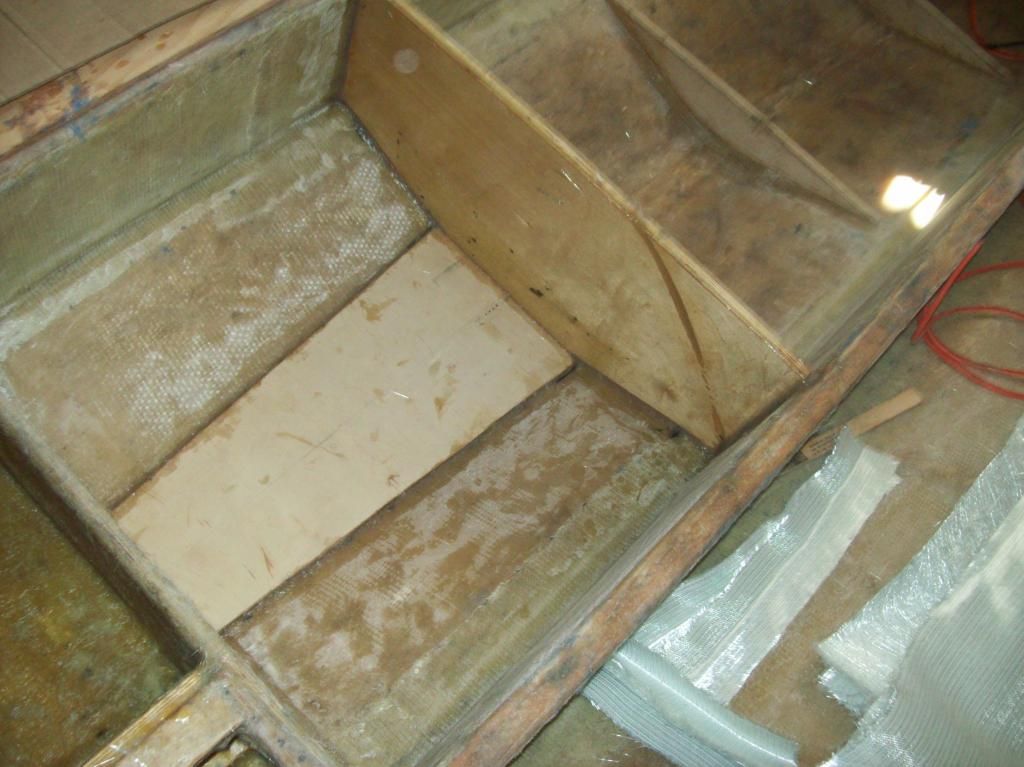
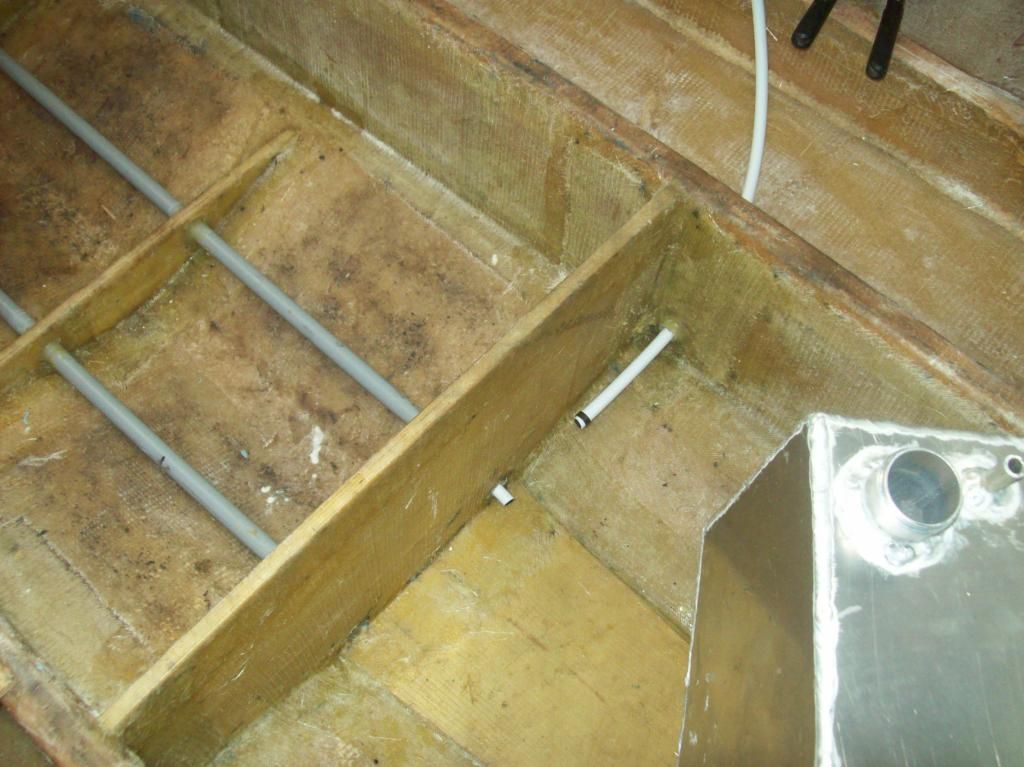
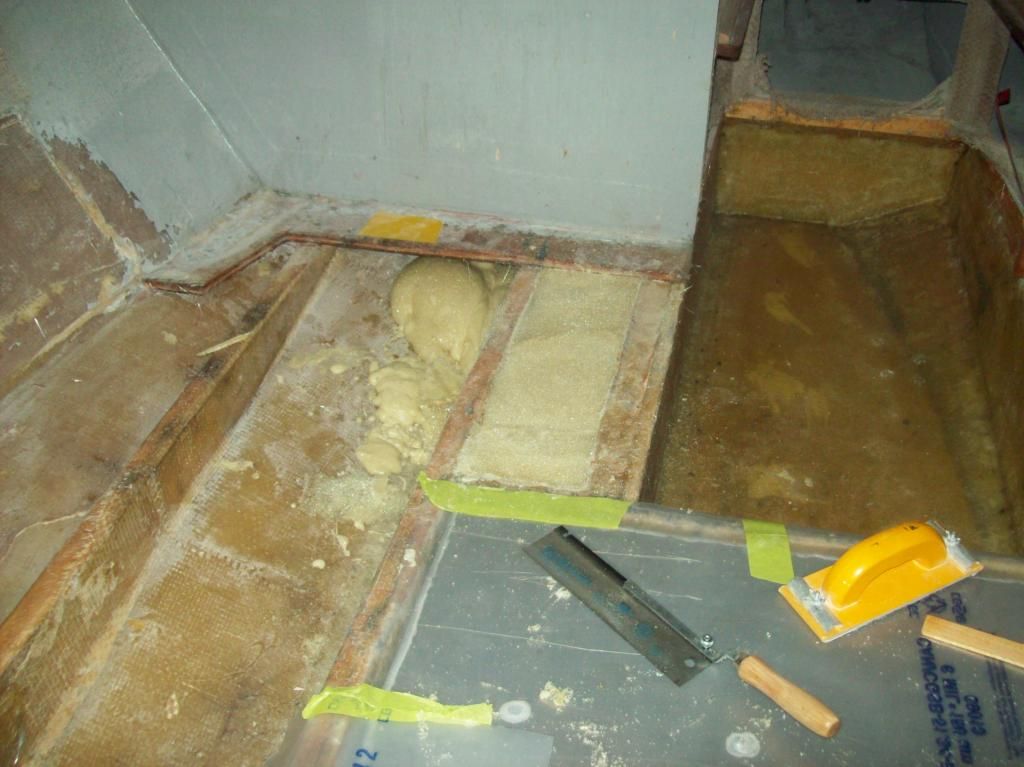
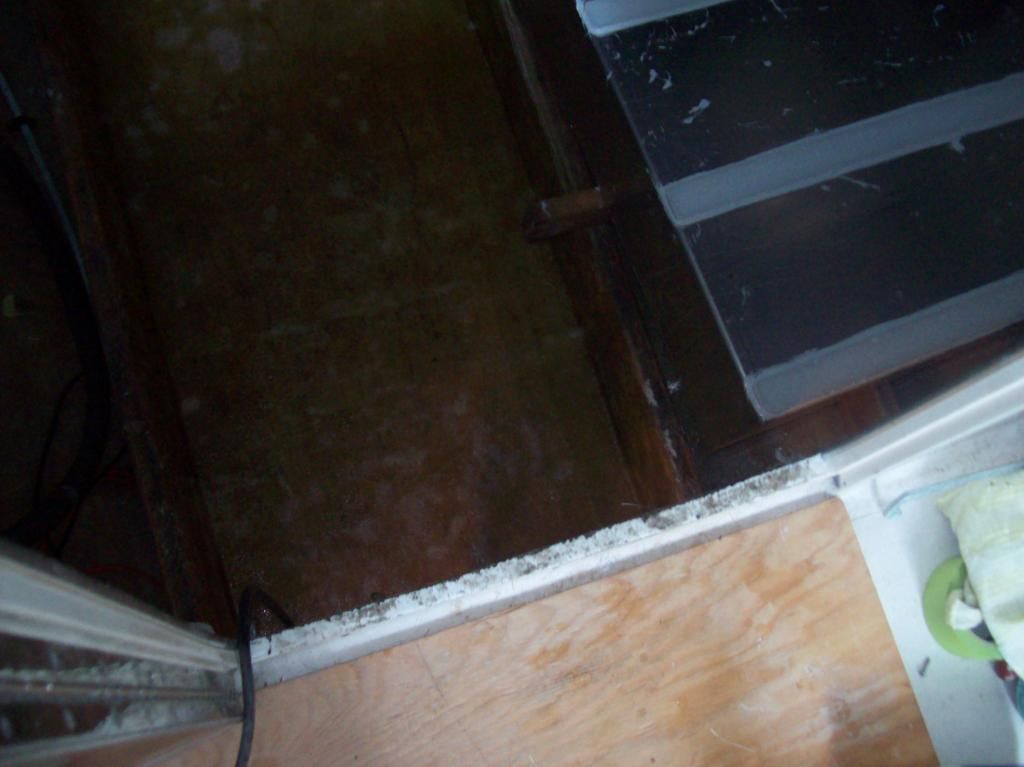
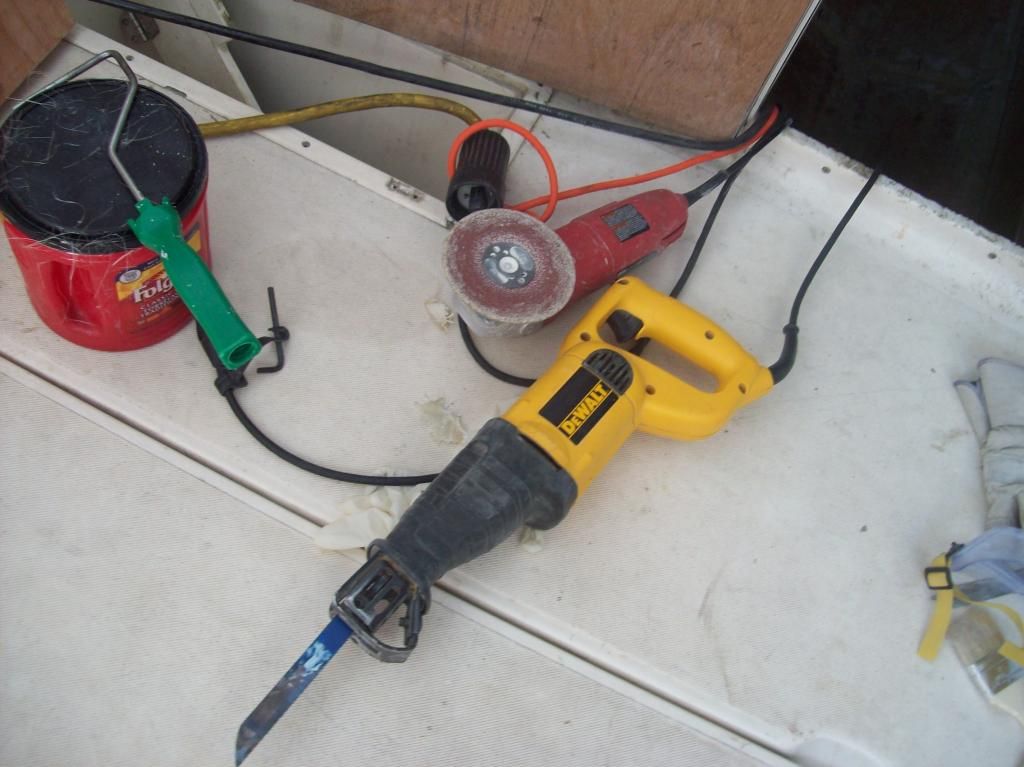
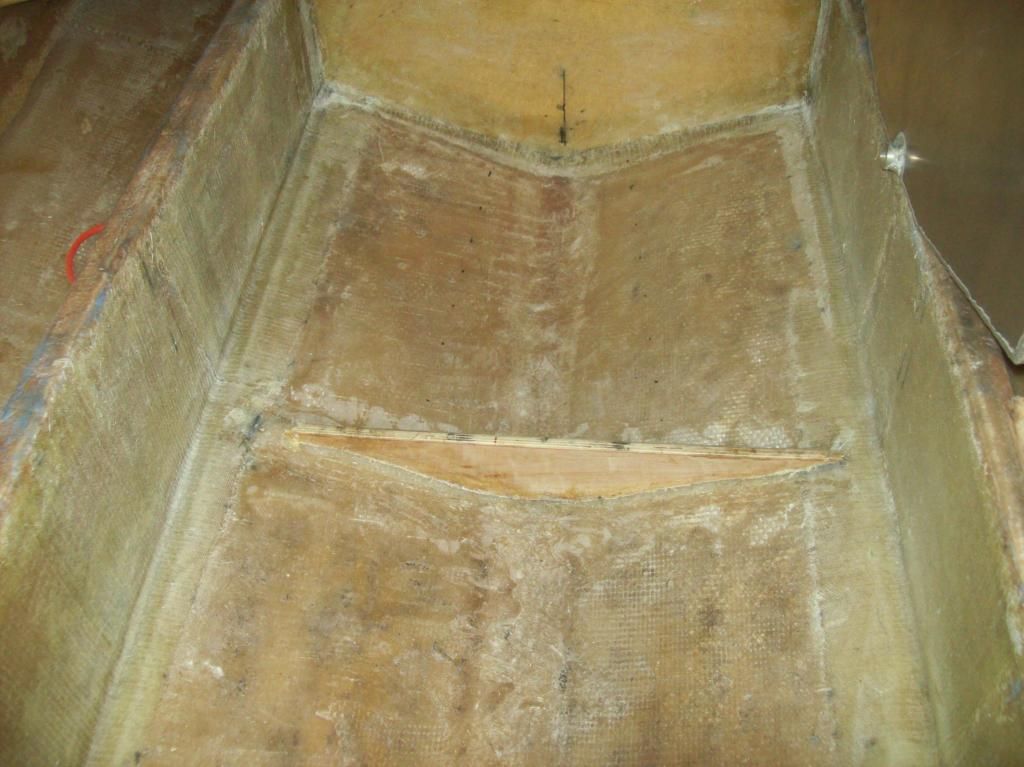
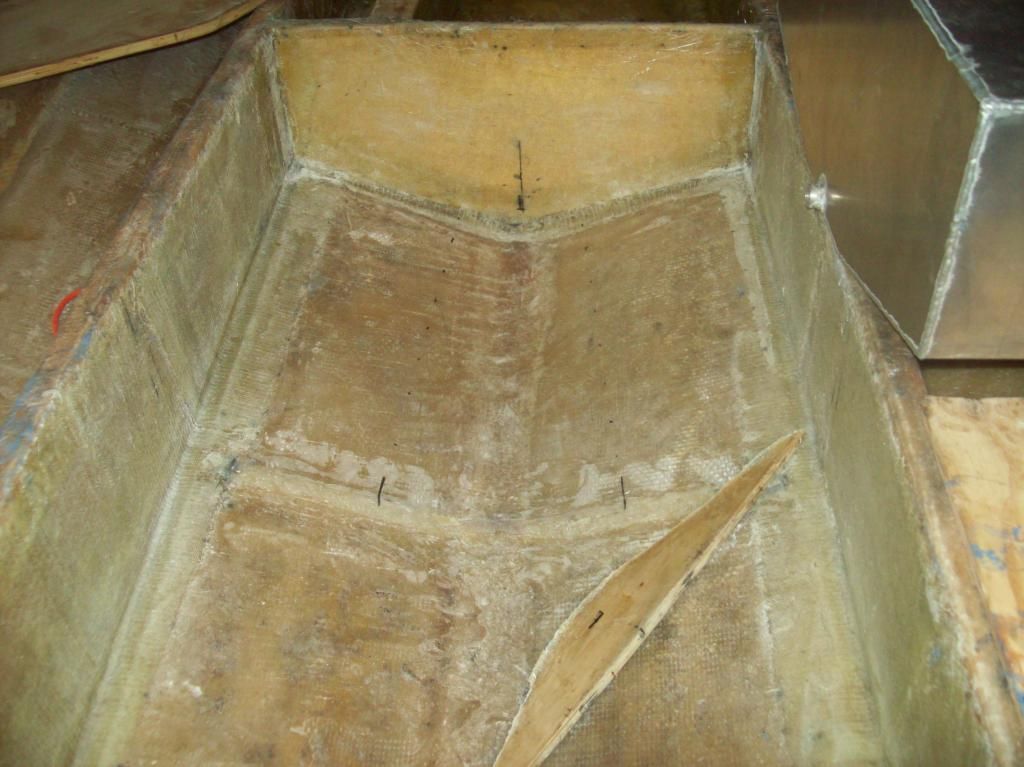
The other problem is I didn't allow quite enough room to make the waterline connections (Pex). The solution is to steal an inch from the gas tank compartment, I had allowed 2" extra for the gas tank but I can get by with 1" extra. So I got out the tools and cut out the forward rib support for the gas tank floor, Once I get the bulkhead in it'll still be a bit tight but the crimping tool will fit.


Mikeopsycho

Senior Chief Petty Officer
Joined
Feb 6, 2014
Messages
738
The tank will sit on 1/4" strips of plastic (not shown)


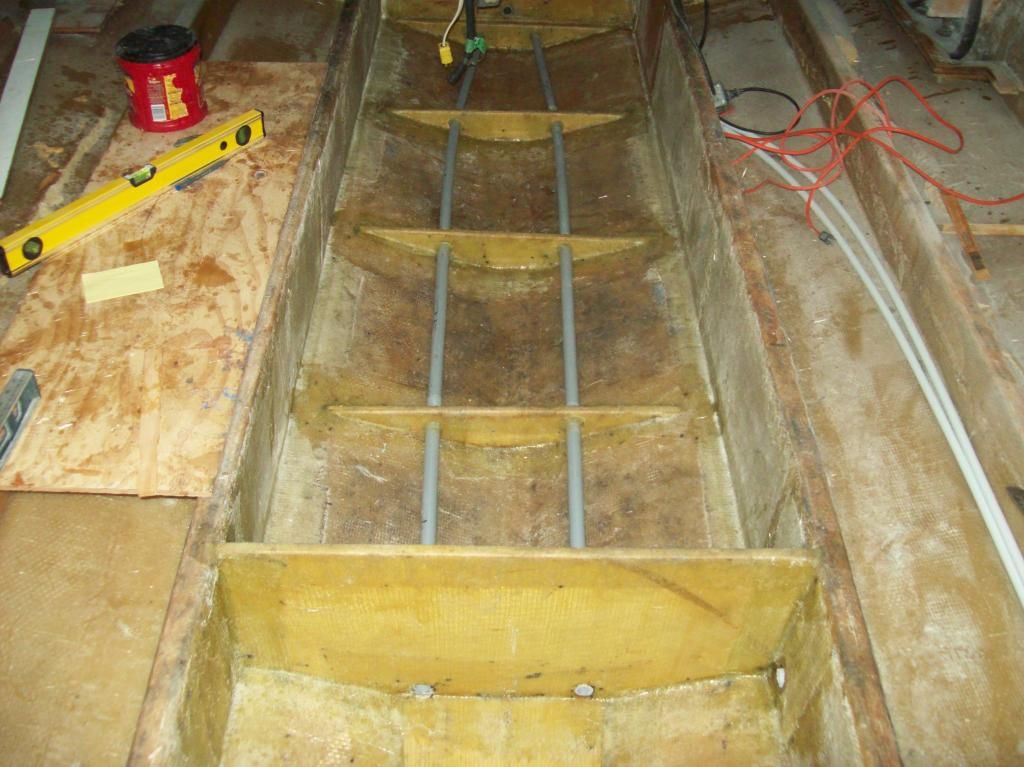
And the bulkhead will sit about here,


I'll glass in a cleat or rib for the gas tank floor to sit on.

Oh, and I quadruple checked the gas tank compartment and the sizes I provided to the fab shop are going to be fine, lot's of height room, it'll end up about 1/2" away from the floor bottom.
 

Mikeopsycho

Senior Chief Petty Officer
Joined
Feb 6, 2014
Messages
738
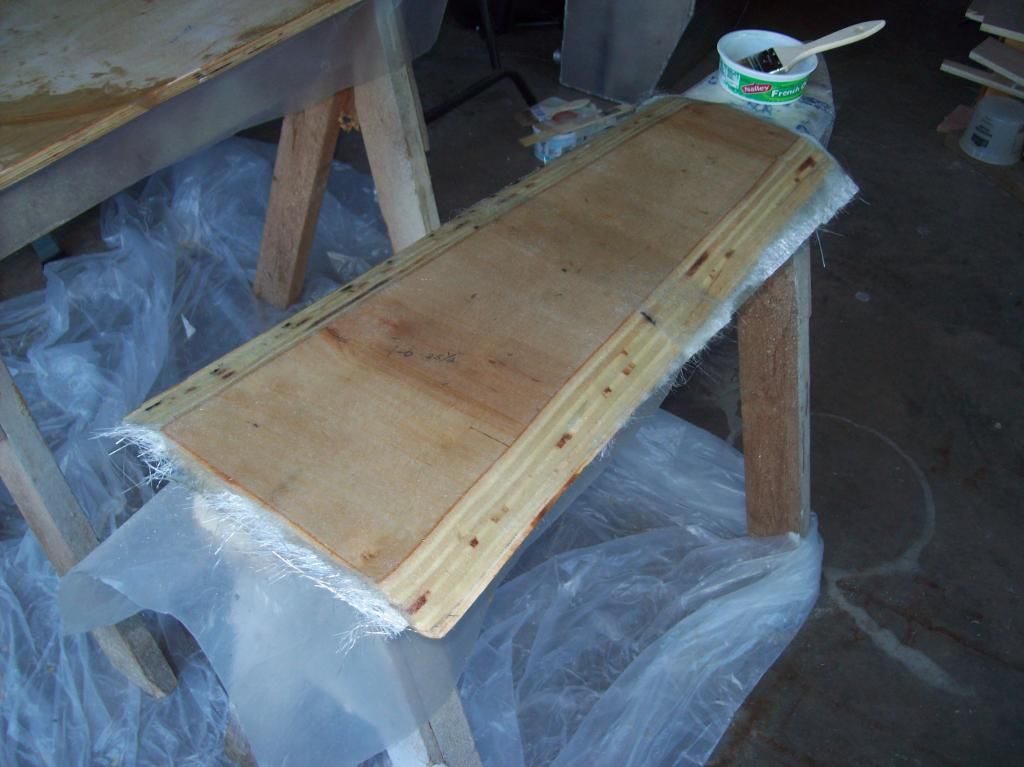
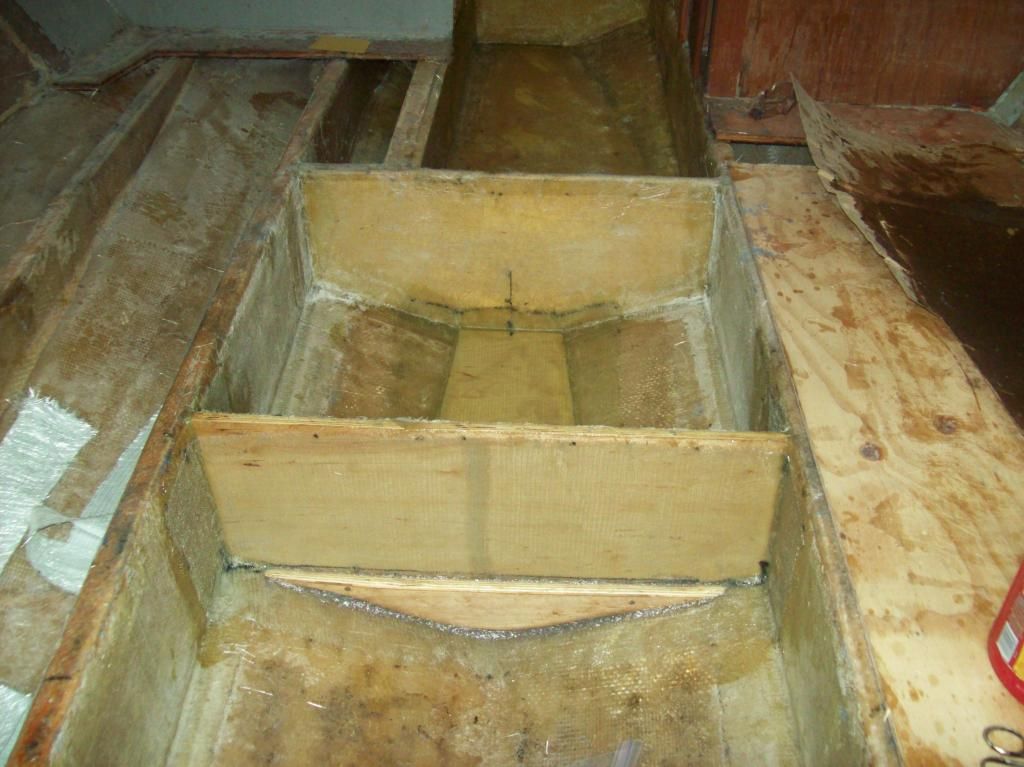
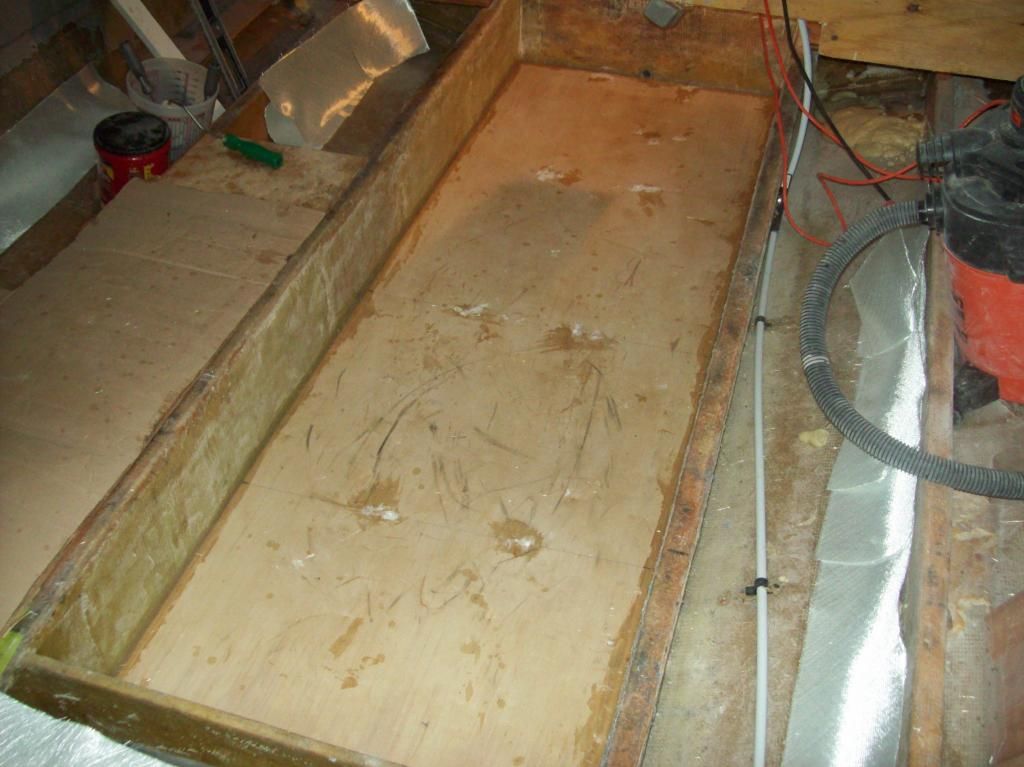
I got some work done today on the water tank compartment. I applied thickened resin to the edges of tank floor and bulkhead, and when that tacked up I put a layer of CSM on the bottom of the floor,


Then I put about a 3/8" bead of PB on the deck where the floor sits and pushed the floor board down onto it. I then drilled and screwed the bulkhead to the floor board and filleted both the floor and the bulkhead with PB,
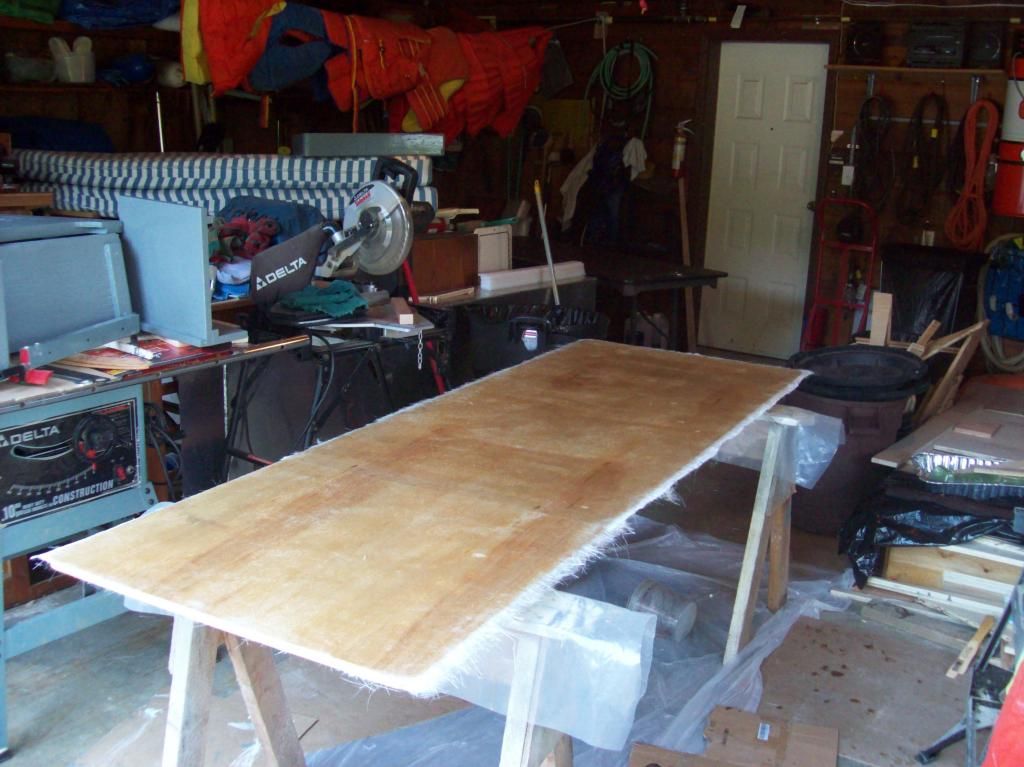


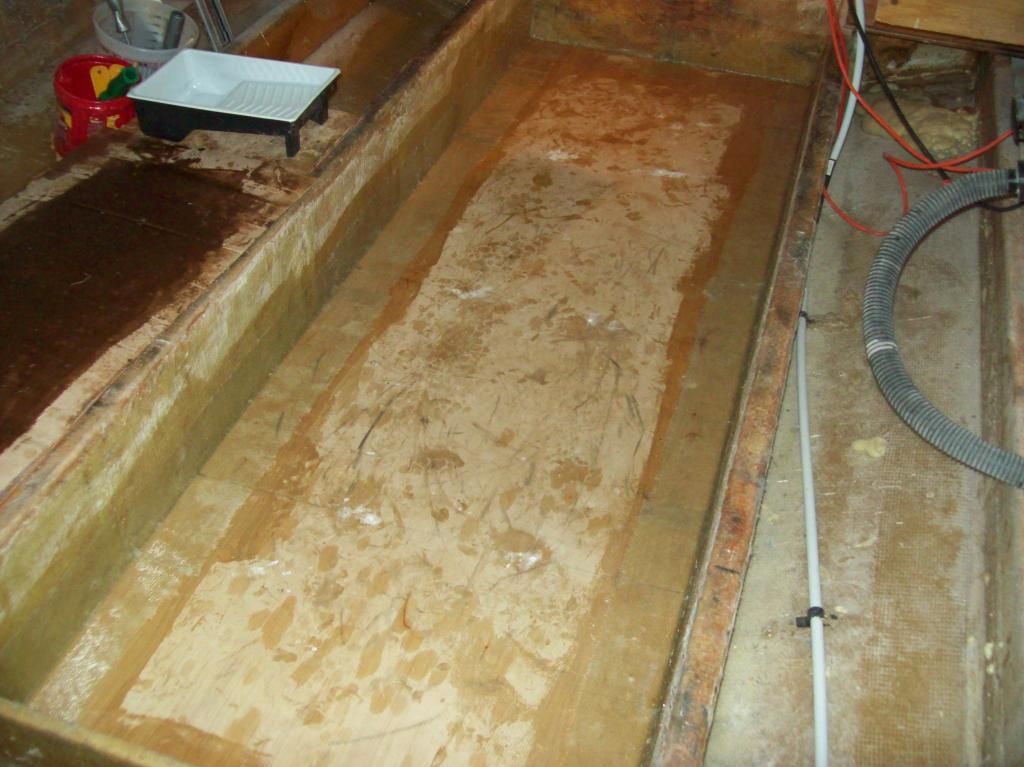
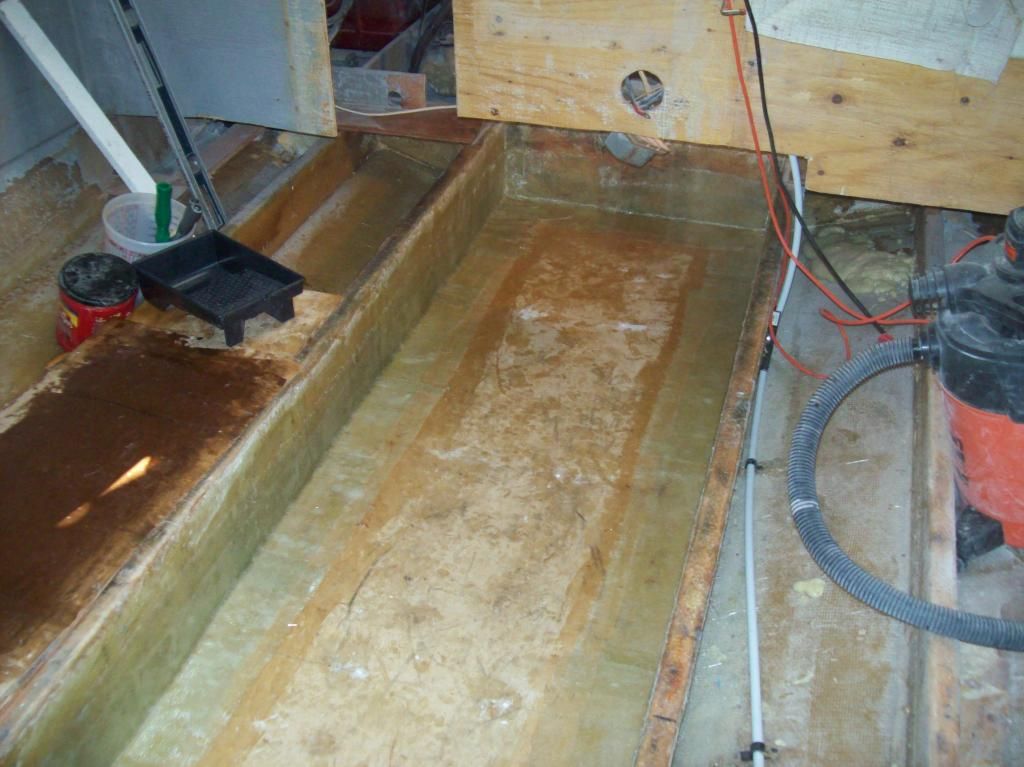
When the PB tacked up I tabbed everything in, covered all with 1708, and installed a new rib for the gas tank floor with wetted out CSM and a couple screws, and mixed a small batch of PB and filleted it in,


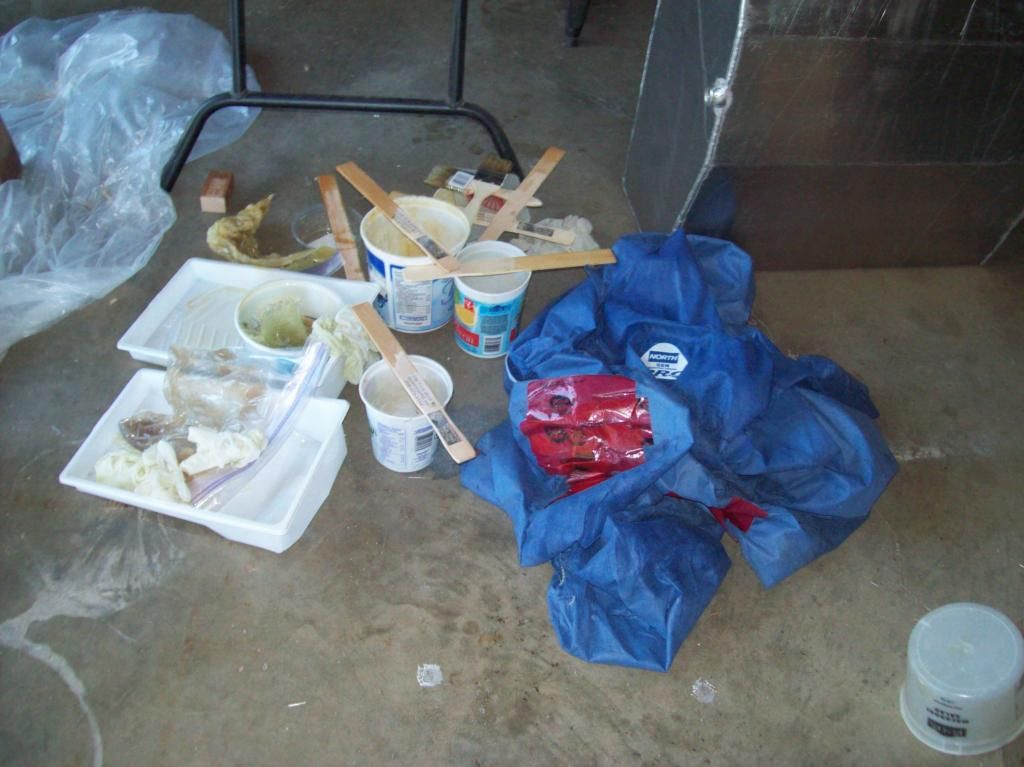
I seem to go through a lot of consumables, here's most of todays spoils,


I'm gonna take my water tank in tomorrow for resizing. I also plan to cap the bulkhead with CSM, and maybe drill for the drain and water lines. Oh, and pick up some more consumables. :very_drunk:
 

Mikeopsycho

Senior Chief Petty Officer
Joined
Feb 6, 2014
Messages
738
Yesterday I brought the water tank back to the fab shop for minor alterations, they had no problem with doing the modification, no extra charges.

I drilled all the holes through the bulkhead and ribs for two 3/4" sched 40 PVC conduits. One will serve as a drain for the water tank compartment, and the other will be a carrier for a 1/2" pex line that will be a drain for the water tank itself. I drilled through the stringer on the port side of the tank compartment where the water line will go to the pump. The hole-saw cores through the original wood into the bilge area looked great, dry and solid.

Then I tabbed and covered the rib against the bulkhead with 1708. I also capped the bulkhead with CSM, which went very smoothly.... this time. :nod:

Today I ground, vacuumed, wiped down with acetone, and glassed in the rest of the ribs with 1708. I was going to cap them with CSM, but I went a little too high with the 1708 and got lots of strands sticking up in the way, so I'll grind those off and cap them tomorrow. I put resin into all the hole-saw holes with my mini roller several times to try and get it to soak into the wood. I think I'll rough up the conduit edges with 60 grit sand paper where it passes through the ribs and bulkhead, and I'll seal them in place with PB.
I got a call a little while ago from the fab shop. Both my tanks are completed, air tested and ready for pick up. :whoo:Hopefully I can borrow my brother in law's truck tomorrow and pick them up. Things are really coming together now!
 

Mikeopsycho

Senior Chief Petty Officer
Joined
Feb 6, 2014
Messages
738
Yesterday I picked up the tanks, they look great! I'm very pleased with them both! They're built out of 3/16", and even though the gas tank is a bit smaller than the old one was, it's much heavier. The old tank was 120 gallon capacity and weighed 85 lbs. (I got 30 bucks for it at the scrap yard). The new tank has a capacity of about 100 gallons and although I didn't weigh it, it feels like at least 125 lbs.

Here`s the tanks on edge, gas on the bottom, water on top,


I got the ribs/mini bulkheads beneath the gas tank floor capped with CSM.

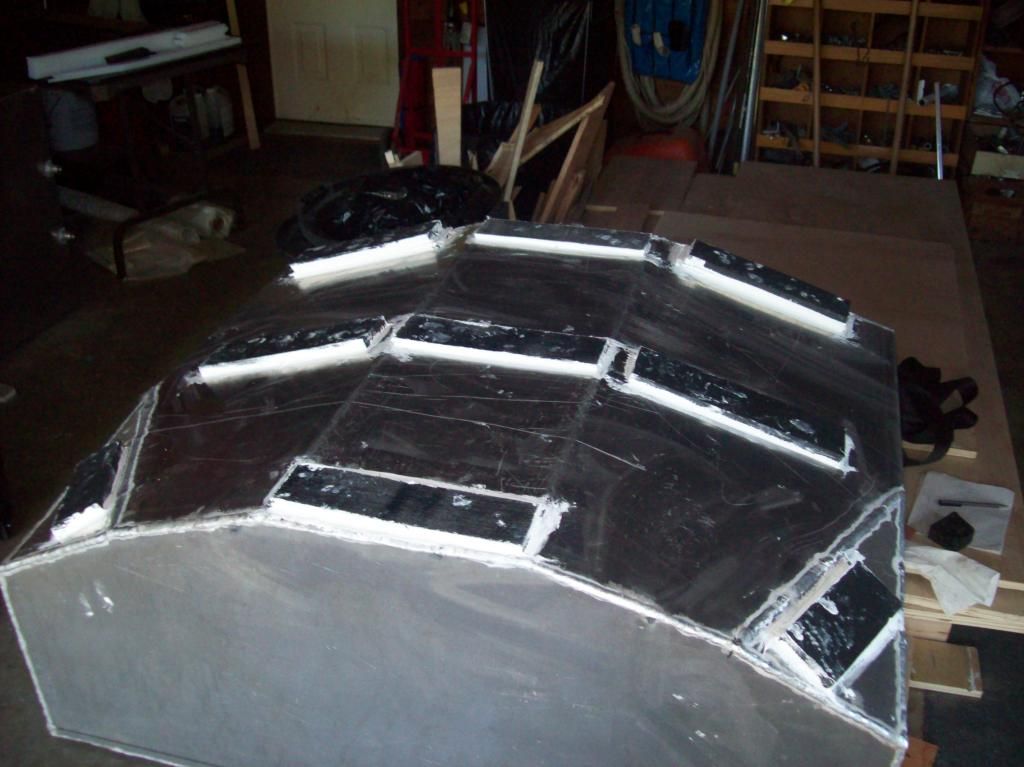
Today I cut plastic strips that the tanks will sit on, and dry tested the support spacing for the water tank over and over until I finally got it sitting solid using various thicknesses of plastic strips, and a couple of 100% neoprene strips too. I then adhered the strips to the tank with 5200. I decided on a modified V with a bit of a flat area on the bottom to try and maximize the volume, but if I had to do it over again I'd take the loss of a few gallons of water and get a rectangular, flat bottom tank built. It would have been much easier to mount on a flat floor like what I`m building for the gas tank. Anyway, here`s the bottom of the water tank with the plastic strips in place.
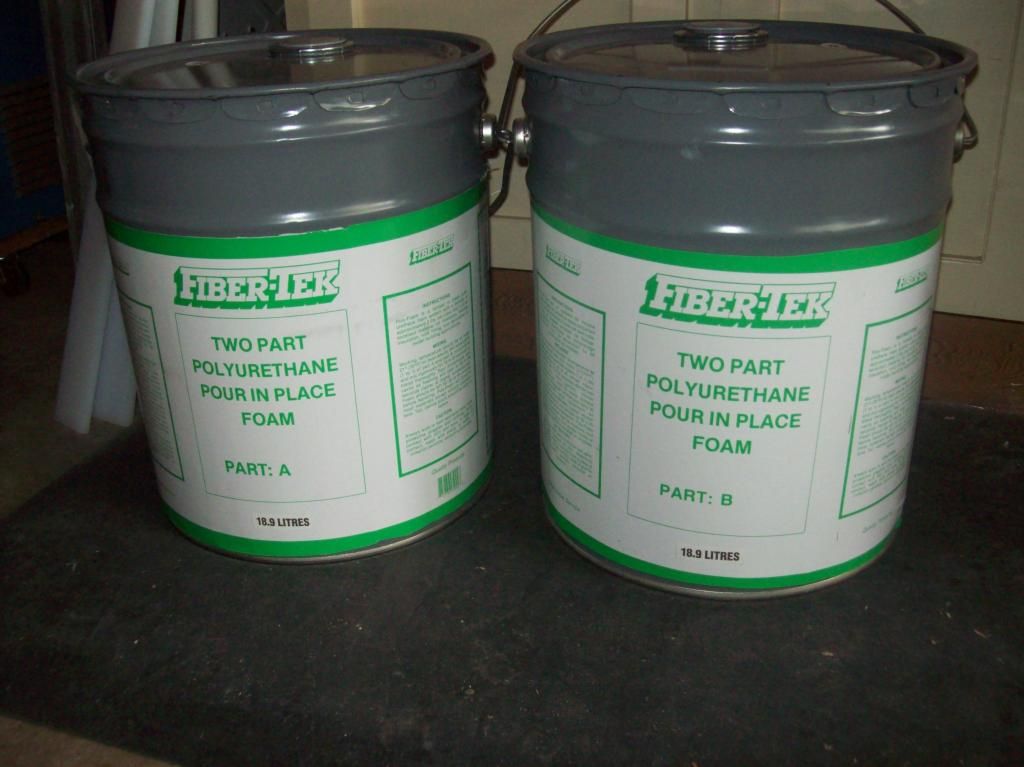
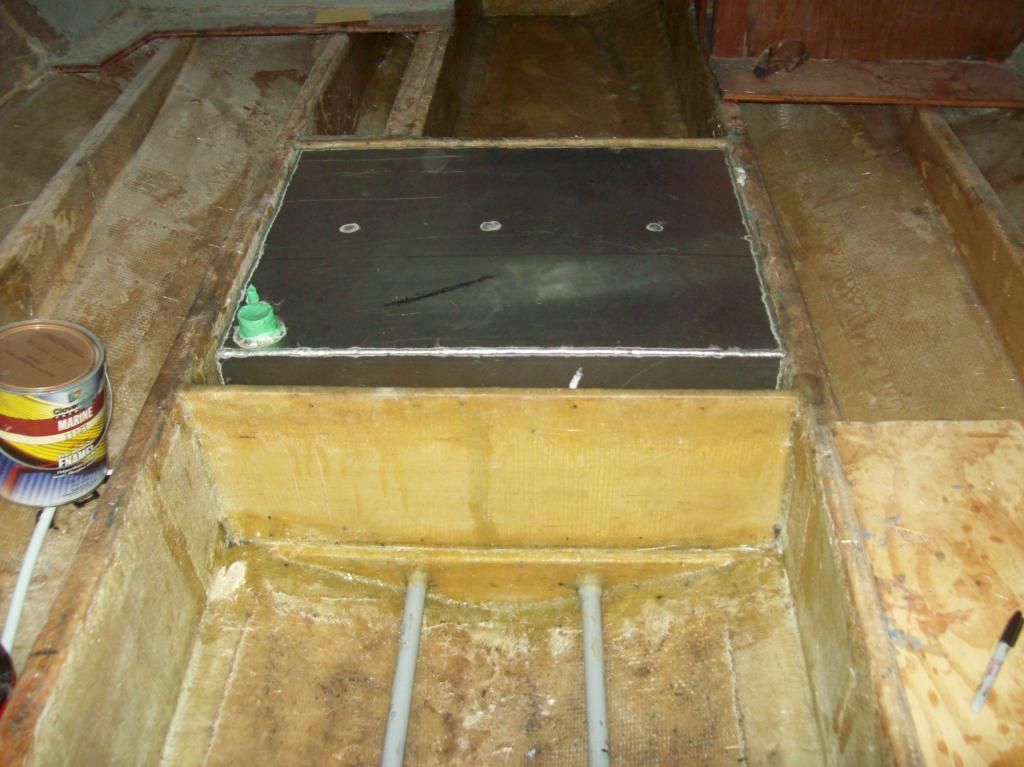


I cracked a cold one, sat in the garage figuring what to do tomorrow, looked over at the water tank and just had to add a little 5200 to the edges and smooth to a nice fillet with my (gloved) finger....there, that`s better. I earned another cold one ;).
 
Last edited:

bigdirty

Senior Chief Petty Officer
Joined
Oct 4, 2013
Messages
652
Progress is lookin great man, nice work! :thumb: And nice lookin tanks, so you gona get it all put back together and splash her this weekend? :lol: Be sure to tip back a few cold ones either way, happy long weekend! :party:
 

Mikeopsycho

Senior Chief Petty Officer
Joined
Feb 6, 2014
Messages
738
Progress is lookin great man, nice work! :thumb: And nice lookin tanks, so you gona get it all put back together and splash her this weekend? :lol: Be sure to tip back a few cold ones either way, happy long weekend! :party:

Like I said to the guys at the fab shop, "tanks a lot". Would have probably got her all done yesterday but I had to do a couple things around the house :laugh:.
Always good to hear from you bigdirty, :yo: hope you're enjoying your fine boat. Cheers and a happy long weekend to you too.:canada:
 

Mikeopsycho

Senior Chief Petty Officer
Joined
Feb 6, 2014
Messages
738
I got the two conduits in yesterday. I roughed them up where they passed through the ribs with 60 grit sand paper, and squeezed thickened resin in around them through the holes. This morning I added a little more thickened resin and filleted in, making sure I got a good seal all around all ribs and bulkheads.


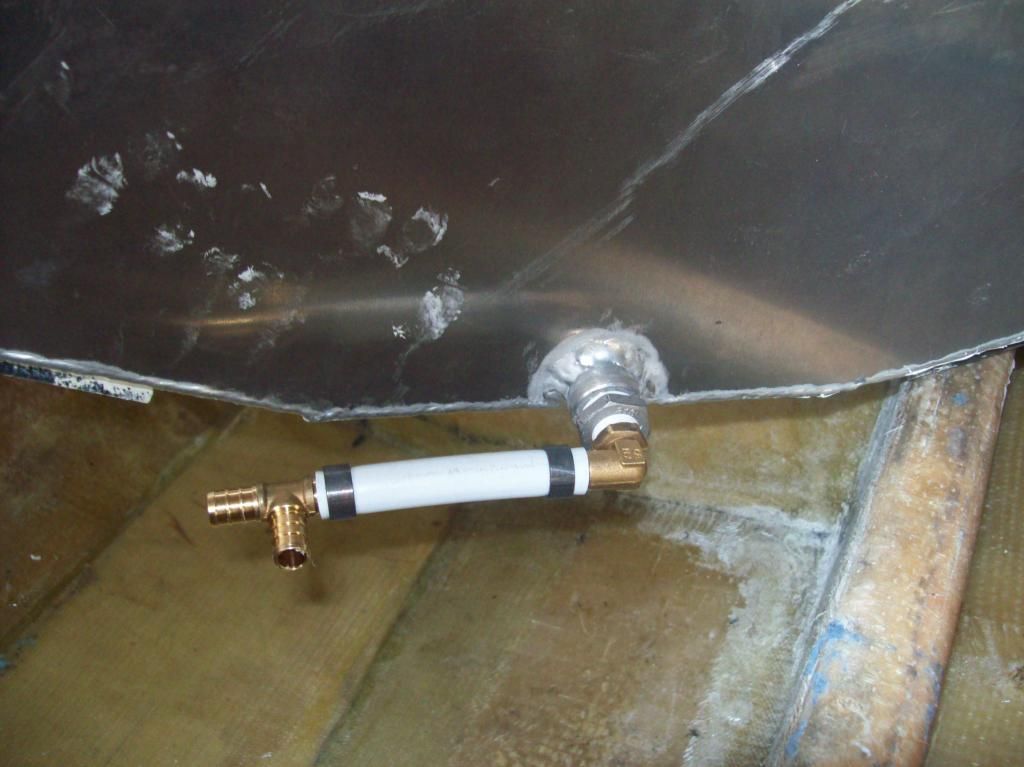
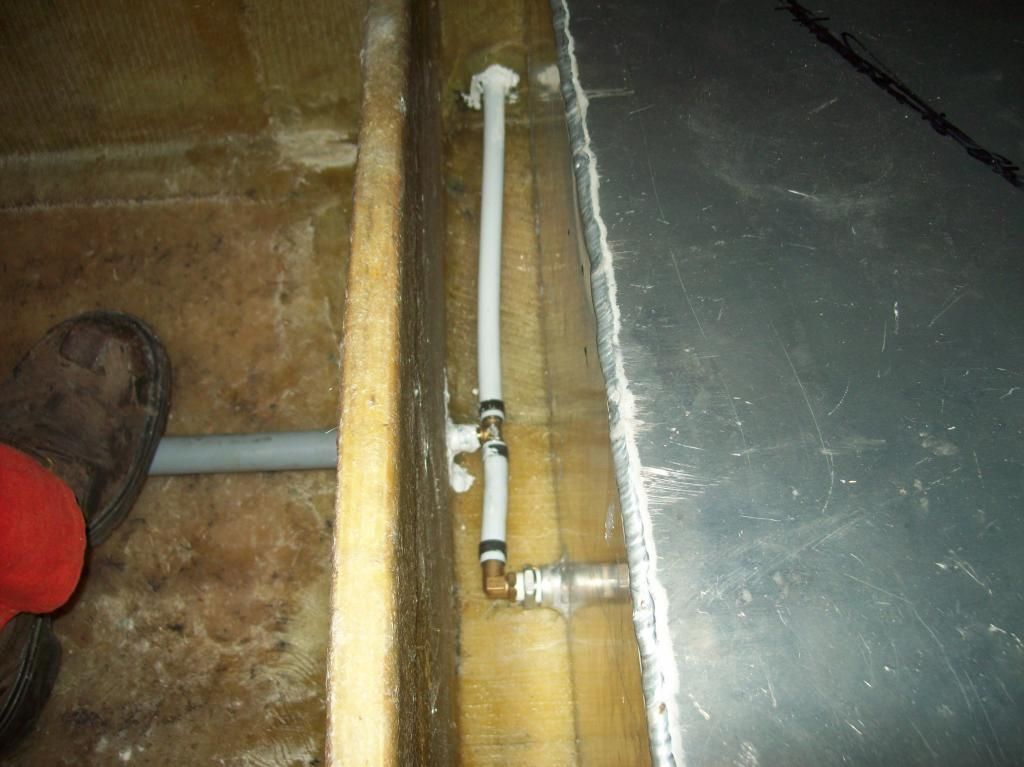
I started on the water system plumbing. I started with a 1/2" X 3/8" stainless steel bushing coming out of the tank to minimize galvanic corrosion issues, followed by a brass 3/8" npt X 1/2" pex 90 degree ell, then a short piece of pex to a T. The straight part of the T is the water line to the pump, and the branch part of the T is the tank drain that goes to the bilge.


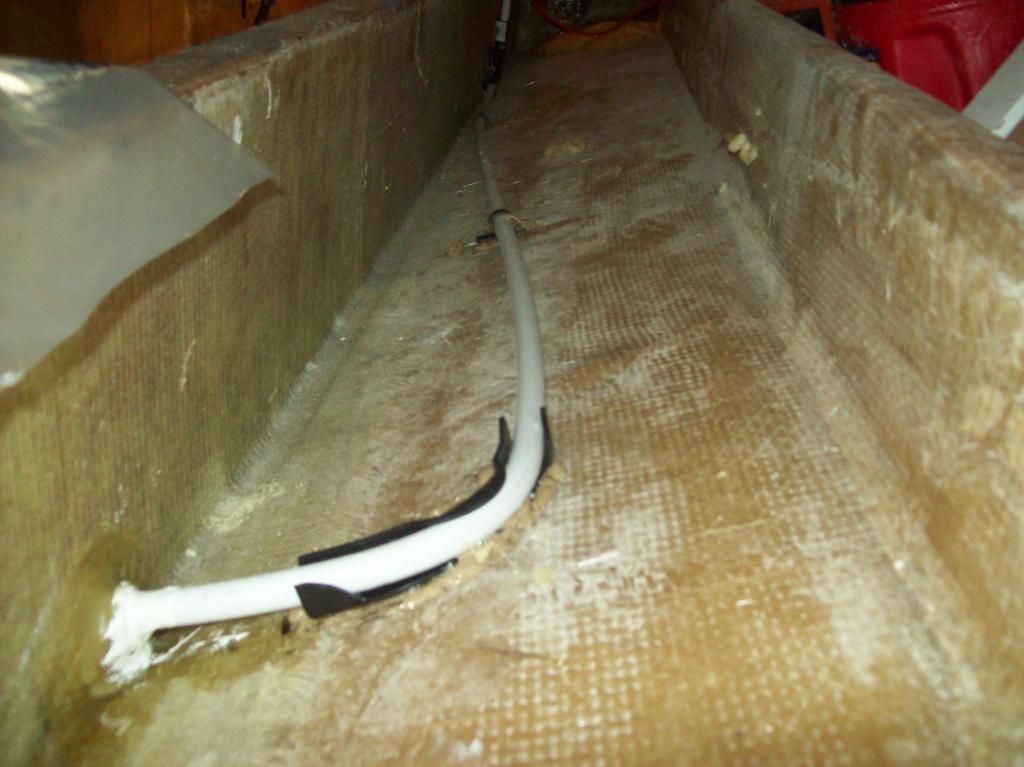
This shot shows the how the water line passes through the stringer and the tank drain is in the conduit.


I sanded the 3/4" plywood gas tank floor board, brushed resin onto the edges, and glassed the bottom with CSM.


The Admiral made a two hour trip (each way), met up with my sister and brother in law who were on the way to their cabin, and took delivery of my 10 gallon foam kit, cabosil, and 1/4" chopped strand. She says I gotta cook supper tonight, so, hotdogs it is. :hungry:


Mikeopsycho

Senior Chief Petty Officer
Joined
Feb 6, 2014
Messages
738
I ran two 1/4" beads of 3M 5200 on the plastic strips on the bottom of the water tank and connected the main water line, then I dropped the tank into it's final position. Once the tank was seated I made the drain line connection, tight getting the crimper in there, but it's done.


I put some 5200 around the pex where it goes through the PVC to seal things up.

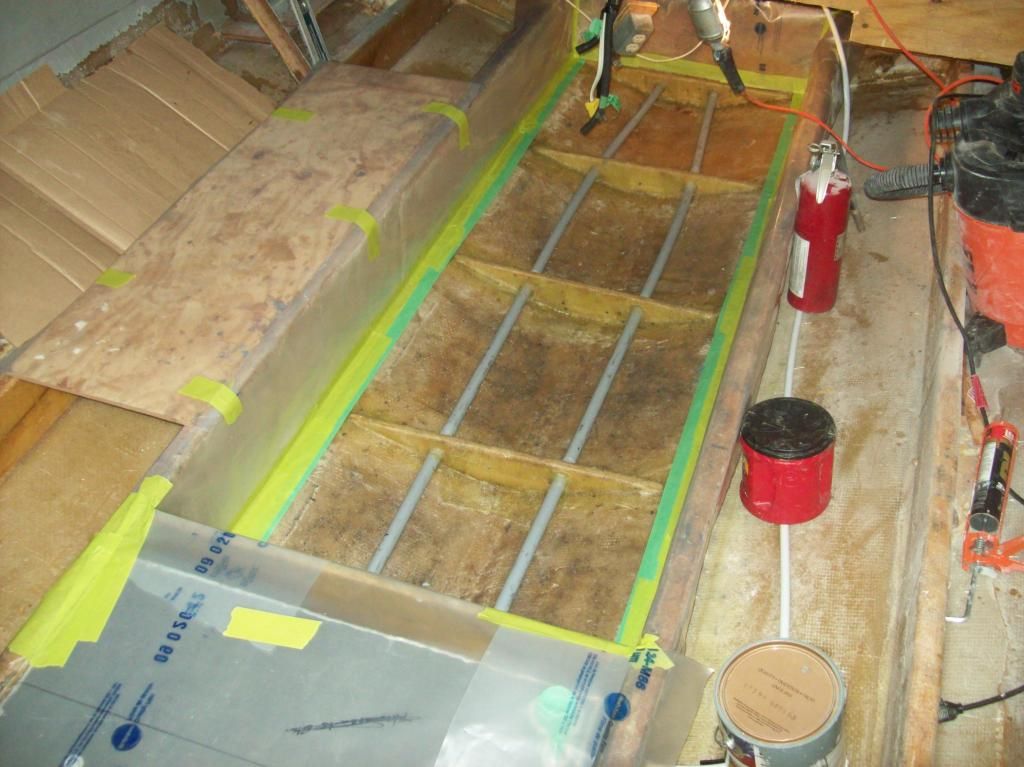
I masked off everything to prep for foaming,


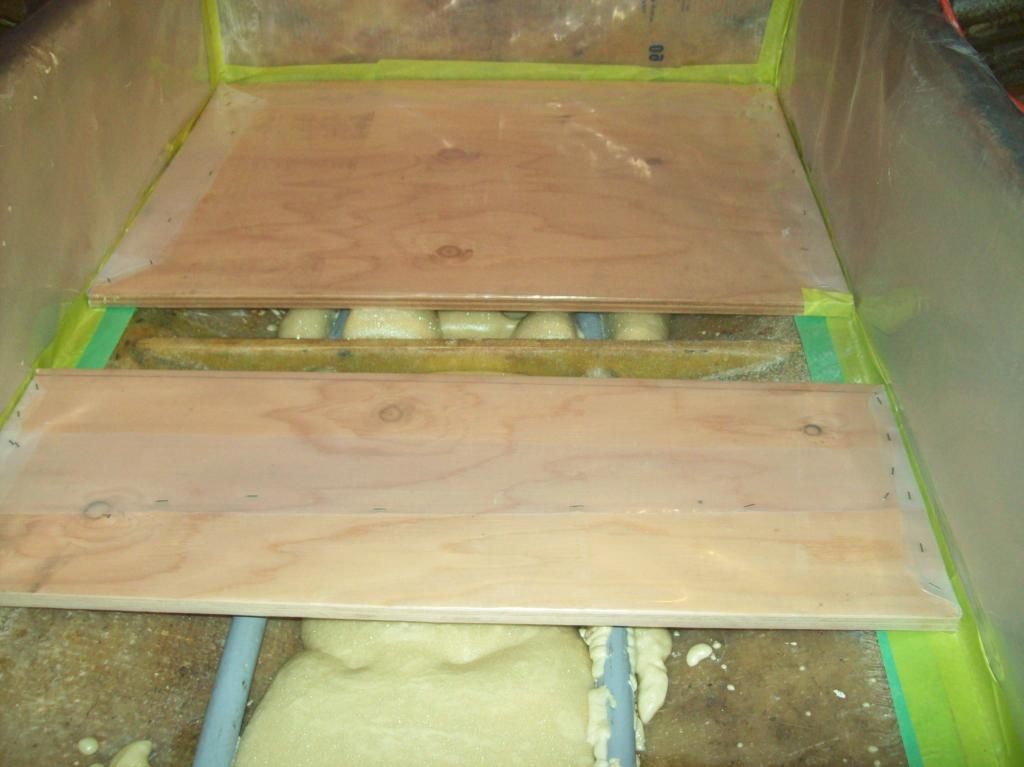
Then I started pouring foam, using the plastic covered board technique I learned here on iboats,


After a little trimming and sanding the top so the floor will sit nice and flat here's how it came out, I'm quite pleased with it,


These are the reasons I decided to foam this area. I did not put a drain in this area because I didn't want bilge water to be able to get into here, so it's a sealed space, and I figured the foam would displace any potential water intrusion. Also, the foam will help support the gas tank, and will provide some flotation. There will be foam under the entire rest of the floor, except around the tanks, no foam will come in contact with the tanks.
 

Mikeopsycho

Senior Chief Petty Officer
Joined
Feb 6, 2014
Messages
738
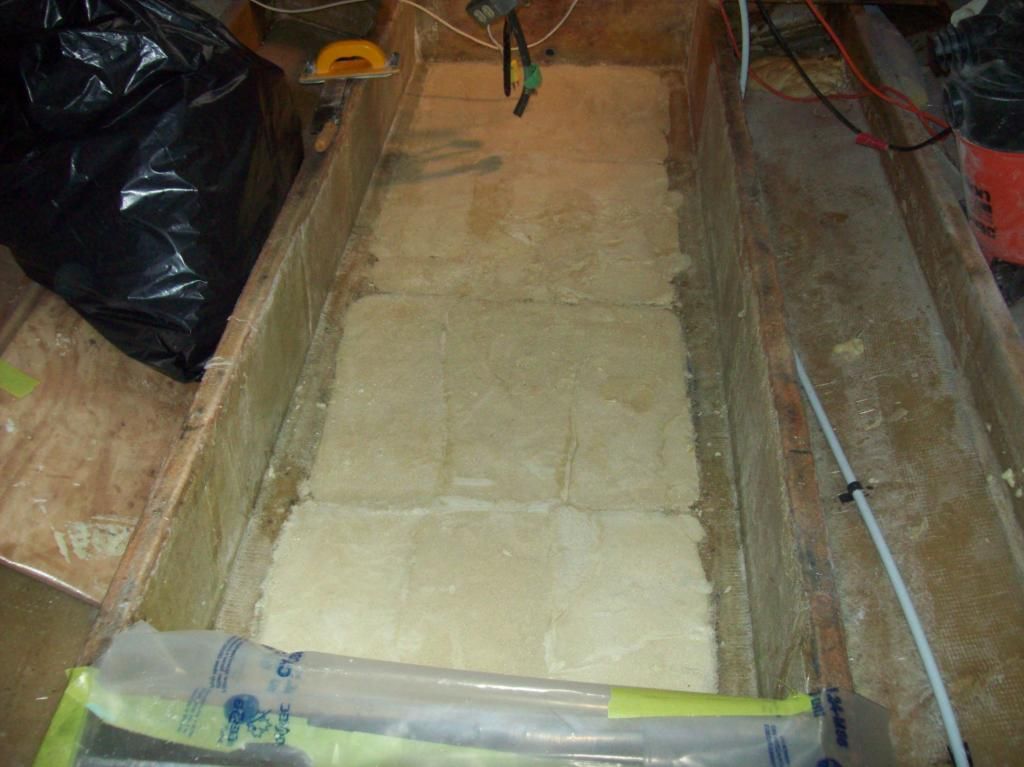
I foamed the area behind the kick wall on the port side of the V berth step down,


This shot kinda shows how the water line runs aft between the two port side stringers to the water pump. I used PL premium to hold the pex clamps in place,


Mikeopsycho

Senior Chief Petty Officer
Joined
Feb 6, 2014
Messages
738
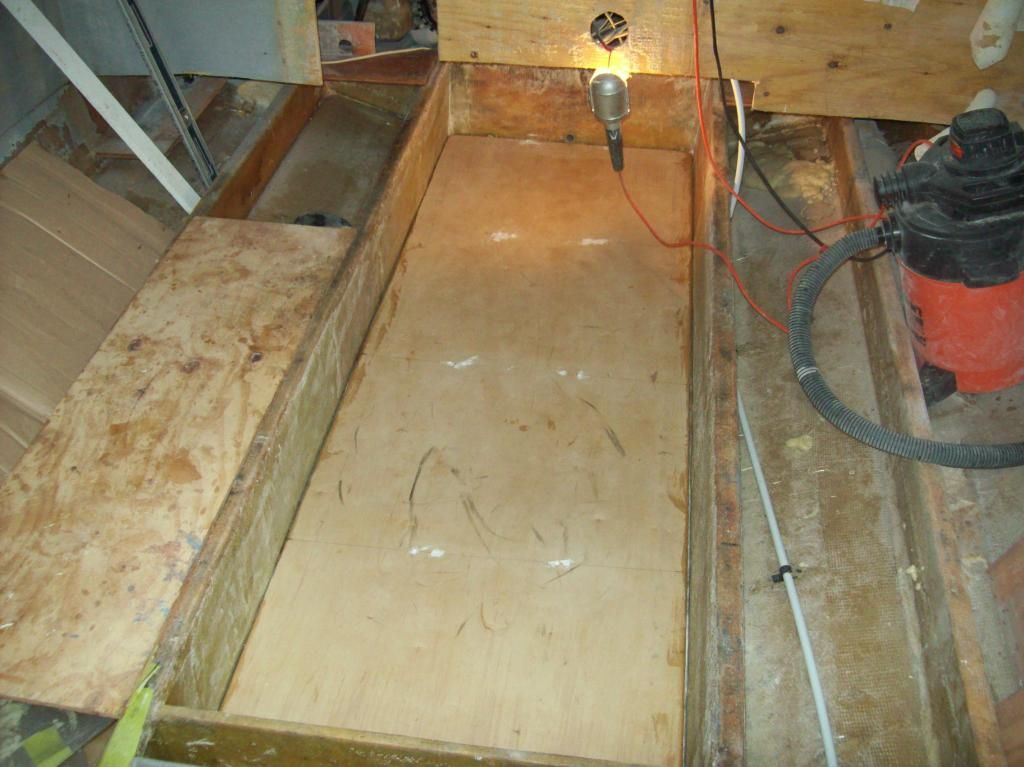
I put another coat of thickened resin on the edges of the gas tank floor. I did some grinding for good adhesion in the corners and on the sides of the stringers where the tank floor will sit. I did final checks and adjustments on the level of the foam then vacuumed and wiped down with acetone and dropped the floor board in place. I screwed it down in countersunk pre drilled holes (which were placed to avoid hitting the PVC conduits) with #8, 1 1/2" stainless steel screws coated in 3M 5200, and top sealed in 5200.


I filleted the edges and capped the screw holes with PB,


After the PB tacked up I tabbed with 8" pieces of 1708,


Then 12" 1708 tabs,


I had planned to glass with 2 layers of CSM but I totally ran out of steam. I have a couple air bubbles and lumps that I'll grind out tomorrow, a light re-sanding of the floor to clean it up, a cleansing wipe with acetone then I'll lay the layers of CSM. For now it's beer time.

It's pretty cool having a flat area to stand on in the boat, even if it is about 11" lower than the final floor height.

Oh, I almost forgot to mention my near catastrophe. I had a melt down. well...I didn't have a melt down, but my cheap beer cups filled with resin did. I had three cups each with 500 ml of resin in the cockpit of the boat waiting to have hardener added for use in my lay up. Well, they melted. Luckily I had carried them into the boat in a plastic tool tote, which acted as secondary containment and saved me from a huge mess to clean up, although a little escaped. Again, luckily I had a piece of plastic covered plywood on the cockpit sole to protect it from potential spills. There is a very important lesson to be learned here .....that's right, only put BEER in plastic beer cups. :doh: I shoulda known that.
 
Last edited:

bigdirty

Senior Chief Petty Officer
Joined
Oct 4, 2013
Messages
652
Hey man, poop happens.. My first attempt was dollar store plastic measuring cups.. :facepalm: yup, the bottom melted out of both of them, making one heck of a mess... :lol: She's looking real close now, a dang fine job you are doing there sir! :thumb:
 

Mikeopsycho

Senior Chief Petty Officer
Joined
Feb 6, 2014
Messages
738
Thanks bigdirty, yup, she's getting there. I noticed that the plastic measuring cups from the supply store and the ones yogurt and margarine come in are #5 plastic, and the melting elcheepo beer cups from the dollar store are #6. I'm not sure if it's the thinness of the beer cups or if it's the different type of plastic, but no more thin nor #6 containers will be used by me. :rant:

I did a bit of touch up grinding and sanding today, them vacuumed and cleaned. I cut enough CSM to put two layers down, poured all the resin I had left into 500 ml containers, four of them, put everything I'd need inside the boat, and started mixing resin and laying CSM. Damn that wood was thirsty! used all my resin and only got one layer down :blue:. I won't be able to work on the boat for the next week or two, so I guess I'll have to grind the whole shooting match to put the second layer down. A total rooky mistake, I should have made sure I had enough resin on hand to complete the lay up. :frusty:

Other than the disintegrating cups and the resin shortage I'm feeling real good about how it's shaping up. :D
 

Mikeopsycho

Senior Chief Petty Officer
Joined
Feb 6, 2014
Messages
738
I resupplied with my third 5 gal bucket of resin, another 21 lineal yards of 1.5 CSM, some mixing containers, gloves, etc., etc.. Yesterday I got a hand from my visiting nephew, his son, and my brother in law to place the gas tank inside the boat. Here it is, face down and ready for the plastic strips,


I adhered 1/4" X 2" plastic strips approx. every 12" with 5200, and I'll leave it set for a couple days before proceeding with the installation,


I ground the gas tank compartment area, vacuumed and wiped with acetone, then applied the 2nd layer of CSM,


I still have to clear the gas tank compartment drain line (I figure if I make a note here I'll remember to do this) :rolleyes:

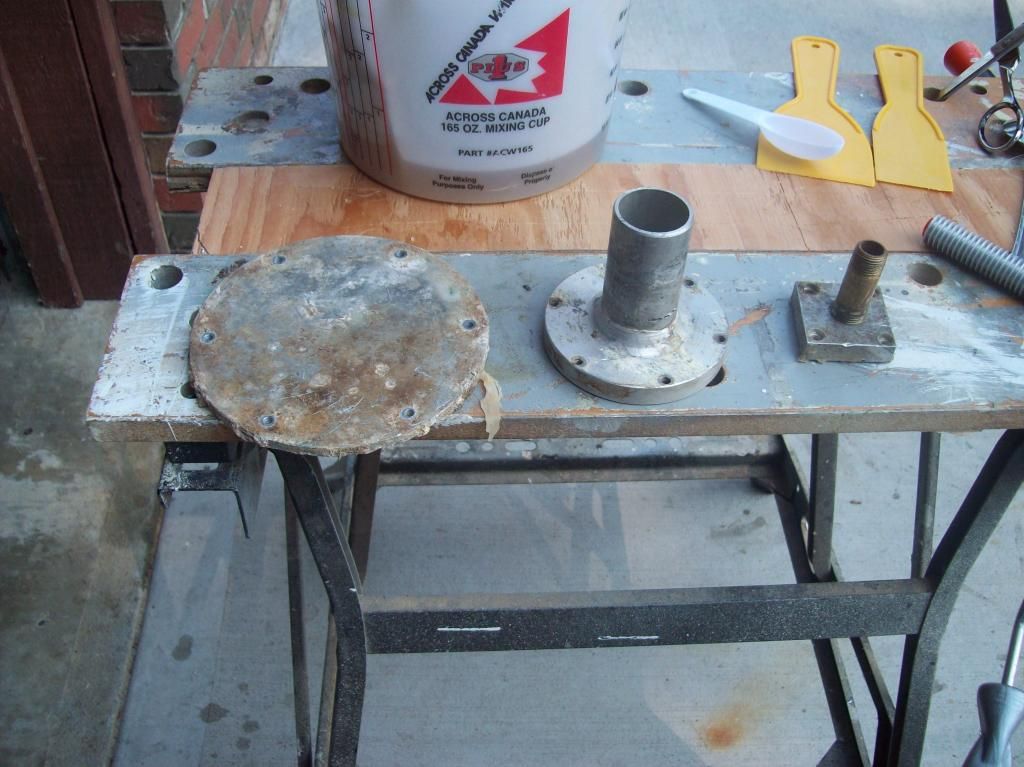
A couple weeks ago I unscrewed the fittings from my old gas tank to have a look. I'm sure this tank had been worked on at some time due to it having an inspection plate, which is not usually found on marine gasoline tanks, and the way the fill and vent fittings were attached, these are normally welded on, not screwed. From left to right is the inspection plate, the fill fitting and the vent fitting,


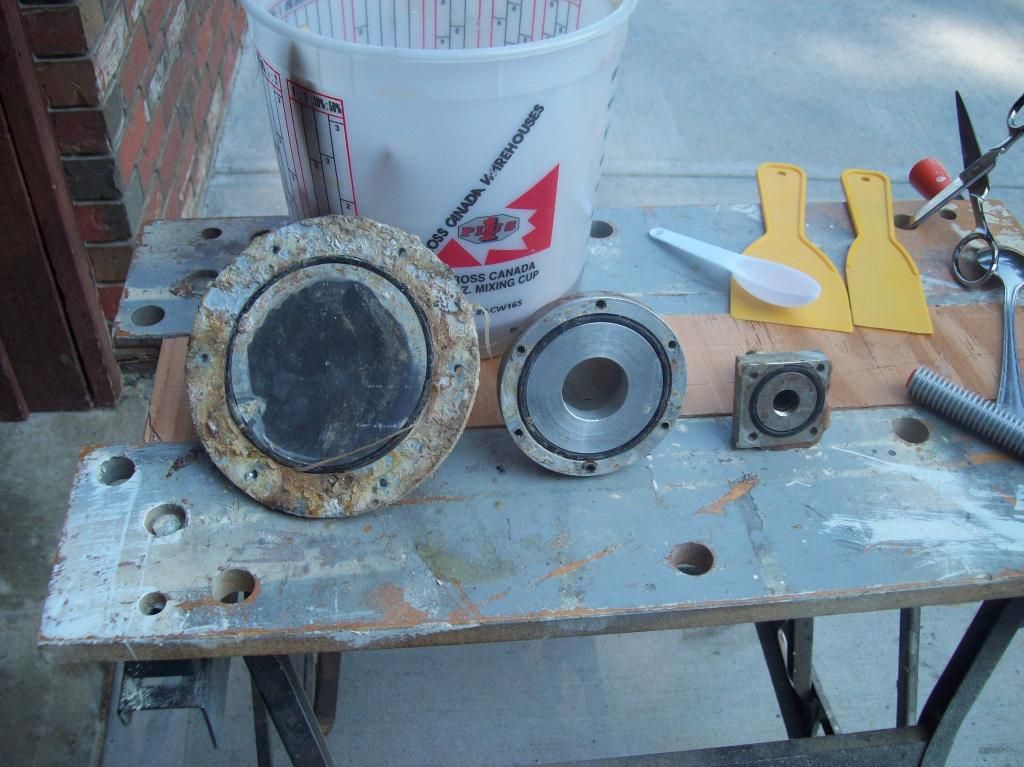
Here's a look at the O rings, all of which had failed, I can see pinch marks and there was discolouration on the tank from leaking gas. I'm thinking someone cut a hole in the tank to try and fix the corrosion leaks from inside somehow then capped with the so called inspection plate. I have no idea why they would have cut off the welded fill and vent fittings and replaced with these screw on ones.


I was unable to remove the sender unit, it was incredibly corroded. Surprisingly, it was very accurate, I hope my new one works as well as the old one did.
 

Mikeopsycho

Senior Chief Petty Officer
Joined
Feb 6, 2014
Messages
738
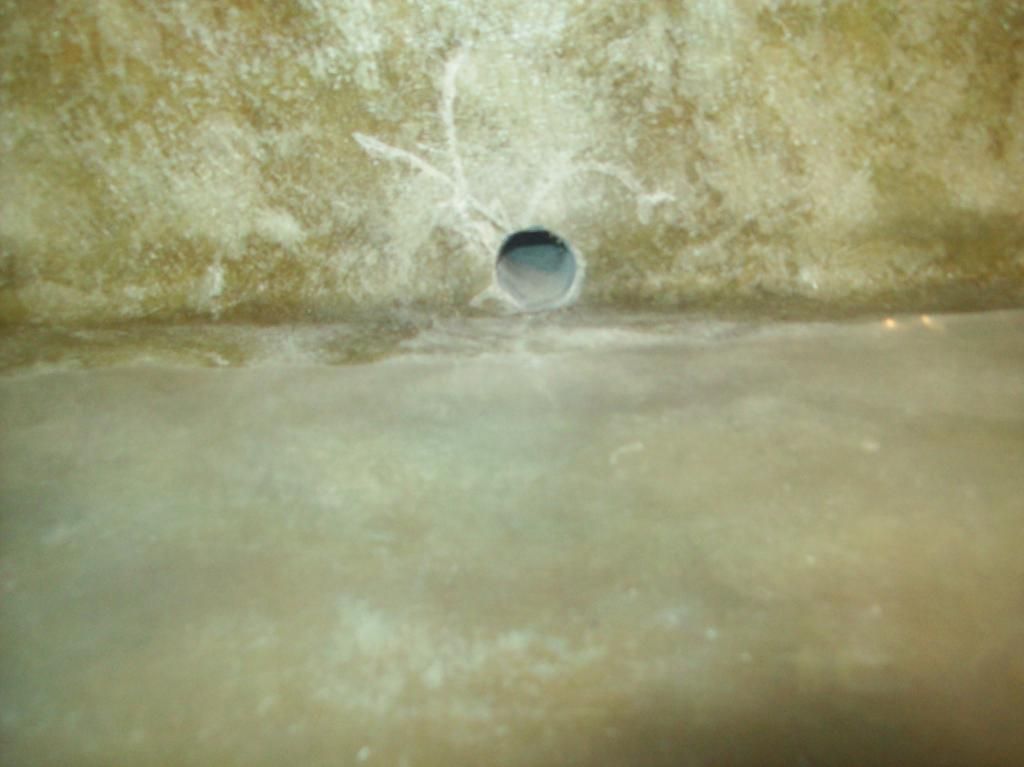
Yesterday I used a dermal to clear the drain at the aft of the gas tank compartment,


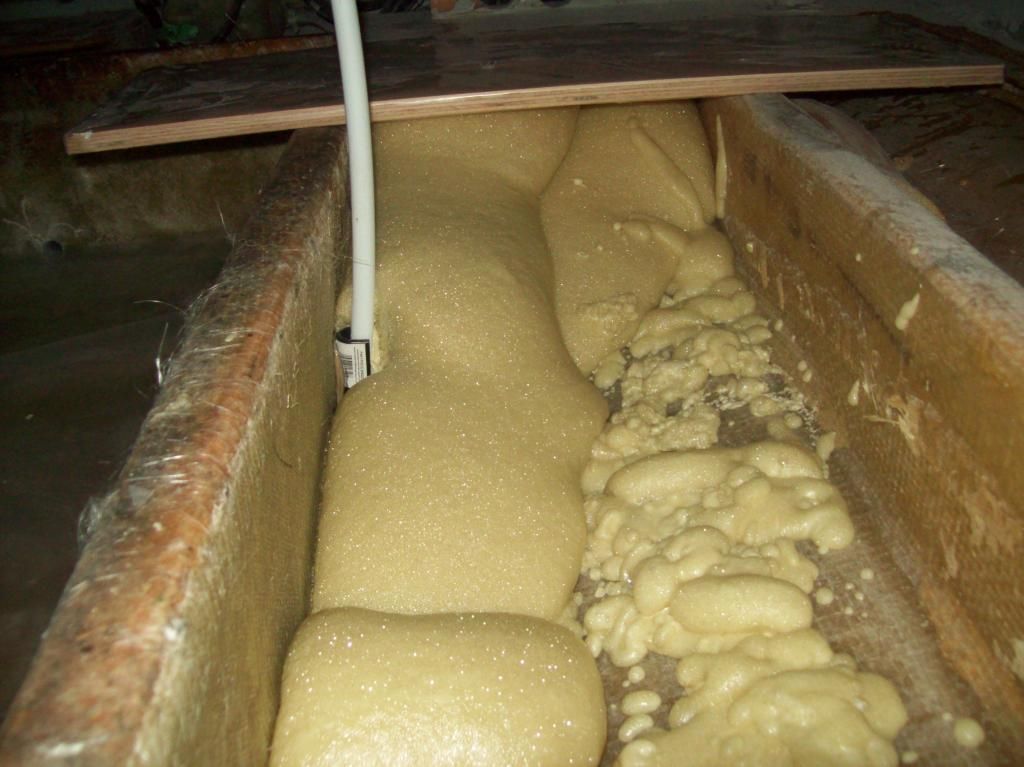
And I started to pour the two part foam using a piece of plastic covered plywood to control the direction of expansion, which worked very well for me. I got the area between the port stringers done, and started on the aft part on the starboard side. I'll pour both sides between the outer stringers and the hull lastly. I was going to do some more today, but it cooled off, rained a bit, and we had thunder storm warnings. Too cool and wet for foam. I'll wait for warmer weather before I pour more.


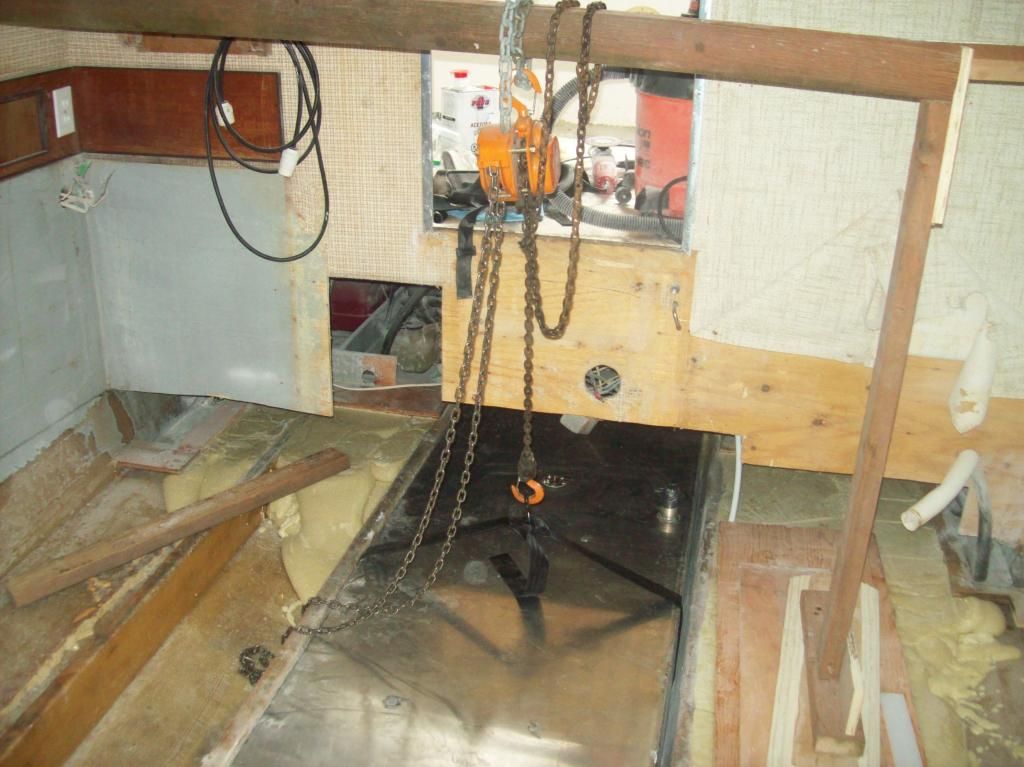
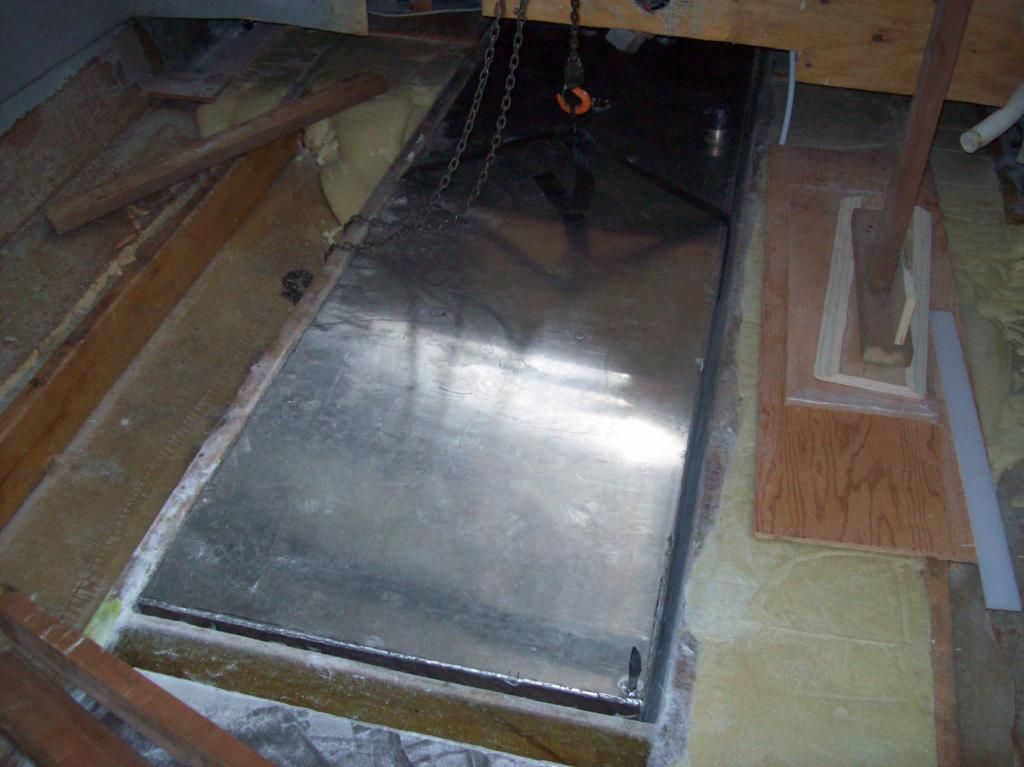
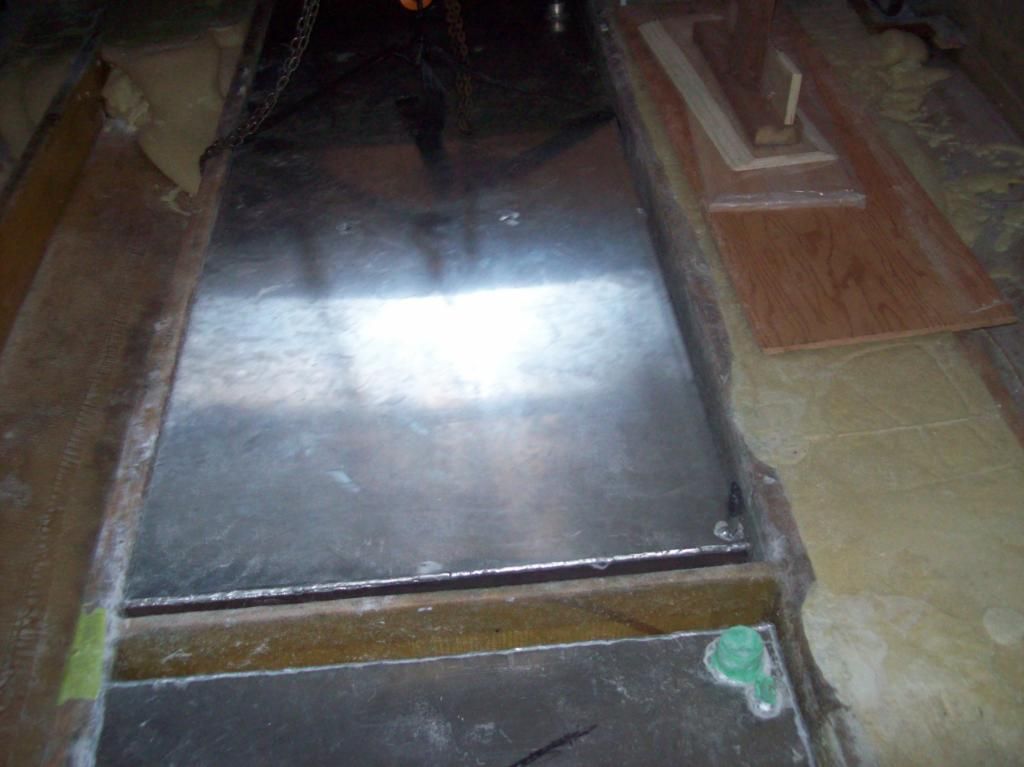
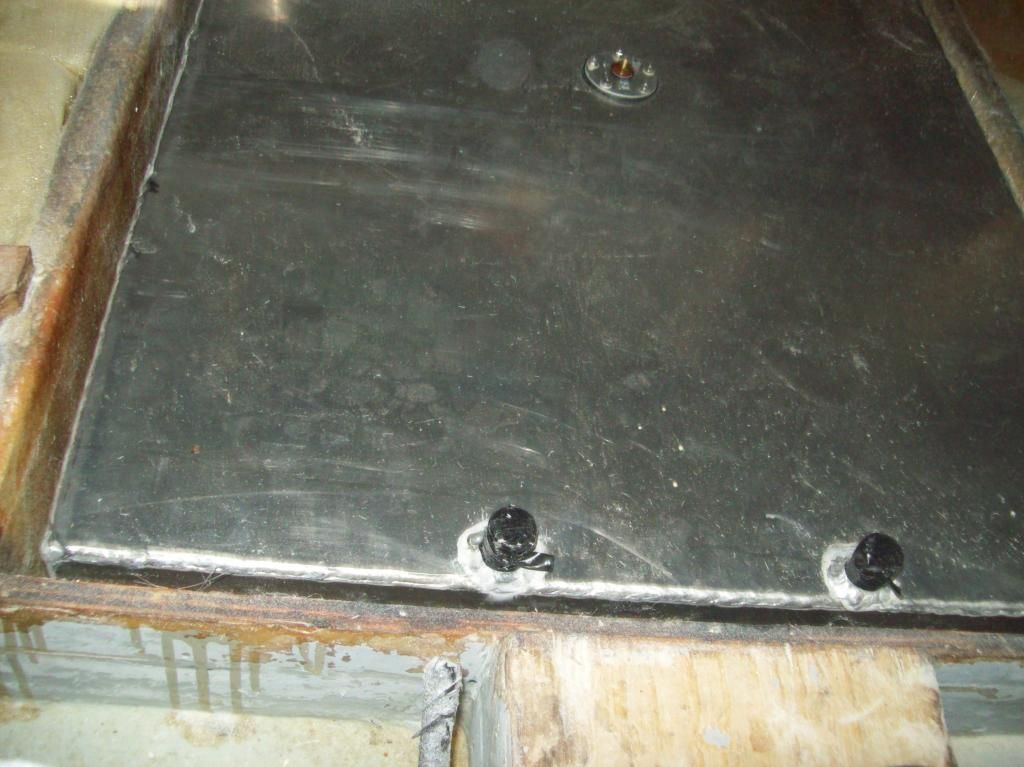
Today I put together a little rig to help install the gas tank with a 4X4, a chain hoist, and various other bits and pieces. Then I dry fit the tank to make sure it fit OK and for a practice run. I roughed up the bottom of the plastic strips, applied two 1/4" beads of 3M 5200 to each strip, and dropped the tank into its new home, where it will remain for ever and ever............and ever,


And a shot from the engine space,


Man, it feels great to have the gas tank installed! Now I've got a flat place to walk, and there is no problem walking on it, it's built like a ah..er..um...well, like a tank. 3/16" aluminum. I'm doing all I can to prevent any galvanic corrosion. As well as mounting it according to these instructions, Ihttp://www.yachtsurvey.com/fueltank.htm,( thanks for the link WOG), I'm going to use stainless bushings on the pick up lines before the brass 90's and brass pet cocks.
 

bigdirty

Senior Chief Petty Officer
Joined
Oct 4, 2013
Messages
652
Wow man! Lookin great! :thumb: Isn't it GREAT feeling to be putting 'stuff' back INTO the boat now? :lol:

About the fuel tank... if the previous 'repair' was done in the boat, I would have done the same.. cutting the factory welded fittings off is one thing, but I don't know a single welder (or anyone for that matter...) in the world who would weld a fitting back onto a tank that had fuel, or even fumes in it, inside a boat.. can you say biiiiig kaboom? :laugh:
 

Mikeopsycho

Senior Chief Petty Officer
Joined
Feb 6, 2014
Messages
738
Wow man! Lookin great! :thumb: Isn't it GREAT feeling to be putting 'stuff' back INTO the boat now? :lol:

Hey BD, it is a GREAT feeling! I've got a long way to go but she's slowly coming along.......

About the fuel tank... if the previous 'repair' was done in the boat, I would have done the same.. cutting the factory welded fittings off is one thing, but I don't know a single welder (or anyone for that matter...) in the world who would weld a fitting back onto a tank that had fuel, or even fumes in it, inside a boat.. can you say biiiiig kaboom? :laugh:

Yeah, I don't think not welding on a used fuel tank is weird, but I can't see why they cut off the welded fittings in the first place. :flame:It's a mystery to me. :noidea:
 

Mikeopsycho

Senior Chief Petty Officer
Joined
Feb 6, 2014
Messages
738
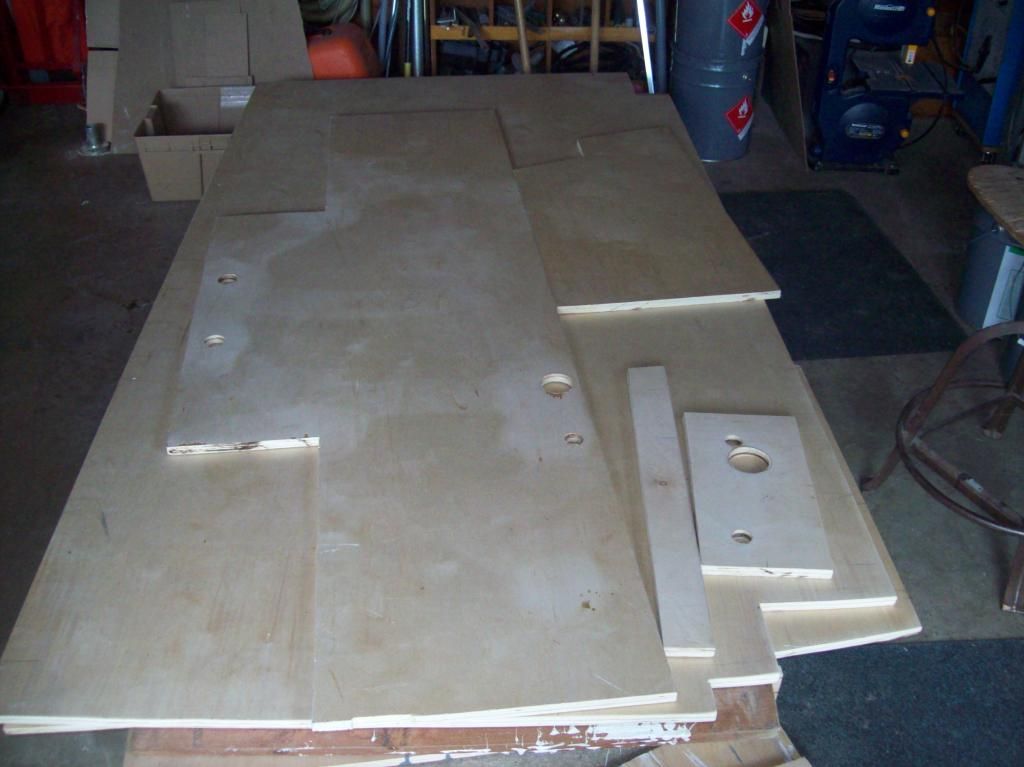
Yesterday I made templates for the new tanks fill lines, vents, pick-ups, etc., transferred them to my deck boards and cut them out.


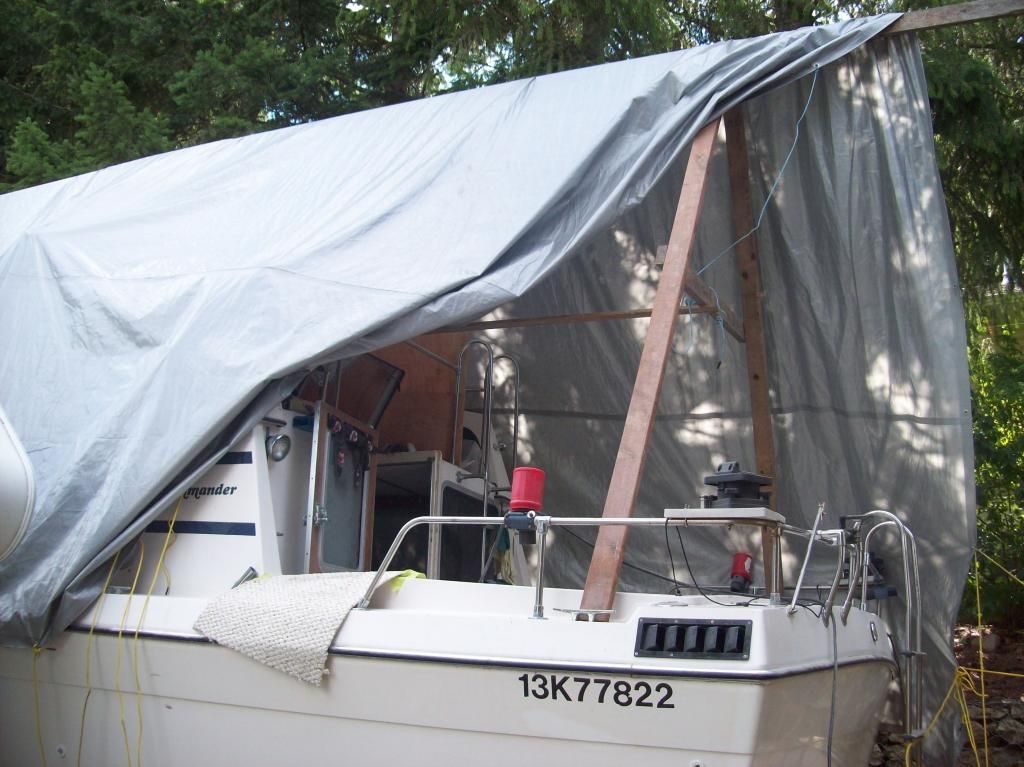
Today I was going to foam but the weather is way too cool, and it looks like it'll be too cool for the next few days at least. Instead, I trimmed my deck boards to the marks I made a few weeks ago and my brother-in-law came over and helped me place them into the boat for a final dry fit, everything fits good. We took the boards back out and I'll sand, clean, and glass them.......soon, I hope. We opened up a bit of the tarp to move the boards in and out,


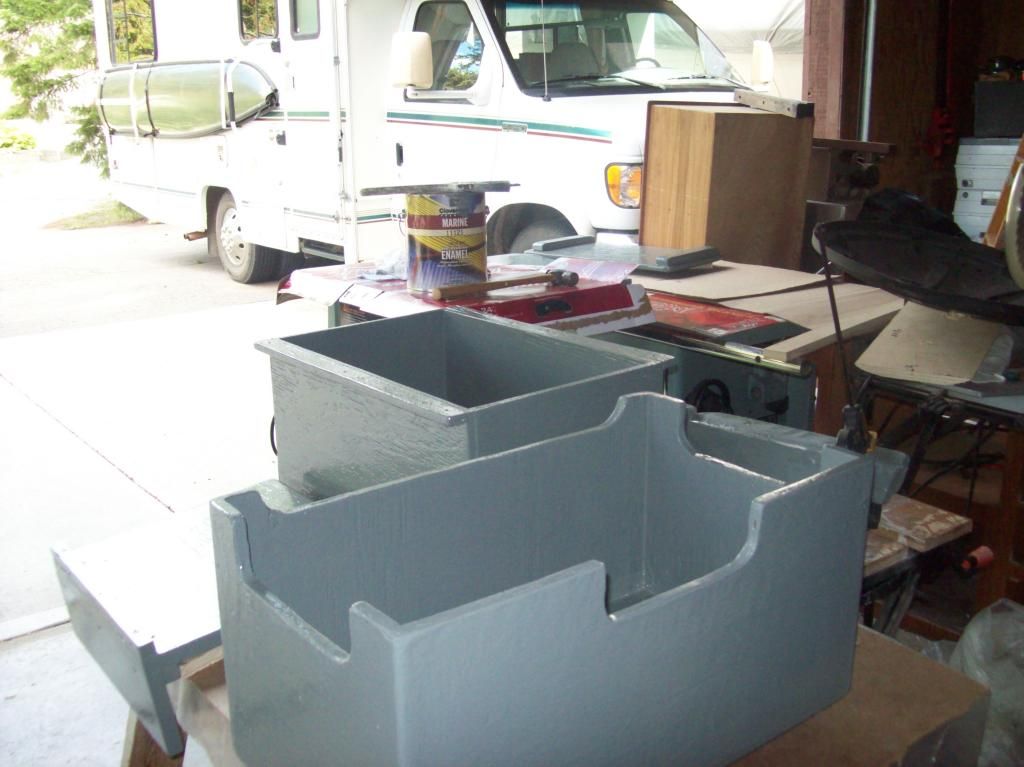
Then I sanded and re-painted the assorted components that needed it with marine enamel. I'll turn them over and do the other side when I'm looking for an easy task to do, :eagerness:


I also worked on a homemade bow piece I built for my 10' Portabote, seen hanging of the side of our little motorhome in the pic above. Nothing to do with this thread, but it is boat related, and it's in a picture, so there ya go. :focus:
 

Mikeopsycho

Senior Chief Petty Officer
Joined
Feb 6, 2014
Messages
738
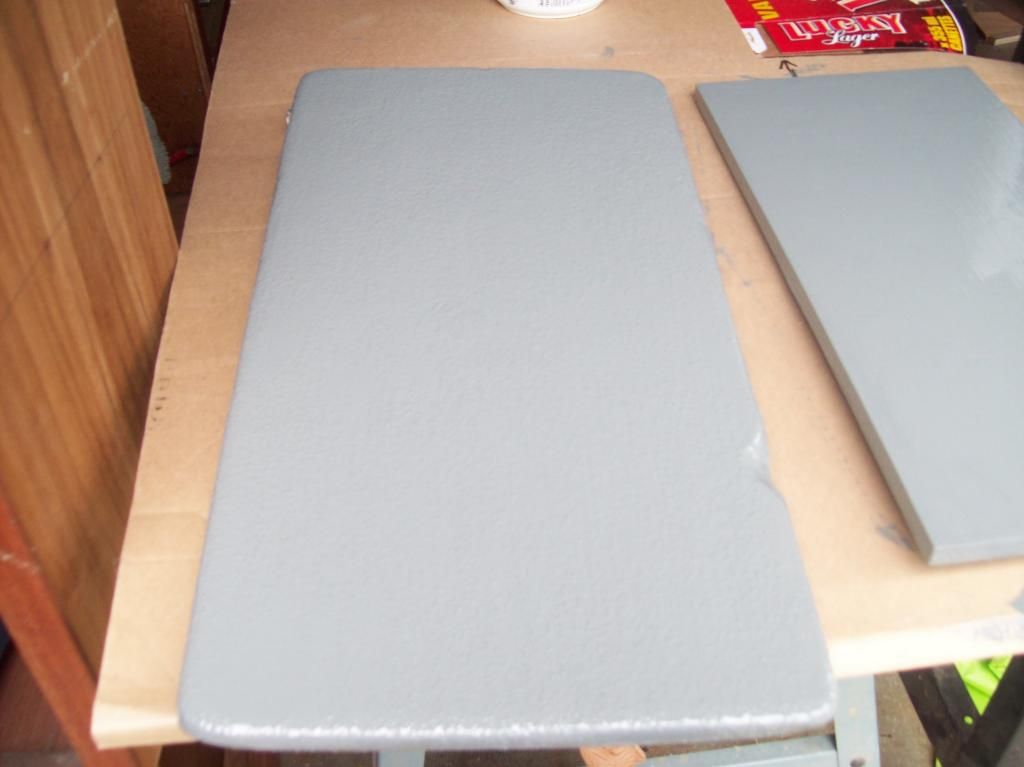
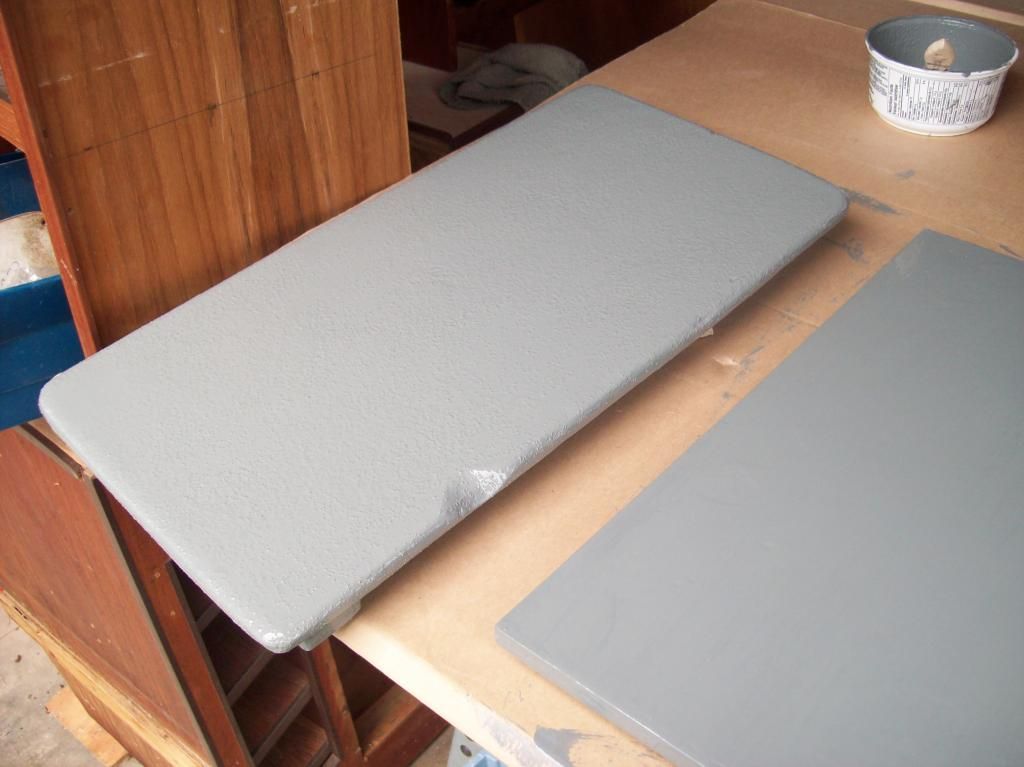
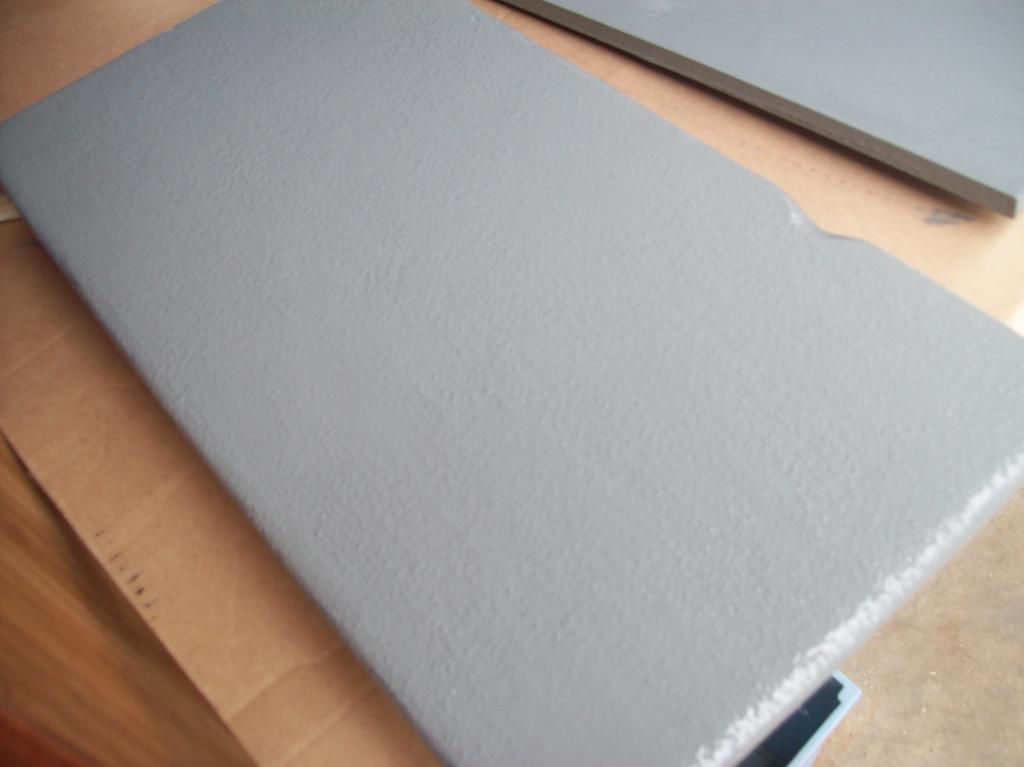
Only 16c (60f) here today, so no glassing or foaming. I flipped the parts I had painted yesterday, then sanded and painted the other sides. This is the lid for the compartment between the engines. I always step on this when I enter the engine space, so I made it non-skid by adding crushed walnuts to the paint, although it's hard to see in the pics,


Anywho, I am pleased with how it turned out.

I pre-cut the CSM for the underside of the deck boards. I also cut the biscuit pockets where the sheets of plywood will join together. There isn't enough room to put a cleat or other support under the joints, so biscuits and titebond 3 are the way I'm going. Hopefully the weather will warm up a bit and I can carry on with the project.
 
Top